XML/JSON Parser
An XML/JSON Parser reads and processes a single text stream of hierarchical data and give elements as parsed output in XML/JSON format.
Sample Use-Case
In this case, we are using an Excel Workbook Source.
The source file contains details of customers’ orders.
To preview data, right-click on the source object’s header and select Preview Output from the context menu.
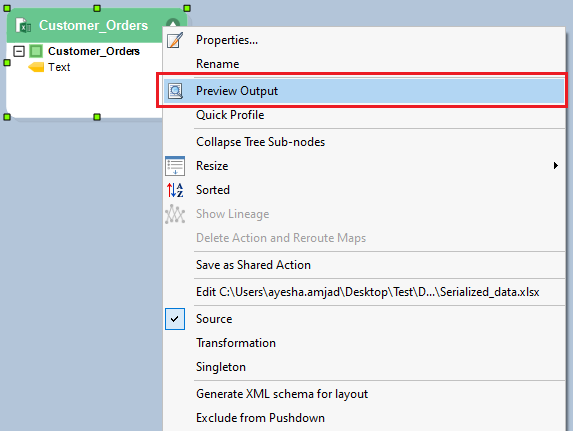
A Data Preview window will open, displaying the source data.
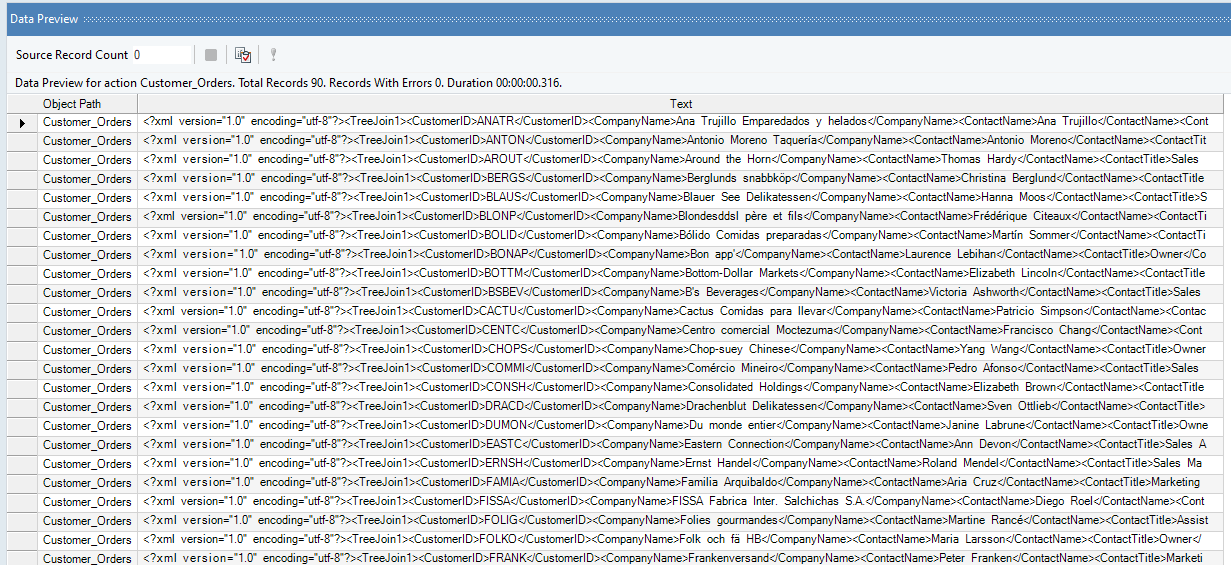
Observe that it is difficult to decipher fields and elements when the data is in a text stream. To make sense of this data, it needs to be structured in a proper format, with fields and collection regions clearly identified.
To parse this source data, we will use XML/JSON Parser in Astera Centerprise.
Using XML/JSON Parser
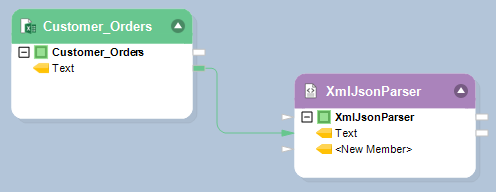
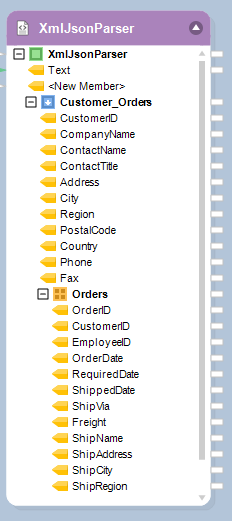
1. To get the XMl/JSON Parser object, go to Toolbox > Text Processors > Parser and drag-and-drop the object onto the designer.
You can see that the dragged object contains a Text field.
2. Map the Text field in Customer_Orders object to the Text field in the XMLJSONParser object.
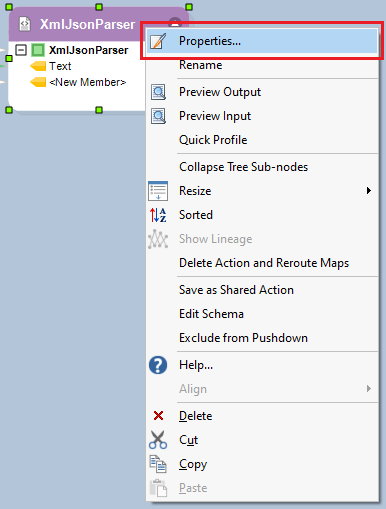
3. Right-click on the object’s header, and select Properties.
A configuration window will open, as shown below.
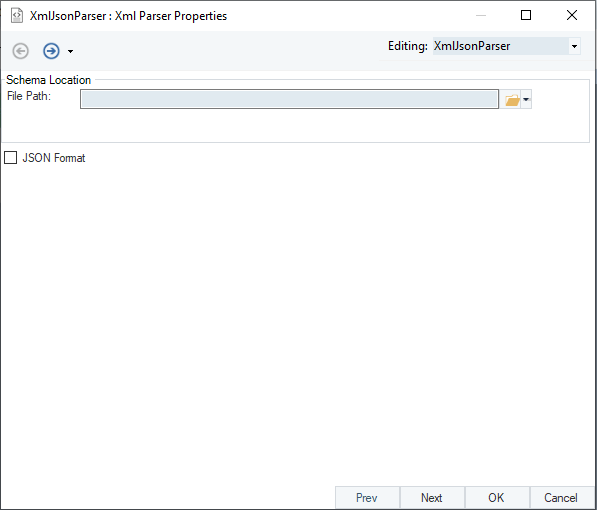
4. Provide the XML schema path. Centerprise will parse the text file based on the structure defined in the schema file.
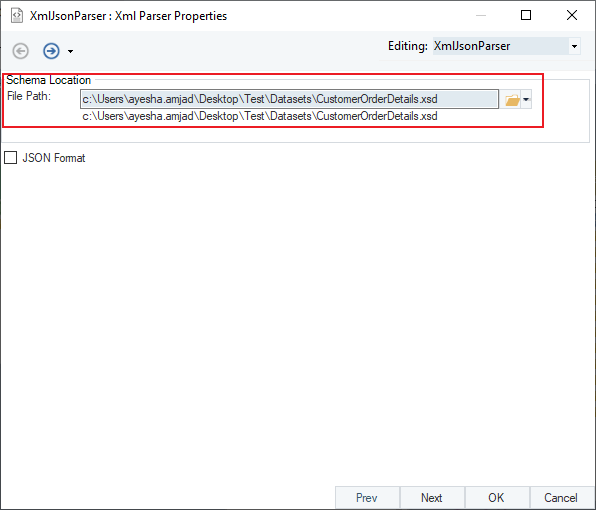
Click Next. This is the Layout Builder screen where the final layout of the incoming fields and the collection regions can be seen.
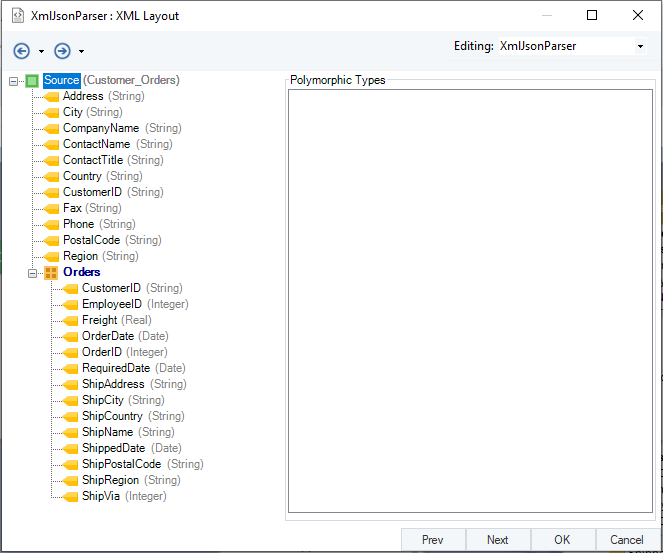
Click OK. The data stream is parsed into regions and fields which can be seen on the XMLJSON Parser object.
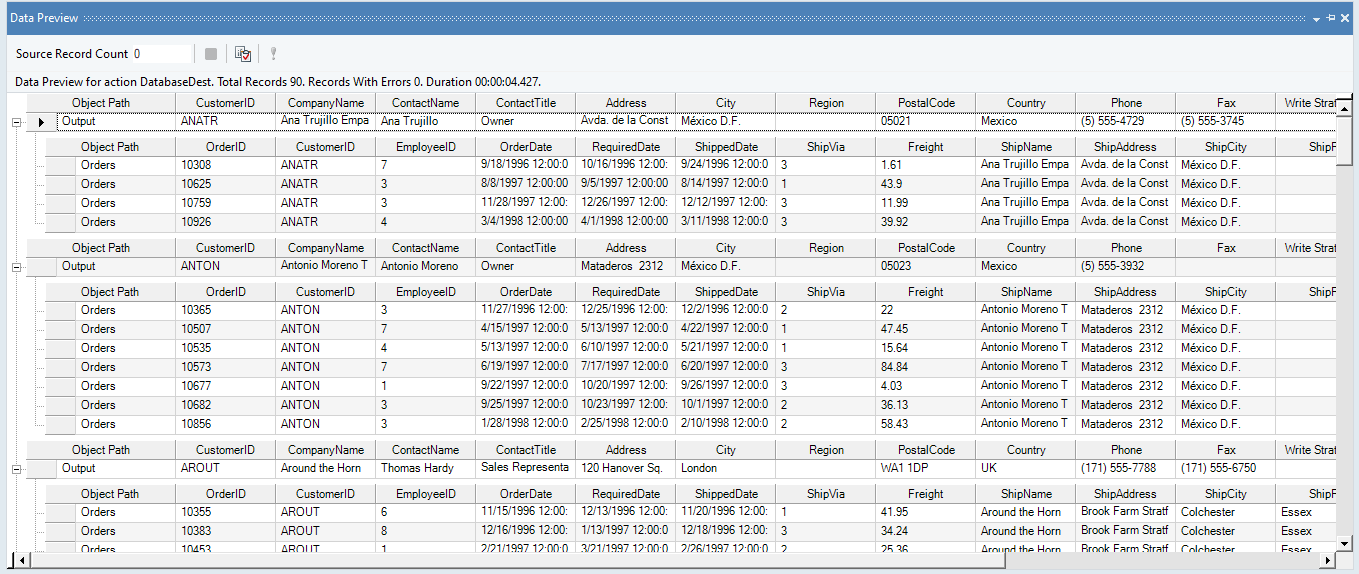
5. Right-click on the object’s header and select Preview Output from the context menu.

A Data Preview window will open. Expand the nodes, and you will see the parsed output for each record.
To store this parsed output, write it to a destination file.
6. Right-click on the Customer_Orders node under XMLJSON Parser object, go to Write to > Database Table Destination. A Database Table Destination object is added to the dataflow designer with all fields auto-mapped to it.
7. Configure settings for the Database Table Destination object.
Learn to configure settings for a Database Table Destination from here.
8. Click on the Start Dataflow button placed in the toolbar at the top to create the destination file.

A database table will be successfully created, with parsed output in XML format.