Centerprise Project and Project Explorer
The purpose of creating a project is to organize your Centerprise work-items in files and folders. This is particularly helpful when one is dealing with a large project which consists of numerous flows. It also helps in implementing a use-case in a more effective way and makes the process of deployment easier.
In this article, we will learn how to create a new Integration Project and use some of the options available in the Project Explorer panel.
Steps to Create a New Project
1. To create a new project, go to the menu bar and click on the following options:
Project > New > Integration Project
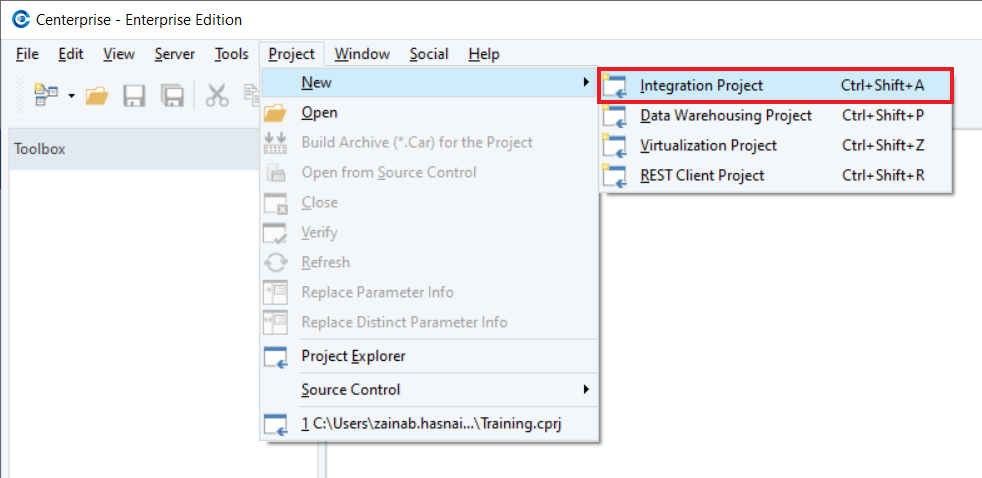
There are 3 different kinds of projects you can create by either clicking on its name, or pressing the given shortcut keys to the right.
- Integration Project: Creates an empty project which does not contain any pre-defined folders. It is ideal to use when you want to develop an integration project from scratch.
- Data Warehousing Project: Allows user to create a data warehousing project.
- REST Client Project: Creates a project with two dedicated folders for importing REST APIs and adding shared connections.
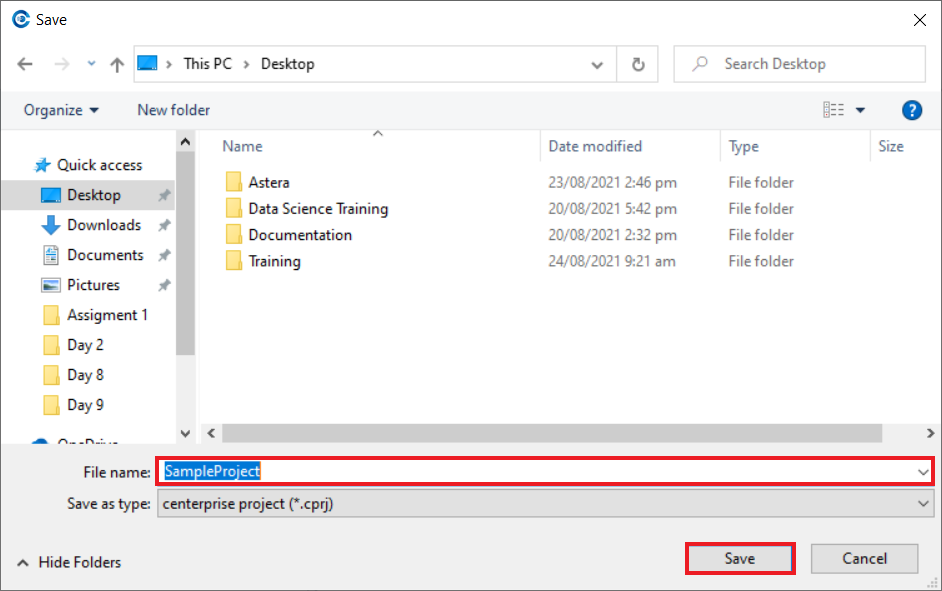
2. Next, navigate to the folder where you want to save your project, name your project, and click Save. In this example, we are saving our project with the name SampleProject.cprj.
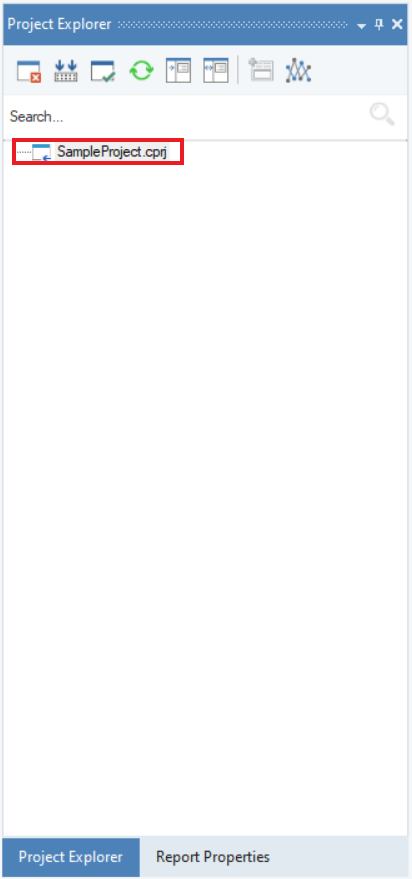
3. You can view your project in the Project Explorer panel, as shown below.
Project Explorer Options
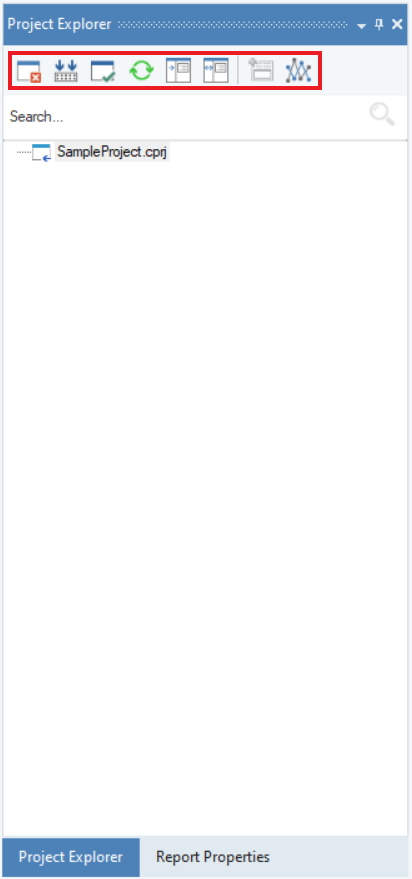
There are several options in the Project Explorer panel such as:
Close Project: Closes a currently open project.
Build Archive (.Car) for the Proect: Creates an archive (.Car) file.
Verify Project: Verifies design time errors of the project (such as missing fields, syntax errors in the expressions, etc.).
Note: It does not verify the runtime errors.
Refresh Project: Refreshes and synchronizes changes within the project.
Replace parameter values for all the distinct parameters: Replaces all the distinct directory paths and the database connection information used in the project with new values provided.
Replace parameters infos for all distinct and consolidated parameters: Replaces all the distinct and consolidated directory paths and the database connection information used in the project with new values provided (this option removes the repeats and shows consolidated parameters).
Add Project to Source Control: Enables Source Control to keep track of new changes and save all previous commits in case the user wants to revert to the last saved version.
Automatically re-build lineage when project is loaded or modified: Represents connections among different files such as dataflows, subflows, etc. in the project graphically.
Steps to Add New Item or Add New Folder to a Project
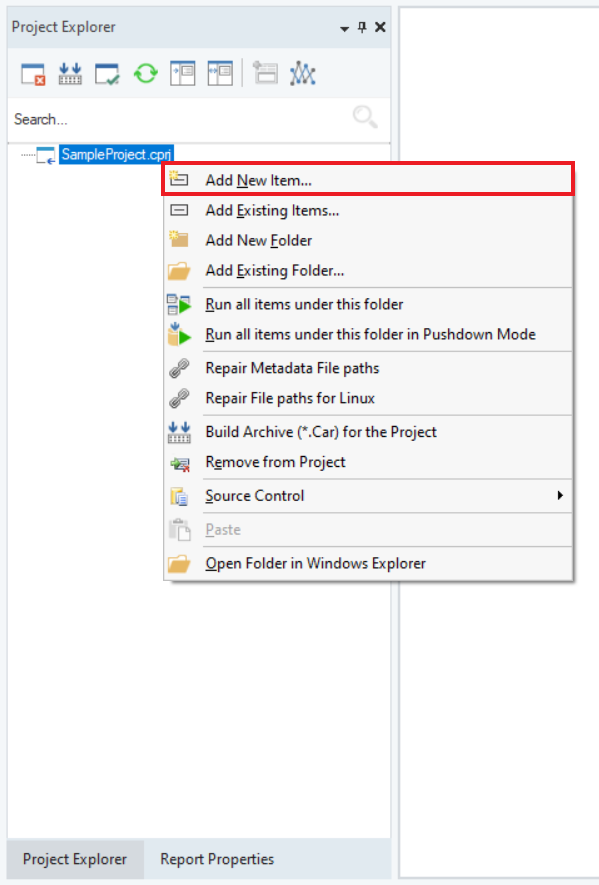
1. Right-click on the project name inside the Project Explorer, and from the context menu, select Add New Item.
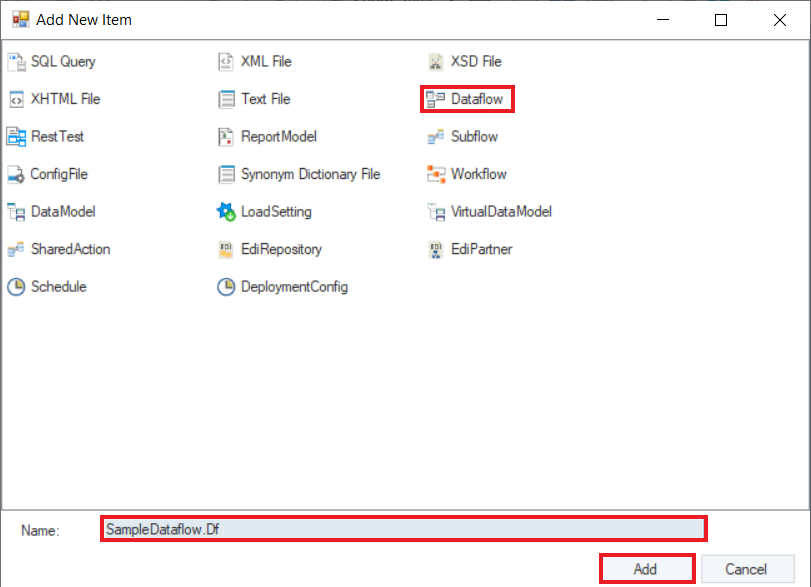
2. Choose the type of item from the available options, provide an appropriate name for the item, and click Add. In this example, we are adding a new dataflow with the name SampleDataflow.Df.
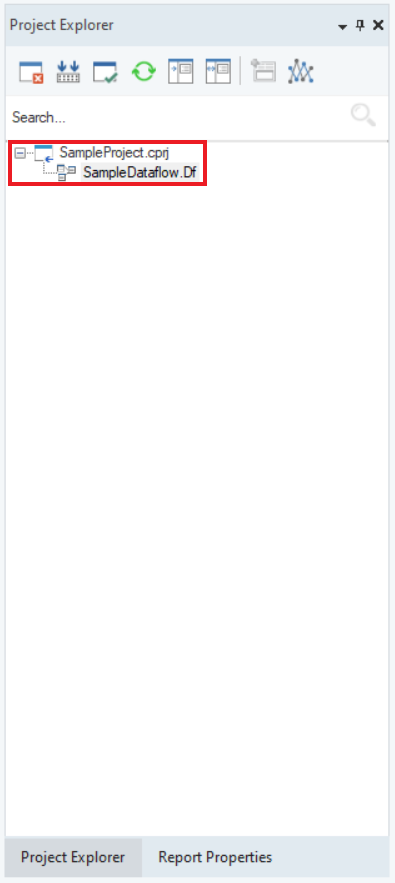
3. The new item, SampleDataflow.Df, is now a part of your project.
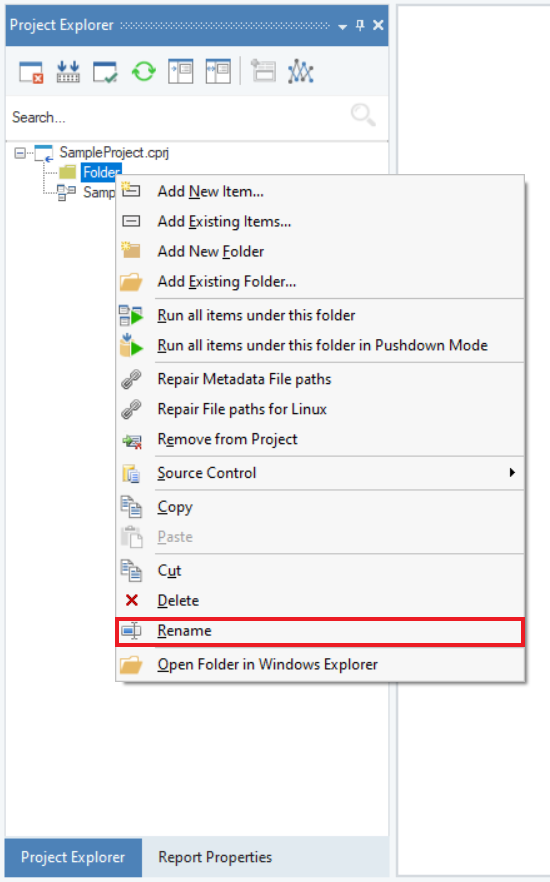
4. Similarly, to add a new folder, right-click on the project name inside the Project Explorer, and click Add New Folder.

5. The new folder is now a part of your project. You can rename the folder by right-clicking on Folder and selecting Rename.
Steps to Add Existing Items or Add Existing Folder to a Project
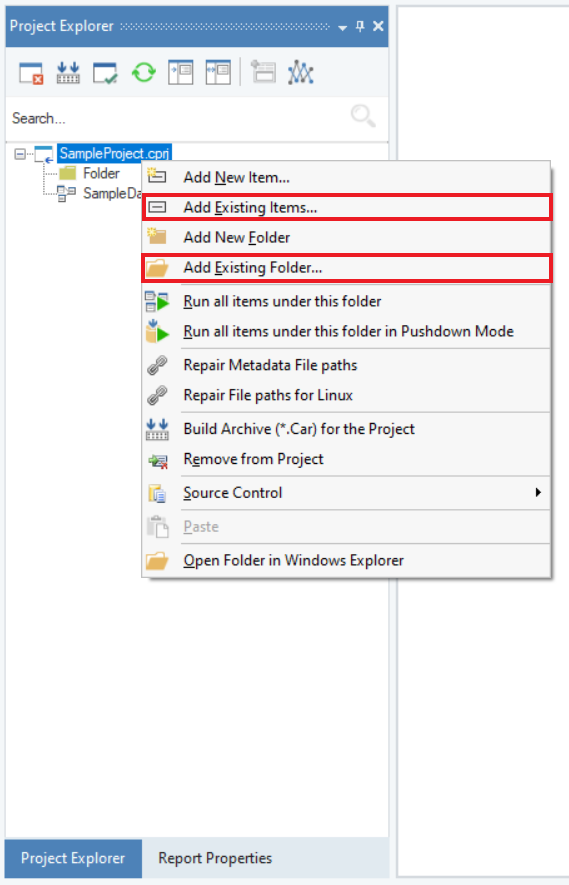
1. Right-click on the project name in the Project Explorer and click Add Existing Items or Add Existing Folder, depending on what you want to add*.* We will see how to Add Existing Items first.
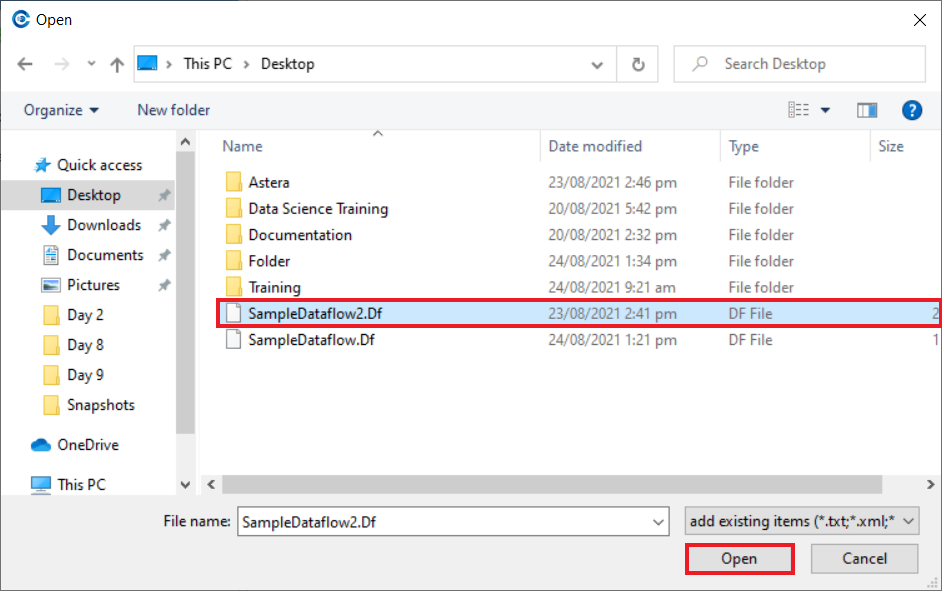
2. Locate the item/folder you want to add to the project in the local directory, select it, and click Open. In this case, we are adding SampleDataflow2.Df to our project.
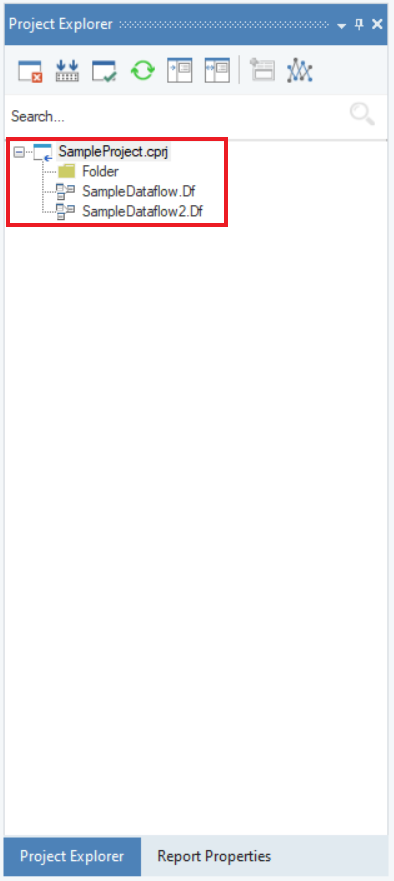
3. The item, SampleDataflow2.Df, is now a part of your project.
4. You can try the Add Existing Folder option by following the same steps mentioned above, if you wish to add an existing folder instead of an existing item to the Project.
To conclude, this is how you can create and manage a project in Centerprise using the tools provided in the Project Explorer panel.