Safe Mode
The Safe Mode option in Astera Centerprise allows you to study and debug your dataflows in cases when access to source files or databases is not available. You can open a dataflow/subflow and then proceed to debug or understand it after activating Safe Mode.
In this article, we will be looking at how you can activate and use the Safe Mode option in Astera Centerprise.
Activating Safe Mode
To activate Safe Mode, press the Safe Mode icon placed in the toolbar at the top of the dataflow designer.
![]()
Once Safe Mode is activated, the icon will have an outlining box around it.
![]()
Use Case
Here, we have a sample dataflow that was created by another Centerprise user.

This dataflow contains a Database Table Source, as assigned by the previous user. In this use case, we will be using the Safe Mode option to access the properties of the Database Table Source object named Invoices, in order to understand the layout of the data and other conditions.
When Safe Mode is Inactive
As the dataflow is not our own, we do not have access to the source database tables and cannot see the data’s layout ourselves.
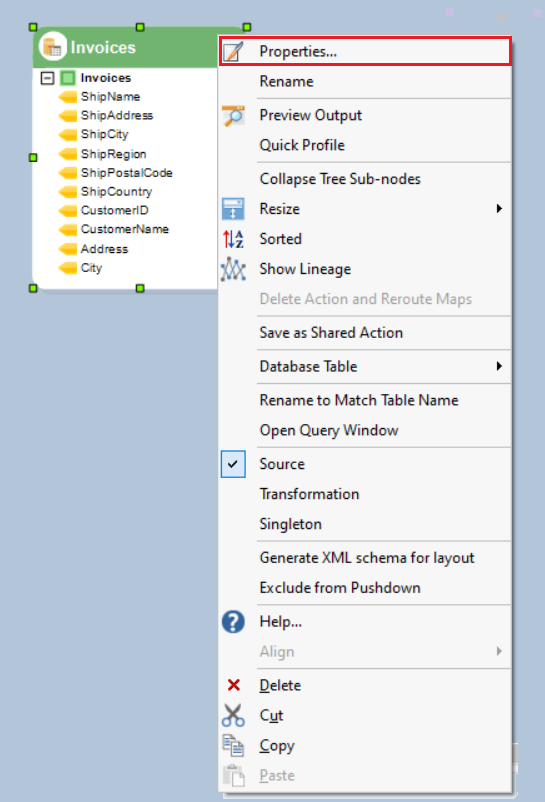
To access the Properties for the Database Table Source object, right-click on its header and select Properties from the context menu.
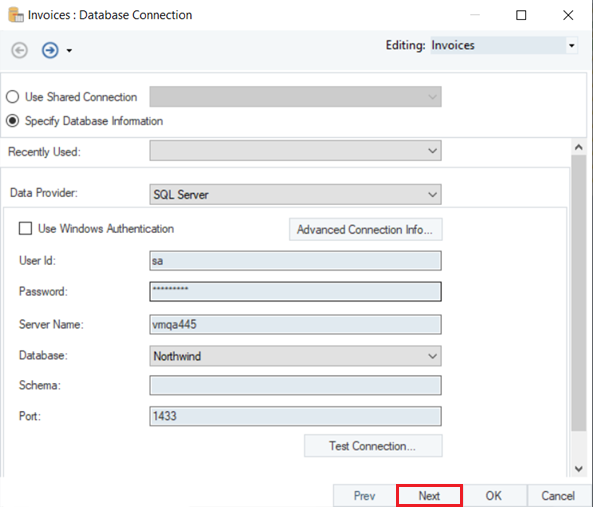
Click Next on the bottom of the Database Connection screen of the configuration window to access the Pick Source Table and Reading Option section.
When trying to access the Pick Source Table and Reading Option and further sections, we come across an error and it does not let us proceed, bringing us to a halt in the process.
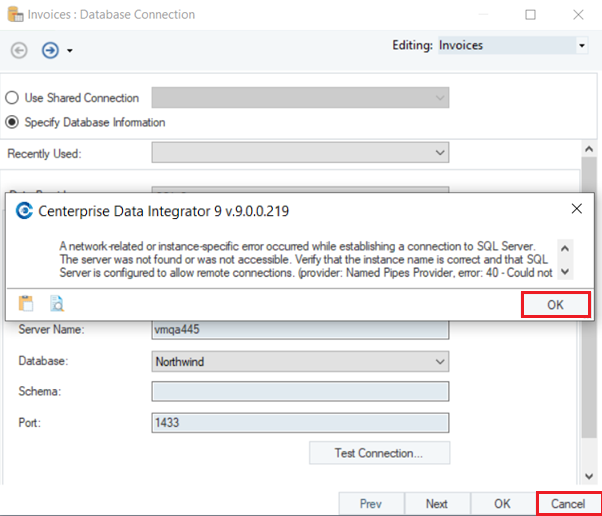
This error is expected as we do not have access to the source database being used.
Press OK and then Cancel to exit the configuration window.
When Safe Mode is Active
In order to proceed, we will now activate Safe Mode.
1. Once Safe Mode is activated, proceed to access the Properties and then the Pick Source Table and Reading Option section of the configuration window for the Database Table Source object.
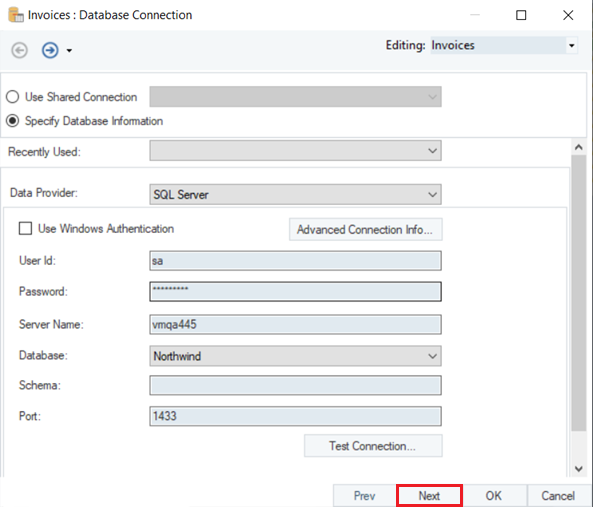
2. This time, with Safe Mode activated, Centerprise allows us to proceed to the Pick Source Table and Reading Option screen. Here, we can see all the options utilized by the previous user to read a specific database table.
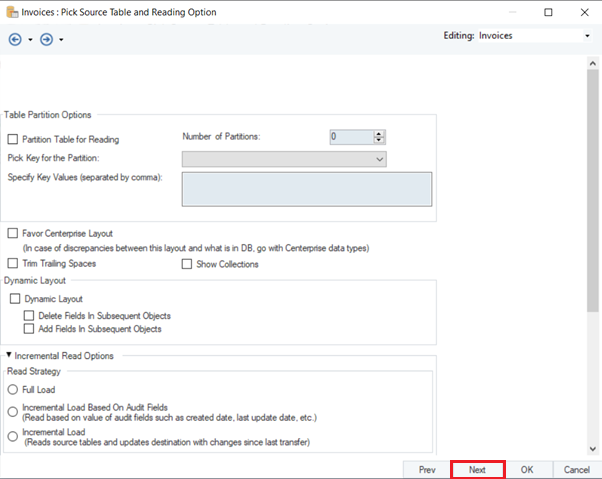
3. Press Next again on the Pick Source Table and Reading Option screen to proceed to the Layout Builder screen, which shows the fields, their data types and other properties.
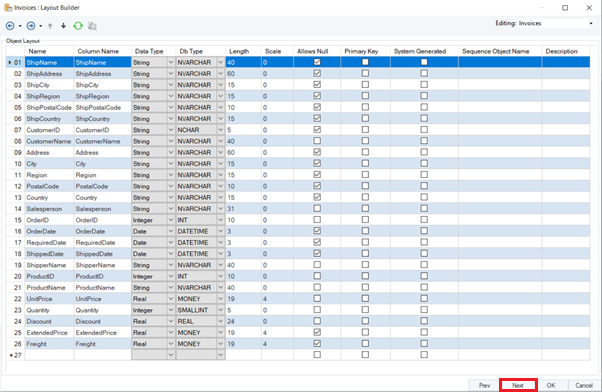
4. Press Next on this section to proceed to the Where Clause screen in order to understand the clause used, if any, by the previous user.
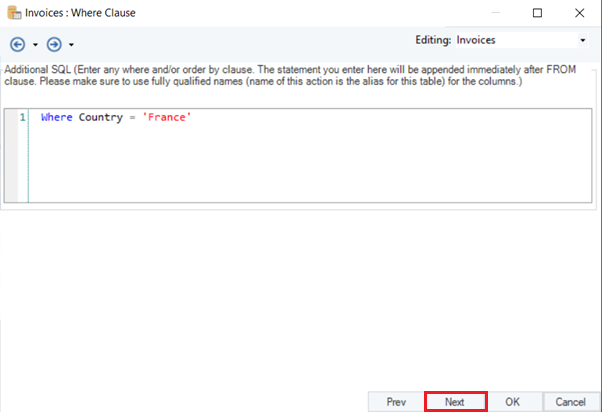
Here, we can see that a where clause has been used to identify records which specifically cater to the Country field being ‘France’.
5. Press Next to proceed to the Config Parameters screen to see if any parameters have been set.
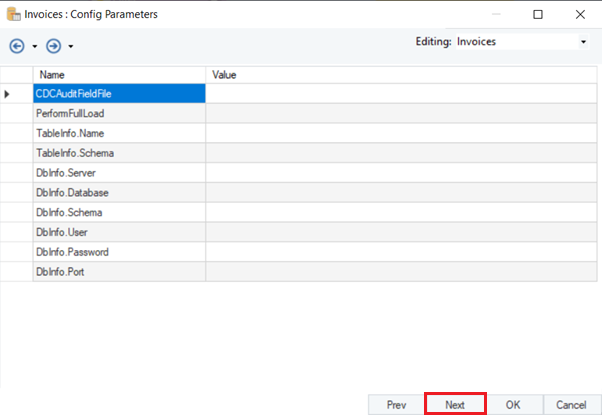
6. Lastly, press OK to close the properties window for the Database Table Source object.
To learn more about the Database Table Source object, click here.
You can now configure the object as required and/or load your own database tables.
Safe Mode can be used to access properties for any object that has been configured with source files/tables/queries etc. that a user does not have access to, thus facilitating debugging and dataflow sharing.
This concludes our discussion on the Safe Mode option.