Database Diff Processor
Database Diff Processor is one of the four Database Write Strategies offered in Astera Centerprise. Its purpose is to synchronize the data present in two separate datasets. The object compares the two datasets and performs write actions (insert and update) on the destination table so that both tables contain the same information.
Use Case
In this use case, we have a sample dataset of customers that is stored in a database table. Currently, this dataset contains 10 records, but two more customer records are to be added later on. Furthermore, updated phone numbers are to be added for two other customers.
We want to write the initial dataset to another database table and ensure that whenever the aforementioned changes are made, they are applied to both tables. To achieve this, we will be using the Database Diff Processor object in Astera Centerprise.
How to use the Database Diff Processor
1. Drag and drop the Database Table Source object from Toolbox > Sources > Database Table Source onto the dataflow designer. Configure this object so that it reads data from the source table.
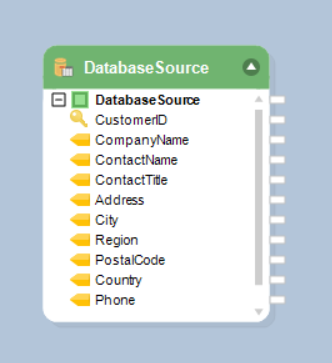
To learn how you can configure a Database Table Source object, click here.
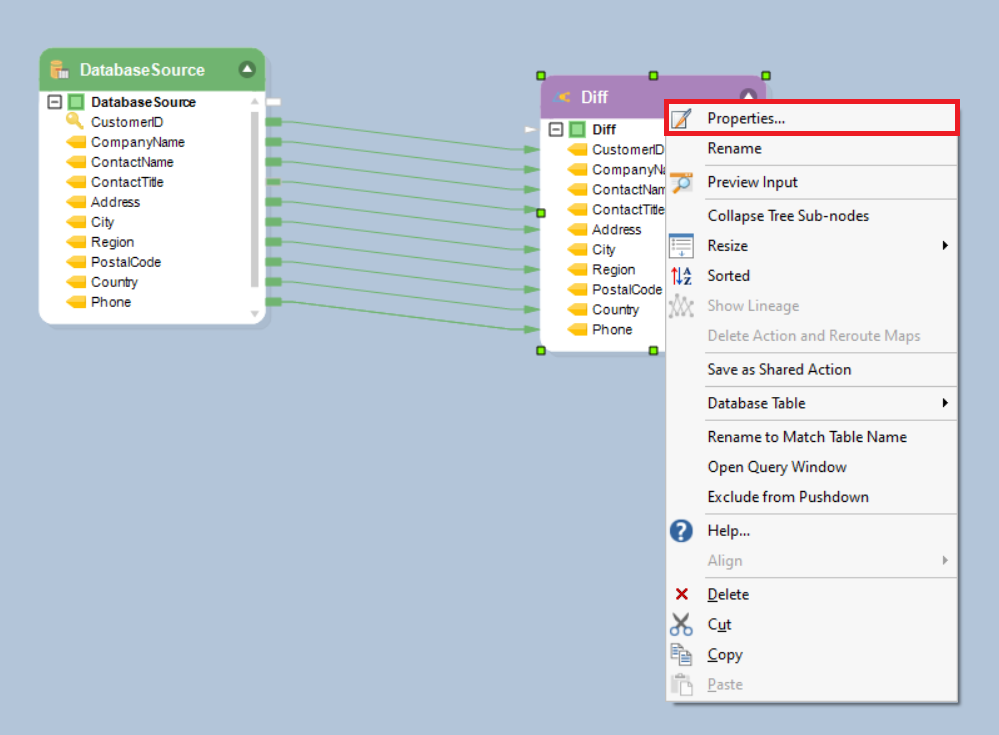
2. Drag-and-drop the Database Diff Processor object from Toolbox > Database Write Strategies > Database Diff Processor onto the dataflow designer. Auto-map all of the elements from the source object to the Database Diff Processor object.
3. Right-click on the header of the Database Diff Processor object and select Properties.
4. This will open the Database Connection window. Here, you will have to enter the credentials for the database you want to connect to. Alternatively, you can connect to a recently used database by selecting it from the Recently Used dropdown list.
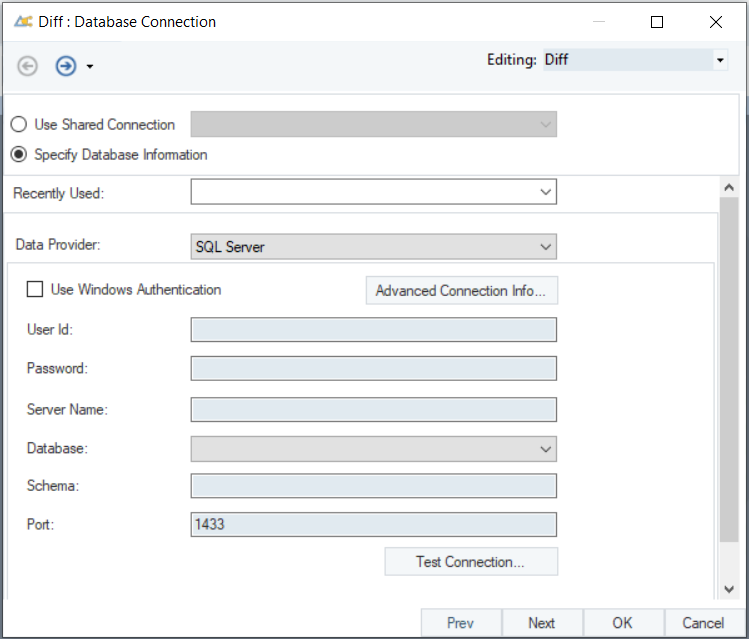
In this case, we will connect to a test database that contains an empty Customers table.
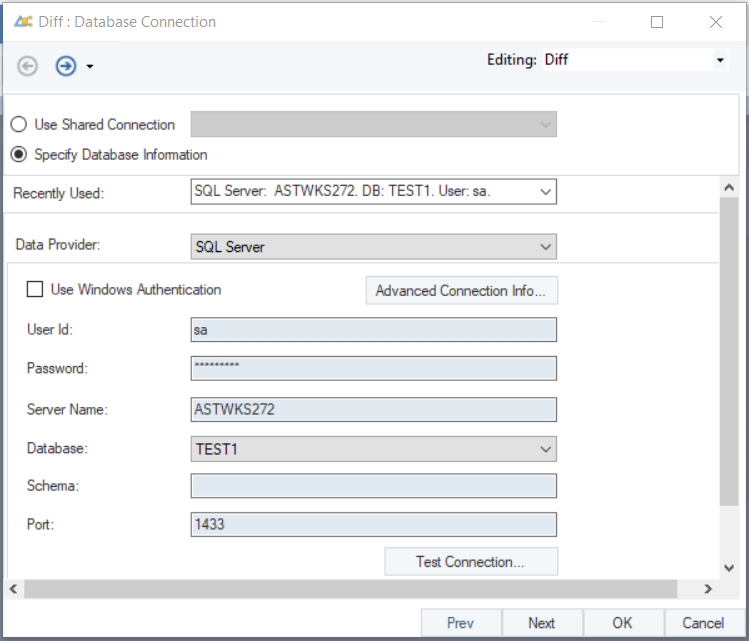
Once you have entered the required credentials, click Next.
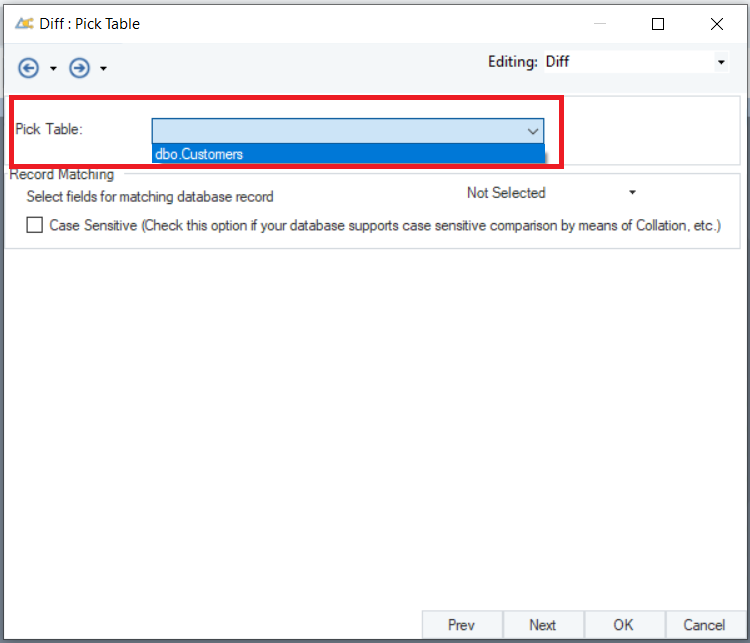
5. On the next window, you will have to pick a destination table, where the write actions (Insert and Update) will be performed.
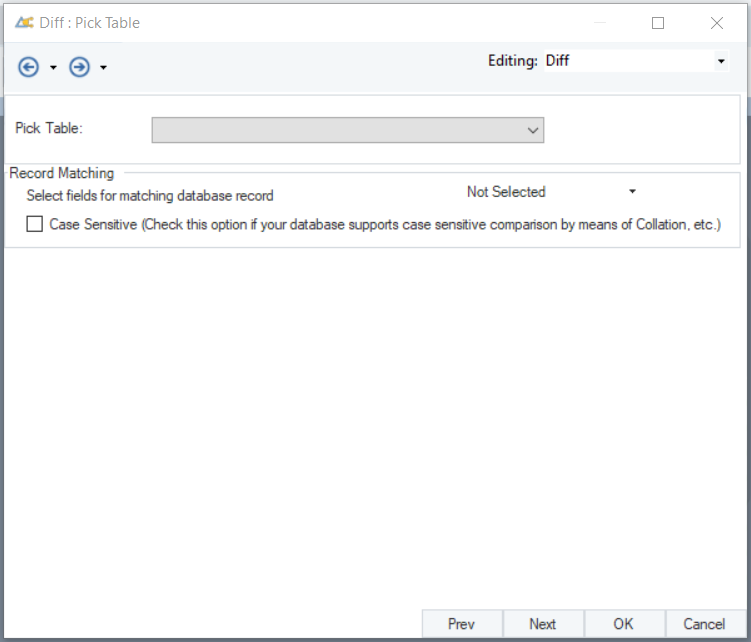
In this case, we will pick the empty Customers table that has already been created in this database.
There are a couple of options related to Record Matching at the bottom of the screen:
- Select a field to be used for matching records between the source table and the destination table. In this case, we will select CustomerID because it cannot change for each customer.
- Check the Case Sensitive option if you want the comparison to be case sensitive. In this case, we will leave this option unchecked.
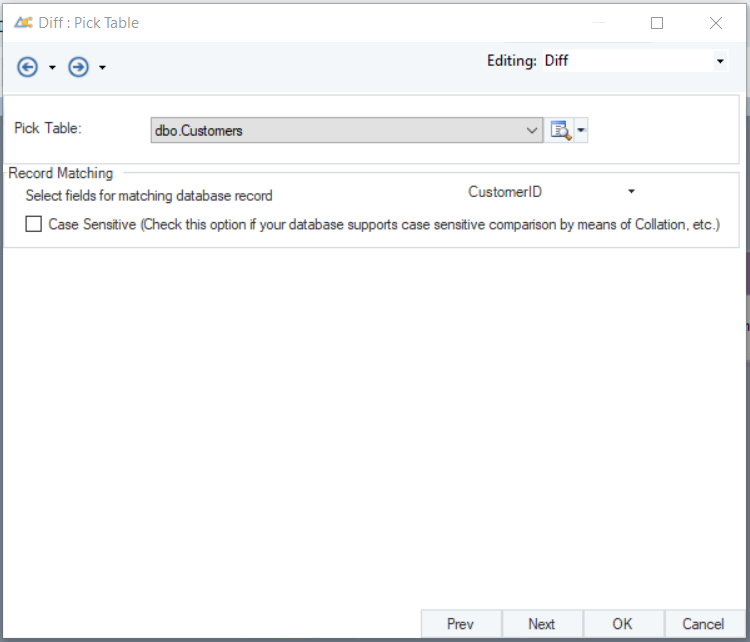
Now that the required table and Record Matching options have been selected, click OK to close the configuration window.
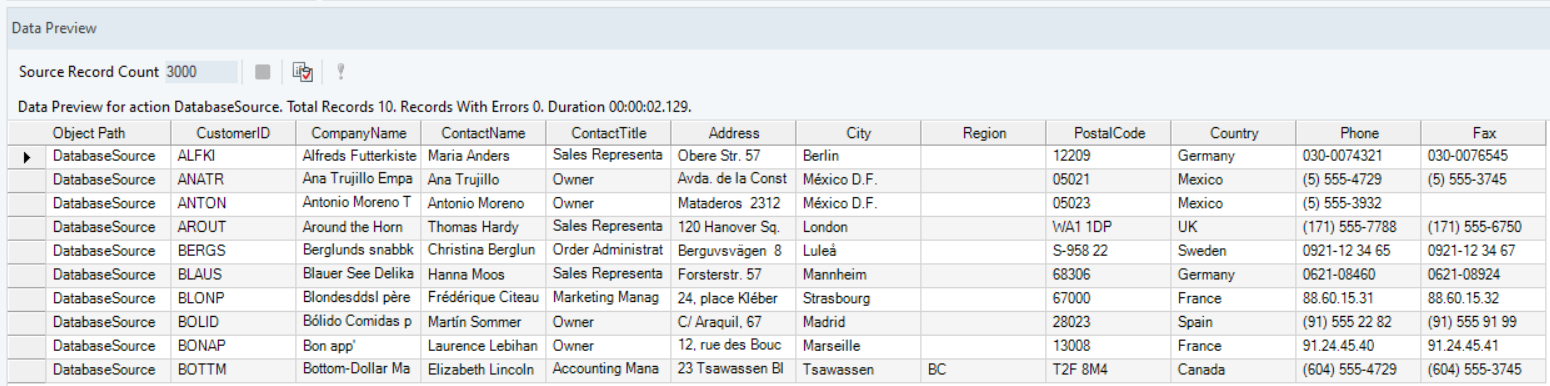
6. Run the dataflow to write your source data to the destination table. To preview the source data, right-click on the Database Table Source object and select Preview Output.
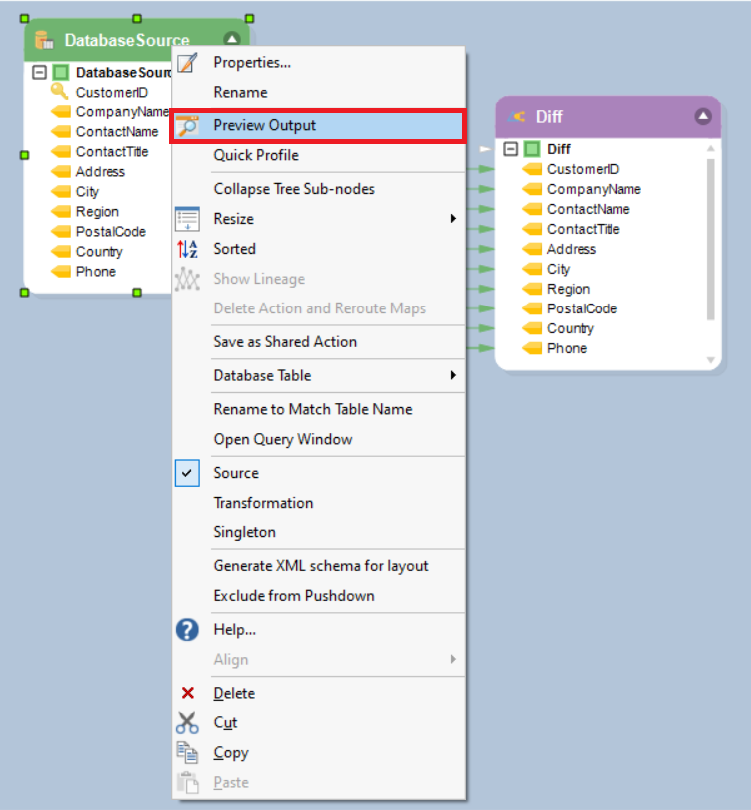
This is what the source data looks like:
To check whether this data has been written to the destination table, right-click on the Database Diff Processor object and go to Database Table > View Table Data.
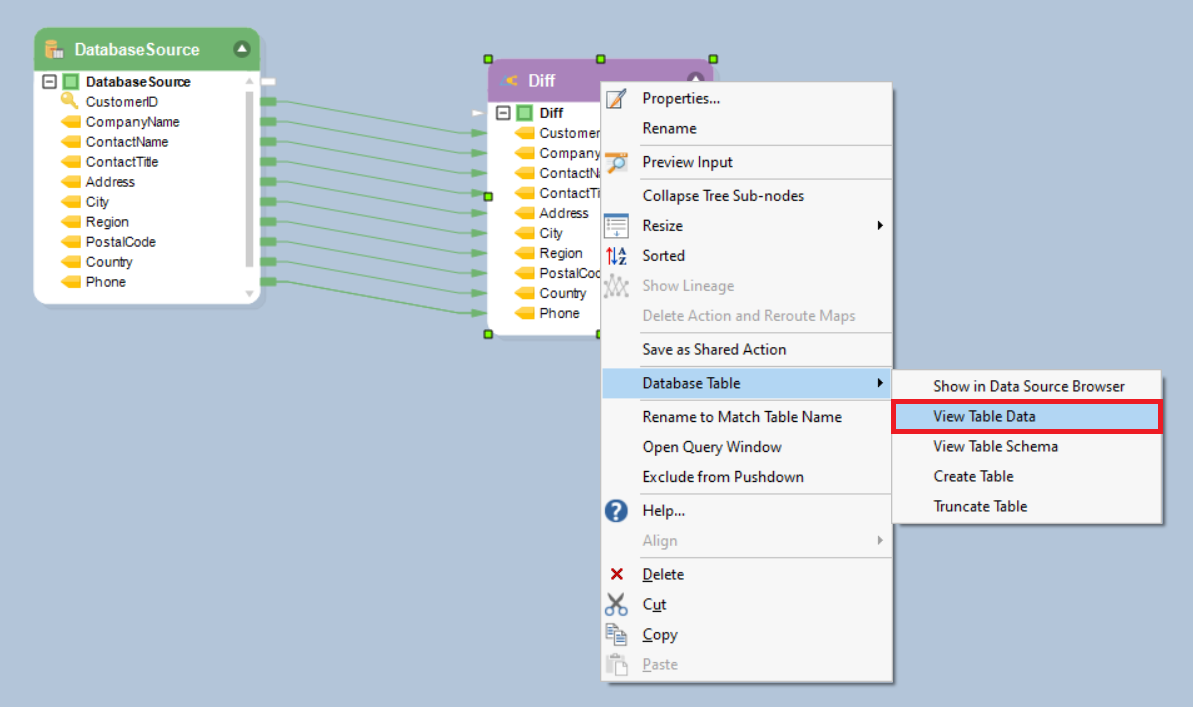
The destination table will open in a separate tab within Centerprise.
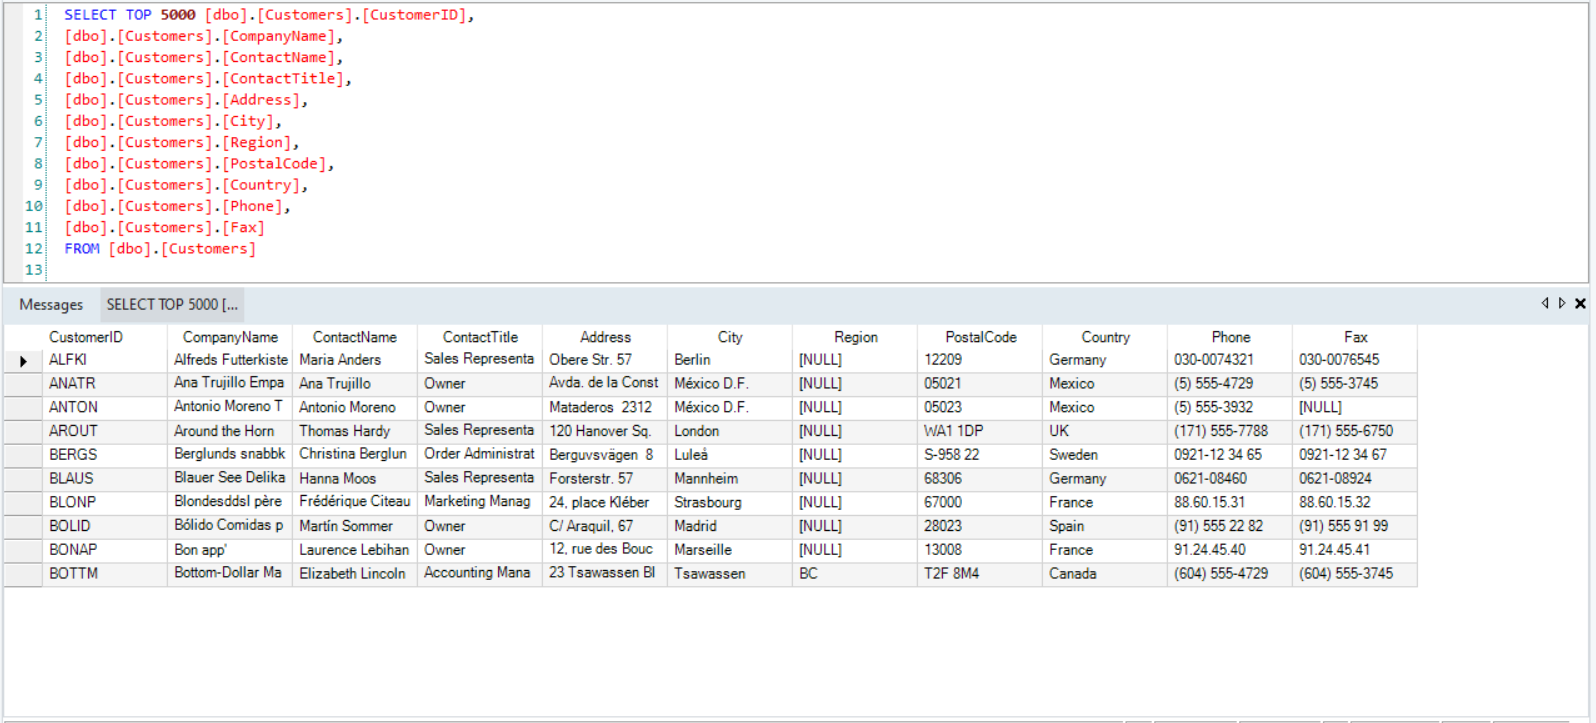
The data present in the destination table is the same as that in the source table, showing that we have successfully written the data by running the dataflow.
7. The source dataset has been updated to include two more customer records. Moreover, two other customers have updated their phone numbers. This is what the source data looks like after the changes have been implemented:
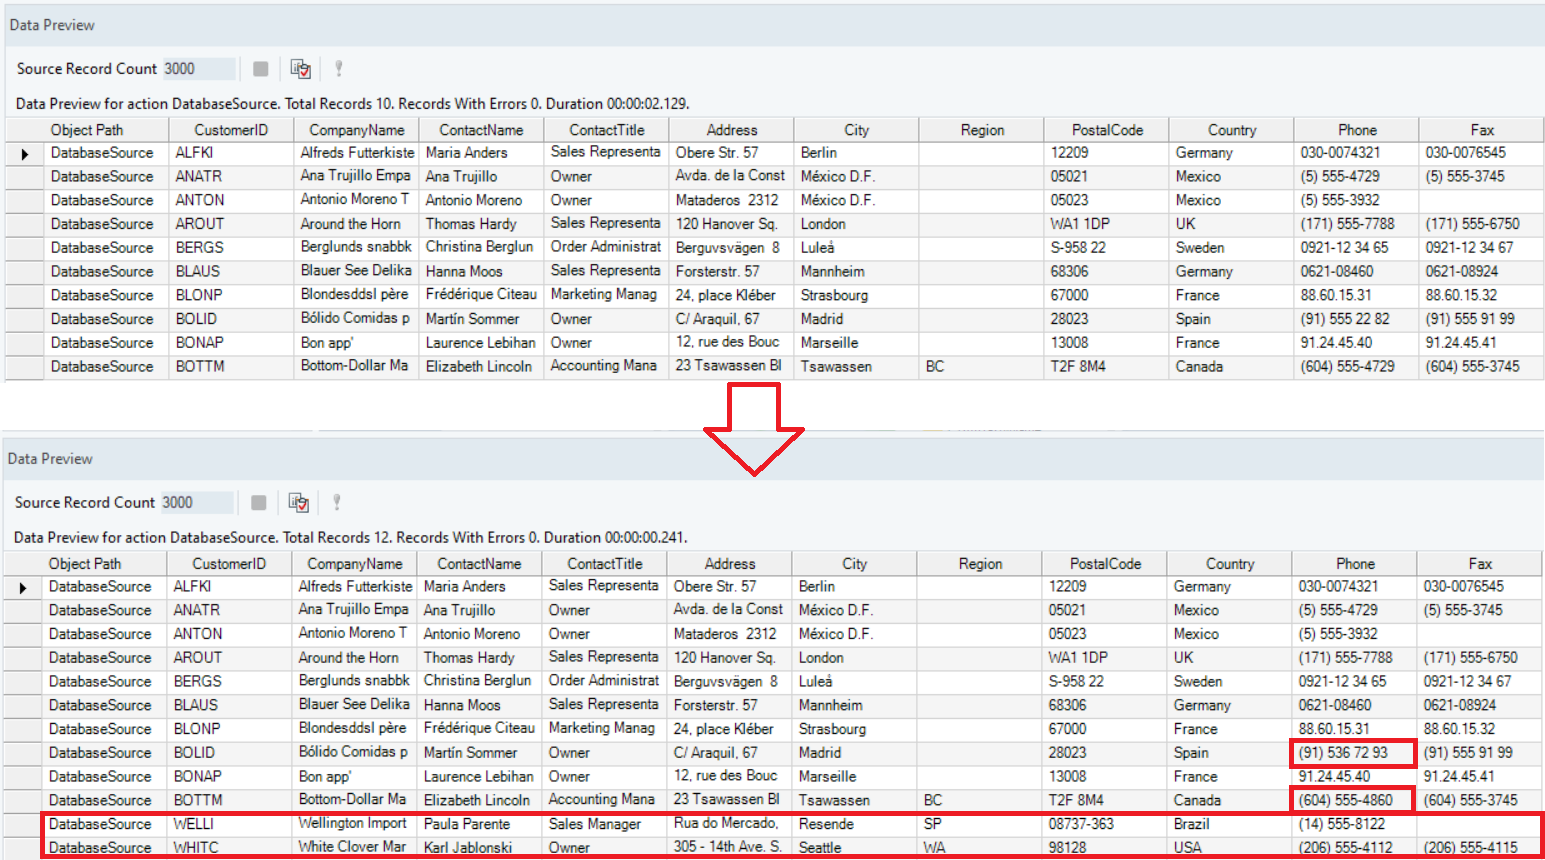
Run the dataflow again to apply these changes to the destination table. This is what the destination table should look like when you open it in Centerprise after running the dataflow again:
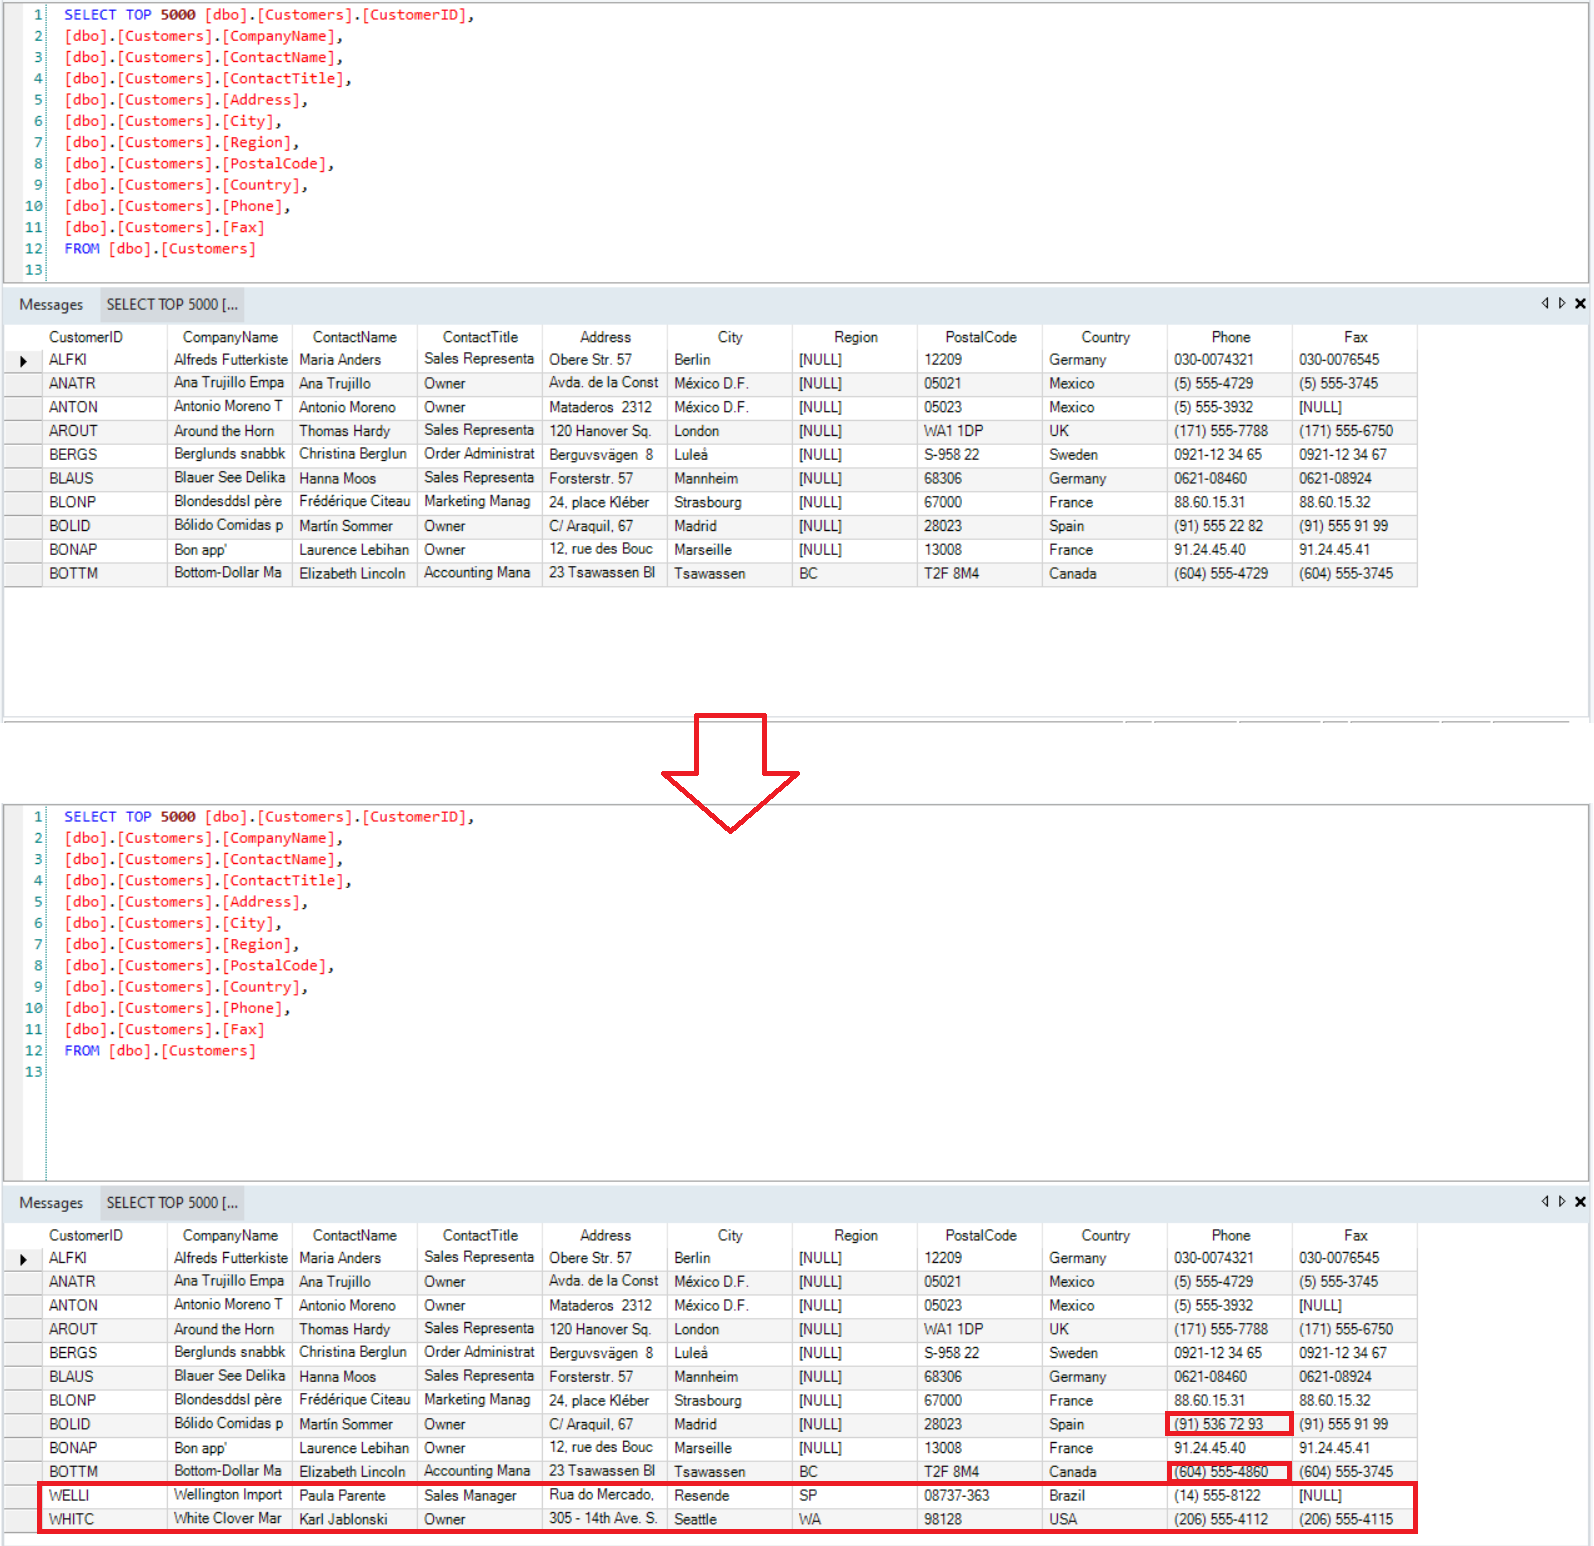
The changes that were made to the source table have automatically been applied to the destination table as well, showing that the Database Diff Processor object has achieved its task.
This concludes using the Database Diff Processor write strategy in Astera Centerprise.