EDI Acknowledgment

An EDI Acknowledgement task issues an acknowledgment notification to the sender when an EDI message is received.
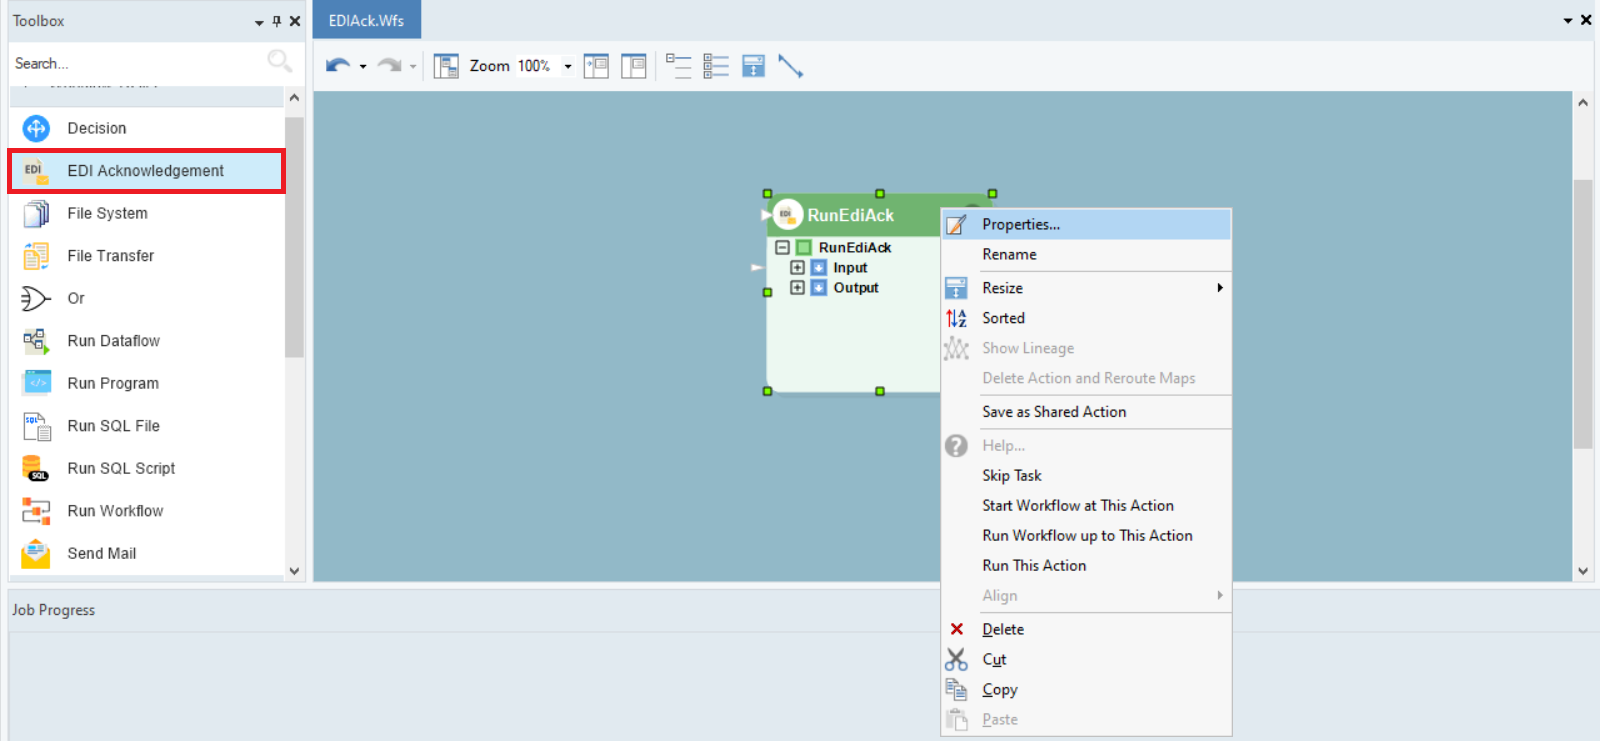
To use an EDI acknowledgment task, drag-and-drop the EDI Acknowledgement object onto the workflow designer. Configure the object by right-clicking on the object’s header and selecting Properties from the context menu.
An EDI Acknowledgement Properties window will open, as shown below. Here, we need to provide the following information:
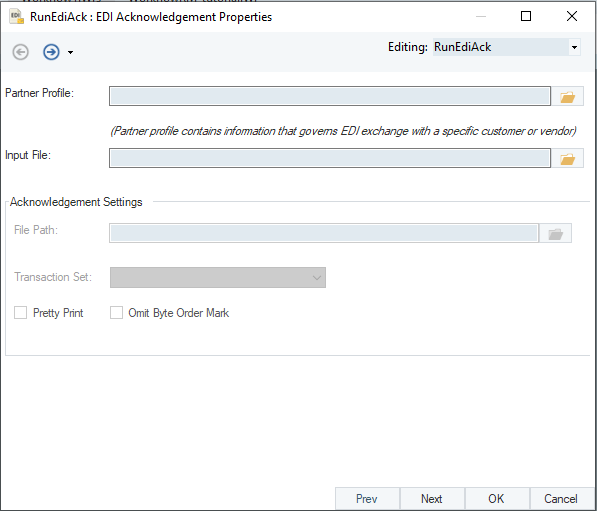
- Partner Profile: This is the path to the .tpp extension file that governs the EDI exchange with a specific customer or vendor.
- Input File: This is the path to the .edi extension file that contains the EDI source file reader.
- Acknowledgement Settings:
- File Path: This is the output file path.
- Transaction Set: This is the acknowledgment that is being created, i.e.., a 997 or a 999, etc..
- Pretty Print: This adds a line break after each segment.
- Omit Byte Order Mark: Leaves out the first two bytes for UTF indicating the actual encoding for the rest of the file. (Note: Windows makes use of this, other systems might get confused by these two extra bytes.)
This concludes our discussion on the EDI Acknowledgement workflow task in Astera Centerprise.