Fixed Length File Source
The Fixed-Length File Source object in Centerprise provides a high-speed reader for files containing fixed length records. It supports files with record delimiters as well as files without record delimiters.
Getting Fixed Length Source Object
In this section, we will cover how to get Fixed Length File Source object on the dataflow designer from the Toolbox.
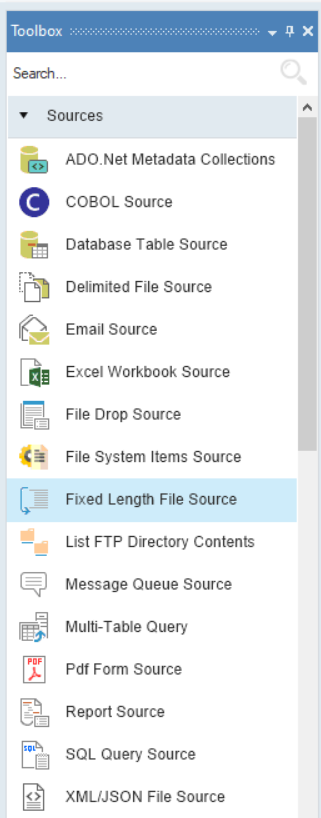
1. To get a Fixed Length File Source object from the Toolbox, go to Toolbox > Sources > Fixed Length File Source. If you are unable to see the Toolbox, go to View > Toolbox or press Ctrl + Alt + X.
2. Drag-and-drop the Fixed Length File Source object onto the designer.
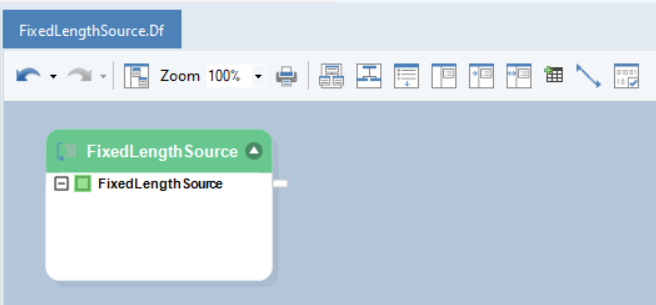
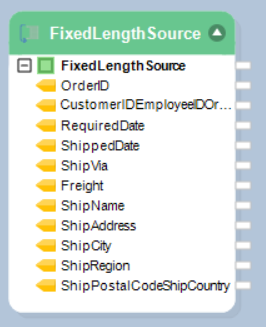
You can see that the dragged source object is empty right now. This is because we have not configured the object yet.
Configuring the Fixed Length File Source Object
1. To configure the Fixed Length File Source object, right-click on its header and select Properties from the context menu.
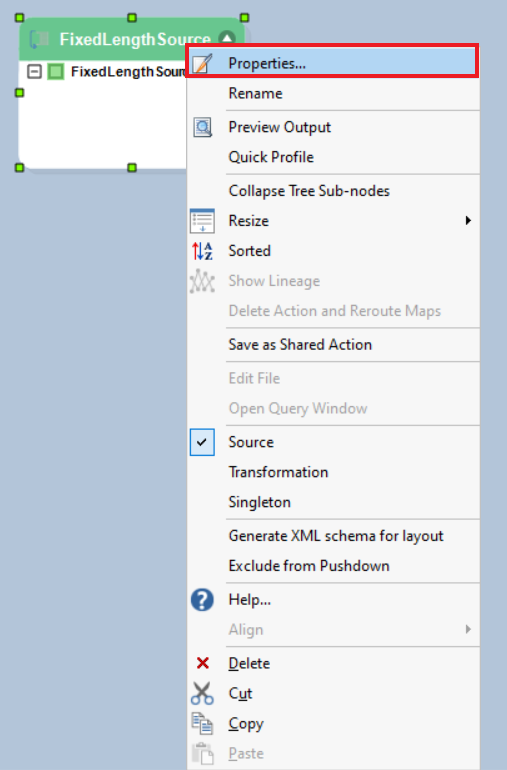
When you select the Properties option from the context menu, a dialog box will open.
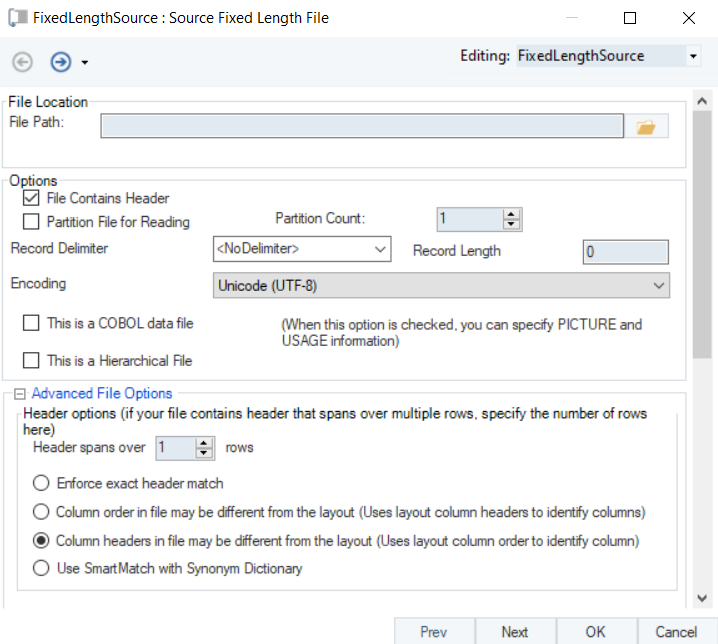
This is where you configure the properties for Fixed Length File Source object.
2. The first step is to provide the File Path for the Fixed Length File Source object. By providing the File Path you are building the connectivity to the source dataset.
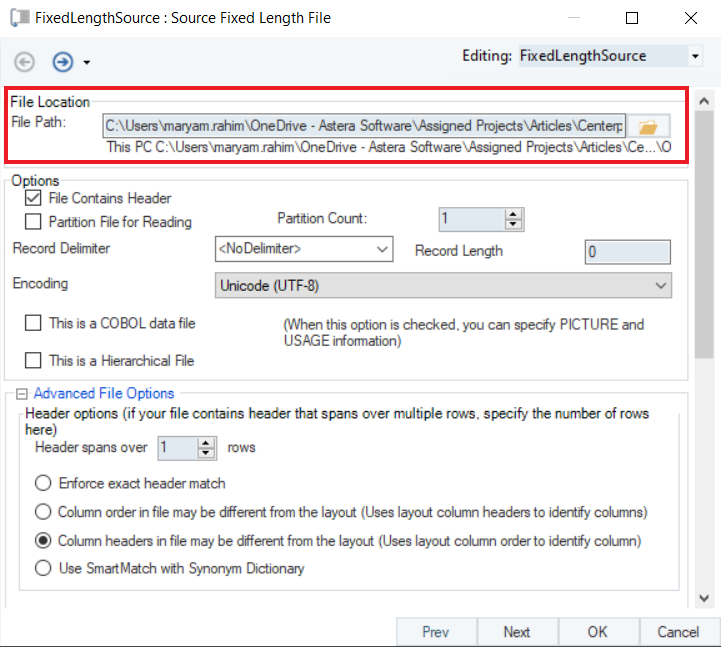
Note: In this case we are going to be using a fixed length file that contains Orders sample data. This file works with the following options:
File Contains Headers
Record Delimiter is specified as
3. The dialog box has some other configuration options:
Options
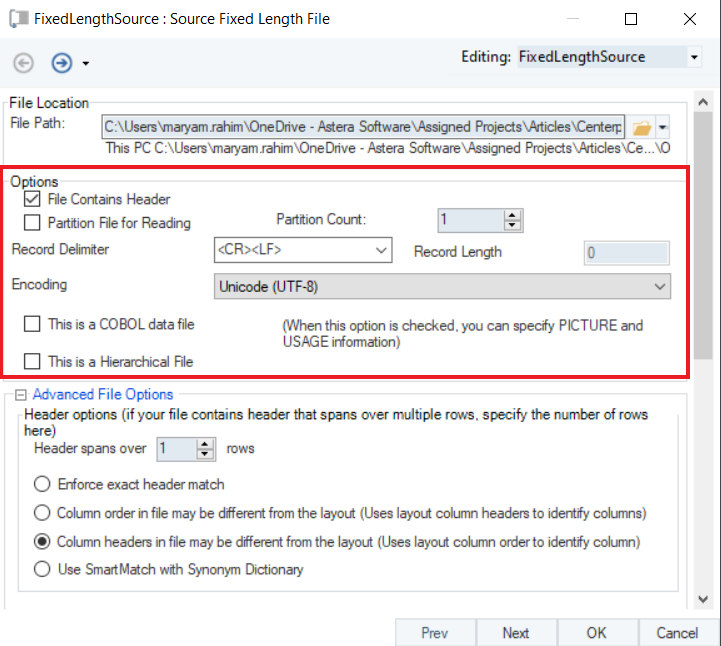
- If the source File Contains Header and you want Centerprise source layout to read headers from the source file, check this option.
- If you want the file to be read in portions, for instance, your file has data over 1000 rows, upon selecting Partition File for Reading, Centerprise will read your file according to the specified Partition Count. For example, a file with 1000 rows, with the Partition Count specified as 2, will be read in two partitions of 500 rows each. This is a back-end process that makes data reading more efficient and helps in processing data faster. This will not have any effect on your output.
- Record Delimiter field allows you to select the delimiter for the records in the source file. The choices available are carriage-return line-feed combination
and line-feed* *. You can also type the record delimiter of your choice instead of choosing from the available options. - In case the records do not have a delimiter and you rely on knowing the size of a record, the number in the Record Length field is used to specify the character length for a single record.
- The Encoding field allows you to choose the encoding scheme for the delimited file from a list of choices. The default value is Unicode (UTF-8)
- Check the This is a COBOL data file option if you are working with COBOL files and do not have COBOL copybooks, you can still import this data by visually marking fields in the layout builder and specifying field data types. For more advanced parsing of COBOL files, you can use Centerprise’s COBOL File Source.
- To define a hierarchical file layout and process the data file as a hierarchical file check the This is a Hierarchical File option. Centerprise IDE provides extensive user interface capabilities for processing hierarchical structures.
Advanced File Options
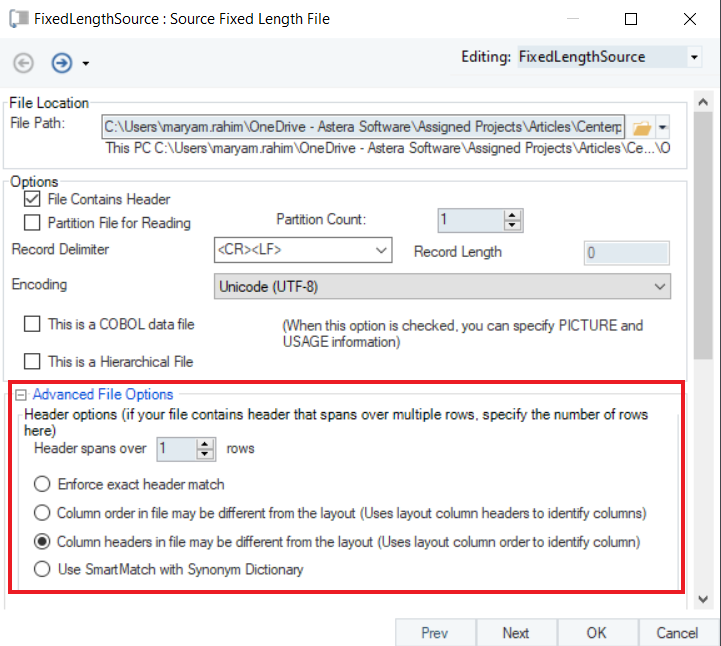
- In the Header spans over field, give the number of rows that your header takes. Refer to this option when your header spans over multiple rows.
- Check the Enforce exact header match option if you want the header to be read as it is.
- Check the Column order in file may be different from the layout option, if the field order in your source layout is different from the field order in Centerprise’s layout.
- Check the Column headers in file may be different from the layout option if you want to use alternate header values for your fields. The Layout Builder lets you specify alternate header values for the fields in the layout.
- Check the Use SmartMatch with Synonym Dictionary option when the header values vary in the source layout and Centerprise’s layout. You can create a Synonym Dictionary file to store the values for alternate headers. You can also use the Synonym Dictionary file to facilitate automapping between objects on the flow diagram that use alternate names in field layouts.
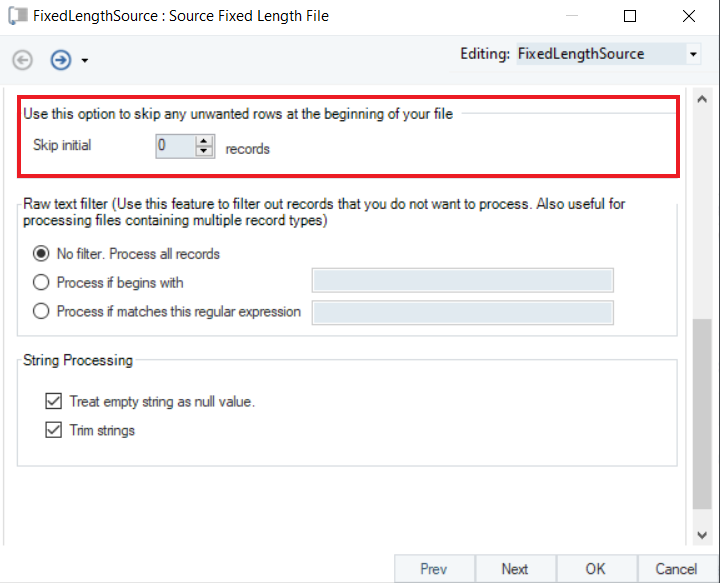
To skip any unwanted rows at the beginning of your file, you can specify the number of records that you want to omit through the Skip initial records option.
Raw text filter
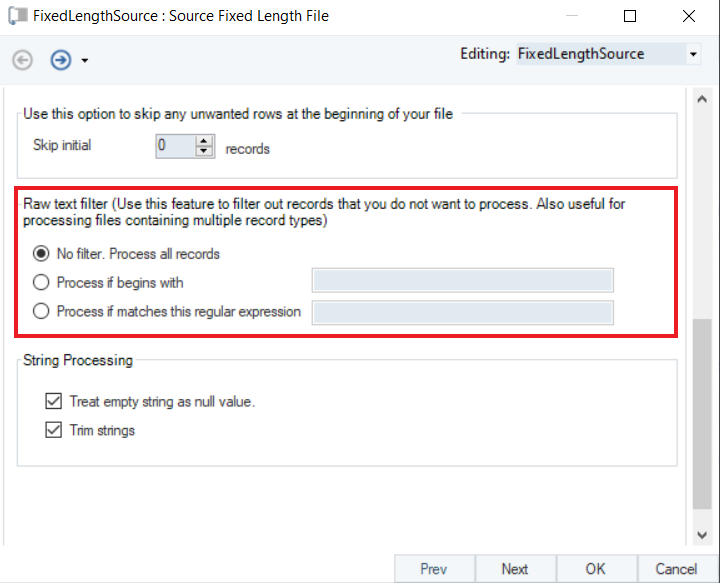
- If you do not want to apply any filter and process all records, check the No filter. Process all records option.
- If there is a specific value which you want to filter out, you can check the Process if begins with option and specify the value that you want Centerprise to read from the data, in the provided field.
- If there is a specific expression which you want to filter out, you can check the Process if matches this regular expression option and give the expression that you want Centerprise to read from the data, in the provided field.
String Processing
String processing options come in use when you are reading data from a file system and writing it to a database destination.
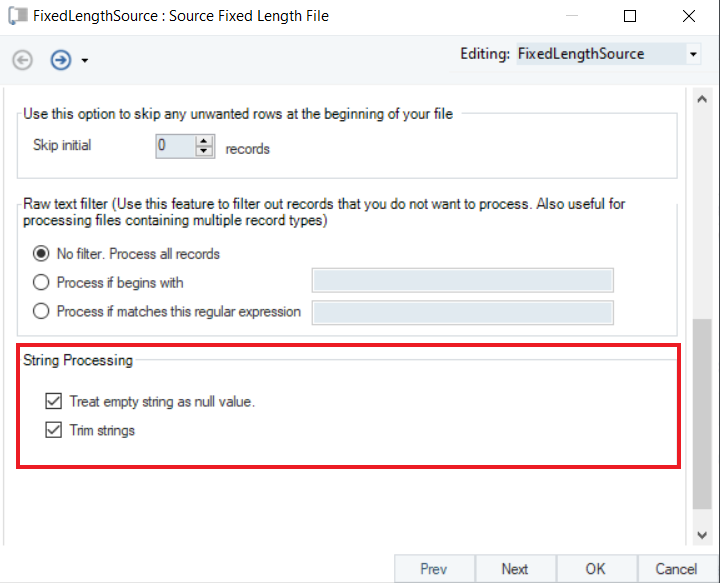
- Check the Treat empty string as null value option when you have empty cells in the source file and want those to be treated as null objects in the database destination that you are writing to, otherwise Centerprise will omit those accordingly in the output.
- Check the Trim strings option when you want to omit any extra spaces in the field value.
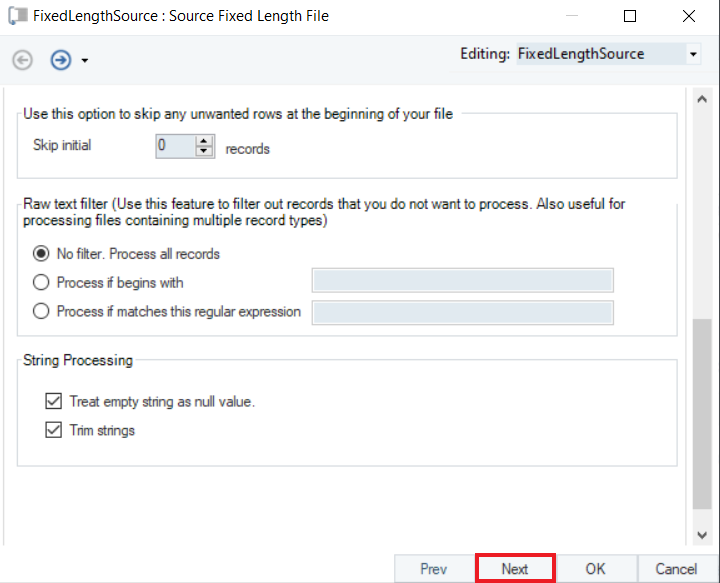
4. Once you have specified the data reading options on this window, click Next.
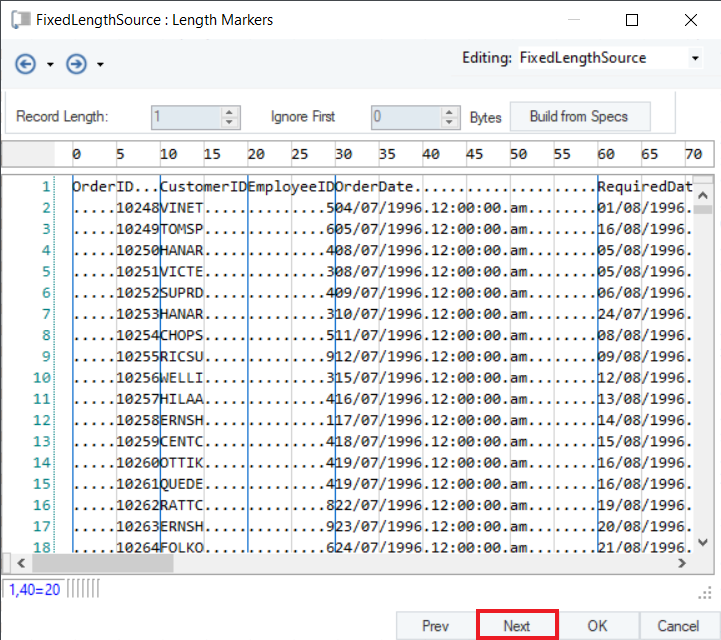
The next window is the Length Markers window. You can put marks and specify the columns in your data.
Using the Length Markers window, you can create the layout of your fixed-length file. To insert a field length marker, you can click in the window at any point. For example, if you want to set the length of a field to contain five characters and the field starts at five, then you need to click at the marker position nine.
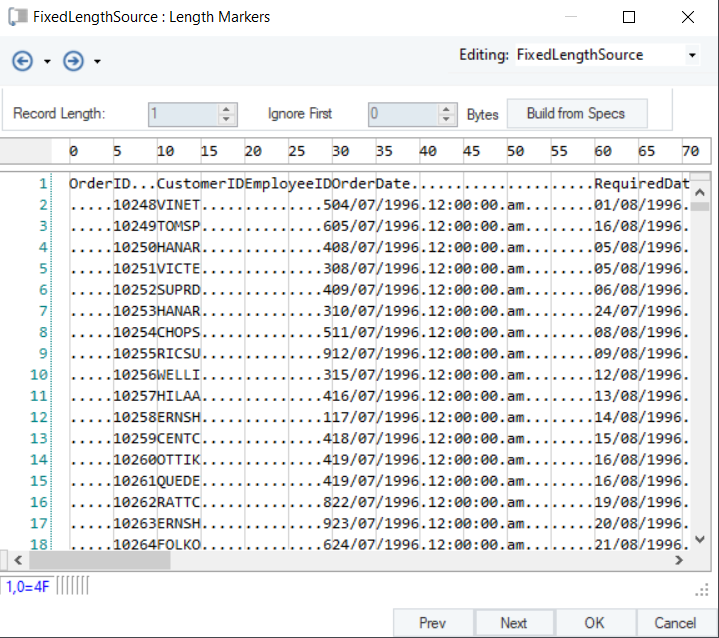
Note: In this case we are using a fixed length file with Orders sample data.
If you point your cursor to where the data is starting from, (in this case next to OrderID) and double-click on it, Centerprise will automatically detect columns and put markers in your data. Blue lines will appear as markers on the columns that will get detected.
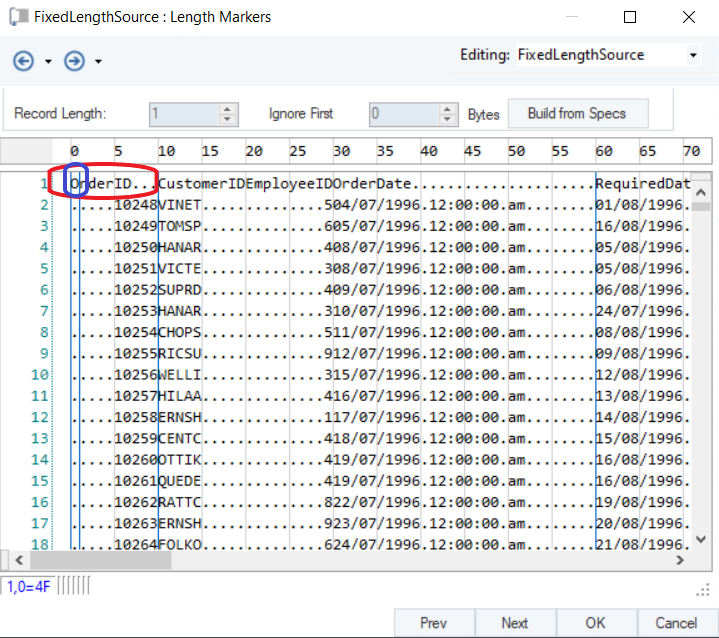
You can modify the markers manually. To delete a marker, double-click on the column which has been marked.
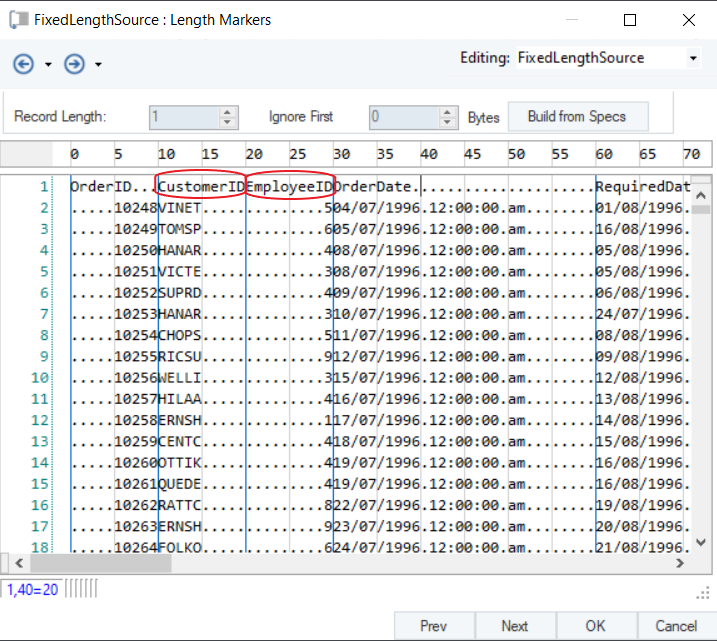
In this case we removed the second marker and instead added a marker after CustomerID and EmployeeID.
In this way you can add as many markers as the number of columns/fields there are in the data set.
You can also use the Build from Specs feature to help you build destination fields based on an existing file instead of manually specifying the layout.
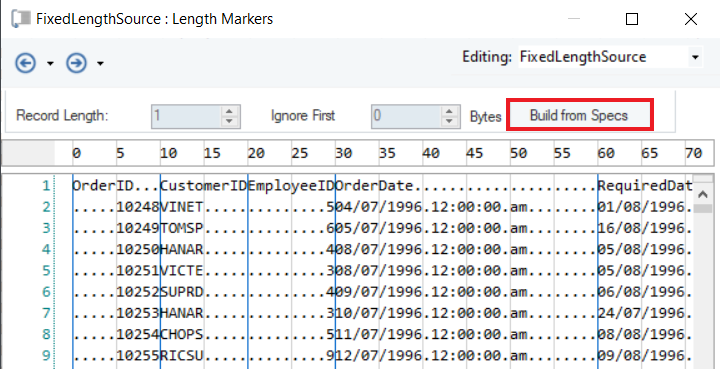
5. After you have built the layout by inserting the field markers, click Next.
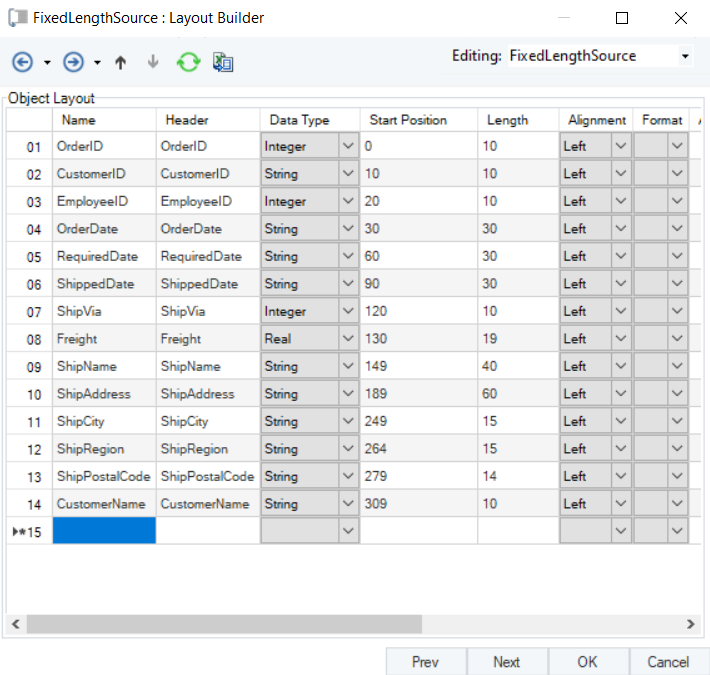
The next window is the Layout Builder. On this window, you can modify the layout of your fixed length source file.
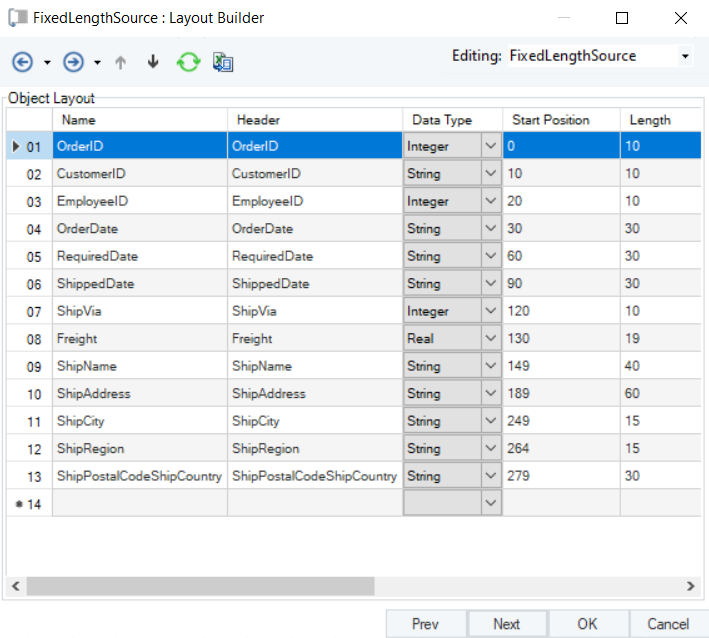
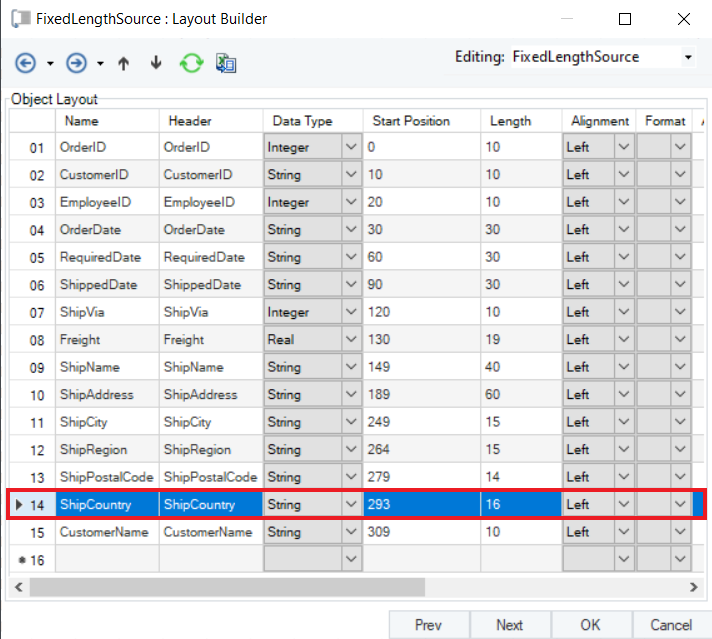
If you want to add a new field to your layout, go to the last row of your layout (Name column), which will be blank and double-click on it, and a blinking text cursor will appear. Type in the name of the field you want to add and select subsequent properties for it. A new field will be added to the source layout.

Note: Make sure to specify the length of the field that you have added in the properties of the field.
If you want to delete a field from your dataset, click on the serial column of the row that you want to delete. The selected row will be highlighted in blue.
Right-click on the highlighted line, a context menu will open where you will have the option to Delete.
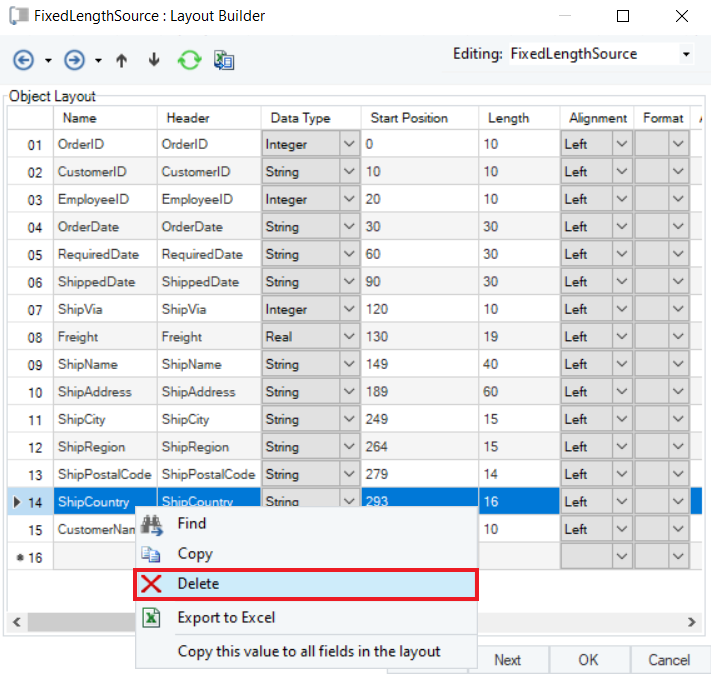
Selecting Delete will delete the entire row.
The field is now deleted from the layout and will not appear in the output.
Note: Modifying the layout (adding or deleting fields) from the Layout Builder in Centerprise will not make any changes to the actual source file. The layout is specific to Centerprise only.
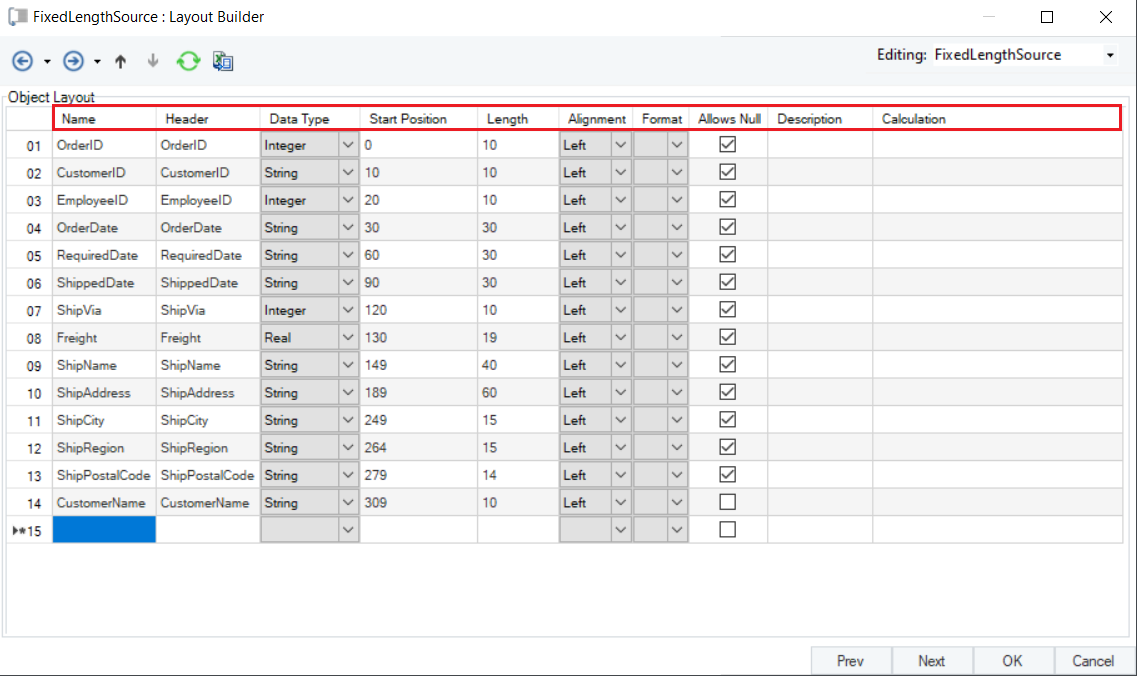
Other options that the Layout Builder provides are:
| Column Name | Description |
|---|---|
| Data Type | Specifies the data type of a field, such as Integer, Real, String, Date, or Boolean. |
| Start Position | Specifies the position from where that column/field starts. |
| Length | Defines the length of a column/field. |
| Alignment | Specifies the alignment of the values in a column/field. The options provided are right, left, and center. |
| Allows Null | Controls whether the field allows blank or NULL values in it. |
| Expressions | Defines functions through expressions for any field in your data. |
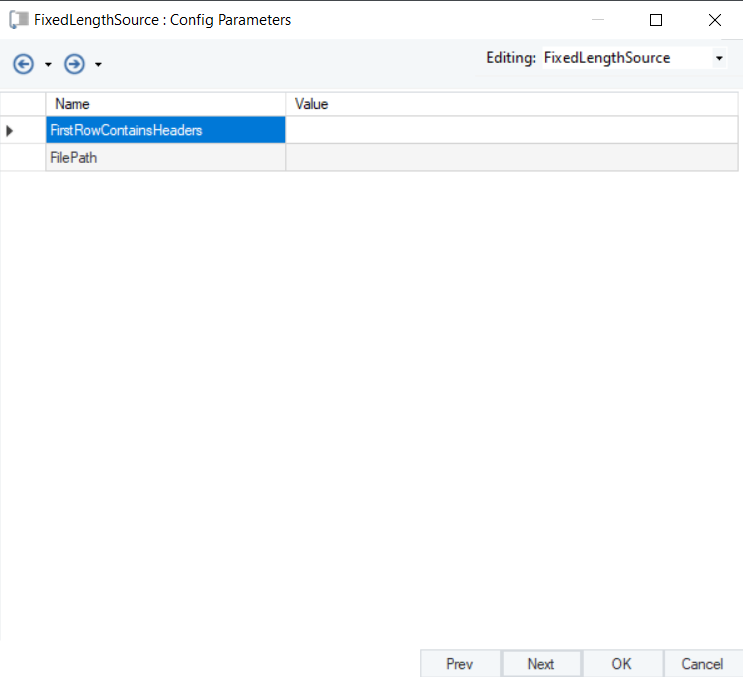
6. After you are done customizing the layout in the Object Builder window, click Next. You will be taken to a new window, Config Parameters. Here, you can define parameters for the Fixed Length File Source.
Parameters can provide easier deployment of flows by eliminating hardcoded values and provide an easier way of changing multiple configurations with a simple value change.
Note: Parameters left blank will use their default values assigned on the properties page.
7. Once you have been through all configuration options, click OK.
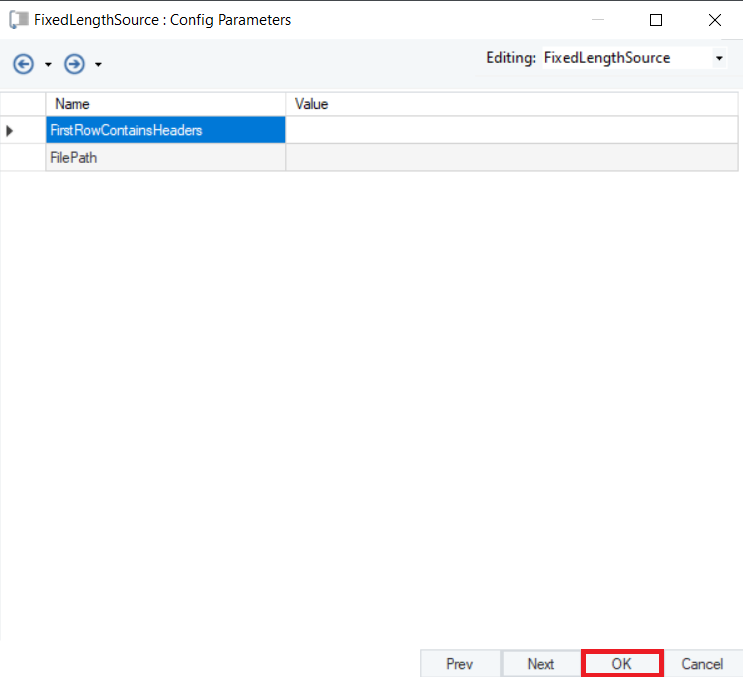
The FixedLengthFileSource object is now configured.
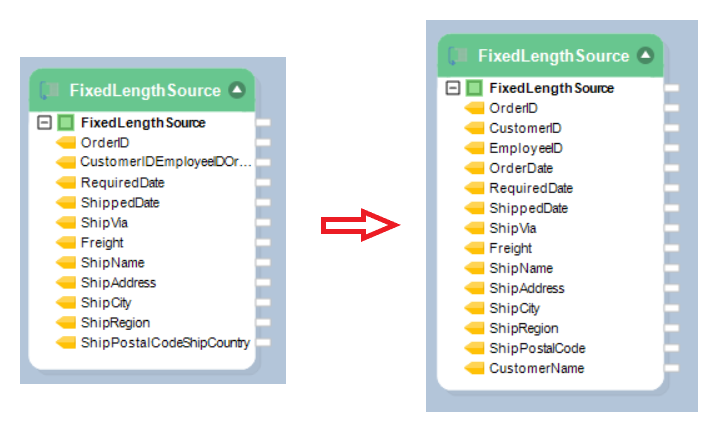
The Fixed Length File Source object has now been modified from its previous configuration. The new object has all the modifications that we specified in the Layout Builder.
In this case, the modifications that we made were:
- Separated the EmployeeID column from the OrderDate column.
- Added the CustomerName column.
You have successfully configured your Fixed Length File Source object. The fields from the source object can now be mapped to other objects in a dataflow.