List Lookup Transformation
The List Lookup transformation object is a type of lookup that stores information in the metadata. Which means that your lookup data is stored in the dataflow itself. List Lookup uses a list of values for both the input and output fields. You can use it to look up certain values in your source data and replace them with other desired information. Or you can define a list of values in the lookup grid in properties, and the value is then looked up in the grid when you run your dataflow.
Let’s see how this object functions in Centerprise.
Use Case
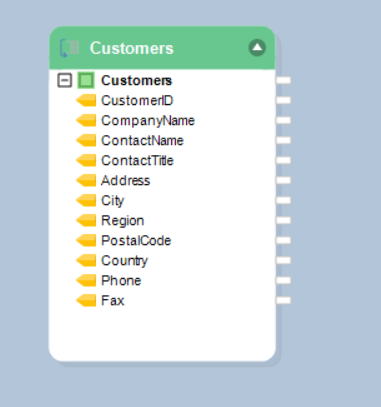
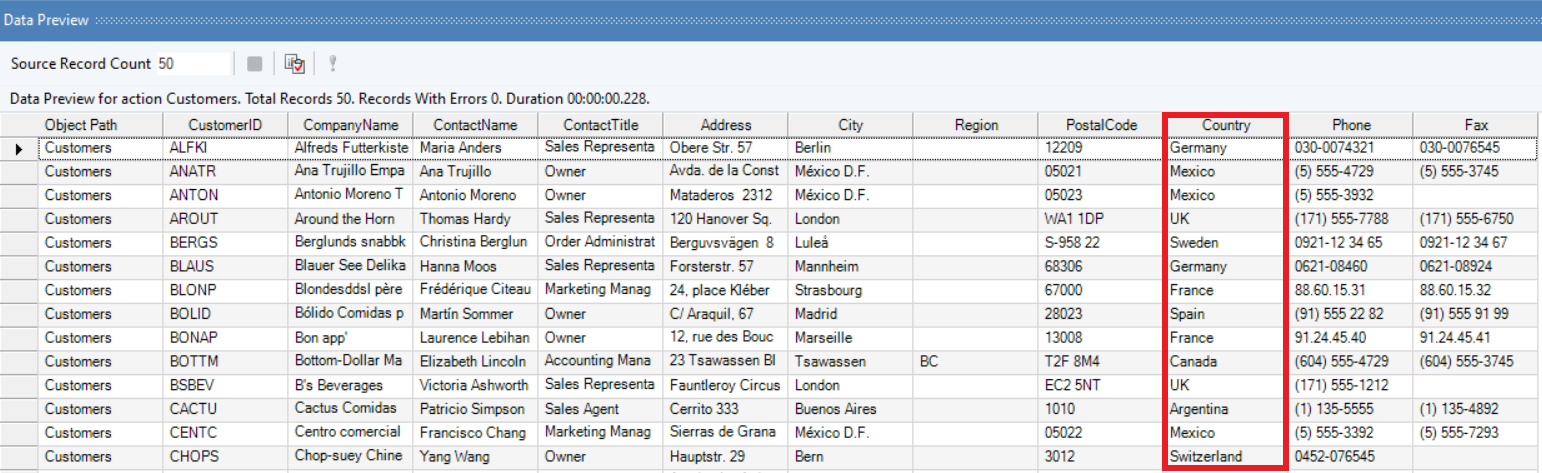
In this example, we are working with a Customers Fixed-Length File Source that contains customer information for a fictitious organization. The Customers data contains information about customers belonging to different countries. We want to convert the country names in this data into CountryCodes by using the List Lookup transformation object.
How to Work with List Lookup in Centerprise
1. Drag-and-drop a Fixed-Length File Source from the Sources section in the Toolbox to the designer window.
To preview the incoming data, right-click on the source object’s header and select Preview Output.
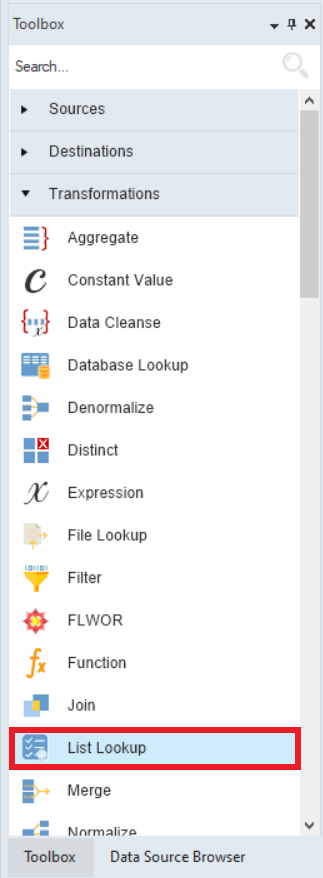
2. To start working, drag-and-drop the List Lookup object from Toolbox>Transformations>List Lookup.
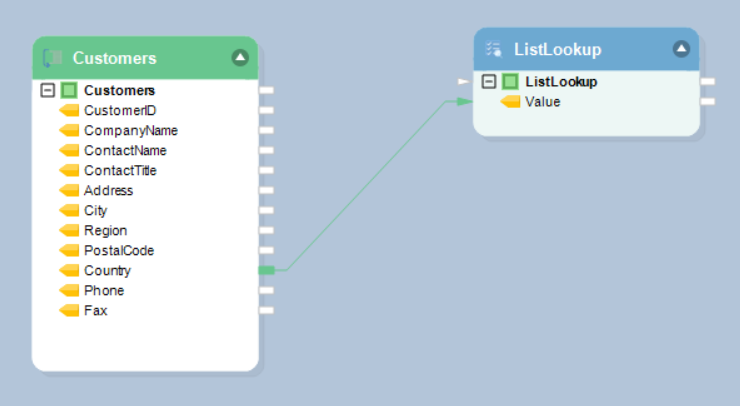
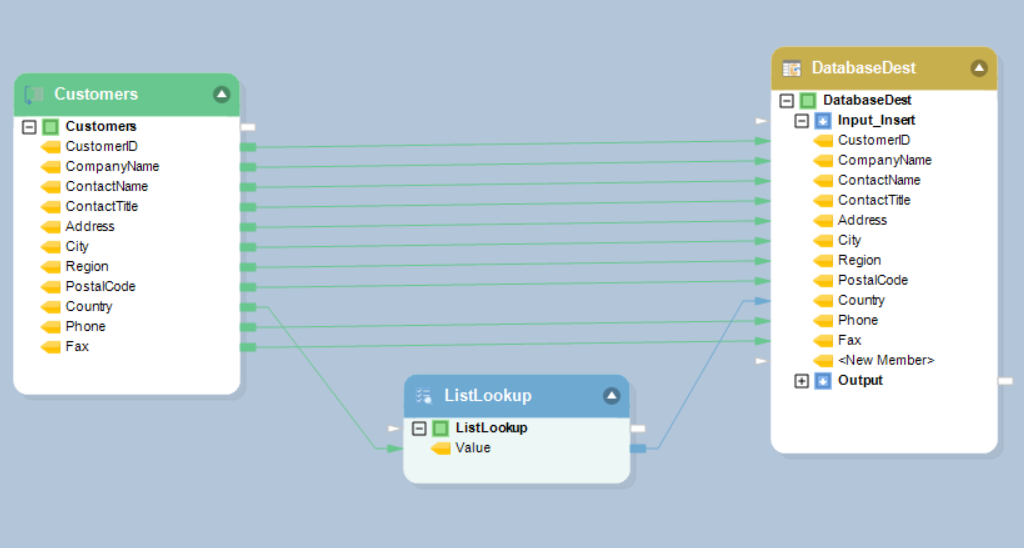
This is what a List Lookup object looks like:
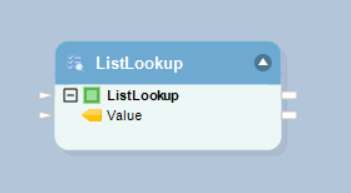
3. Map the field from the source dataset you want to look up values for, to the Value field in the List Lookup object.
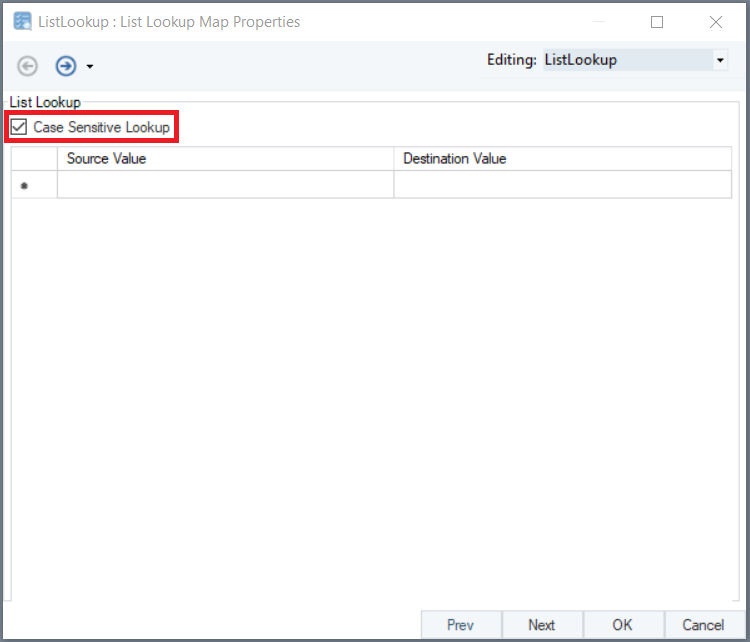
4. Now, right-click on the List Lookup object and select Properties from the context menu. The List Lookup Map Properties window will now open.
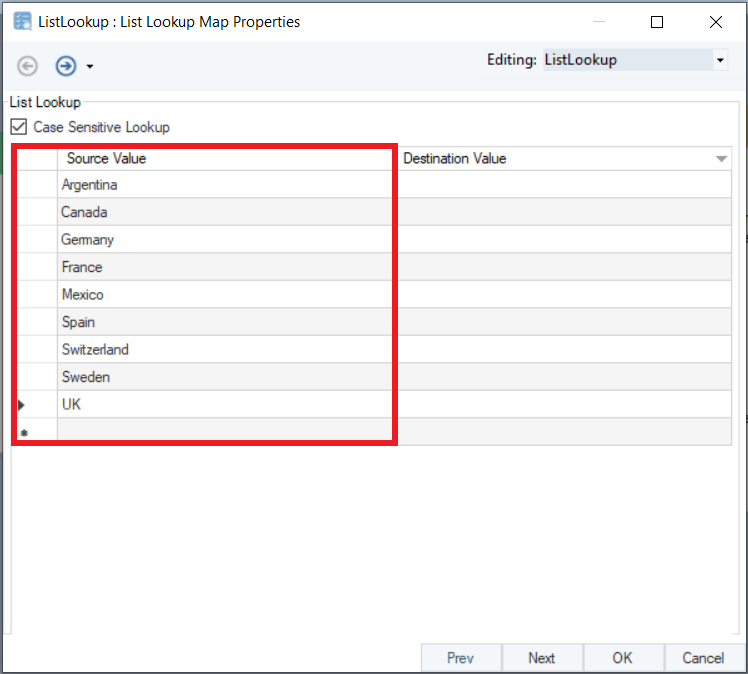
Here, the first option we have is the Case Sensitive Lookup checkbox which is always checked by default. When this option is checked, the List Lookup will look up values on a case sensitive basis. If you do not want to perform a case sensitive look up, you can uncheck this option.
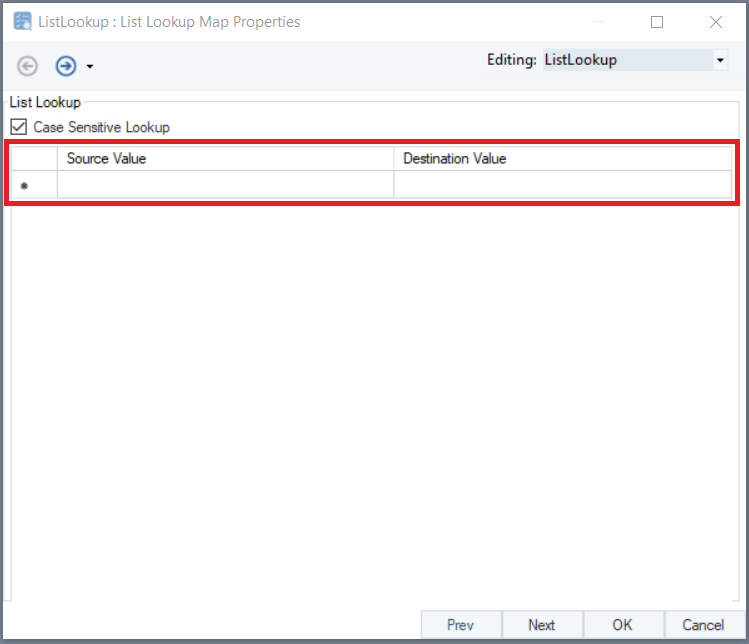
Next, you can see that there is a table where we can specify the Source Value and the Destination Value. Source Values are the values from your source data, and Destination Values are values which you want to replace with the source values.
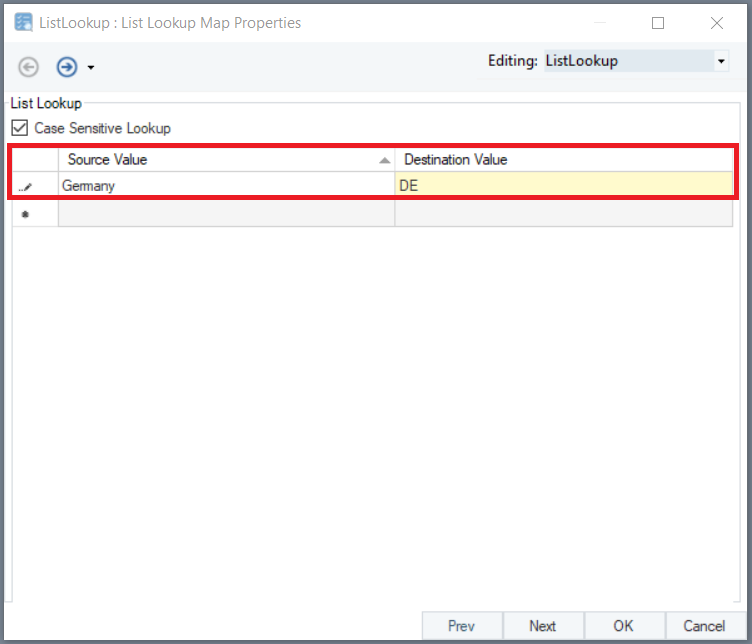
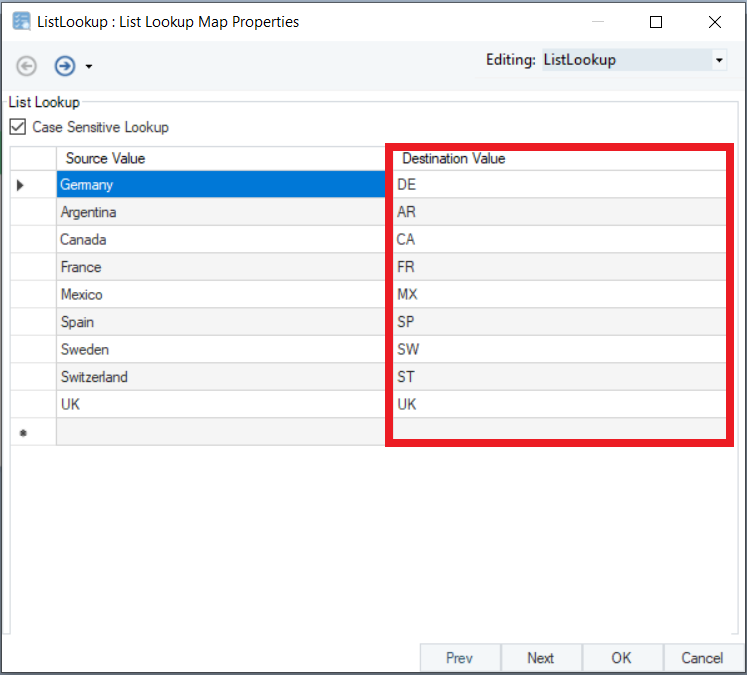
For example, if we write the Destination Value as ‘DE’, against the Source Value ‘Germany’, Centerprise will write ‘DE’ in place of ‘Germany’ in the output.
This is one way of specifying the lookup values. However, there can be a lot of source values and typing them manually can be a tedious task. There is a more efficient way of doing this in Centerprise.
If you right-click on the List Lookup object, you can see that there is an option called Fill Lookup List with Unique Input Values.
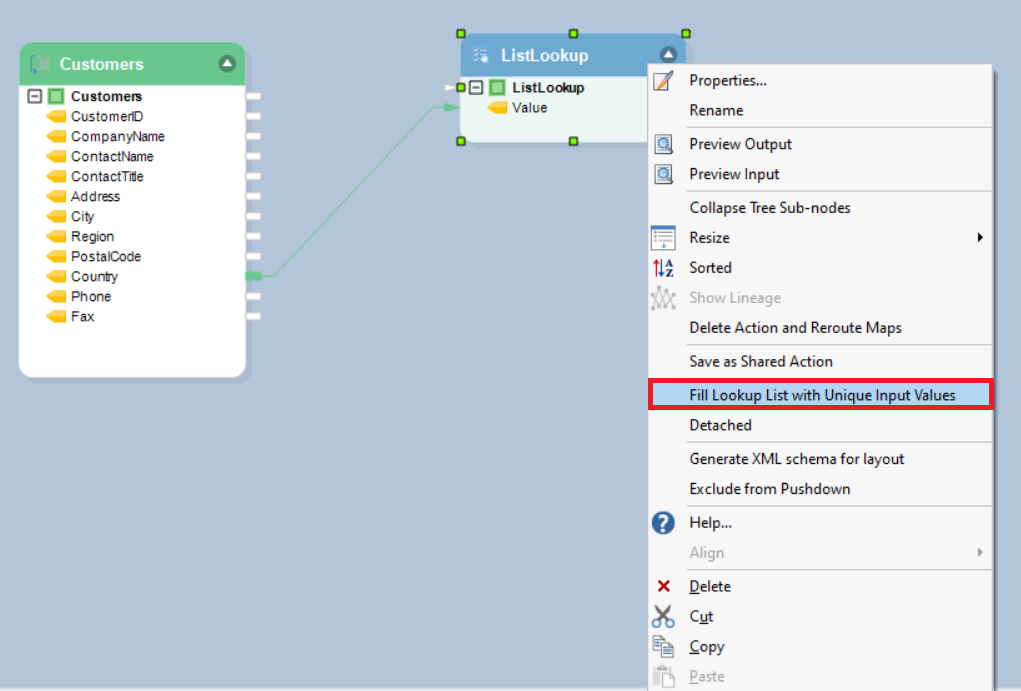
Selecting this option prepopulates the source values in the Source Value column with unique source values.
Now, all you have to do is type in the Destination Values, that is, the codes corresponding to each country name.
5. Once you have populated the lookup list, click Next to proceed to the Lookup Options window.

6. In case, the lookup field does not return any value for a given source value, one of the following option should be selected:
- No Message – Will not mark the unmatched source value as an error or warning
- Add Error – The List Lookup table will trigger an error for the records that found no match in the lookup field
- Add Warning – The List Lookup will generate a warning and return a null value for records from the source that do not have any matches in the lookup table
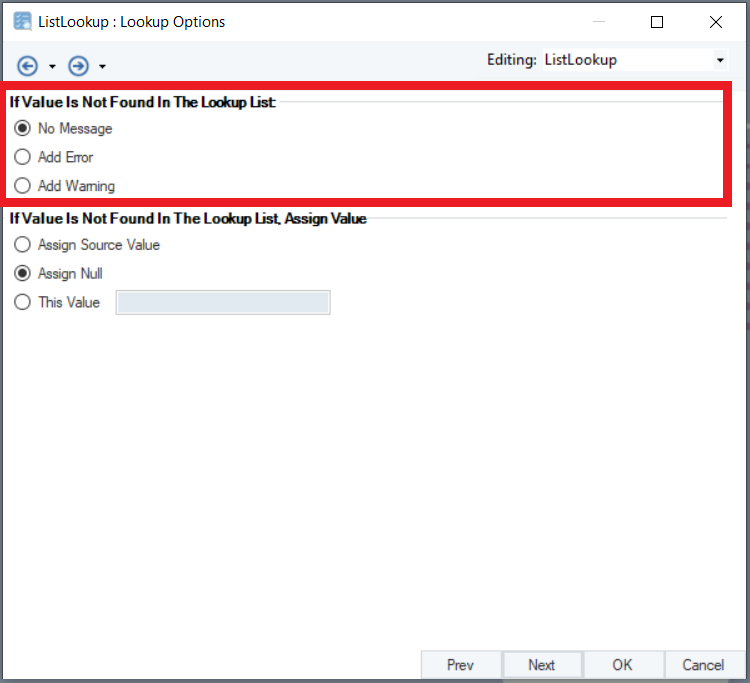
7. Additionally, when the value is not found in the lookup list, you can choose from the following options to assign it a value:
- Assign Source Value – Will return the original value from the source
- Assign Null – Will return a null value for each unmatched source record
- This Value – You can type in a specific value in the given field, and the List Lookup will return the same value for each unmatched source value.
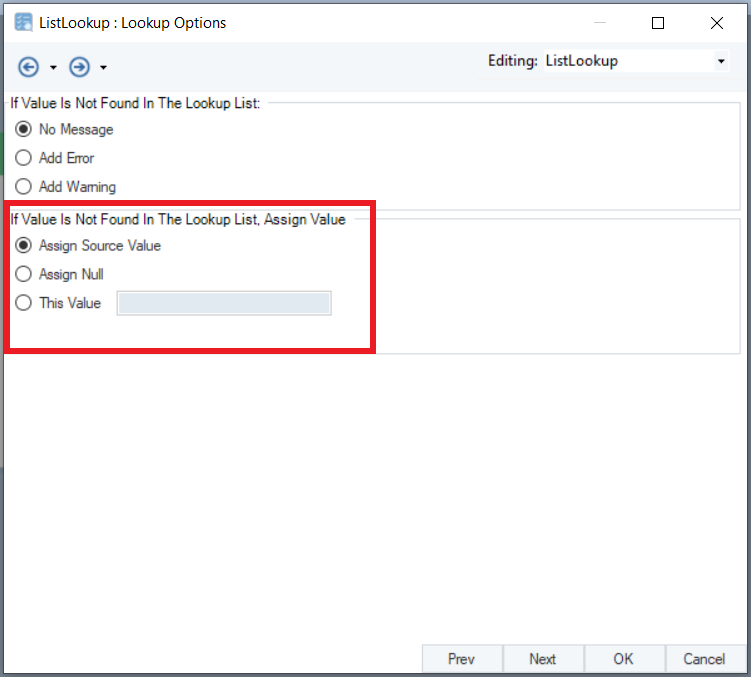
In this example, we will add an error and return the source value if the lookup value is not found. We will select the Add Error and Assign Source Value options. You can choose your preferred option and click *OK.

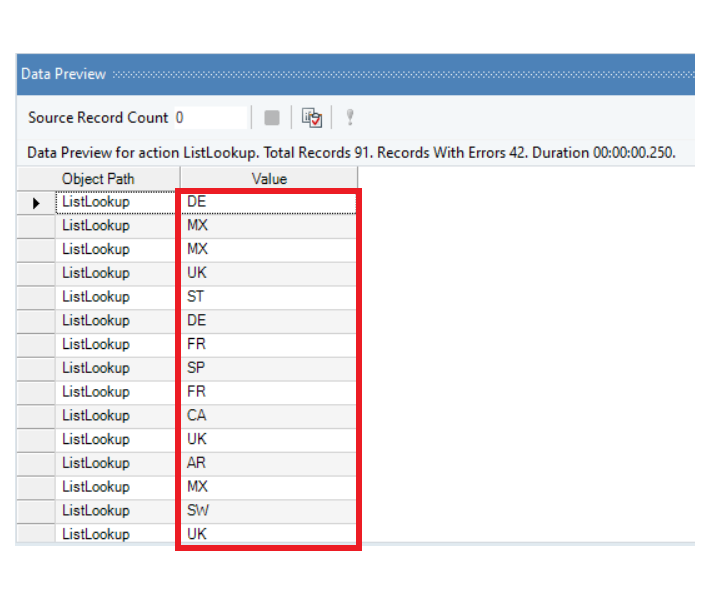
8. Now, if we preview the output, you can see that for each country name from the source table, the List Lookup has returned a corresponding code value.
9. These CountryCodes will flow through the annotated output port if you want to write your data to a destination.

10. This is how we can map the lookup values to a target or a transformation in the dataflow using the output port.
This concludes using the List Lookup transformation object in Astera Centerprise.