User Roles and Access Control
In version 8 of the product, we have introduced a role-based access control mechanism. Which means that now administrators can grant or restrict access to various users within the organization, based on their role in the entire data management cycle.
In this article, we will look at the user lists and role management features in detail.
How to Create a New User
Note: When you run the application for the first time, sign in using the default credentials provided on our help site.
Username: admin Password: Admin123
Once you have logged in, you now have the option to create new users and we recommend you to do this as a first step.
To create/register a new user, right-click on the DEFAULT server node in the Server Explorer window and select User List from the context menu.
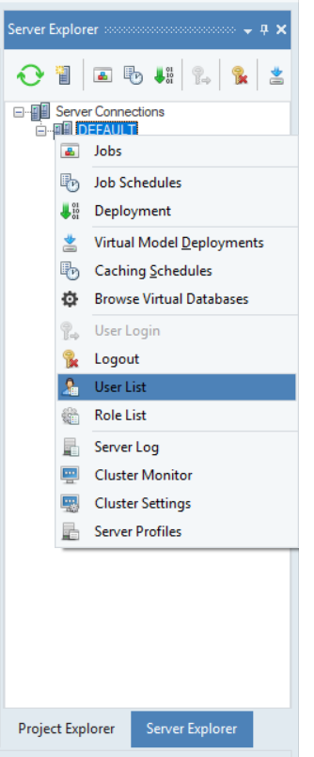
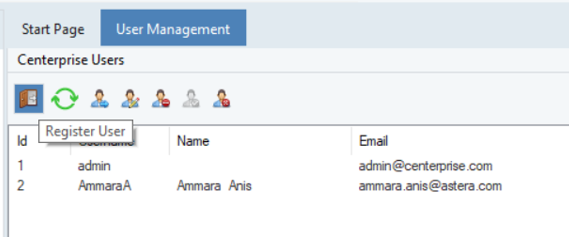
A new window called User Management will open. On this screen you will see a list of all registered users.

Click on the Register User icon on the top left corner of the screen. A new window will open and you will be asked for the registration details. Fill in the required details and click Register.
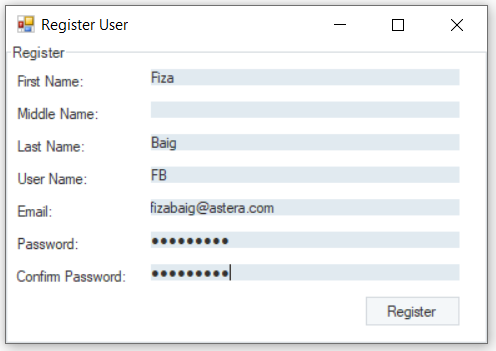
You will see that the new user is now added to the list.

How to Assign User Roles
Now that a new user is registered, the next step is assign roles to the user.
Select the user you want to assign the role(s) to and right-click on it. From the context menu select Edit User Roles. Alternatively, you can select the user and click on the Edit User Roles icon in the icon bar on the top left.
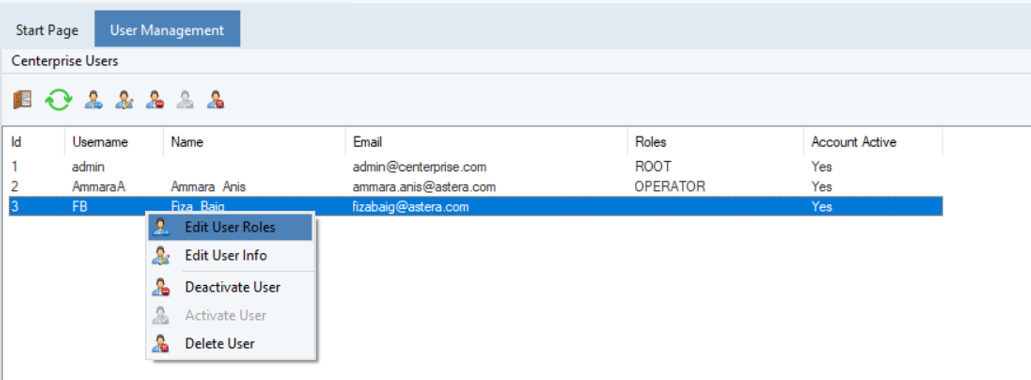

A new window will open where you can see all roles that are there by default in Centerprise or are custom created. We haven’t created any custom role, so we’ll see the three default roles that are - Developer, Operator, and Root.
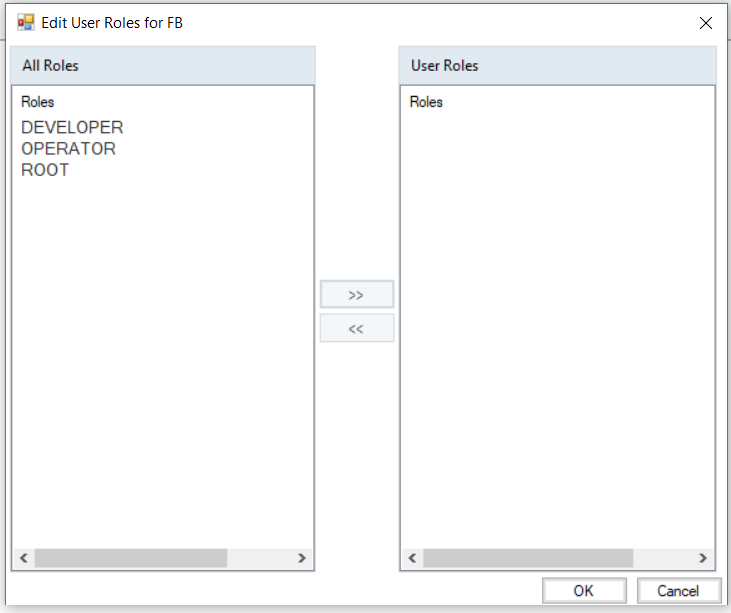
Select the role that you want to assign to the user and click on the arrows in the middle section of the screen. You’ll see that the selected role will get transferred from the All Roles section to the User Roles section. You can assign multiple roles to a single user.
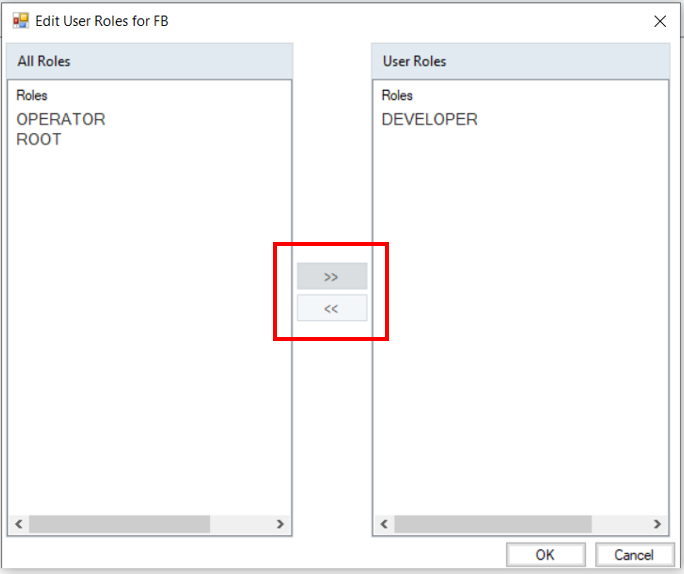
After you have assigned the roles. click OK.