File Transfer
The File Transfer task performs specified actions on an FTP server. For example, the task can be used to upload a file to an FTP server, rename a file, or delete all files from a remote directory.
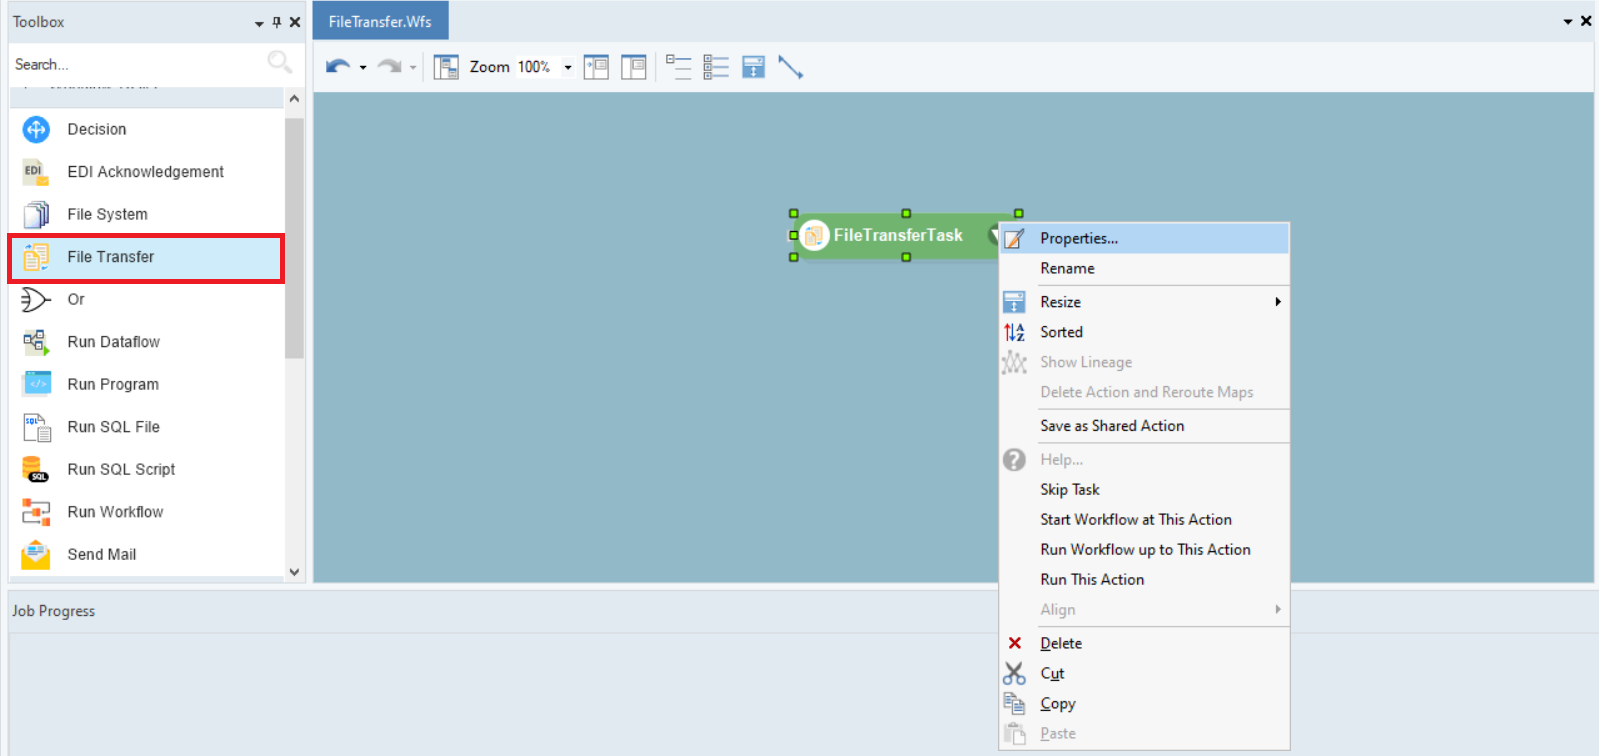
To perform an FTP task, drag-and-drop the File Transfer task object onto the workflow designer. Configure the object by right-clicking on the object’s header and selecting Properties from the context menu.
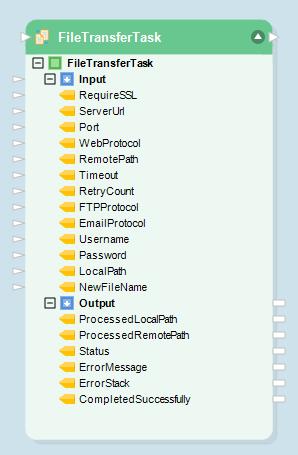
A File Transfer Action Properties window will open, as shown below. Here, we will configure the properties of the File Transfer task.

FTP Connection: To configure a connection with your FTP server, click on the ellipsis button on the right, next to the empty field. A Web Connection window will open.
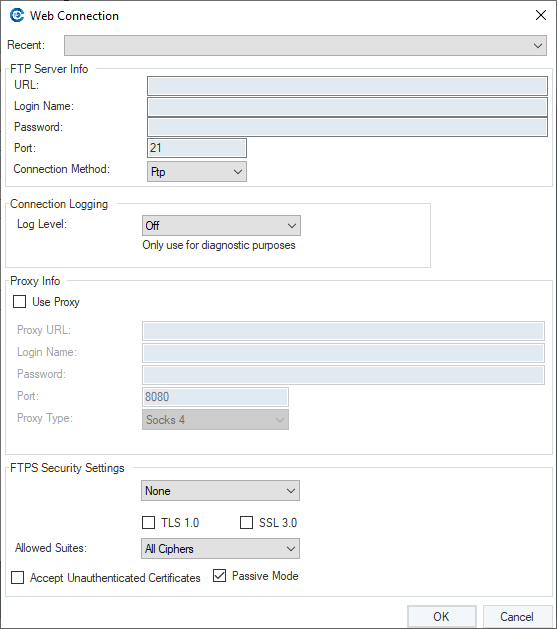
Here, set up the FTP server connection by providing the URL, Login Name, and Password. In case of using a proxy, fill in the details under Proxy Info. For security protocols, provide details under FTPS Security Settings.
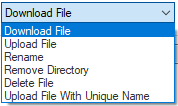
FTP Action: select an action from the FTP Action dropdown. The following options are available:
- Upload a File: Uploads a file from a local folder into the remote directory.
- Download a File: Downloads a file from the remote directory into a local folder.
- Delete a File: Deletes a file from the remote directory.
- Rename: Renames a file in the remote directory.
- Remove Directory: Deletes the remote directory.
- Upload a File with Unique Name: Uploads a file from a local folder into the remote directory, renaming the file if needed to ensure a unique file name in the remote directory.
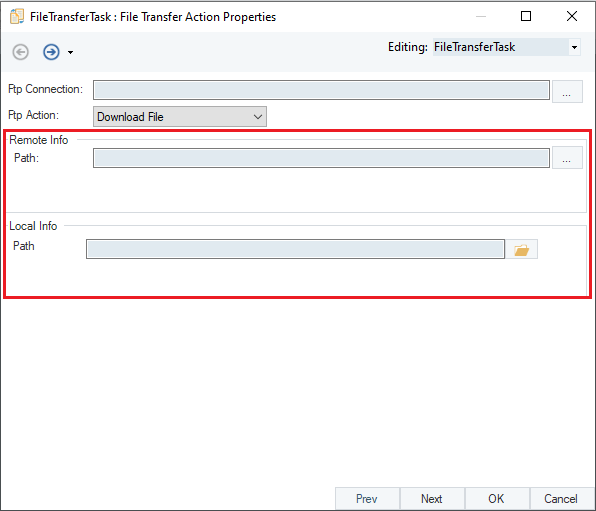
- Remote Info-Path: Specify the Path of a file or folder on the FTP server.
- Local Info-Path: Specify the local Path on the server running the workflow.
This concludes our discussion on the File Transfer workflow task.