Data Cleanse Transformation
The Data Cleanse Transformation object is a new addition to Astera Centerprise’s library of transformations. It makes it all the more convenient for business users to cleanse raw data and present it in a more refined, standardized, and enterprise-ready format. Using the Data Cleanse Transformation object, users can clean up data from null values and redundant text and characters, and prepare raw data for transformation, validation, profiling, and record matching functions.
Steps to Use the Data Cleanse Transformation in Astera Centerprise
Retrieve the data you want to cleanse using the relevant Source object. (Click here to learn more about setting up Sources in Centerprise.)
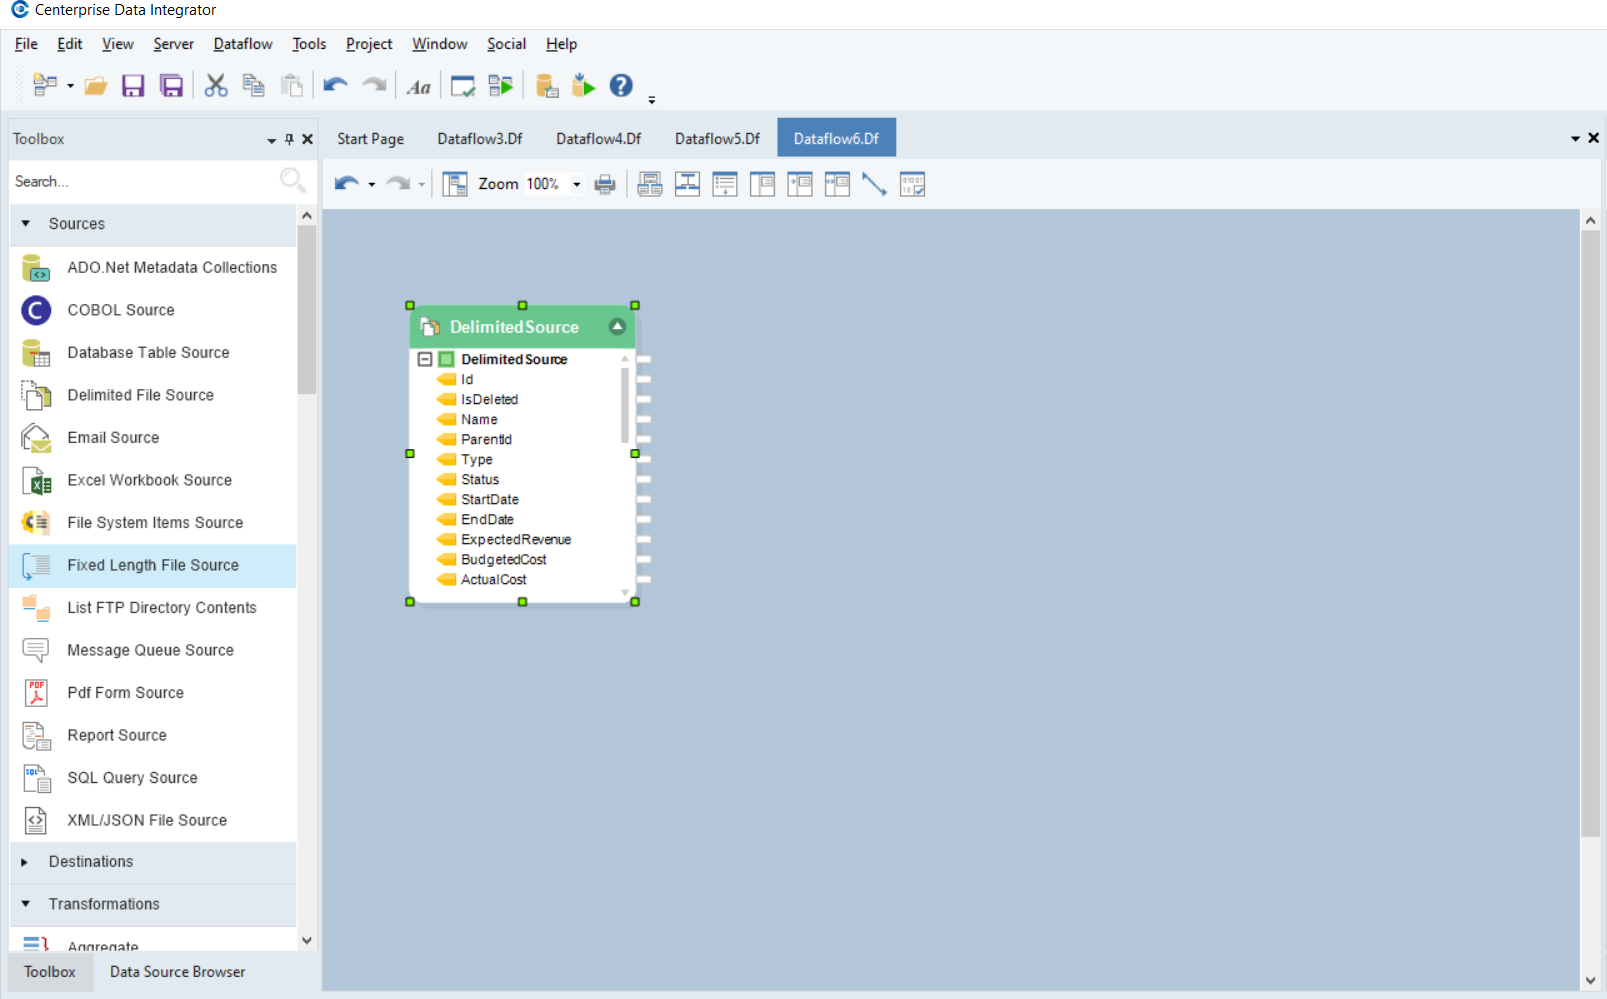
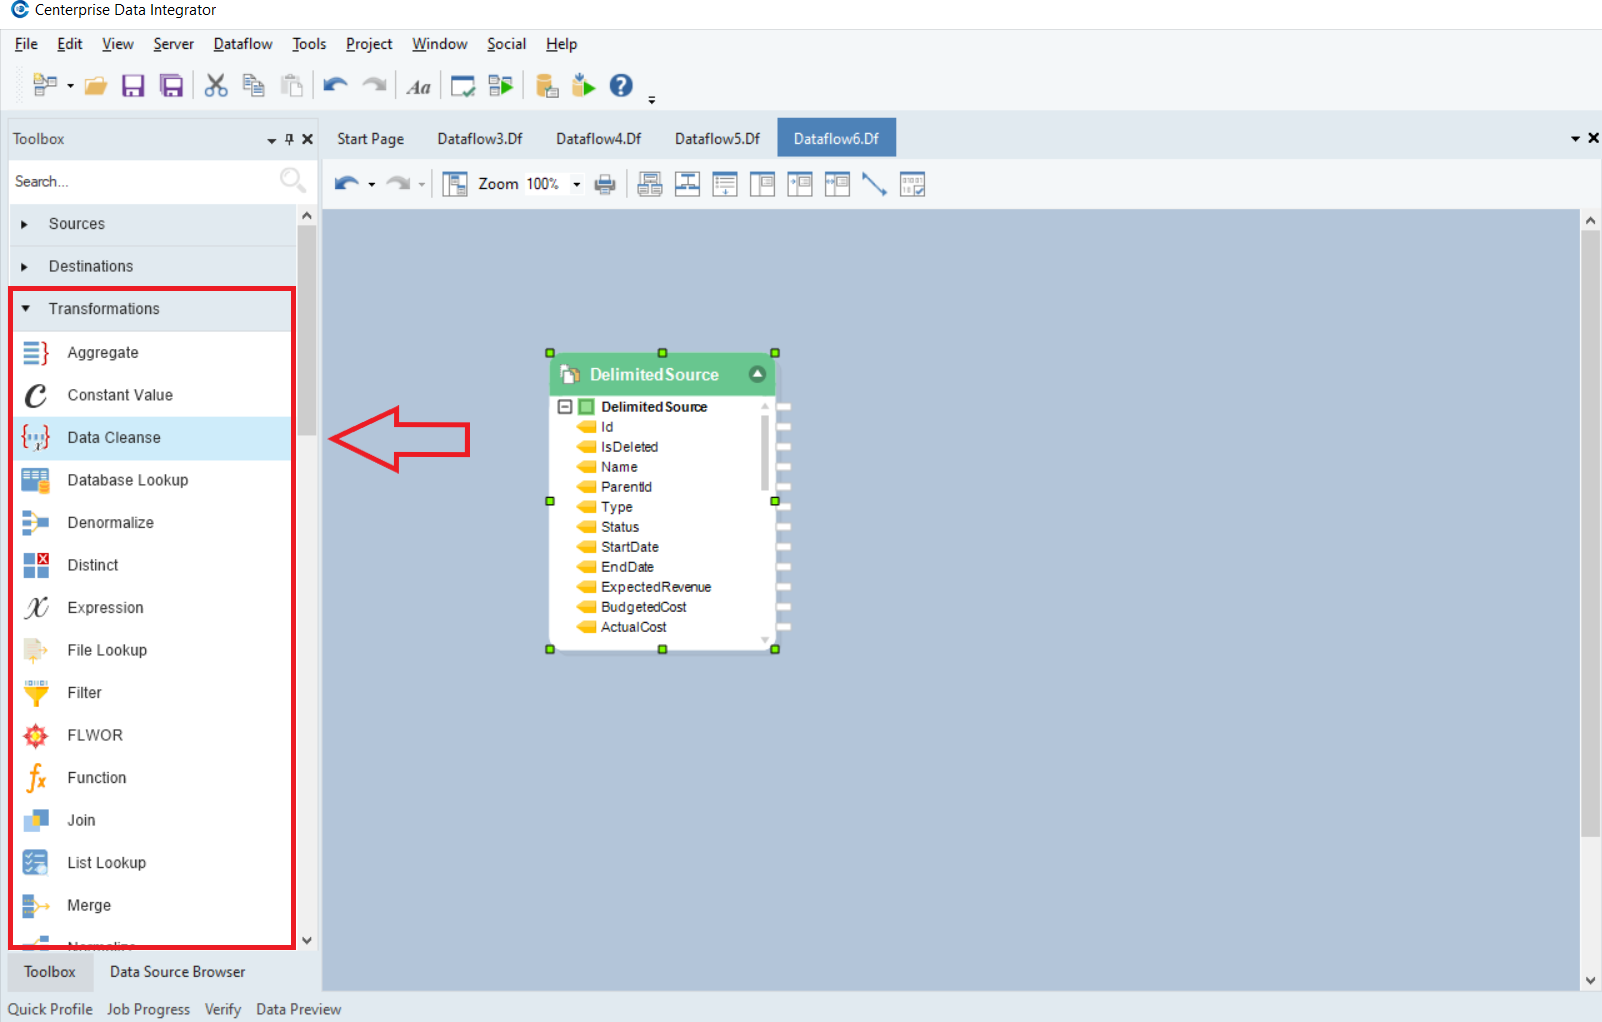
Now drag the Data Cleanse Transformation object from the Transformations section in the Toolbox and drop it onto the designer.
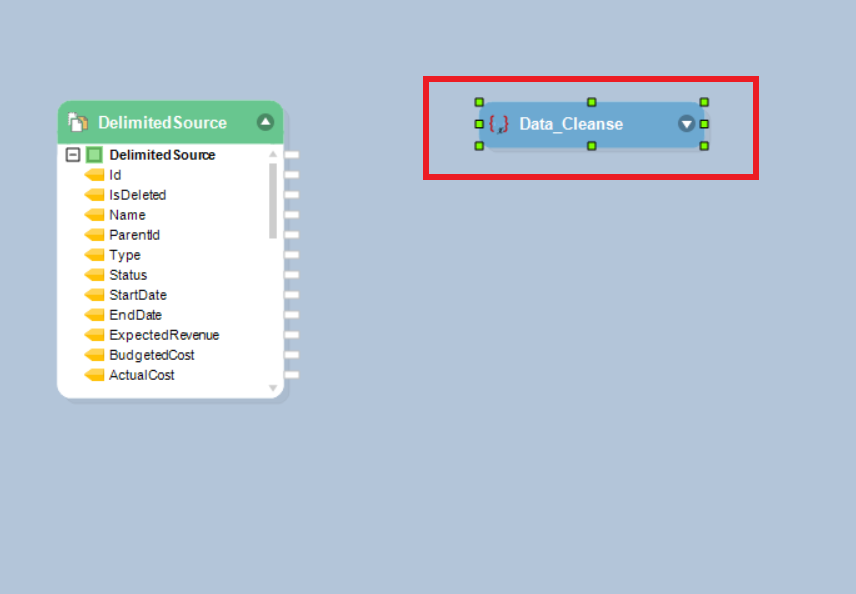
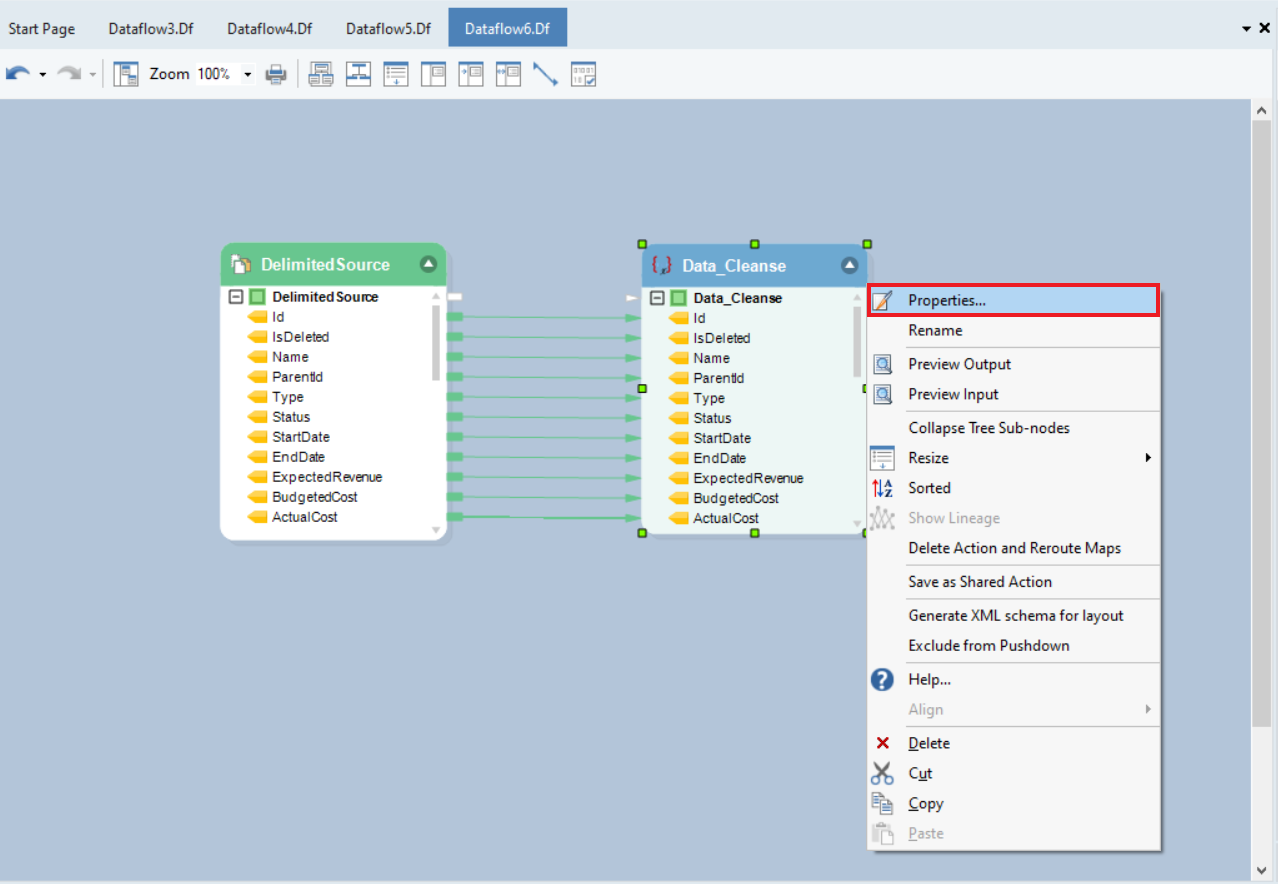
This is what a Data Cleanse transformation object looks like.
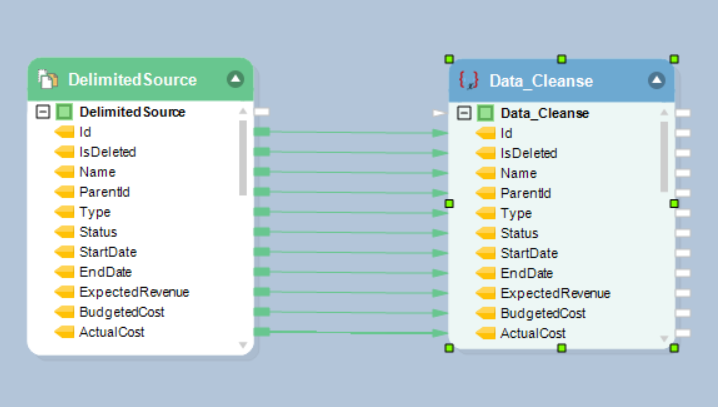
Map data from the source object to the Data Cleanse Transformation object. You can either auto-map the entire data set or map a few fields manually.
Now you have to specify the criteria for data cleansing. Right-click on the Data Cleanse Transformation object and select Properties from the context menu.
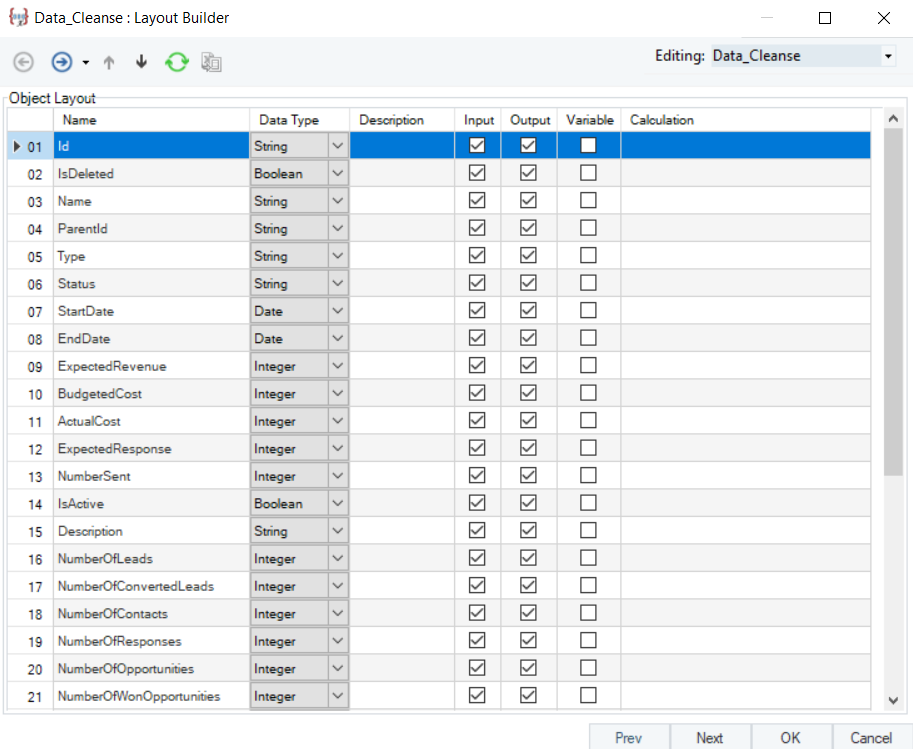
This will open a new window where you have to set up the properties for data cleansing. The first window is the Layout Builder window. Here you can customize the layout of your dataset by adding, removing or renaming fields. Once you have created the layout, click Next to proceed to the next window.
This is where you set up the data cleanse criteria for your source data.
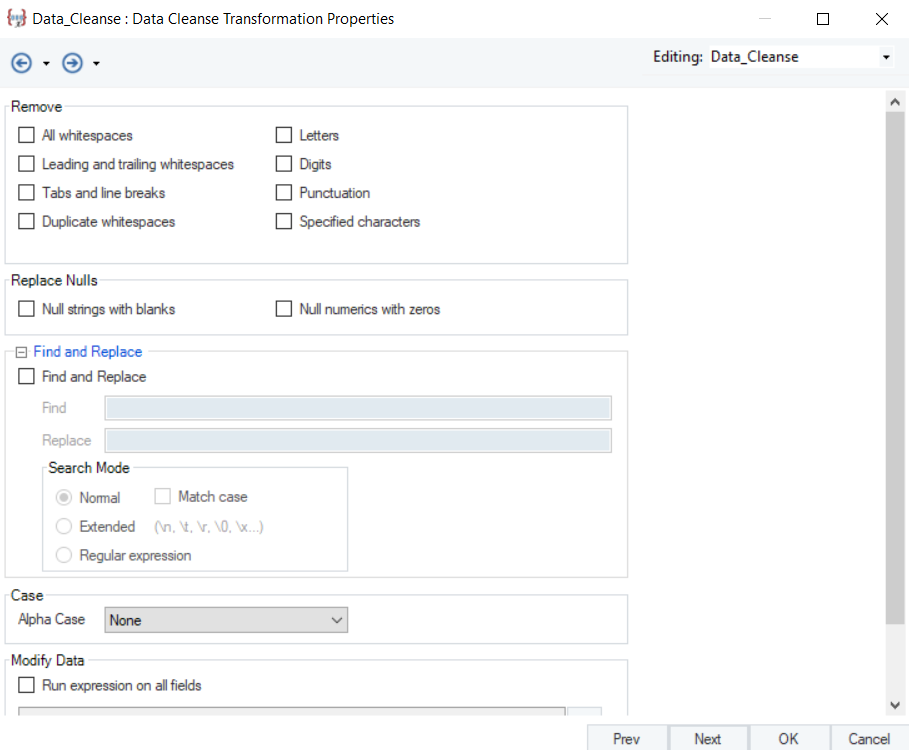
You can find various data cleanse options arranged in different sections. Let’s explore them one by one.
Remove
The options provided within this category allow you to remove values, spaces, tabs, and line breaks from your data. You can find the following options within this category:
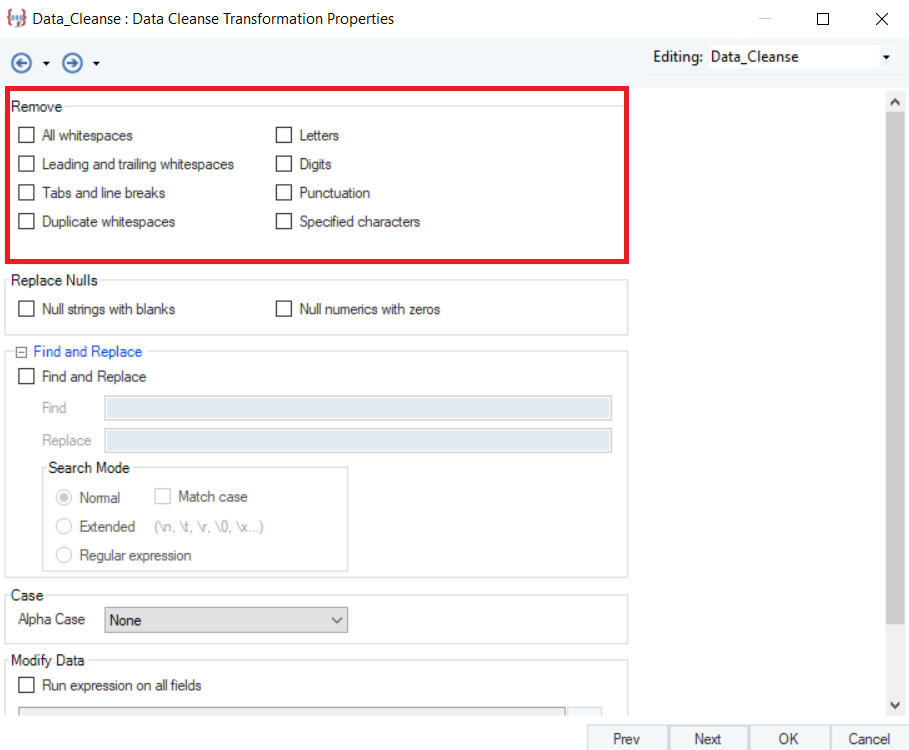
- All whitespaces – Removes all whitespaces from the data
- Leading and trailing whitespaces – Removes whitespaces preceding and succeeding the values
- Tabs and line breaks – Removes tabs and line breaks within source values
- Duplicate whitespaces – Removes double spaces from the data
- Letters – Removes all alphabets from the data
- Digits – Removes all digits from the data
- Punctuation – Removes all punctuation from the data
- Specified Character – Removes any specific character from the data
Replace Nulls
As the name suggests, the options within this category allow you to replace null values inside a string or numeric field with a corresponding value – blank in case of a string, and zero, in case of a numeric field.
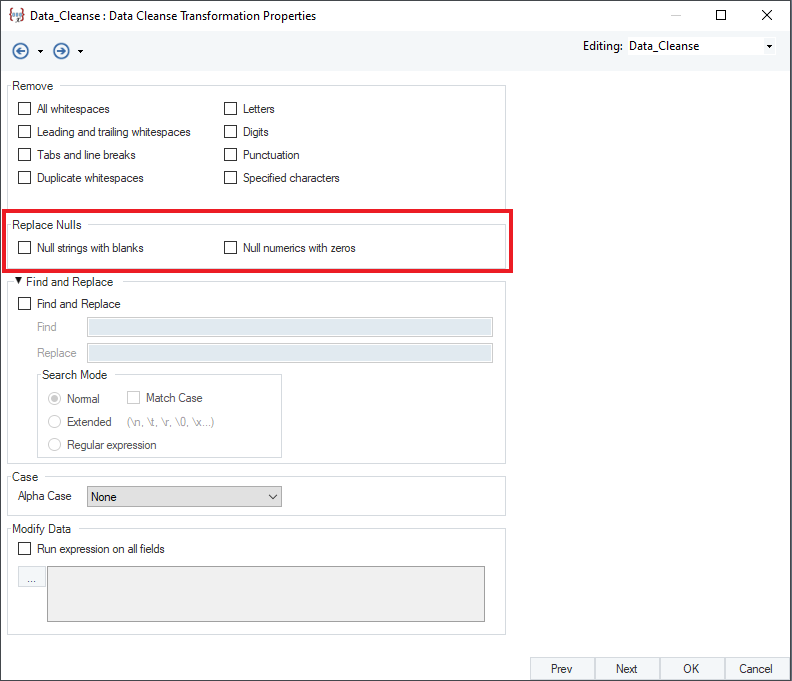
- Null strings with blanks: Replaces all null strings with blanks
- Null numerics with zeros: Replaces all null numeric values with zeros
Find and Replace
The Find and Replace options enable users to replace a value in the source dataset with another value.
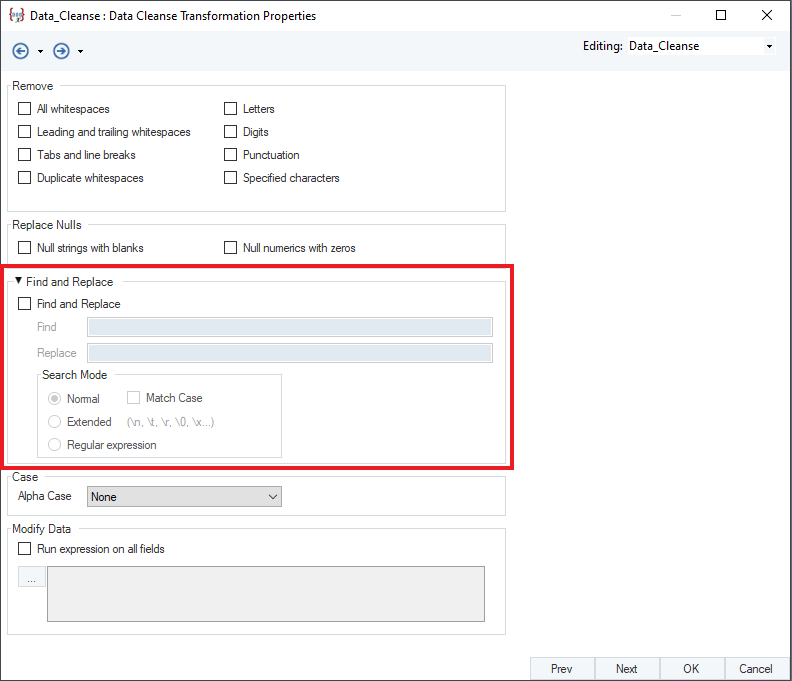
It also provides users the option to choose whether the find and replace function is to be performed on a case sensitive basis. You can select a search mode from three options:
- Normal – Will perform a normal find and replace function
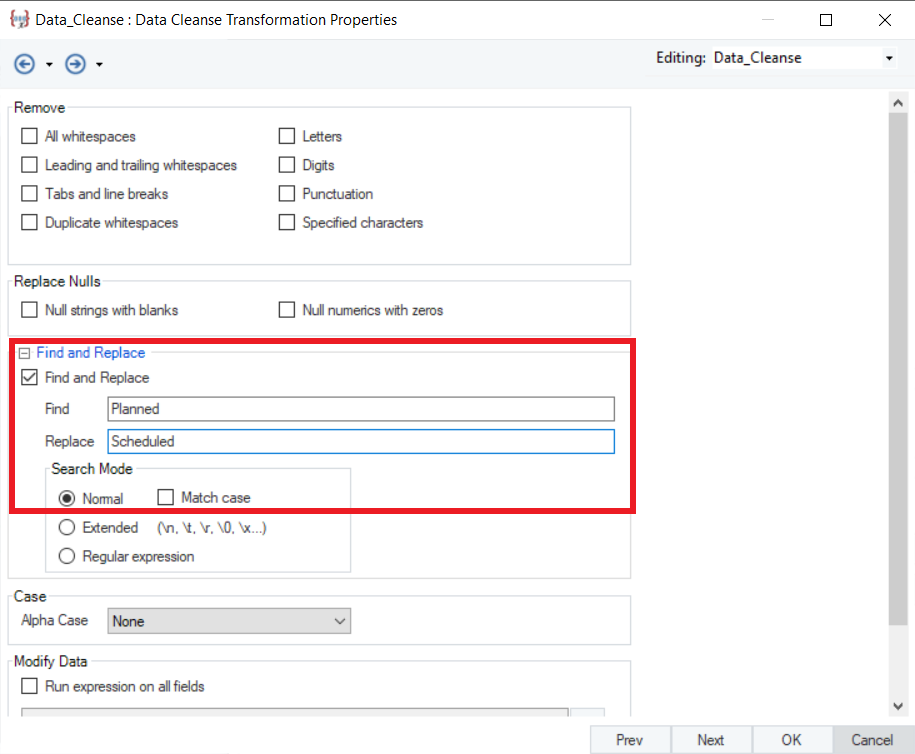
As in this example, we want to change the status from ‘Planned’ to ‘Scheduled.’

So, we will type in ‘Planned’ in the Find field and ‘Scheduled’ in the Replace field.
Now, if we look at the output, we can see that the Data Cleanse Transformation Object has found and replaced the status values from ‘Planned’ to ‘Scheduled.’

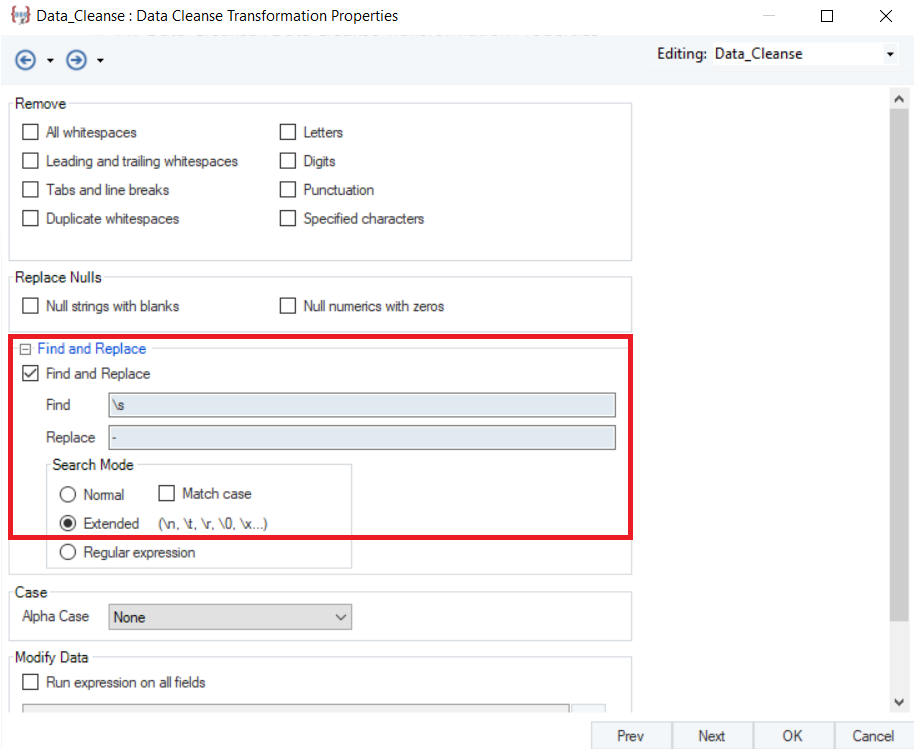
- Extended – Allows you to search for tabs(\t), newline(\r\n), or a character by its value (\o, \x, \b, \d, \t, \n, \r and \) and replace with the desired value
In the example below, we want to replace whitespaces within our source values with a hyphen (-).

So, we will type ‘\s’ in the Find field and ‘-’ in the Replace field.
Now, if we look at the output, we can see that the Data Cleanse Transformation object has found and replaced whitespaces from within the values with a hyphen.
Preview before applying the ‘’Extended’’ Find and Replace function

Preview after applying the “Extended Find and Replace” function

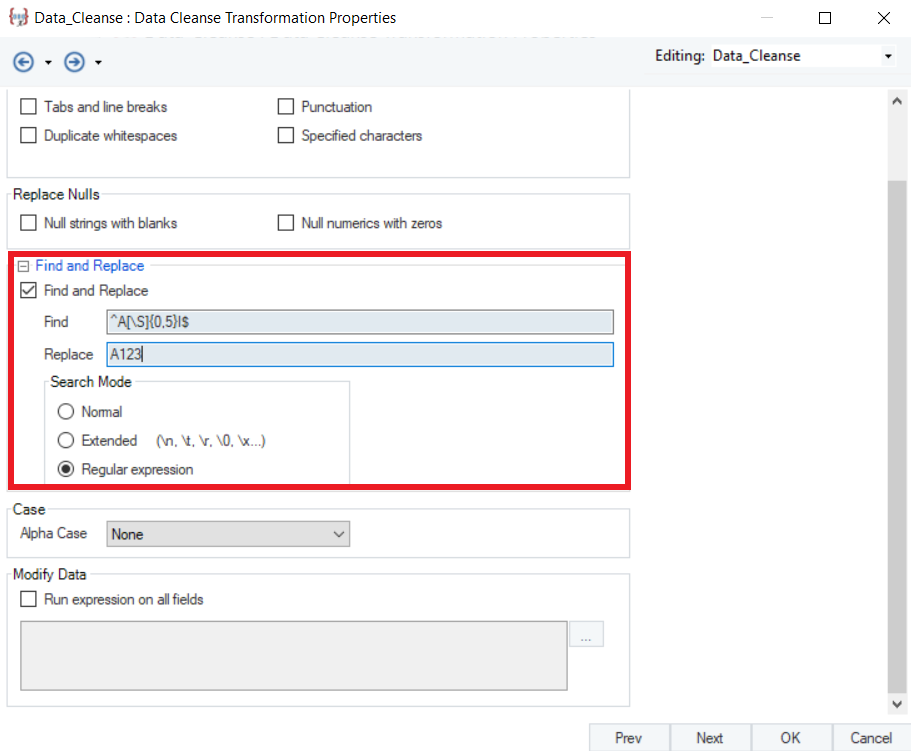
- Regular Expressions – Allows you to find and replace a value based on a regular expression
In the example below, we want to replace the “ALFKI” value(s) in the CustomerID field with “A1234”.

For this, we will write a regex in the Find field and the desired value in the Replace field.
Now, if we look at the preview, you can see that Centerprise has replaced values in the source data with the desired values.

Case
Case options allow users to convert the letter case of source data to Upper, Lower, or Title case.
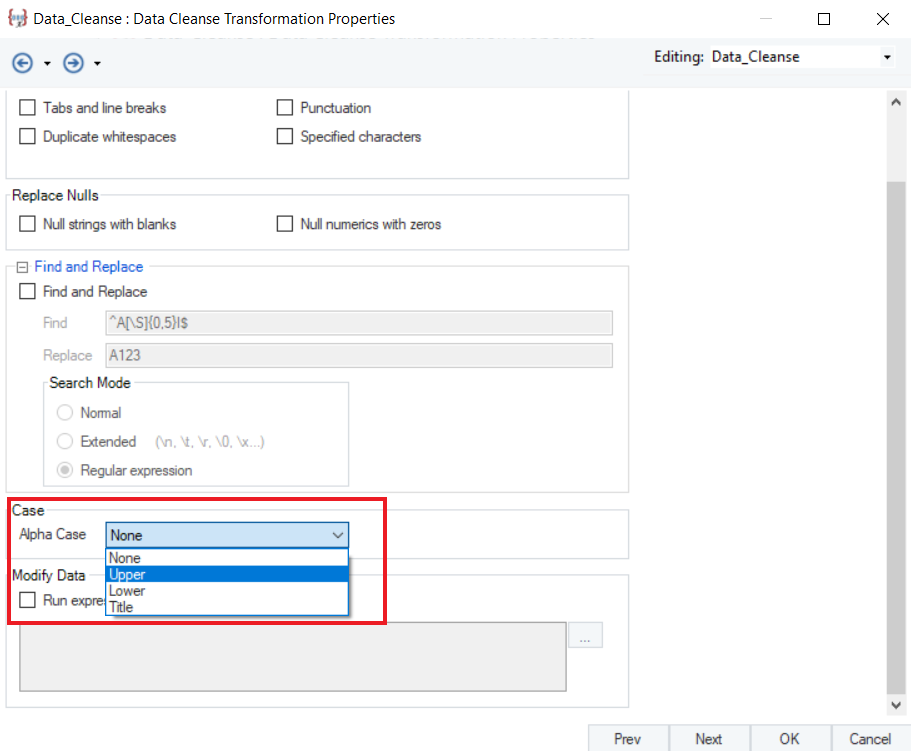
You can choose from the following options:
- None – Keeps the letter case as is

- Upper – Changes all letters to upper case

Lower – Changes all letters to lower case

Title – Changes all letters to title case

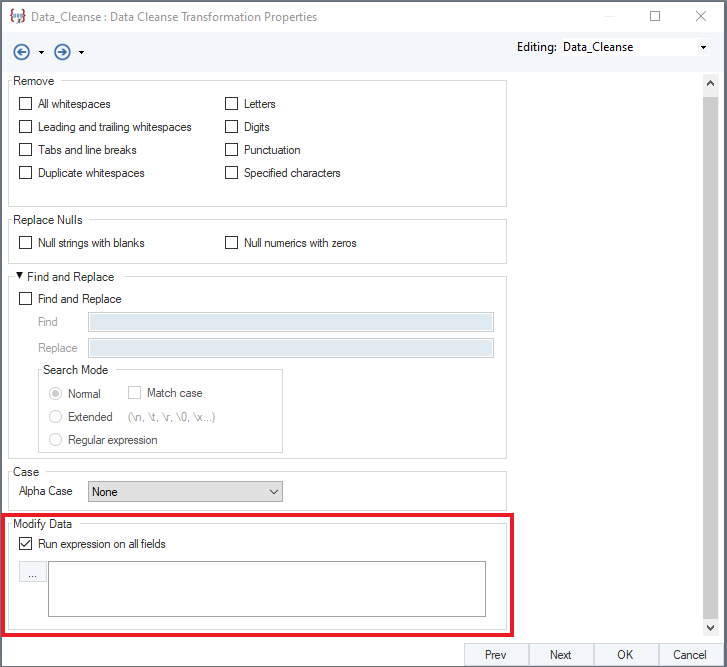
Modify Data
The Modify Data option provides you the flexibility and convenience of applying an expression to all fields in your data. Check the Run expression on all fields option to activate this feature.
The Run Expression on all fields feature was previously called ApplyToAll and offered as a standalone transformation in Centerprise 7.5 and previous releases. It had a limited functionality though, compared to the all-new Data Cleanse Transformation object, which is why it has been replaced altogether with the Data Cleanse Transformation object in Centerprise 7.6 and now in Centerprise 8.0.
The Run Expression on all fields feature is enabled by default for any existing flows created prior to Centerprise 7.6. This means that existing flows created on Centerprise 7.5 or a prior release will continue to work seamlessly on 8.0 upgrade and won’t require any modification at all.
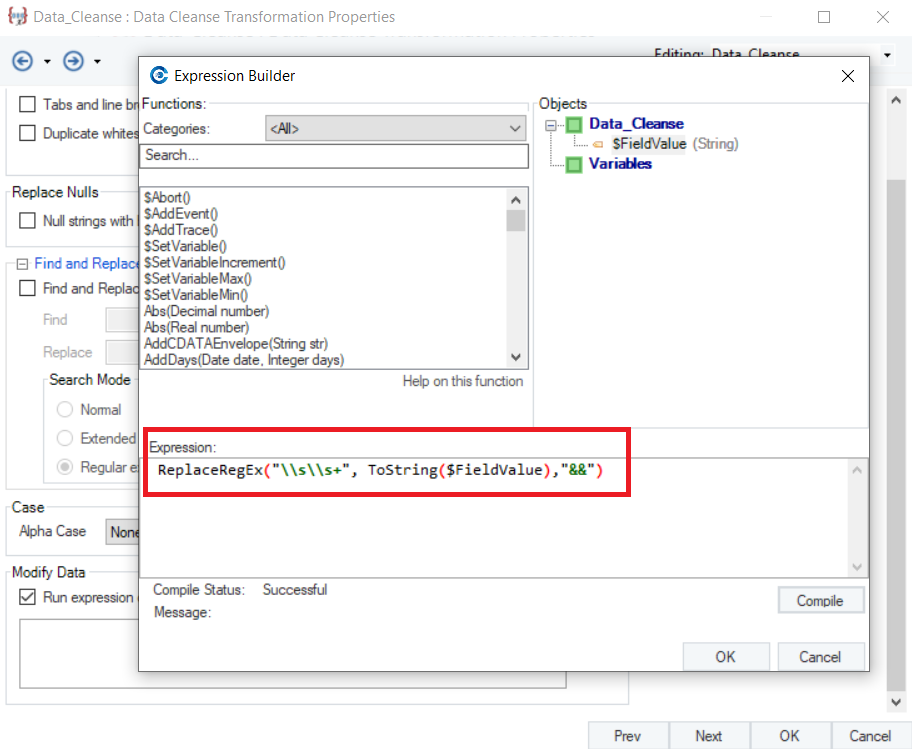
Now click on this  button to open the Expression Builder.
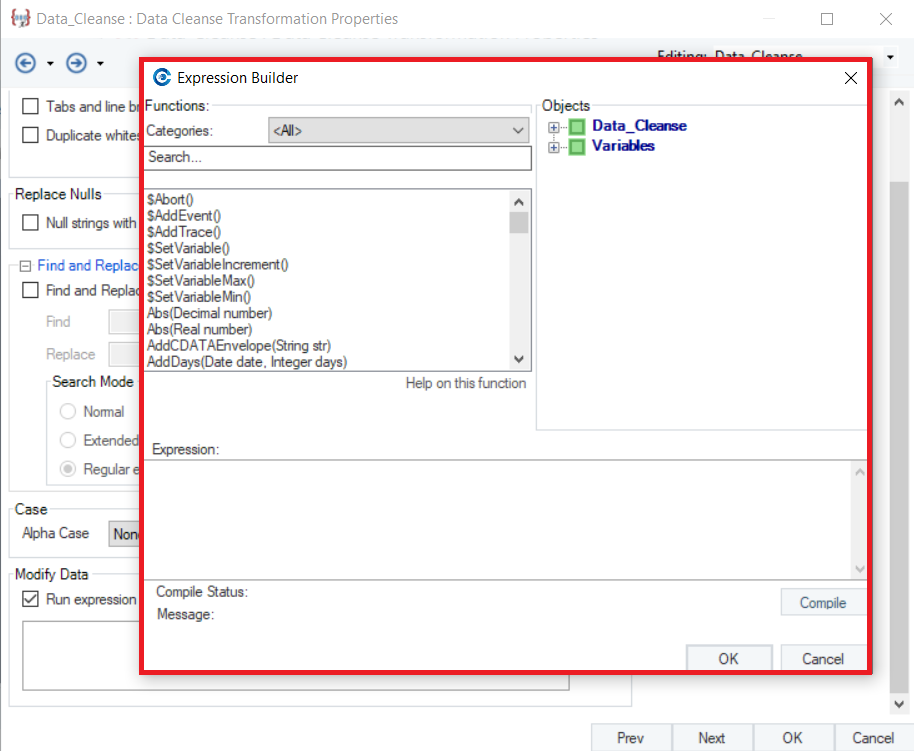
Here, you can choose from the extensive library of built-in expressions and apply it to all mapped fields by adding it to a “$FieldValue” parameter.
As in this example, we have mapped a regular expression to the “$FieldValue” parameter.
Now if we look at the preview, you can see that Centerprise has applied the regular expression to all fields and removed whitespaces from the values.
Preview before running the expression on all fields:

Preview after running the expression on all fields: 
This function was previously performed using the ApplyToAll transformation in Centerprise 7.5 and previous releases. However, in Centerprise 7.6 and Centerprise 8.0, you can perform this and other data cleanse tasks using the Data Cleanse Transformation object.