Pushdown Mode
The Pushdown Mode or ELT (Extract, Load and Transform) mode in Astera Centerprise lets users execute pipelines in pushdown on database level when the source and target database reside on the same server. This eliminates unnecessary movement of data into the Integration Server, reduces network latency by delivering agile results, and improves the overall performance as compared to the normal job execution mode of ETL (Extract, Transform and Load).
In this article, we will be looking at how you can activate and use the Pushdown Mode option in Astera Centerprise.
For further information on how the Pushdown Mode works, click here.
Starting a Job in Pushdown Mode
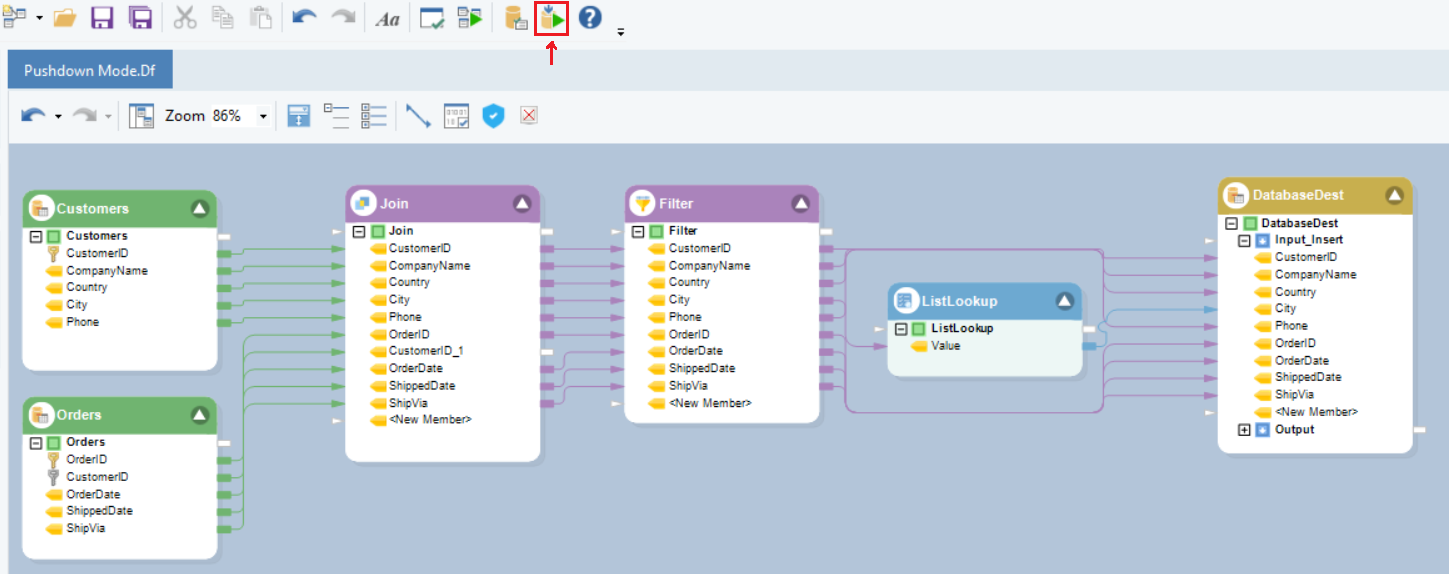
To start a job in Pushdown Mode, click the Start Job in Pushdown Mode icon on the main Toolbar.
Use Case
We have two database tables, one containing details for Customers, and the other containing information on the Orders placed by the customers. Both the tables have a million records each.
The dataflow proceeds as follows:
- Extracts customer data and the information on orders they have placed using Database Table Source objects.
- It then combines them using a Join transformation.
- Further, the data is then filtered by the Company Name field such that orders which are being delivered only by Company-6 and Company – 11 are processed using the Filter transformation.
- The dataflow then assigns the port cities to each order using the ListLookUp transformation.
- Lastly, the processed records are written to a database table using the Database Table Destination object.
As the source files are quite large, running the job in normal ETL can take substantially more time. In this use case, we will try both the normal Job Run Start Dataflow and the Run Job in Pushdown mode options.
Running Job in Normal ETL Mode
1. After setting up the dataflow, verify the dataflow and then run it.
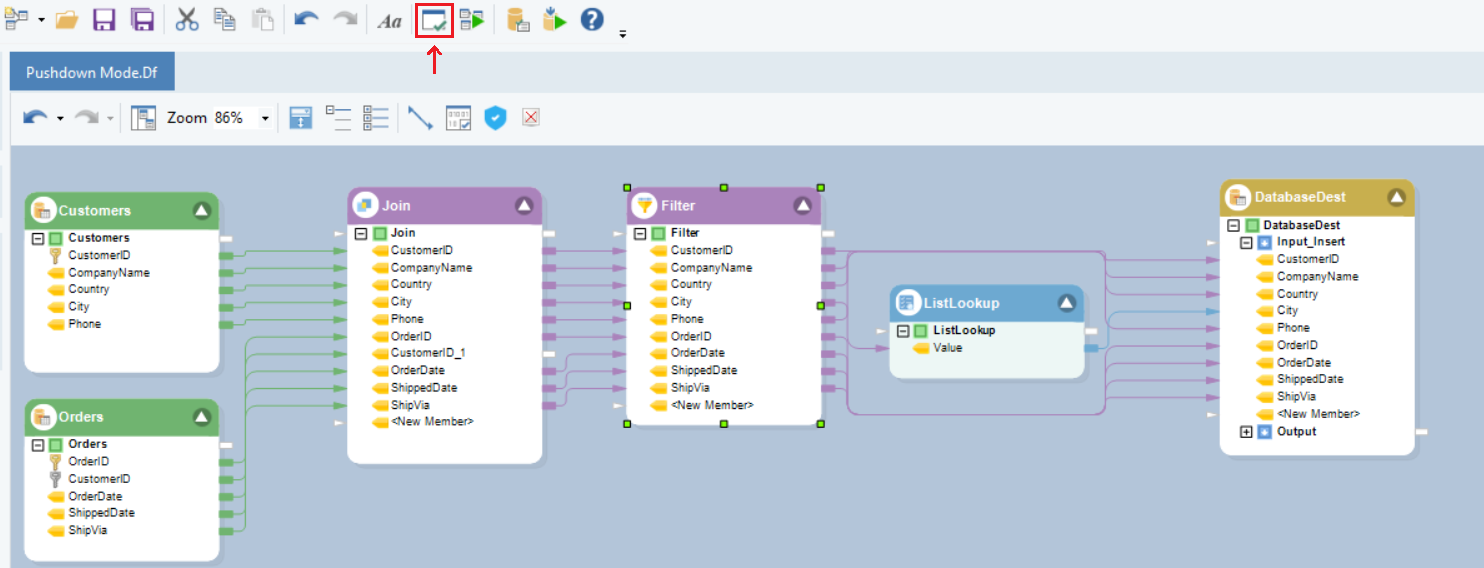
2. To verify a dataflow, click the Start verification icon on the main toolbar. Verification results will be displayed in the Verify Window.
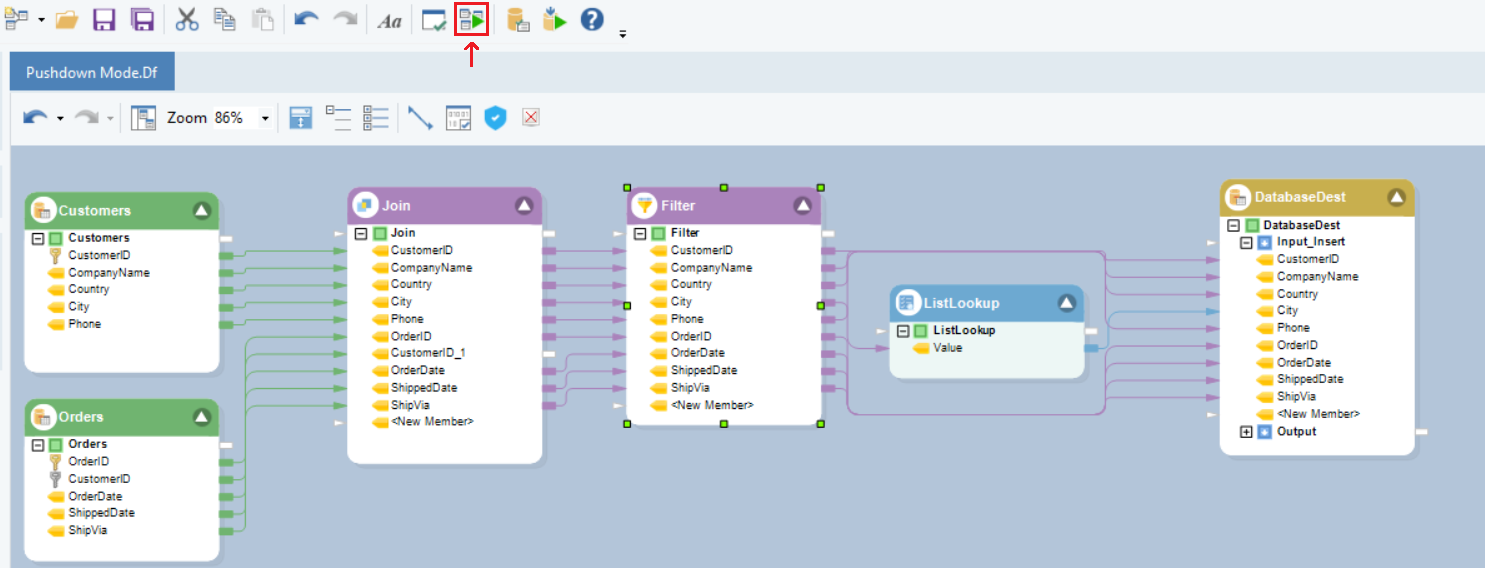
3. To run the dataflow, click the Start Dataflow icon on the main toolbar next to the Start Verification icon.
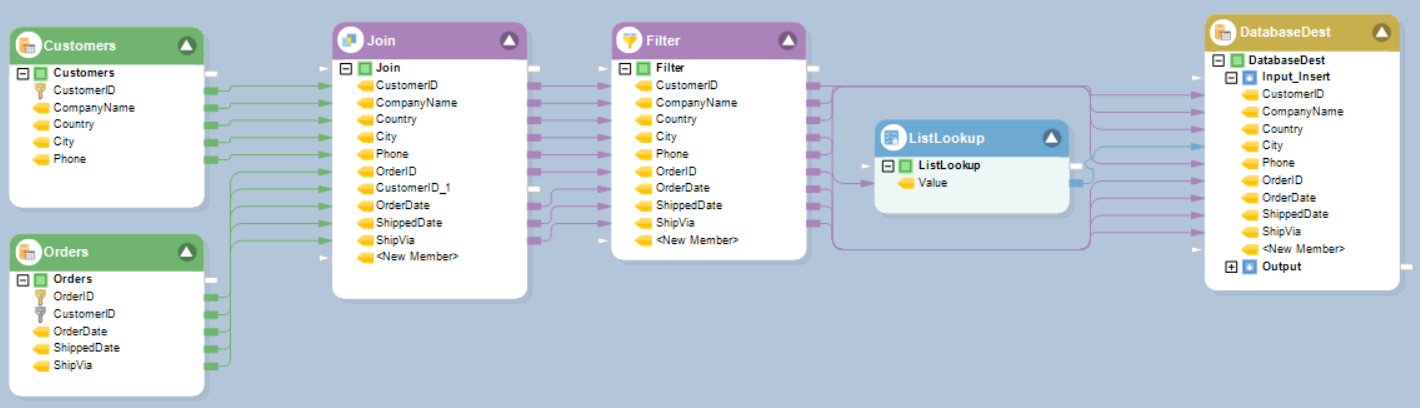
4. Once the job is executed, you can see the progress of the job in the Job Progress window:
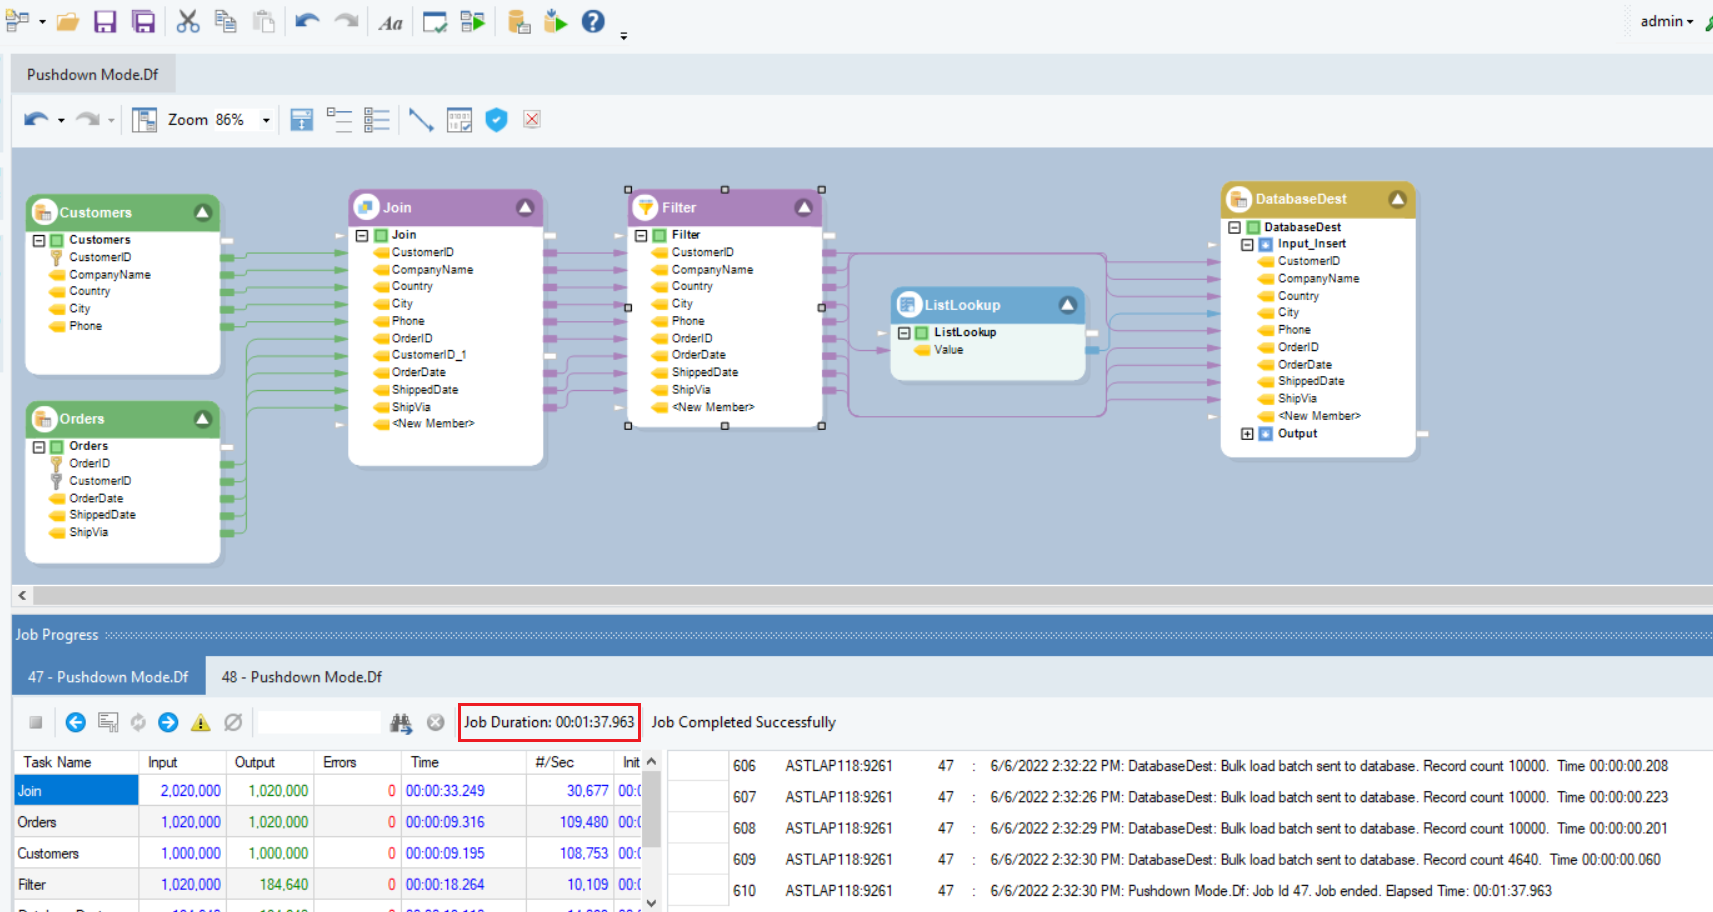
The job completed successfully, and we can see that it took a minute and thirty-seven seconds.
Running Job in Pushdown Mode
Now we will run the same dataflow in Pushdown Mode and see the difference.
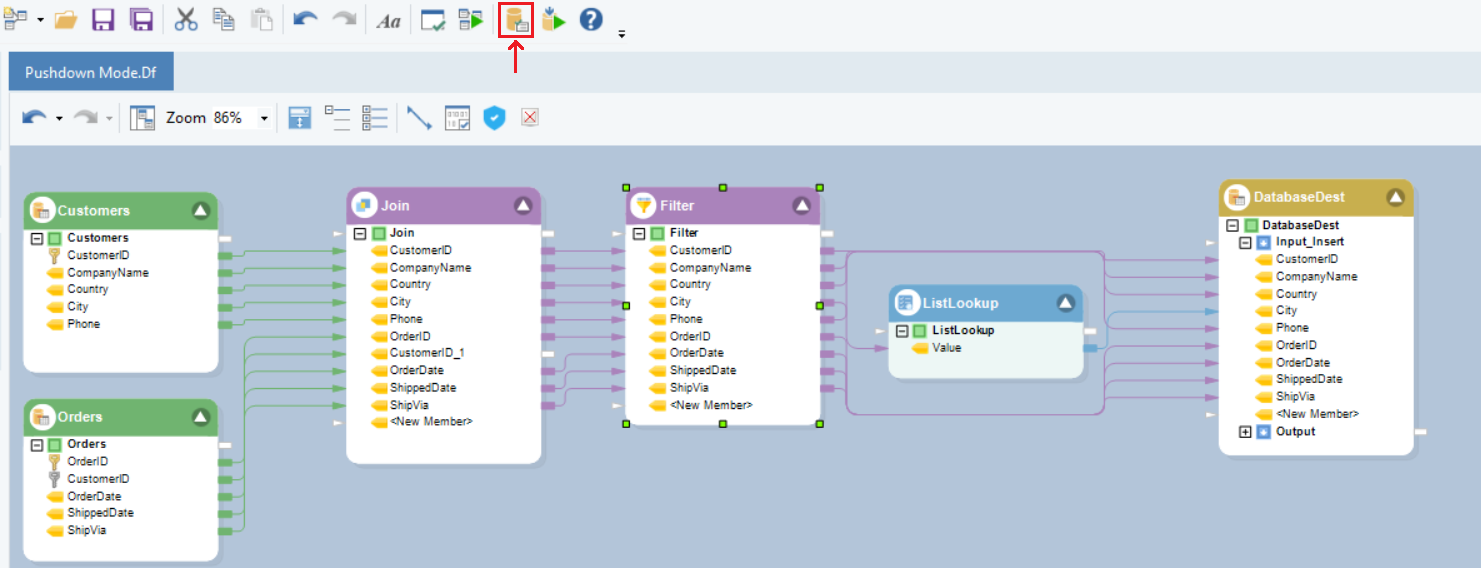
1. First, verify the job for Pushdown. Click on the Verify Pushdown Job icon on the main toolbar.
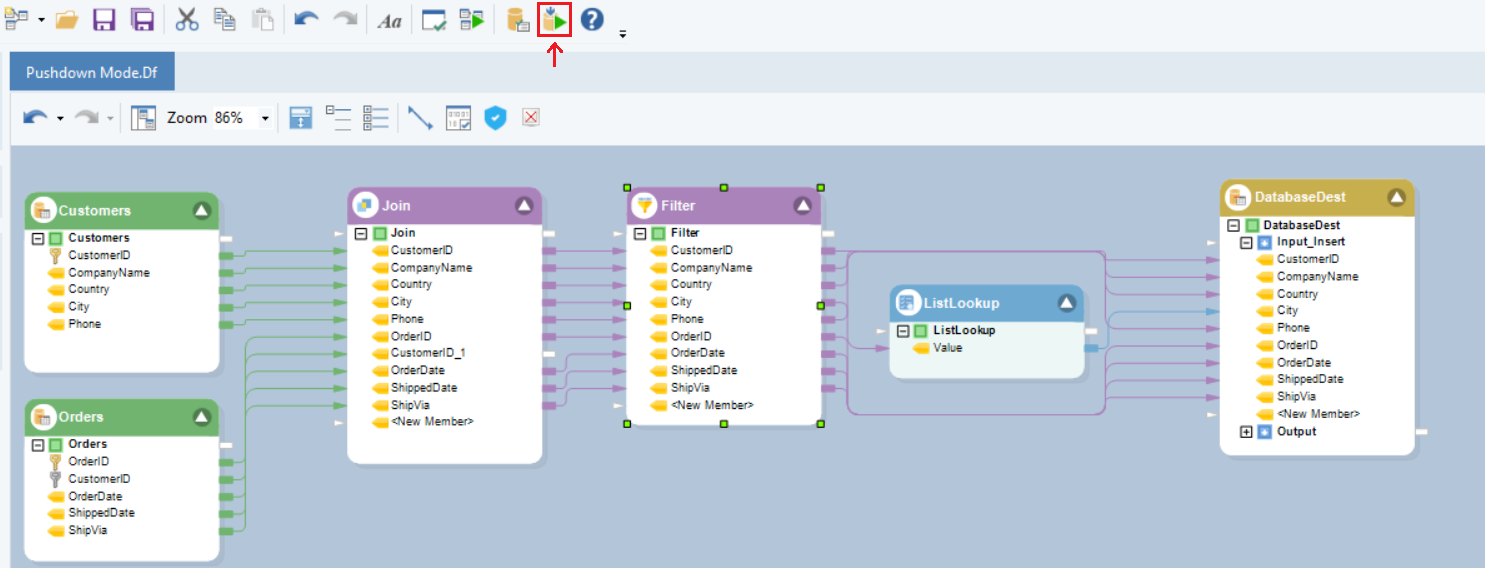
2. To run the job in Pushdown Mode, click the Start Job in Pushdown Mode icon on the main Toolbar.
3. Once executed, you can see the progress of the job in the Job Progress window.
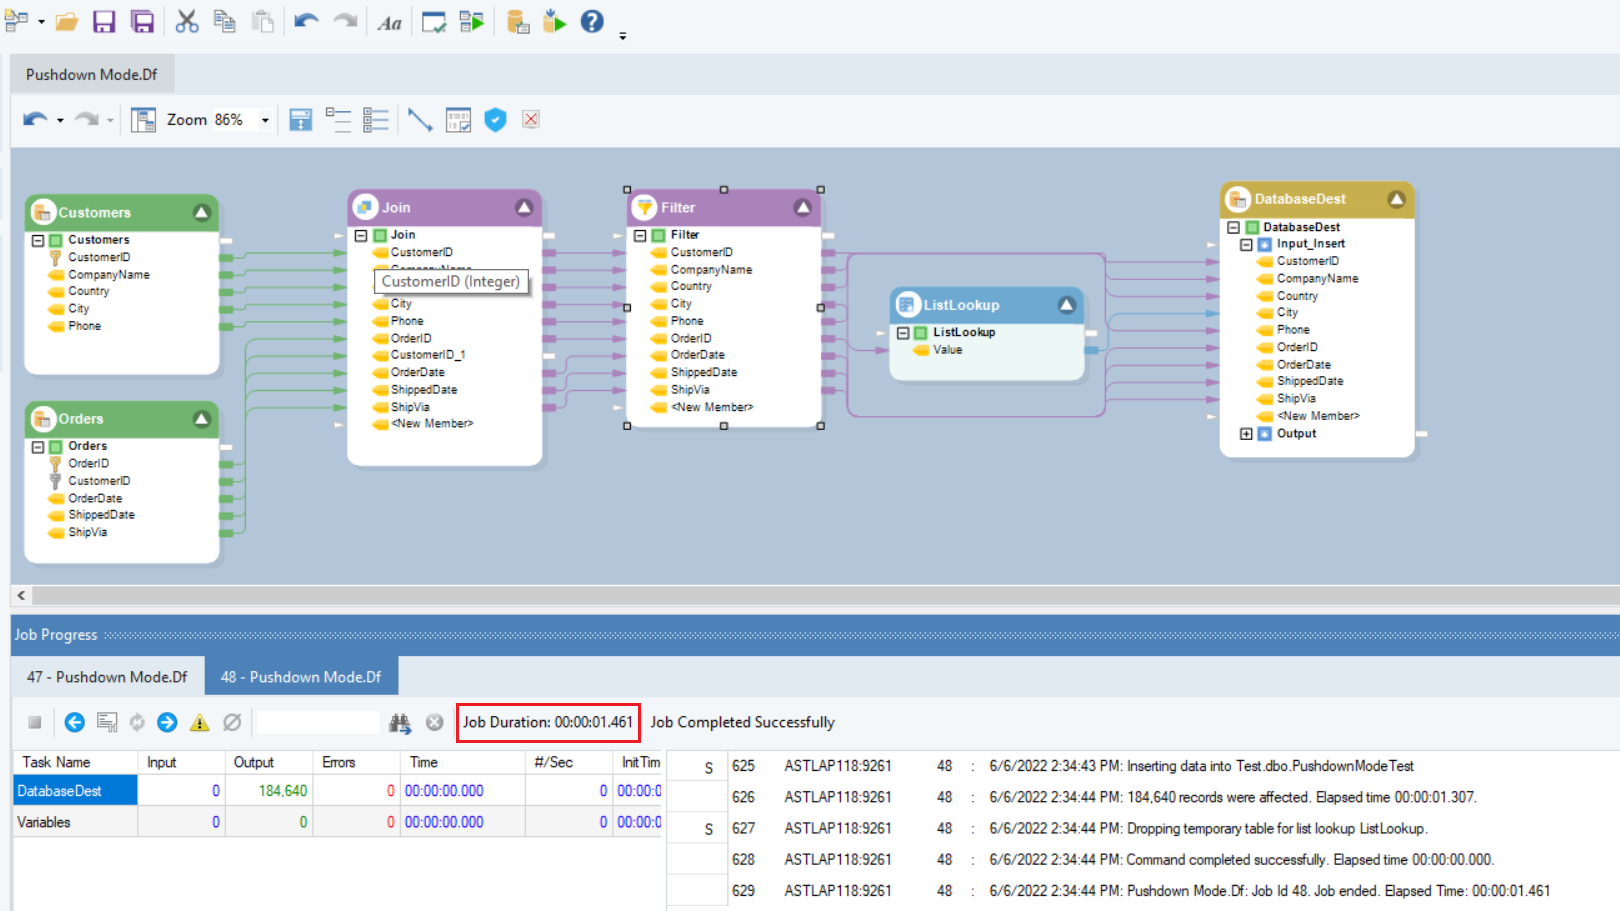
The job completed and we can see it took only about one and a half seconds to complete the job, which is substantially less compared to the job run without the pushdown mode.
Viewing the SQL Queries
When a job is run in the Pushdown Mode, the SQL queries generated for the job can be viewed in the Job Progress bar.
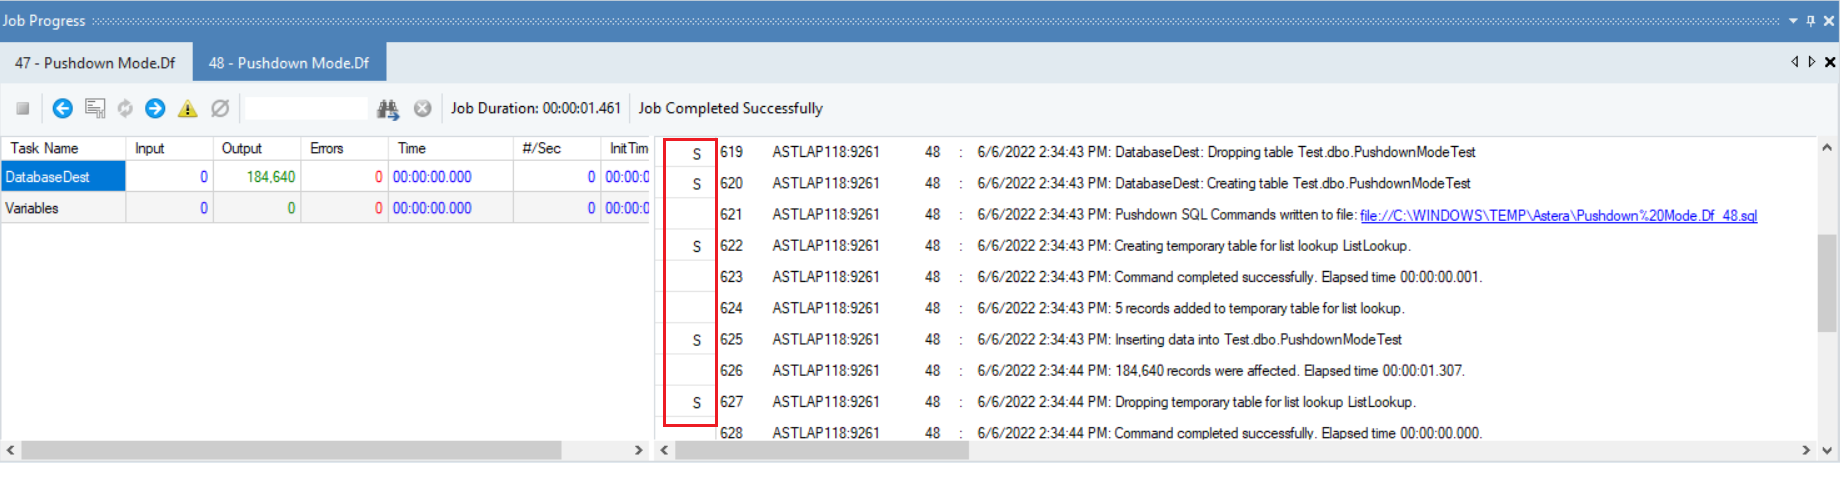
Click on the S in the Job Progress window to view the query applicable for a particular step in the process.

A window with the query will appear.
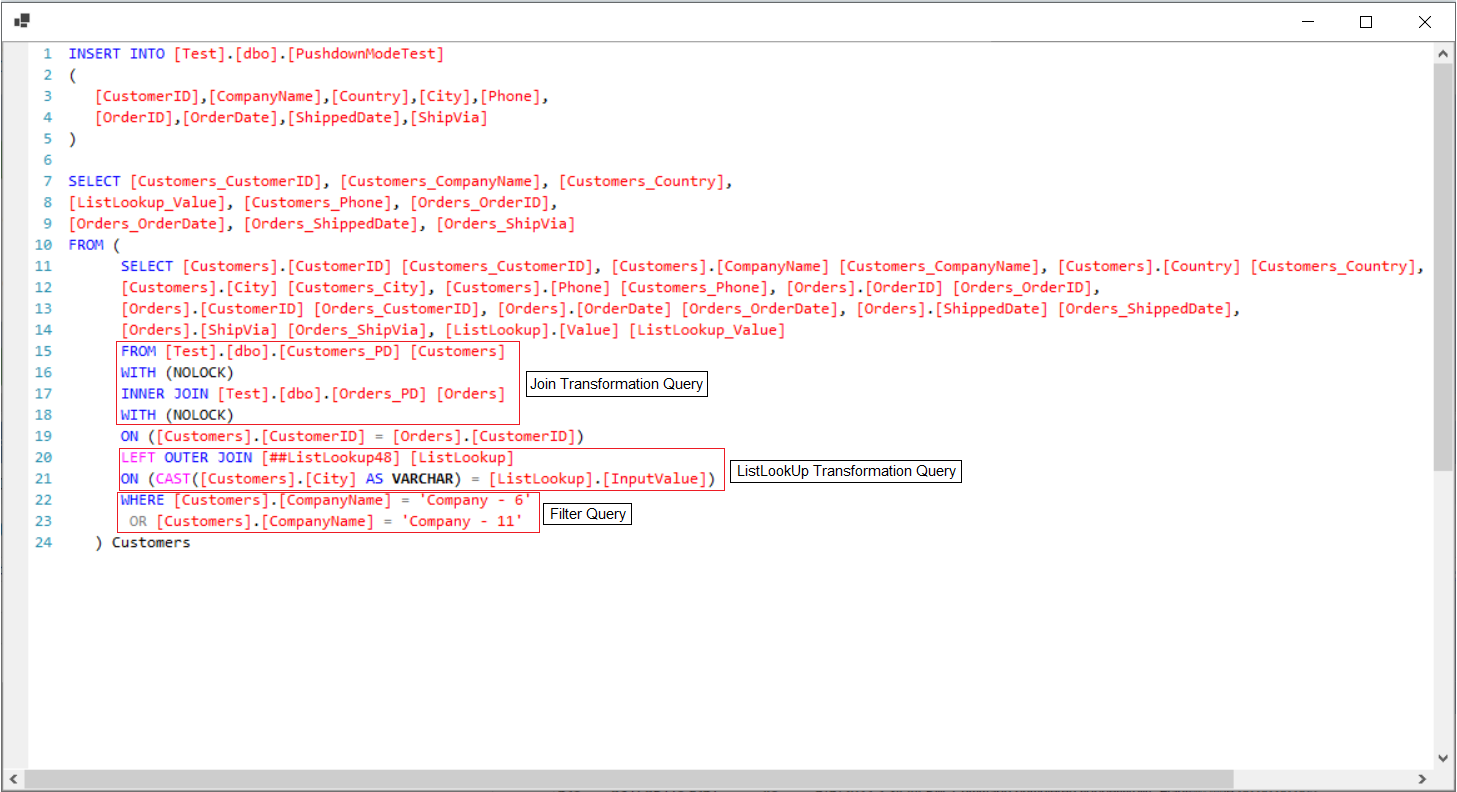
In the query you can see (highlighted) the commands for the transformations specified in the dataflow.
The Pushdown Mode allows for efficient processing which becomes more useful with large databases and complex dataflows.
This concludes our discussion on how to run a job in Pushdown Mode.