XML File Destination
Centerprise’s XML/JSON File Destination object provides the functionality to write data to an XML or JSON file when the data is in hierarchical format.
Use Case
In order to understand how to write to an XML/JSON File Destination object, we will take help of a use-case where we will convert flat datasets to an hierarchical set, and then write the transformed data to an XML file.
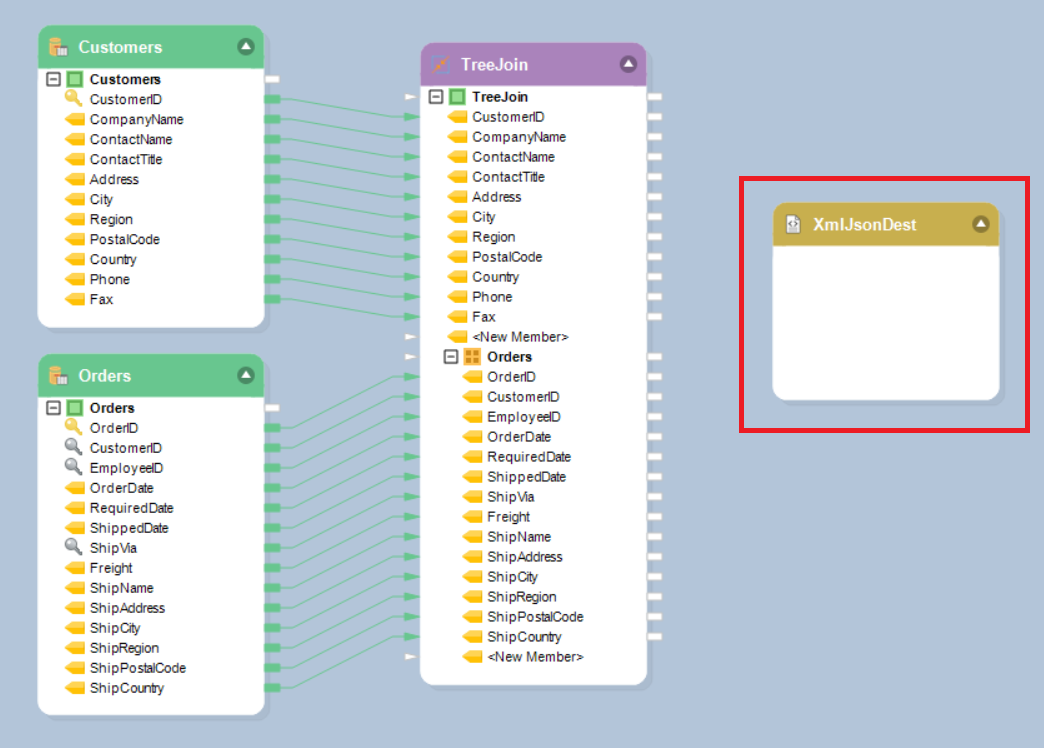
Customers and Orders data from database tables will be used as source objects. We will then join them using the TreeJoin Transformation to create a hierarchical dataset.
Learn more about how the Treejoin Transformation works in Centerprise.

Configuring the XML/JSON File Destination Object
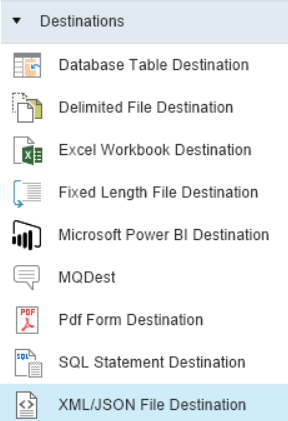
- To get an XML/JSON File Destination object from the Toolbox, go to Toolbox > Destinations > XML/JSON File Destination and drag-and-drop it onto the designer. If you are unable to see the Toolbox, go to View > Toolbox or press Ctrl + Alt + X.
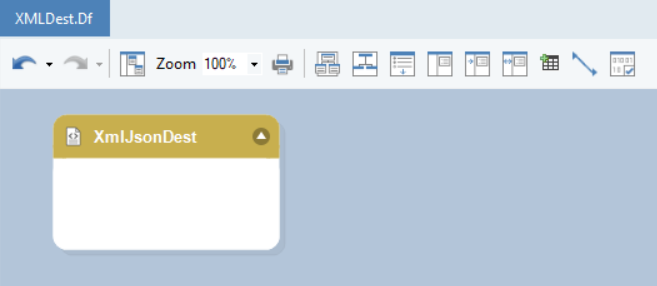
The dragged destination object is empty right now. This is because the object has not been configured yet.
Note: In this case we will be using the use case discussed earlier, taking the Treejoin as the source for data to write to the XML/JSON File Destination.
Creating a Schema File
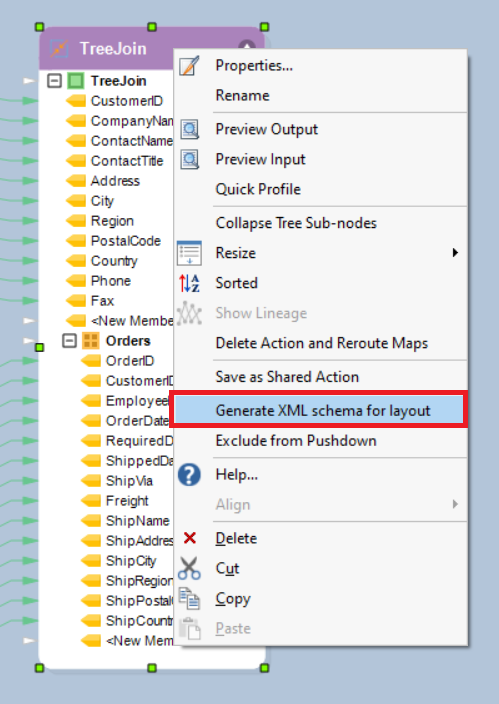
A schema file is needed to write data to an XML/JSON File Destination. To create the schema file, right click on the source object (Treejoin transformation in this case), a context-menu will appear, select the option Generate XML Schema for layout.
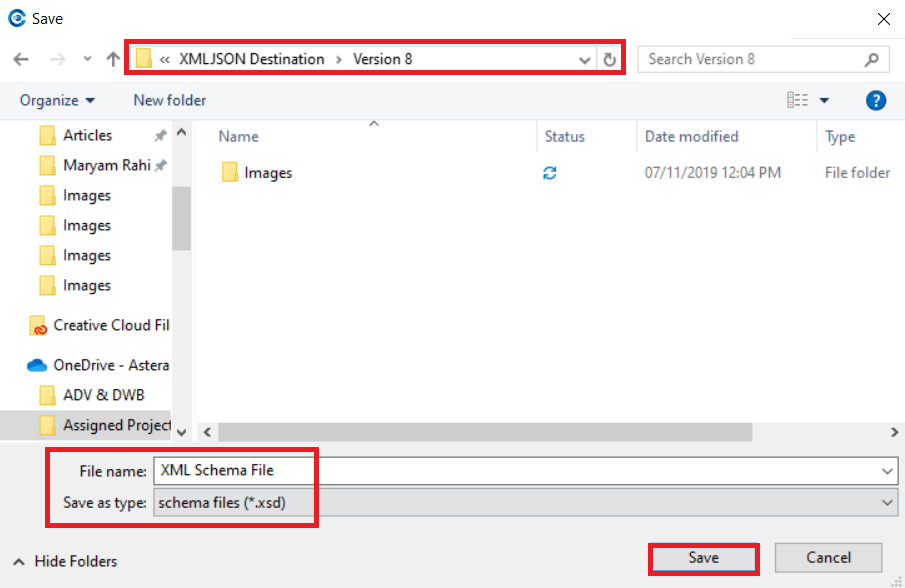
- A new dialog box will open where you will be asked to save the XML schema file. Give the File Name and file path for the schema file and click Save.
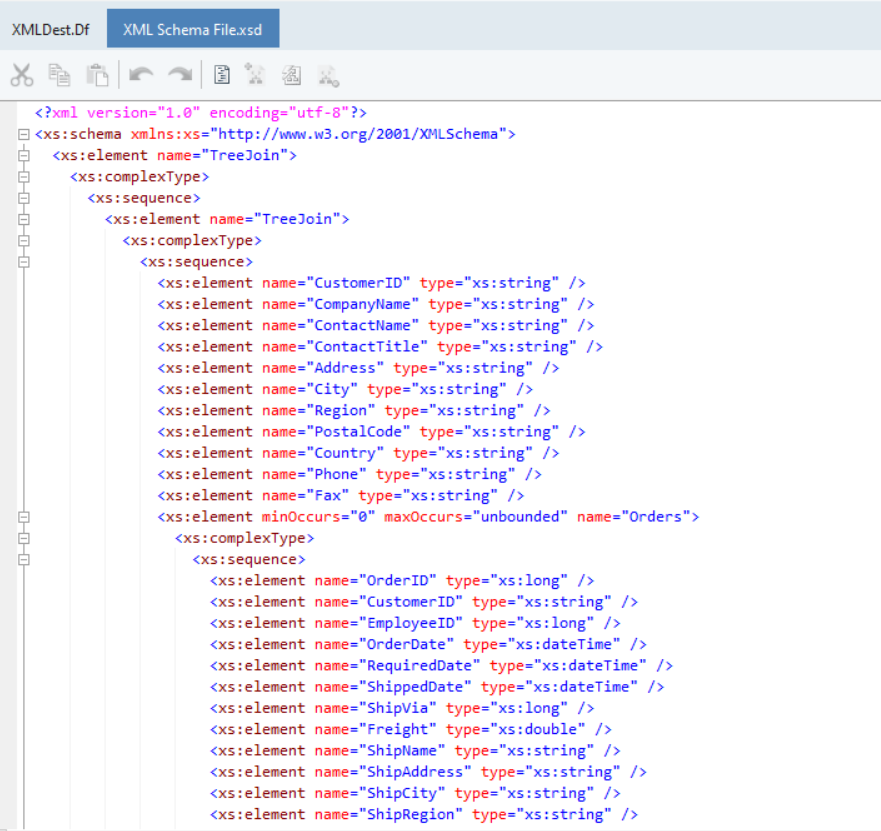
The schema file has been created in the specified location. To view this file, go to the file location and open the file in Centerprise.
- The opened file would look like the one below:
File Path
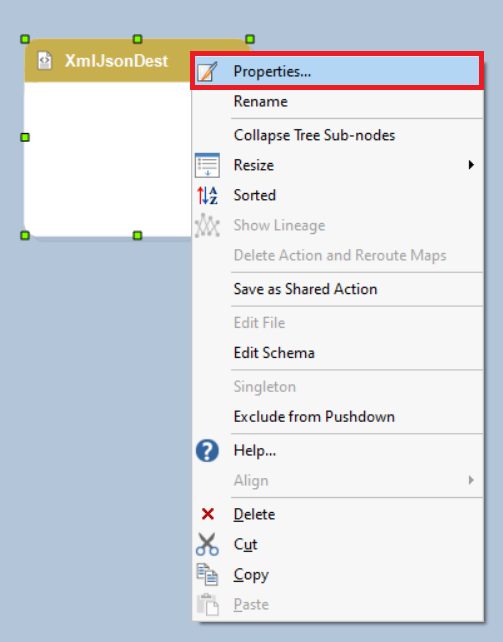
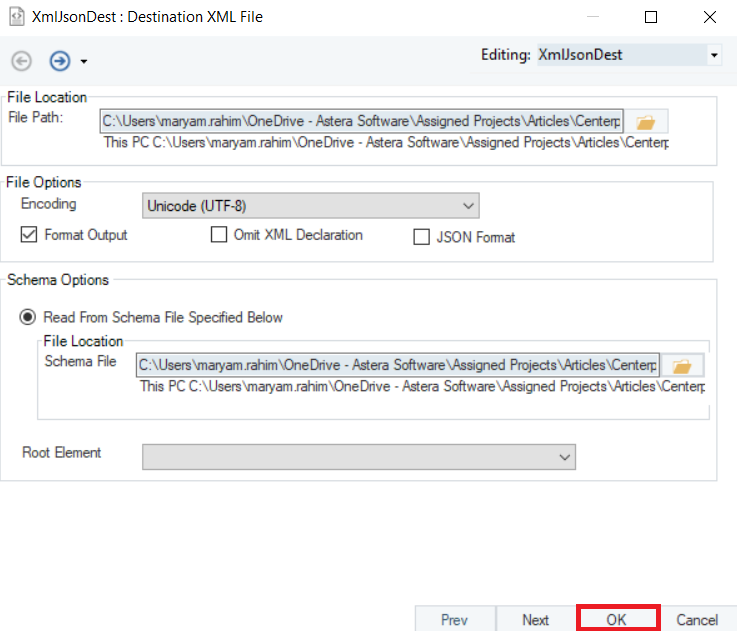
To configure the XML/JSON File Destination object, right-click on its header and select Properties from the context-menu.
A window, Destination XML File, will open. Here we will specify the file locations; File Path and Schema File for the XmlJsonDest object.
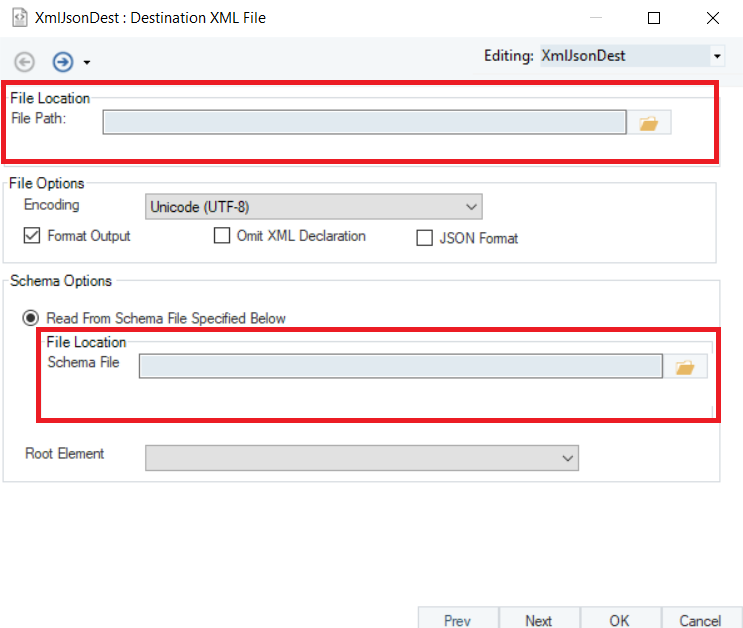
The destination file will now be saved in the provided file location. Click OK, and map the destination object to the source object before further configuration.
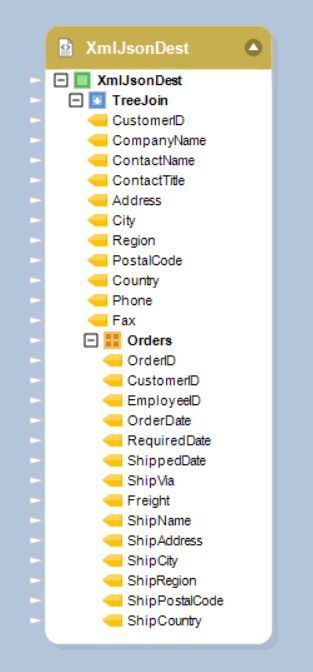
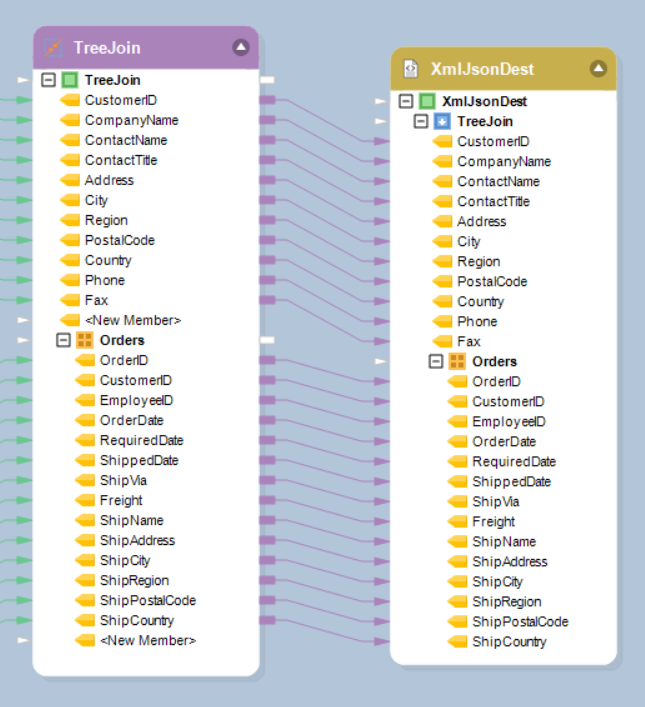
The XmlJsonDest object will now have the layout of the source object (Treejoin Transformation in this case).
Mapping
To map the source object to the destination object, the following ways of mapping can be used:
By dragging and dropping the parent node of the source object (TreeJoin node in the TreeJoin table) onto the child node of the destination object (TreeJoin node in the XmlJsonDest object) for automatic mapping.
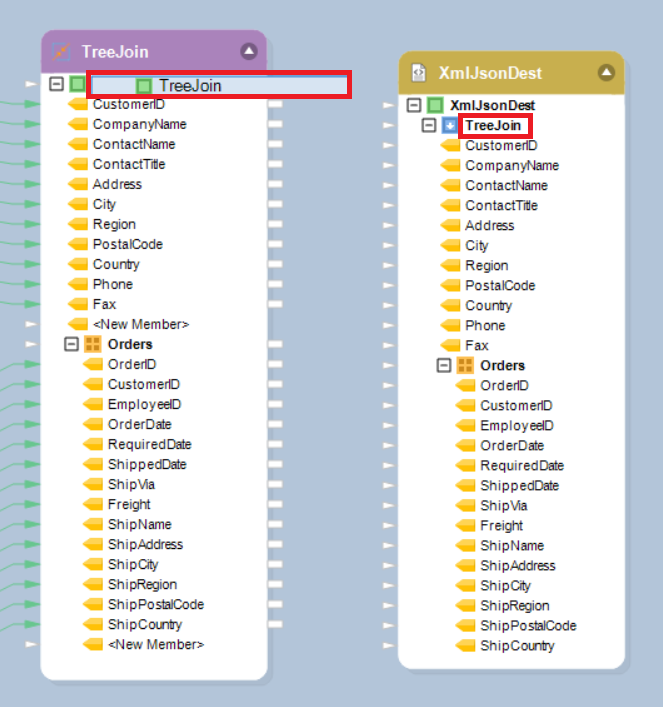
By manually mapping the source parent node (TreeJoin in the TreeJoin table) by dragging it to the respective destination child node (TreeJoin in the XmlJsonDest object).
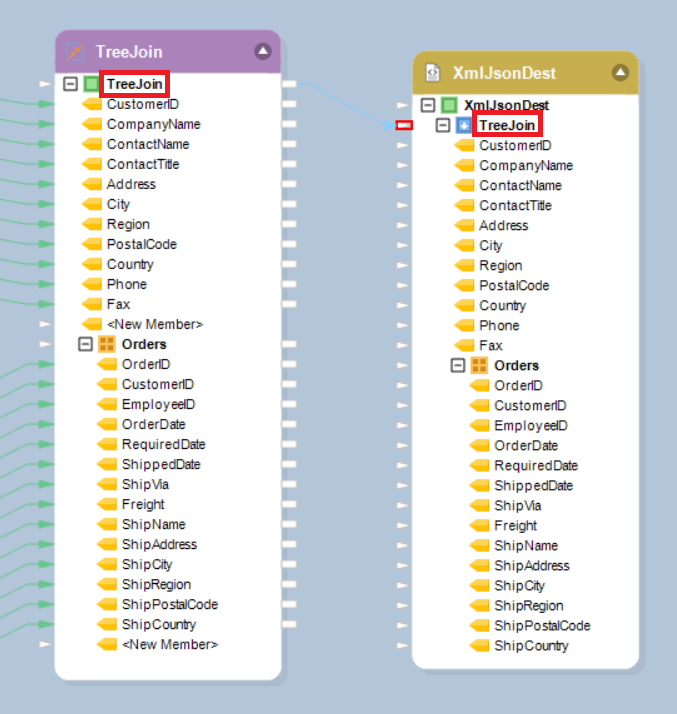
The fields are now mapped.
Properties
Once the file locations have been specified and the mappings have been done, further properties can be defined.
XML Layout
- The next window after the Destination XML File window is the XML Layout window.
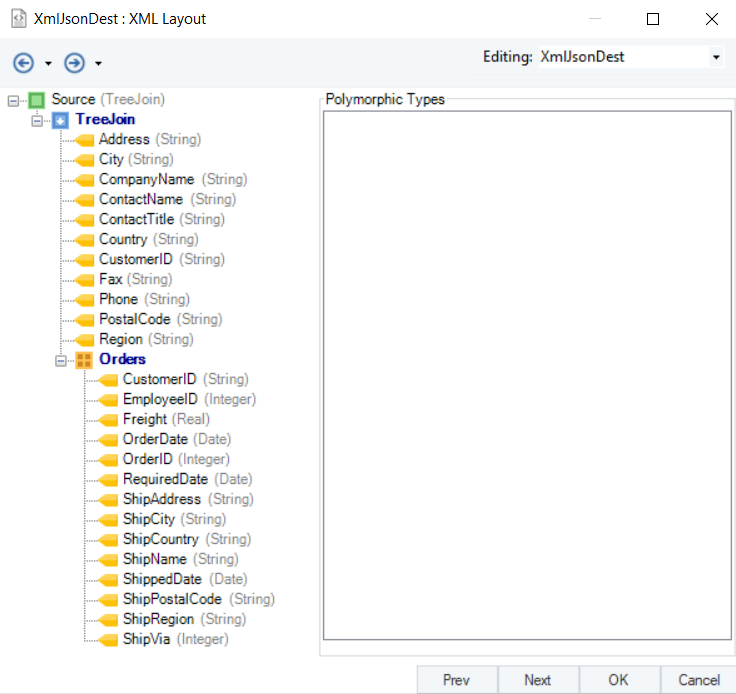
- This window shows the XML layout for the XmlJsonDest object. The collection nodes for the object can be seen in this window with their fields.
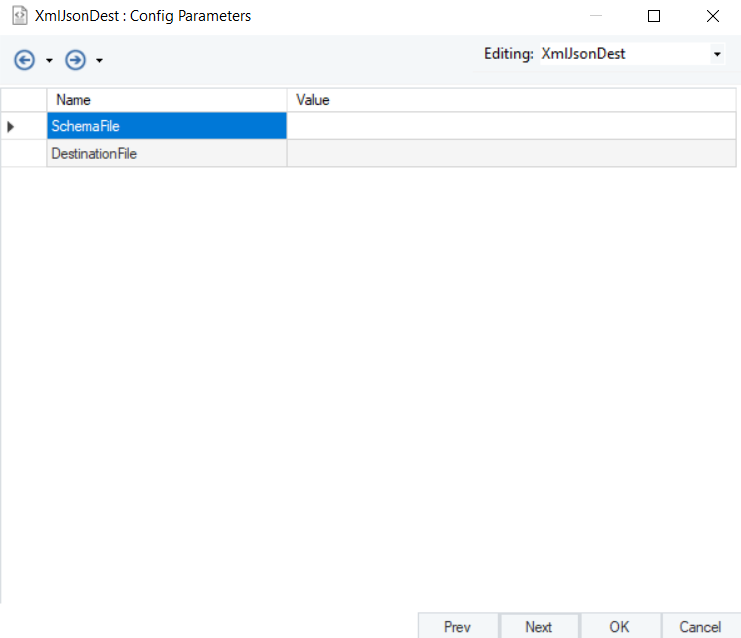
Config Parameters
Click Next, and a window, Config Parameters, will open, which will allow us to further configure and define parameters for the XML/JSON Destination object.
Parameters can provide easier deployment of flows by eliminating hardcoded values and provide an easier way of changing multiple configurations with a simple value change.
Note: Parameters left blank will use their default values assigned on the properties page.
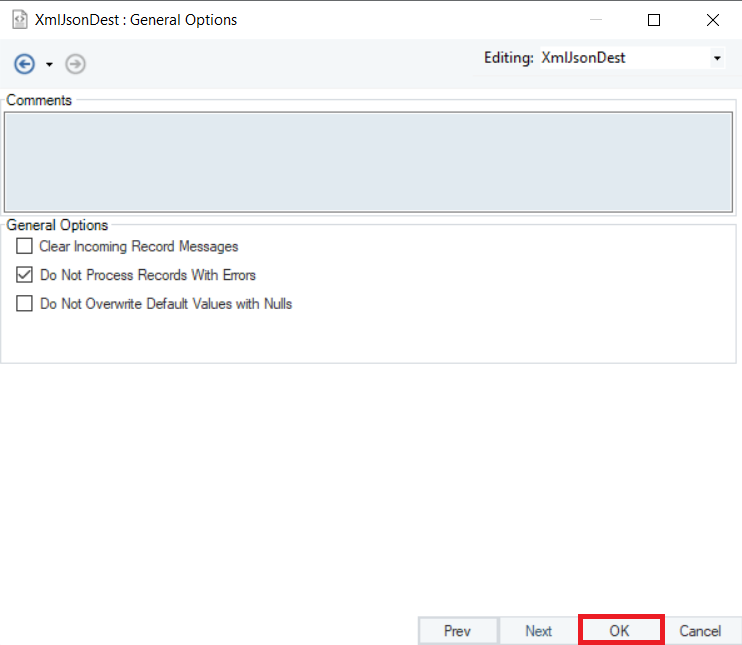
General Options
Click Next, and a new window, General Options, will open. On this window:
Comments can be added.
General Options are given, which relate to processing of records in the destination file.
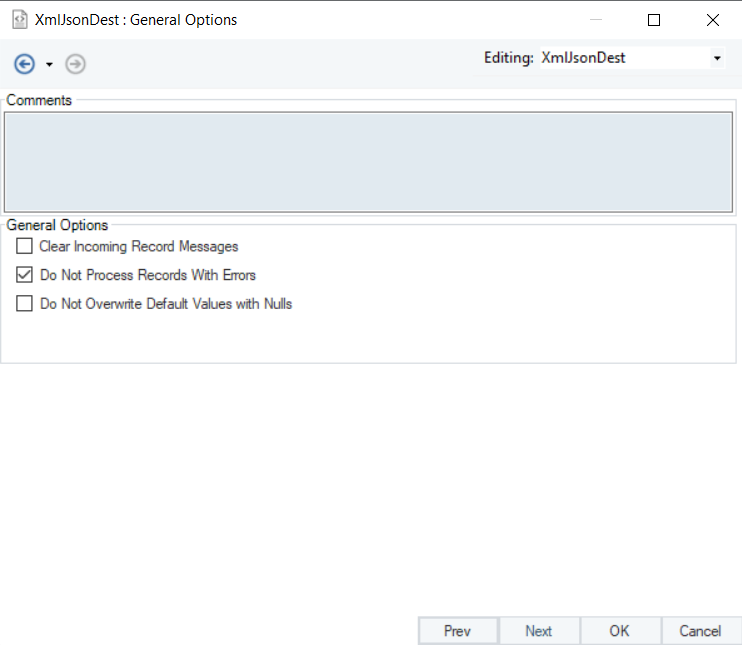
Click OK.
The XmlJsonDest object has been successfully configured and the destination file can now be created by running the dataflow.