Creating a Data Warehousing Project
In this article, we will talk about how data warehousing projects work in Astera Data Warehouse Builder. We’ll cover the following topics:
1. Opening a New Data Warehousing Project
2. Opening a Pre-Existing Data Warehousing Project
3. Adding Items to a Data Warehousing Project
Let’s explore each one by one.
Opening a New Data Warehousing Project
There are two ways to open a data warehousing project in Astera Data Warehouse Builder. Let’s discuss each one by one.
1. Go to the main menu bar > Project > New > Data Warehousing Project*.
2. Or, you can use the following keyboard shortcut to open a new project.
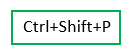
Once you open a new project, you will be required to save the project on a location of your choice. Specify the File Name and click Save.
Note: Save the project in a new folder.
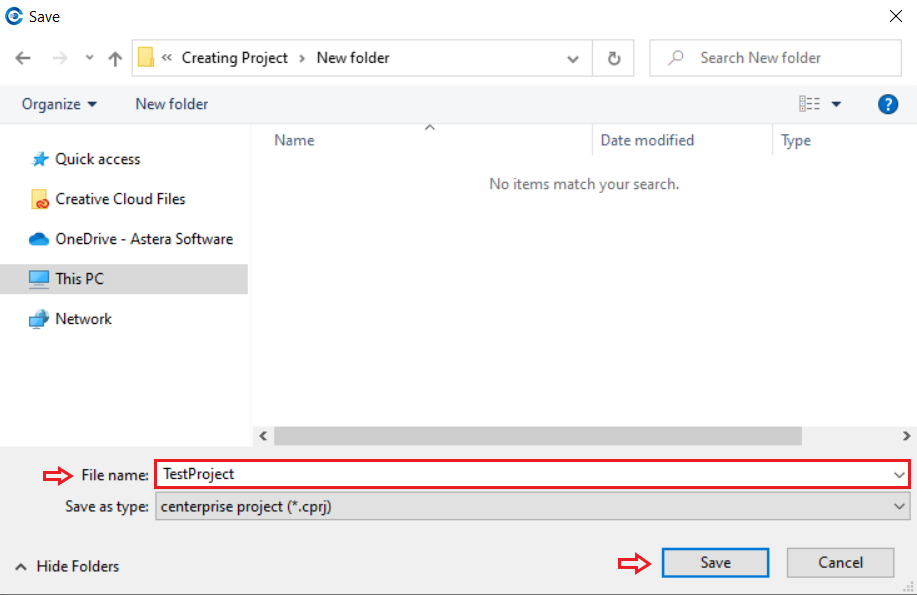
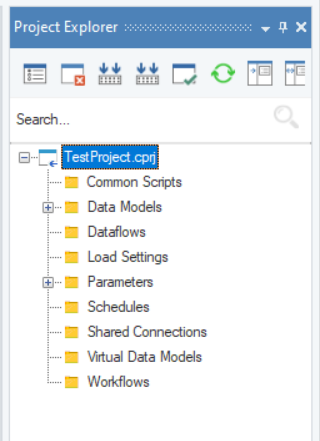
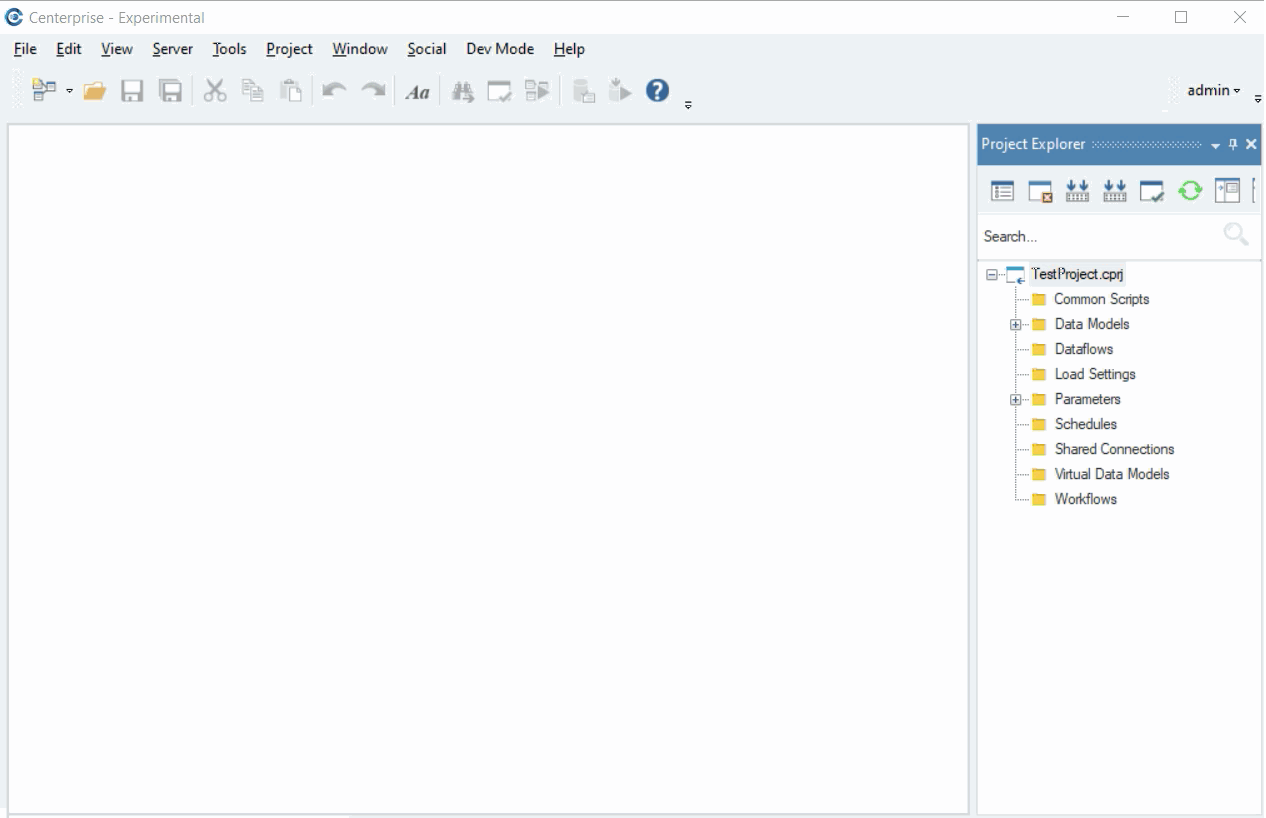
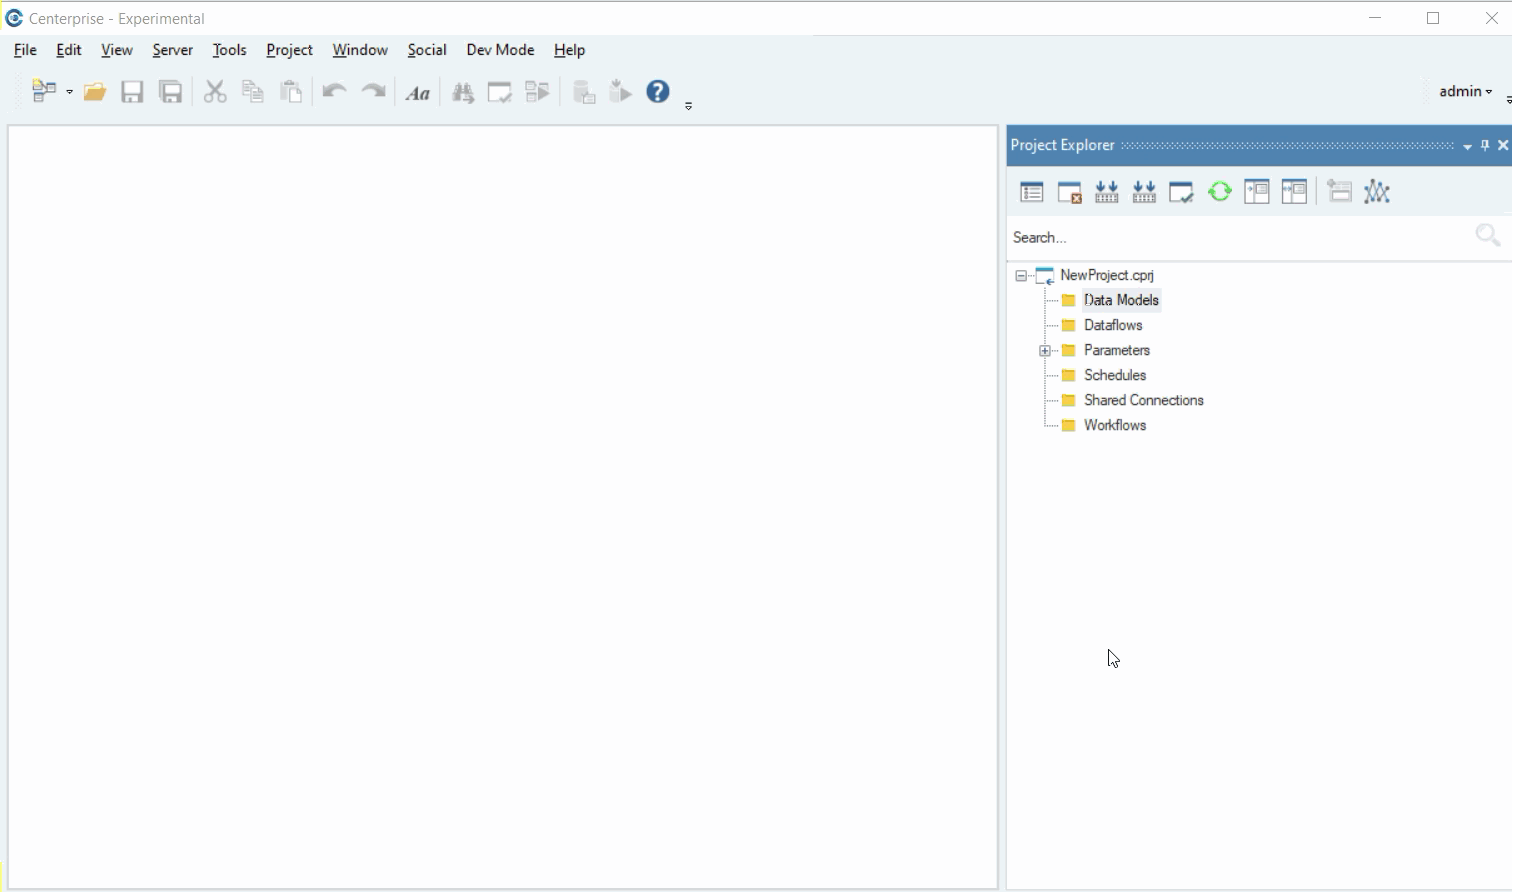
Once the project is saved, it will open in Astera Data Warehouse Builder in a Project Explorer window on the right-hand side of the designer.
You can now add project items to the project, such as Data Models, Dataflows, Schedules, Shared Connections and Workflows.
Opening a Pre-Existing Data Warehousing Project
To open a pre-existing project, go to the main menu bar > Project > Open. Your local file directory would open in a new windowpane. Provide the path where the project exists in the File Name and click on Open.
The project will open in Astera Data Warehouse Builder in the Project Explorer on the right-hand side of the designer.
Now you can open project items such as Data Models, Dataflows, Schedules, Shared Connections and Workflows that exist in the project.
To open a project item, expand the item node and select the item that you want to open.
Example: To open an existing data model from the project, expand the Data Model node and select the data model you want to open.
Adding Items to a Data Warehousing Project
You can add different new or existing items in the project, including Data Models, Dataflows, Schedules, Shared Connections and Workflows.
Let’s look at an example where we will add a new data model to a data warehousing project.
Go to Project Explorer > Project File > Data Models and right click on it, a context menu would open.
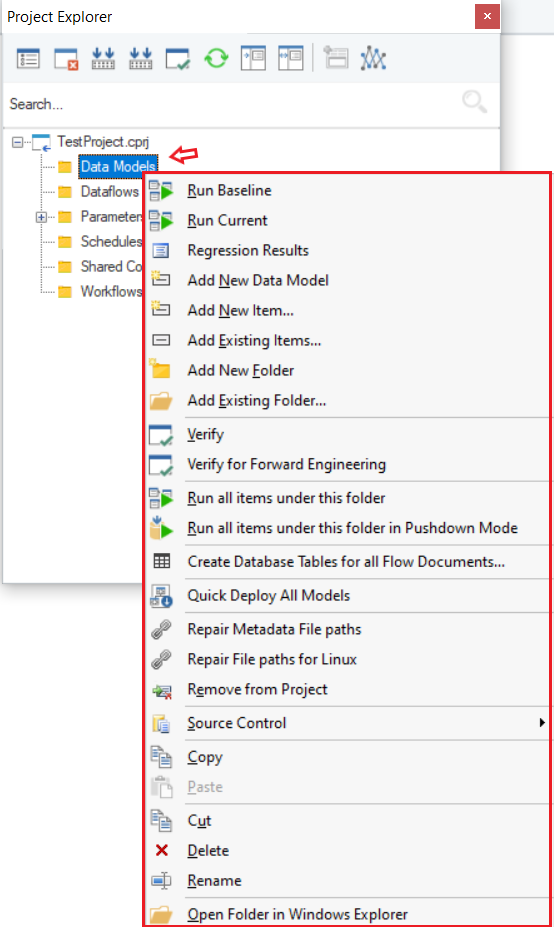
Here, there are two ways to add a new data model:
1. Select Add New Data Model and a new data model designer would open. It would also show under the Data Models folder in the project explorer.
Select Add New Item. A new window will open with all the items. Select DataModel, specify its Name, and click Add.
To add an existing data model to the project, select Add Existing Items.
A window would open where you can provide the path to the existing data model and add it to the project by clicking Open.

You can follow the same steps to add all the other items in a data warehousing project, including Dataflows, Schedules, Shared Connections and Workflows.
This concludes our discussion on creating a data warehousing project in Astera Data Warehouse Builder.