Using Astera Data Models in ETL Pipelines
A deployed data model is available as a virtual database that can be used in ETL pipelines. In Astera Data Warehouse Builder, you can use the tables in these virtual databases as sources or destinations in dataflows, which represent the ETL or ELT functionality of the product. To learn how you can get started with dataflows, click here.
Video
Dataflows
The dataflow toolbox contains an extensive variety of objects that can be used as part of an ETL pipeline via the drag and drop interface of the dataflow designer. These include sources, destinations, transformations, and numerous other object types.
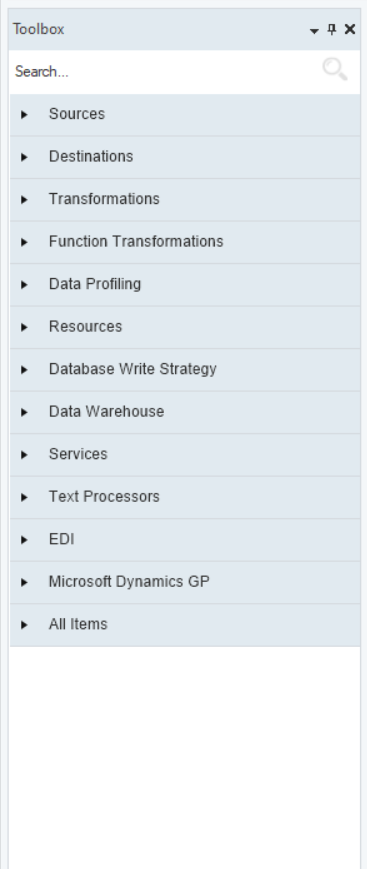
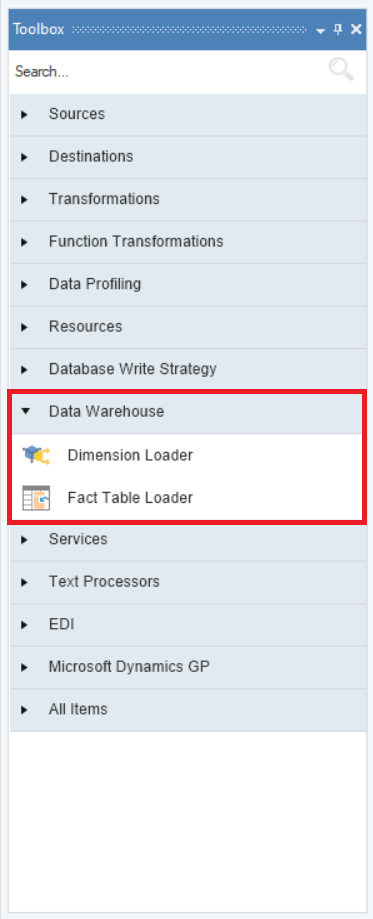
You’ll notice a section titled Data Warehouse in the toolbox. This contains the Fact Loader and Dimension Loader objects, which can be used to load data into fact and dimension tables, respectively. We will discuss these objects in further detail at a later stage in the article.
Here is an example of a simple ETL pipeline designed in a dataflow:
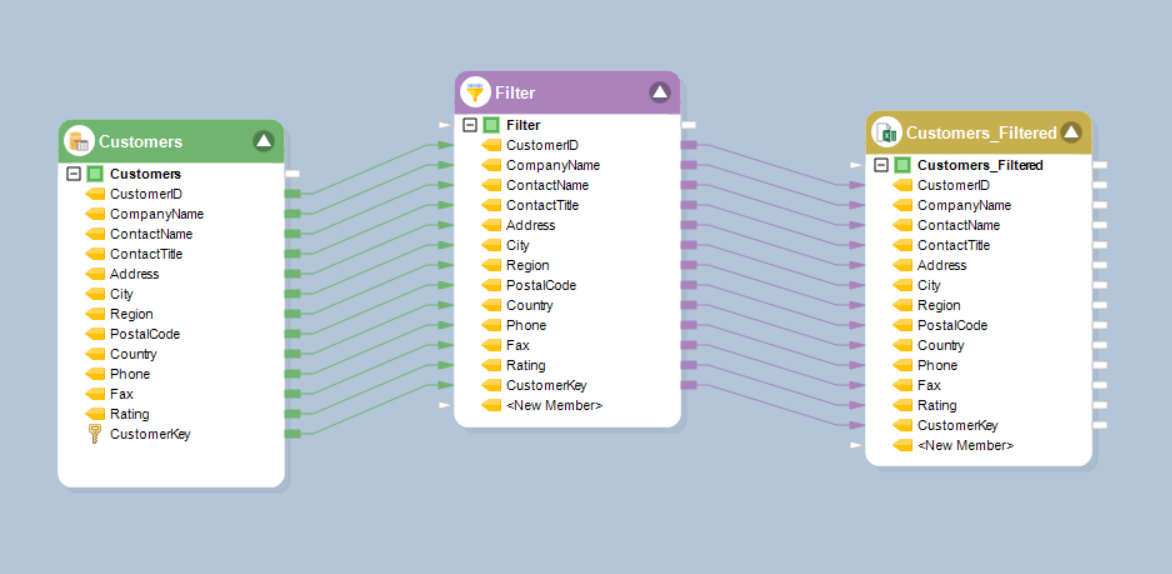
In this dataflow, we’ve done the following:
- Extracted data from a database table using the Database Table Source object.
- Transformed the incoming dataset by filtering out certain records using the Filter Transformation object.
- Loaded the transformed dataset into an Excel worksheet using the Excel Workbook Destination object.
How to Use Astera Data Models in Dataflows
Multiple objects in the dataflow toolbox can be used to access data models that have been deployed on the server. These include:
- Database Table Source
- Data Model Query Source
- SQL Query Source
- Fact Loader
- Dimension Loader
Of these, the first three can be used as source objects and the other two can be used as destination objects. However, the Database Connection screen in the Properties configuration window is common in all of these objects. Let’s take a look at this Database Table Source object as an example.
To access the properties of an object, right-click on the object header and select Properties from the context menu.
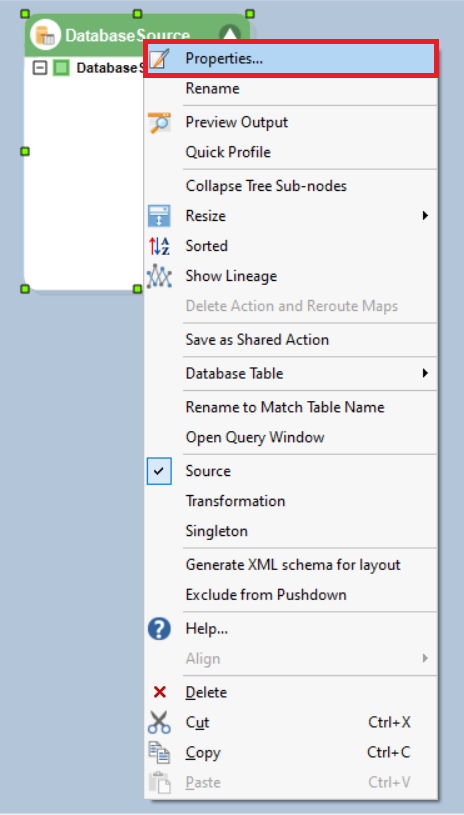
A configuration window will appear on your screen.
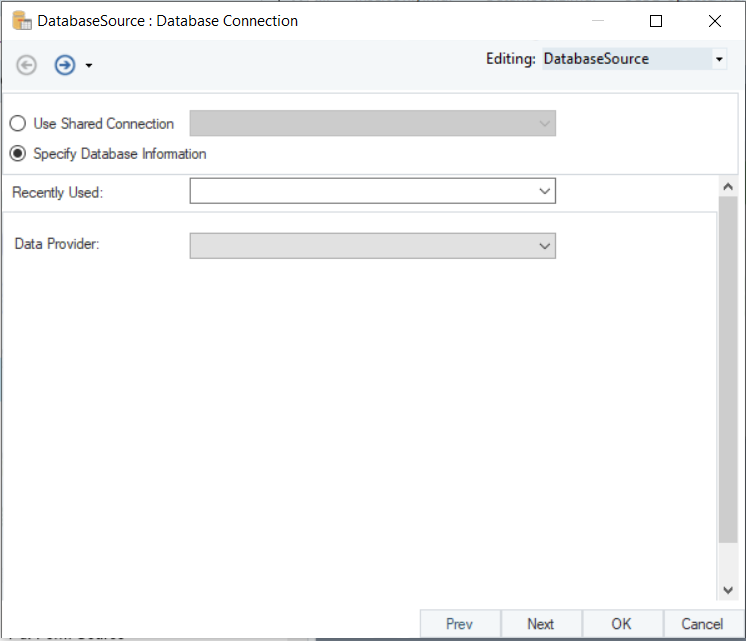
The Database Connection screen on this window can be used to access the virtual databases representing the deployed data models.
The Data Provider dropdown menu features a comprehensive list of data providers available from within Astera DWB. Among these, you’ll notice an option by the name of Astera Data Model.
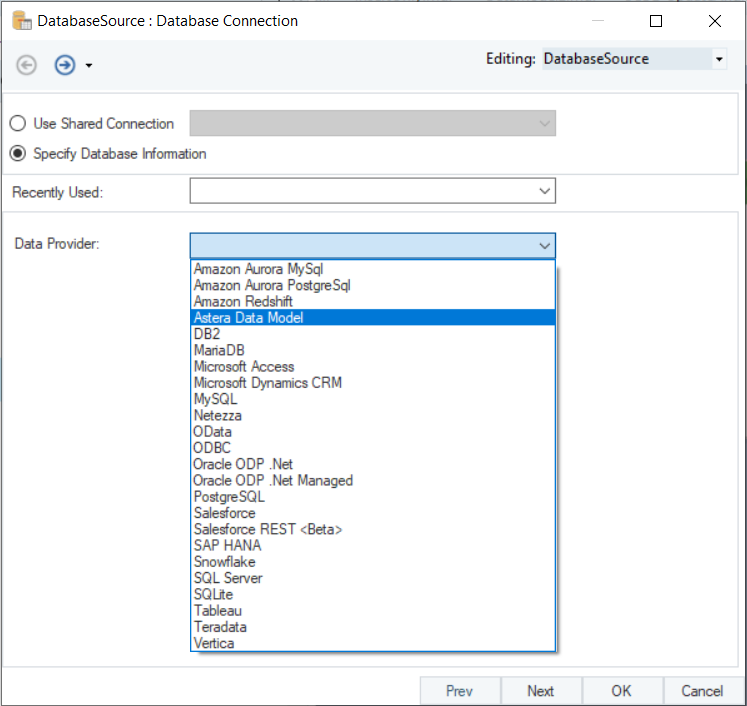
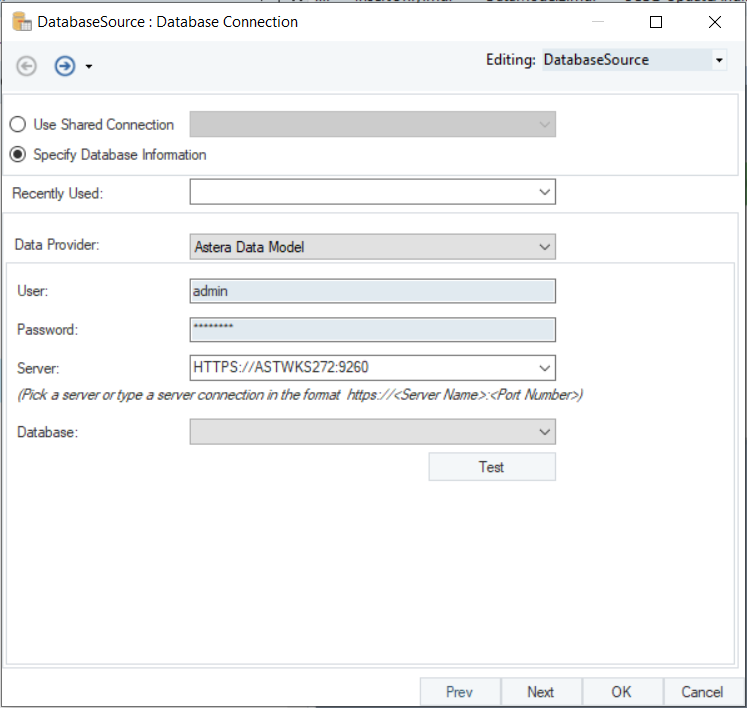
On selecting the Astera Data Model option, a list of required credentials will appear on the screen.
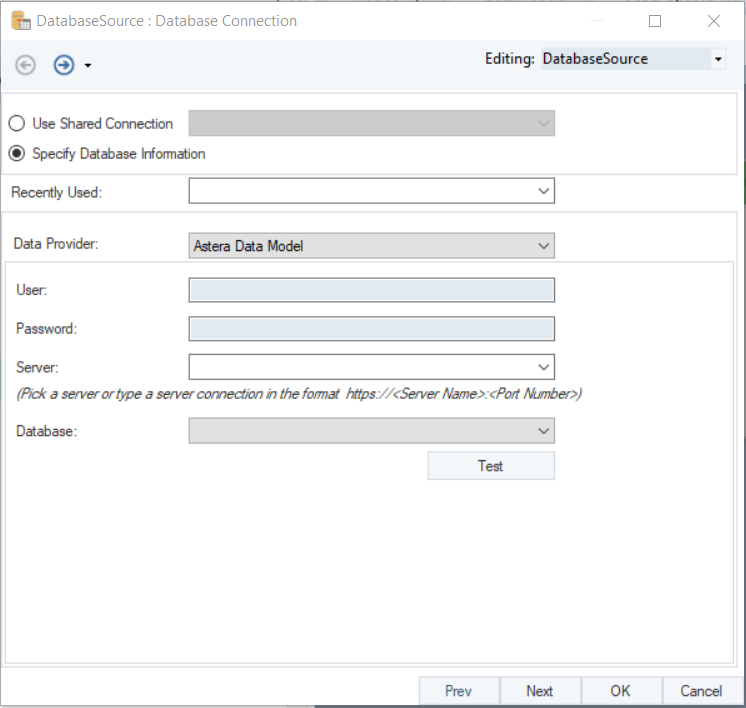
User: Here, you must provide your Astera DWB username. The default username is admin.
Password: Here, you must provide your Astera DWB password. The default password is Admin123.
Server: Here, you must provide the server connection in the given format. This is the server where you’ve deployed your data models.
Once you’ve filled in the required credentials, the Database dropdown menu will provide a list of deployments that are running on the server.
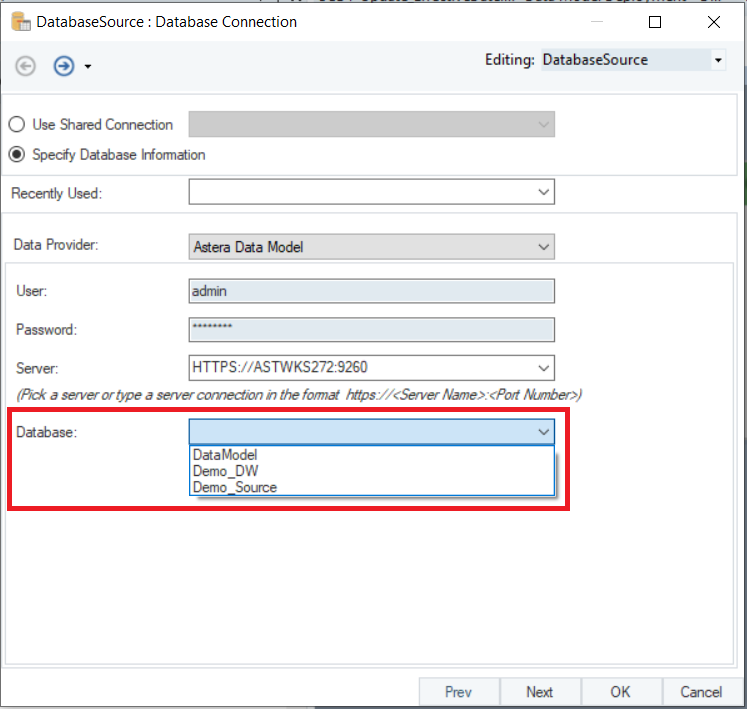
Choose the deployment that you wish to access. In this case, we’ll select Demo_Source. You can test the connection by clicking on the Test icon.
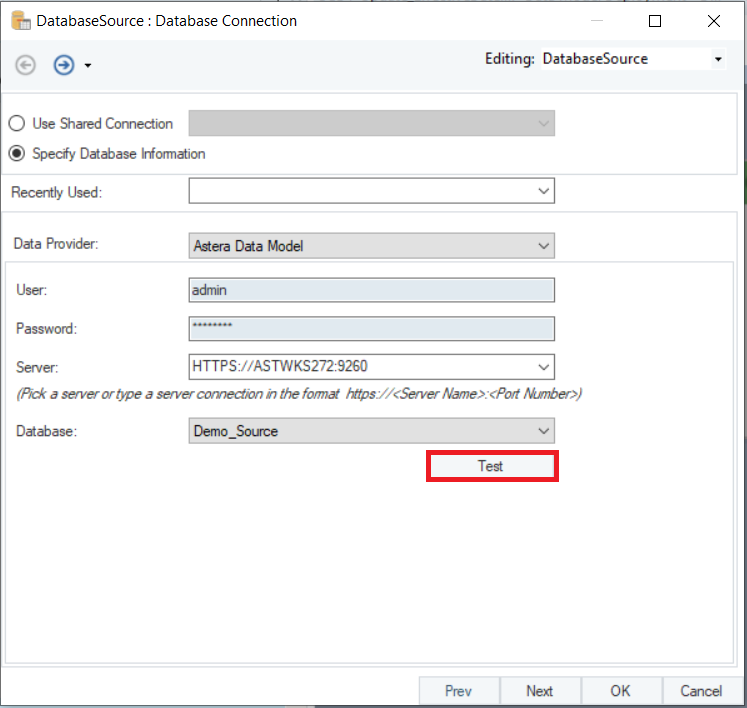
A pop-up window will show you the test results.
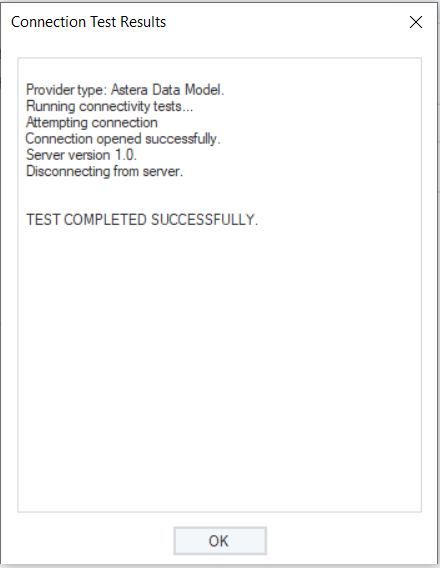
This Database Table Source object now has access to the tables present in Demo_Source. Similarly, you can connect to a deployed data model from the Database Connection screen in the Data Model Query Source, SQL Query Source, Fact Loader, and Dimension Loader objects.
Click Next to move to the Pick Source Table and Reading Option screen.
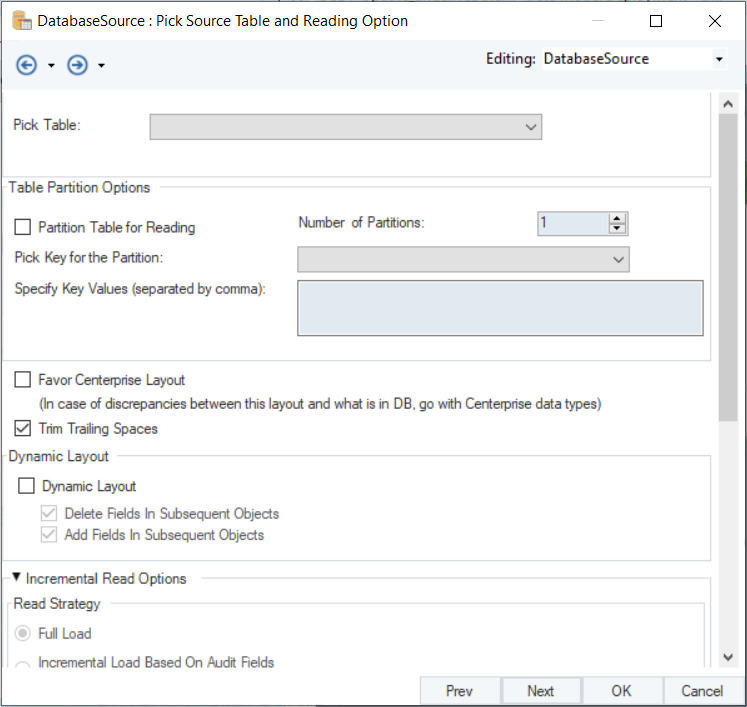
This screen is specific to the Database Table Source object and will vary according to the object you’re using.
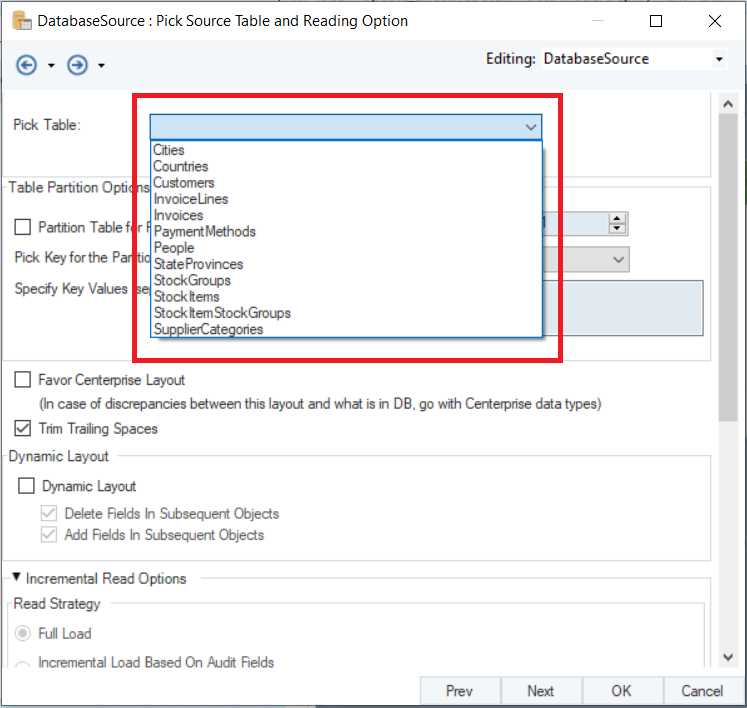
Here, you can pick a table from the virtual database representing the data model.
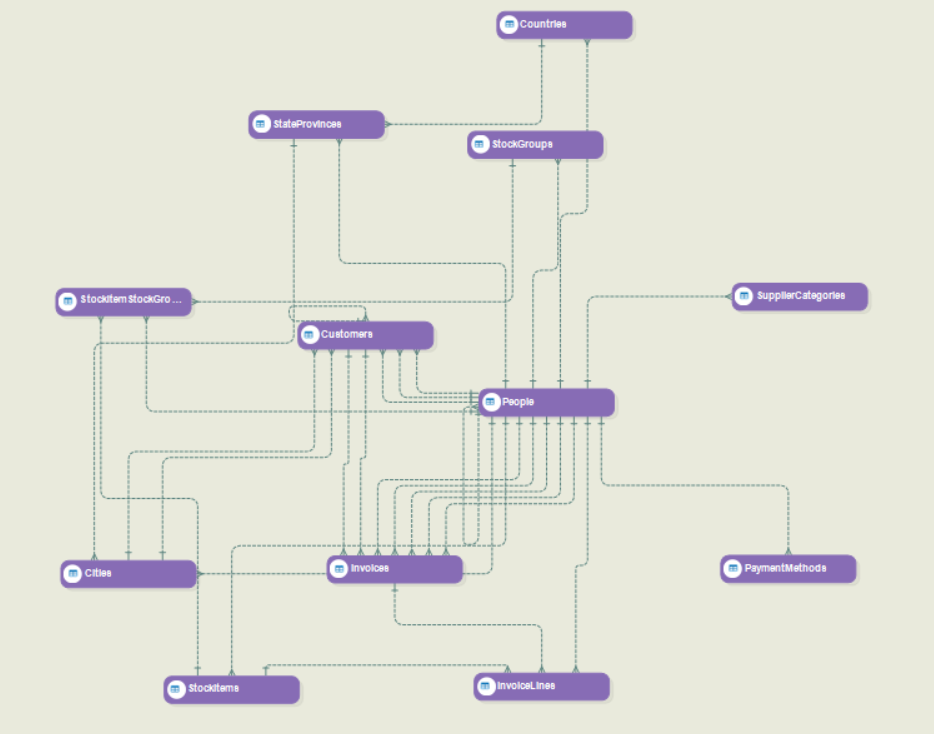
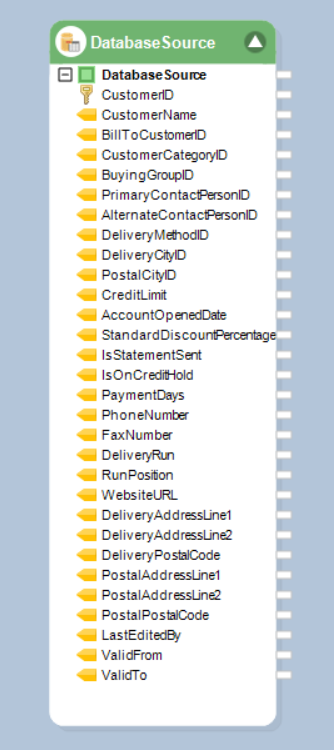
For reference, here is a look at the Demo_Source data model.
In this case, we’ll select the Customers table from the dropdown menu.
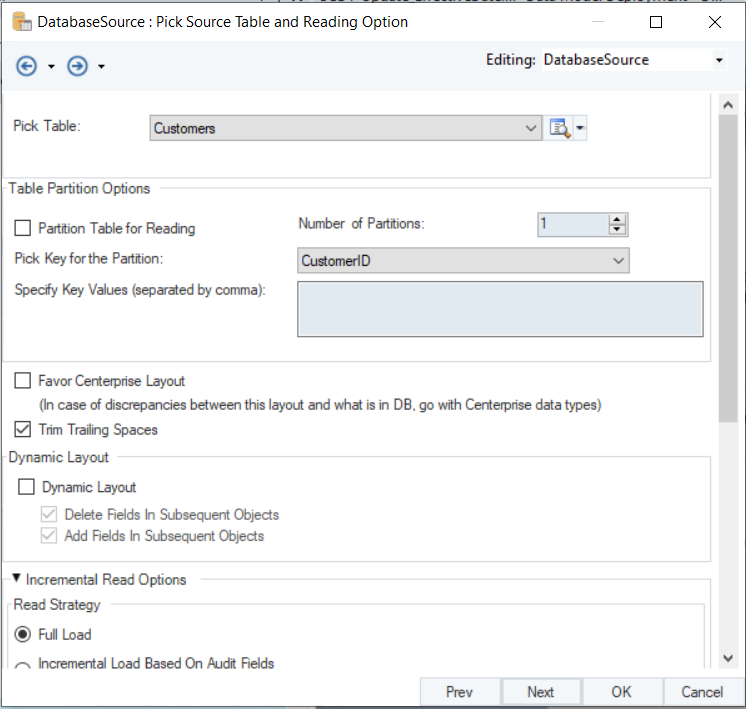
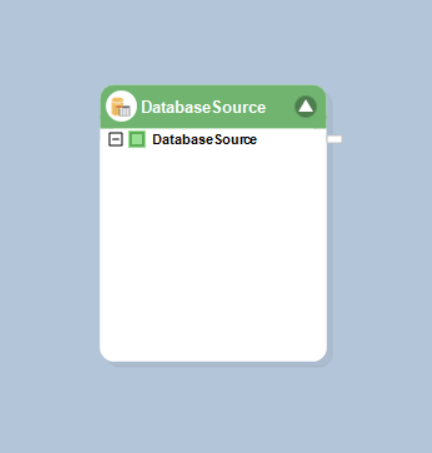
Click OK to close the configuration window. You’ll notice that the layout of the Customers table is now visible in the Database Table Source object.
You’ve successfully accessed an Astera Data Model table in a dataflow and can use it as part of an ETL pipeline.
Fact Loader & Dimension Loader
As mentioned earlier, the Fact Loader and Dimension Loader objects can be used as destination objects to load data into fact and dimension tables, respectively. These tables are represented by fact and dimension entities in a dimensional model, which denotes the schema of a data warehouse. Collectively, the Fact Loader and Dimension Loader objects are used to populate a data warehouse.
You can use the Database Connection screen in the properties of both objects to access the virtual databases representing deployed data models, in the same way as we saw earlier in the Database Table Source object. Once you’ve done so, click next to move to the Pick Table screen, where you can pick a table from the virtual database.
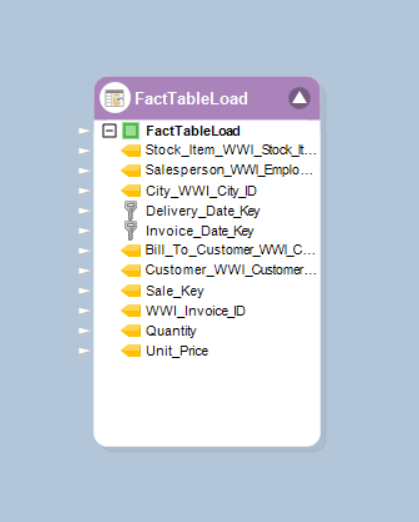
Let’s assume that we’ve deployed the following dimensional model:

The Sale entity represents the fact table, and the rest of the entities represent dimension tables.
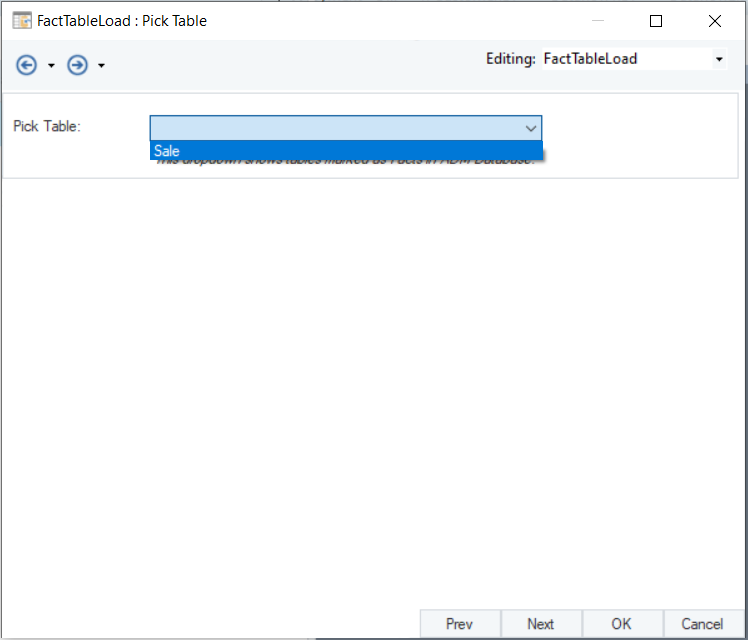
Fact Loader – Pick Table
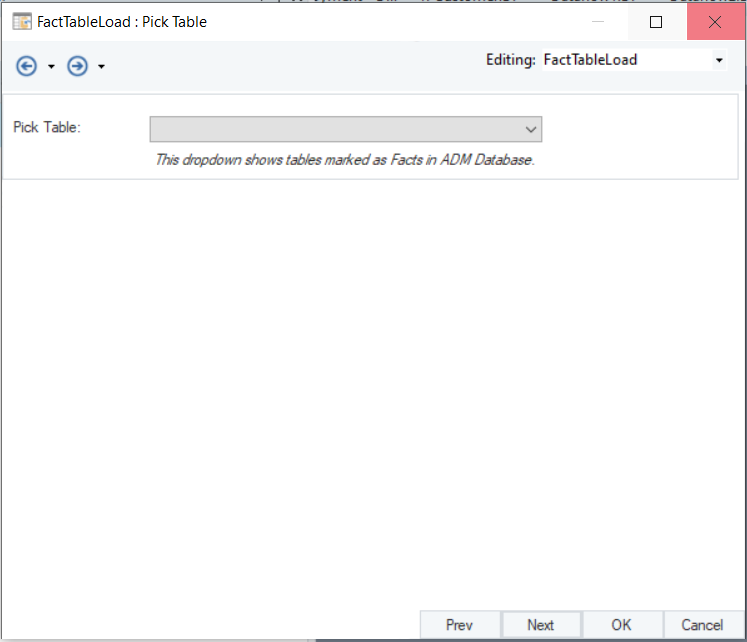
On expanding the Pick Table dropdown menu, you’ll notice that it only shows tables that are marked as facts in the dimensional model. In this case, the only table which fits that criterion is the Sale table.
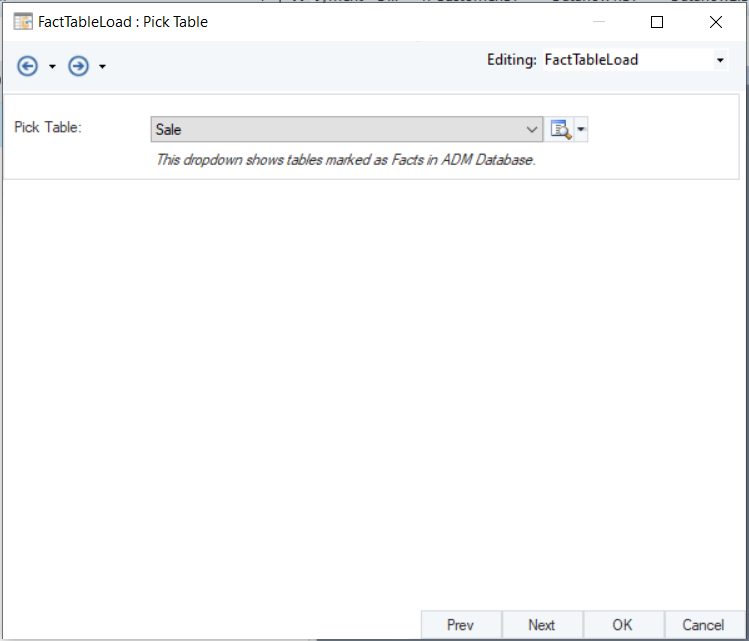
Click Next to move to the Layout Builder screen. Here, you can view the layout of the fact table.
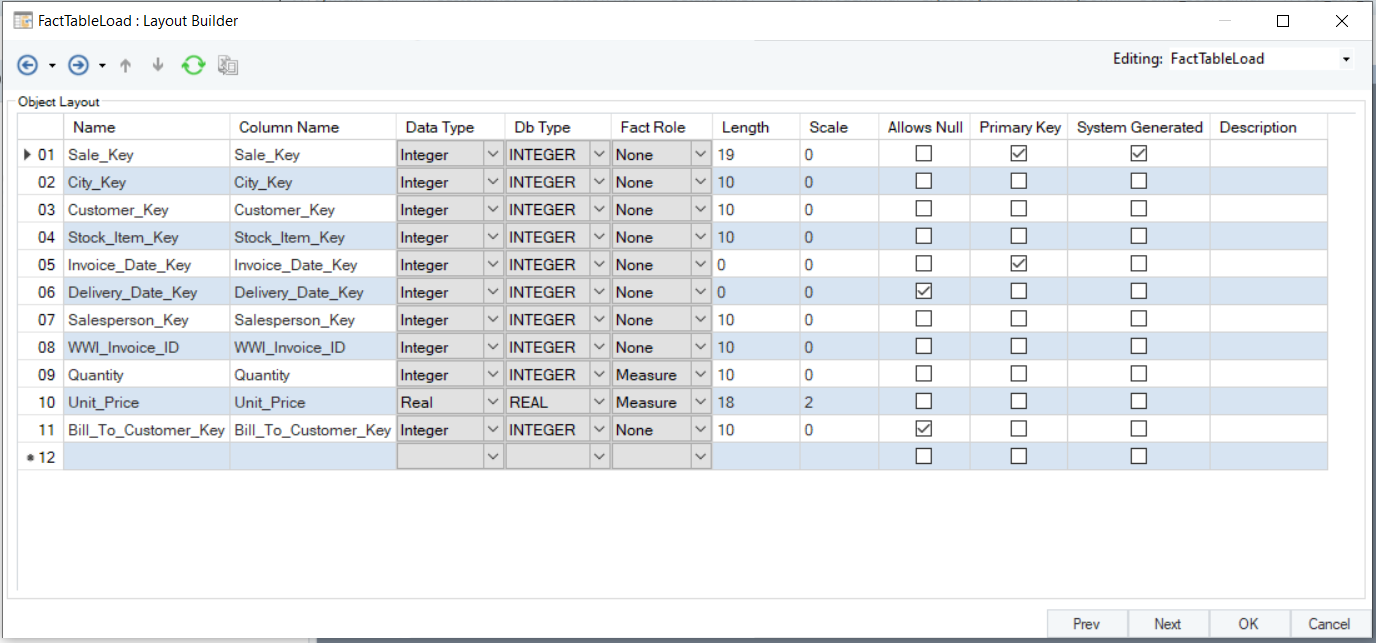
Click OK to the close the configuration window. The layout will now be visible in the Fact Loader object.
You can now make the required mappings from a relevant source object and run the dataflow in pushdown mode to populate the fact table.
Dimension Loader – Pick Table
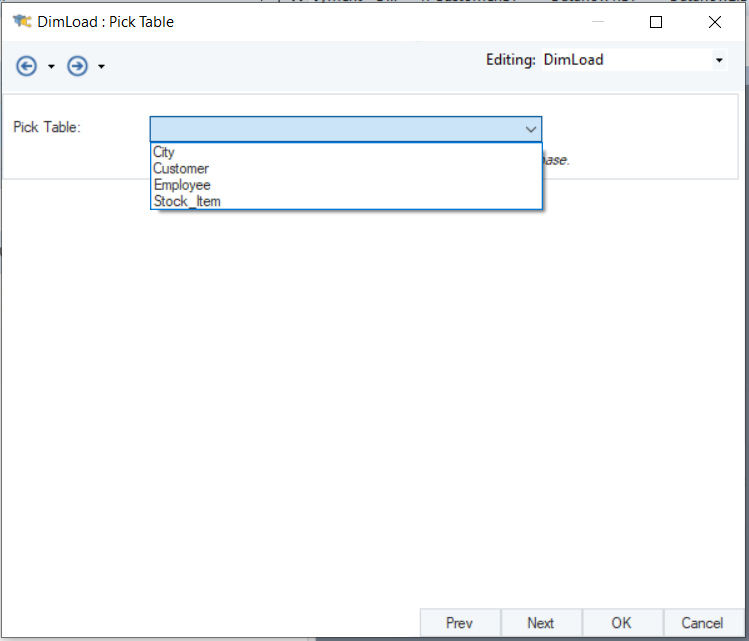
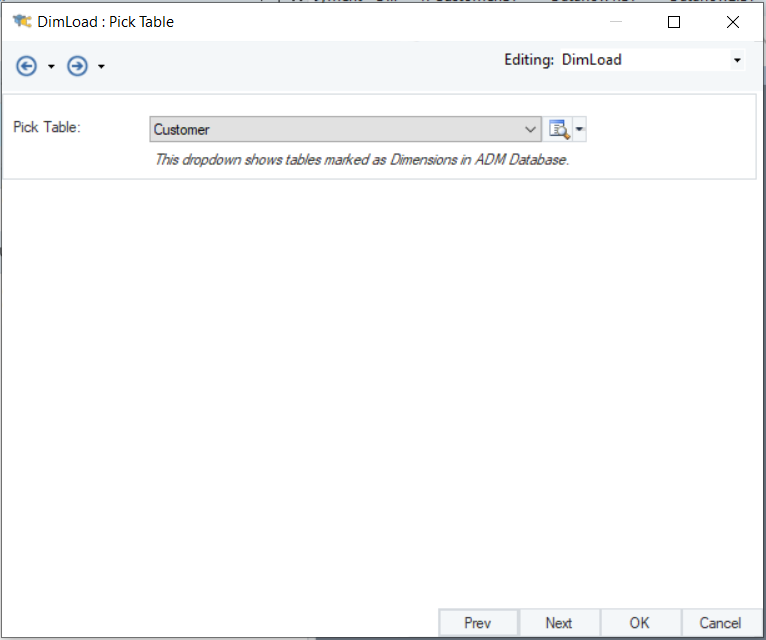
The Pick Table dropdown menu in the Dimension Loader object only shows tables that are marked as dimensions in the dimensional model.
In this case, we’ll select the Customer table.
Click Next to move to the Layout Builder screen.
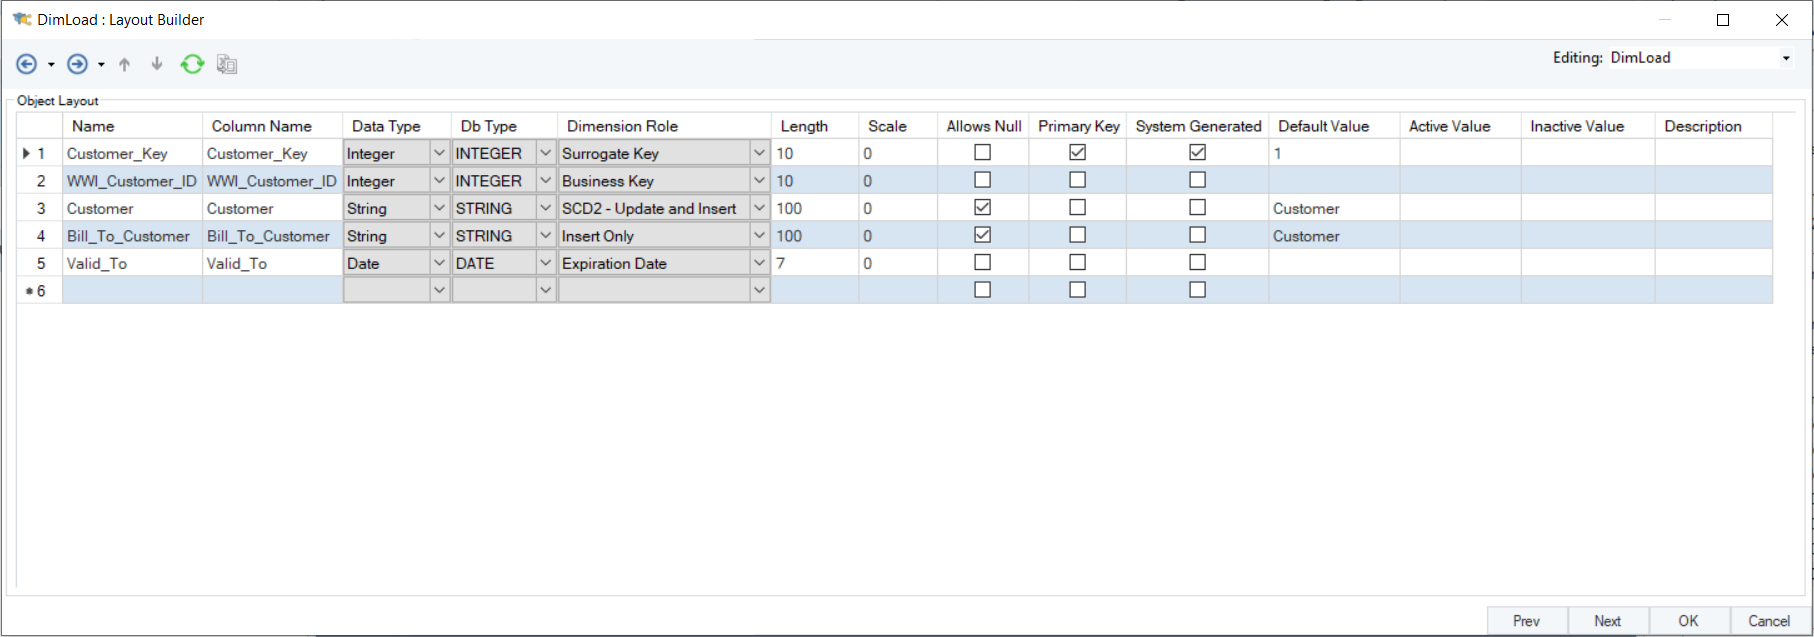
Here, you can view the layout of the dimension table.
Click OK to close the configuration window. The layout will now be visible in the Dimension Loader object.
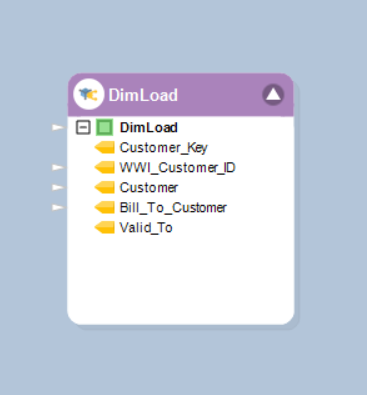
You can now make the required mappings from a relevant source object and run the dataflow to load data into the dimensional table.
This concludes our discussion on using Astera Data Models in ETL pipelines.