Data Model Query
The Data Model Query object in Astera DW Builder allows you to extract multiple tables from a deployed data model. This is especially useful when you’re writing data to a fact table via the Fact Loader object, since the fact table contains attributes from multiple source tables.
In this article, we’ll be looking at how you can configure the Data Model Query object and use it to extract data from a source model.
Video
Example
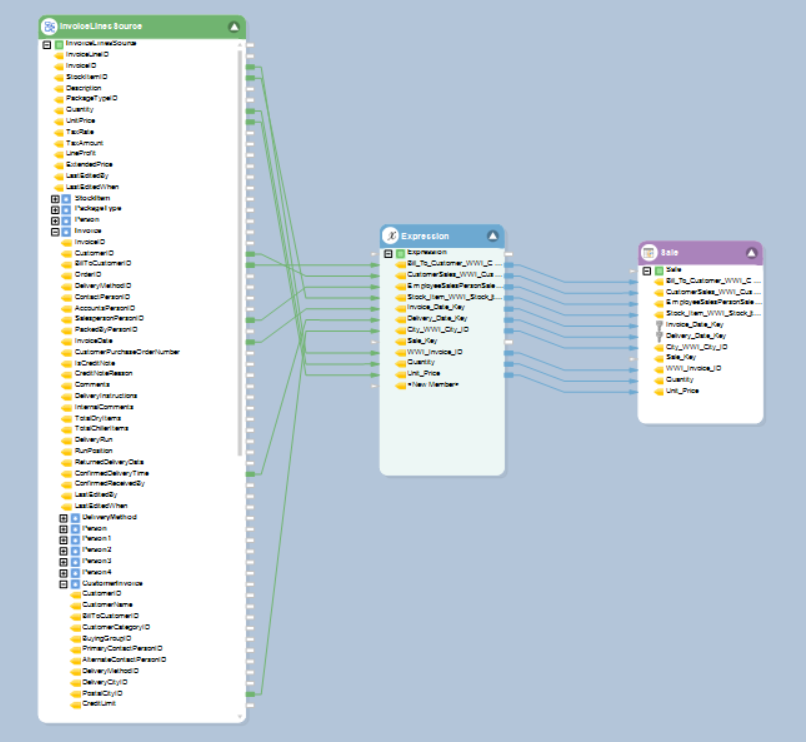
Let’s assume that we have the following source model.
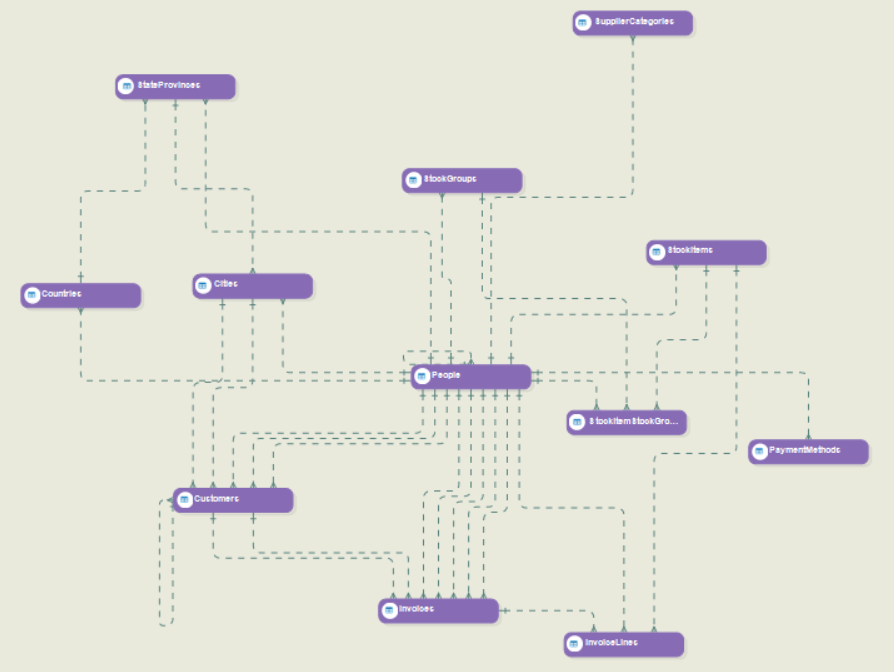
In this example, we’ll extract all of these tables as a source via the Data Model Query object.
Configuring the Data Model Query Object
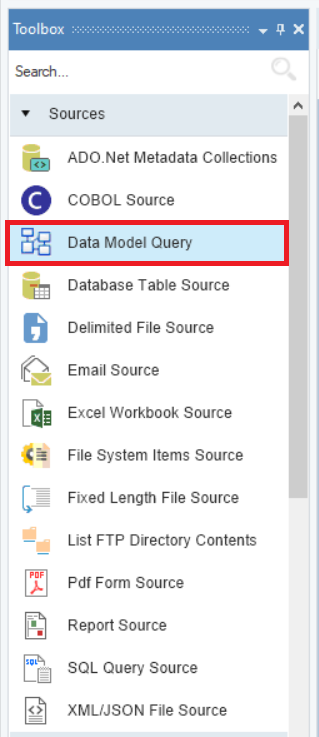
1. To get the Data Model Query object from the toolbox, go to Toolbox > Sources > Data Model Query.
2. Drag and drop the Data Model Query object onto the dataflow designer.
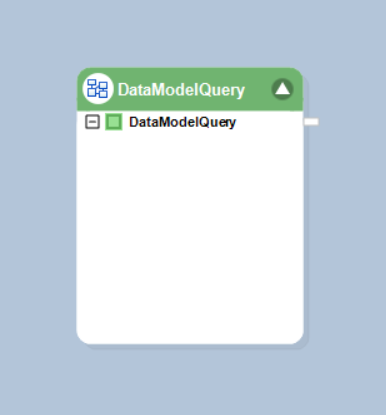
The object is currently empty because we are yet to configure it.
3. To configure the Data Model Query object, right-click on its header and select Properties from the context menu. Alternatively, you can double-click on the object header.
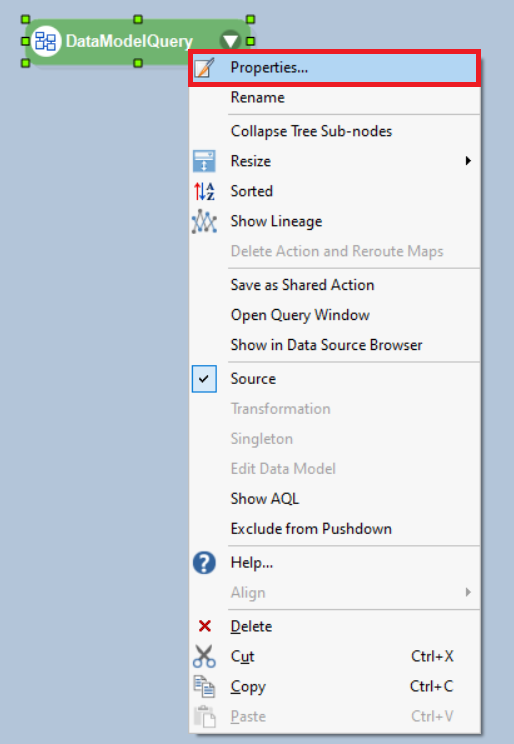
A configuration window will pop up.
Using this window, you can configure the properties of the Data Model Query object.
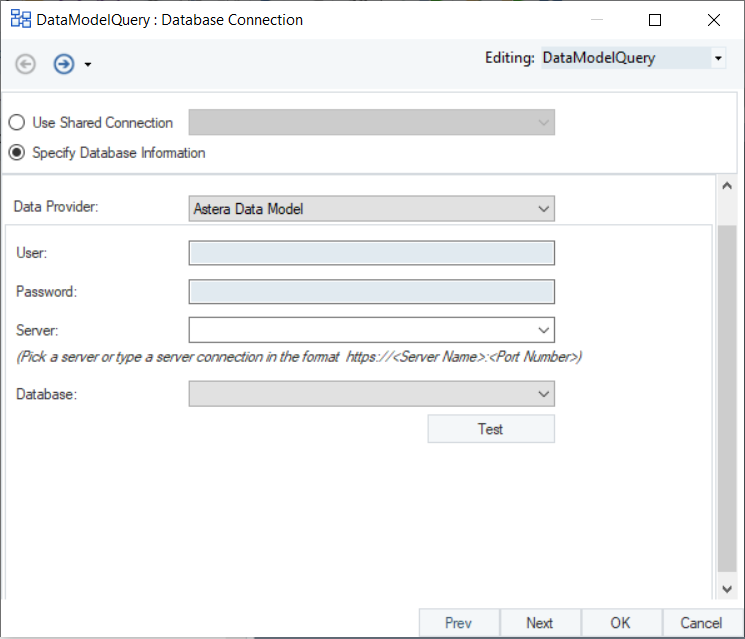
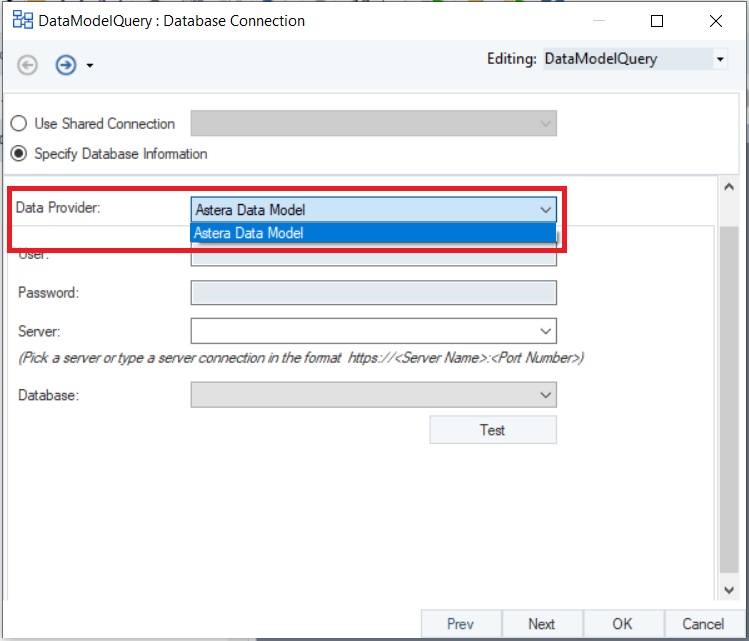
4. On the Database Connection screen, you’ll notice that the Data Provider dropdown menu is limited to just one option: Astera Data Model. This option represents the data models that are deployed on the server and are available for usage.
Once you’ve provided your Astera Data Warehouse Builder credentials and a server connection, you can select a deployed model from the Database dropdown menu.
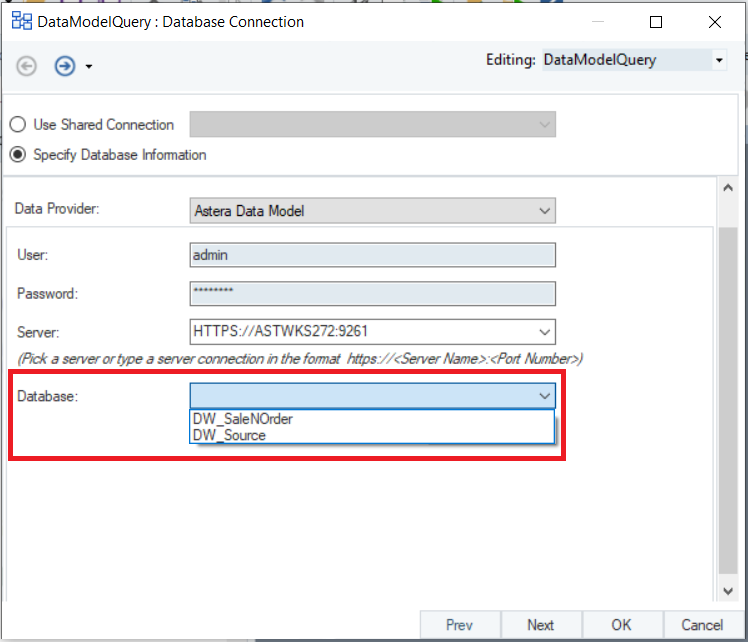
Note: The default username is admin, and the default password is Admin123.
In this case, we’ll select DW_Source, which represents the source model that was shown earlier.
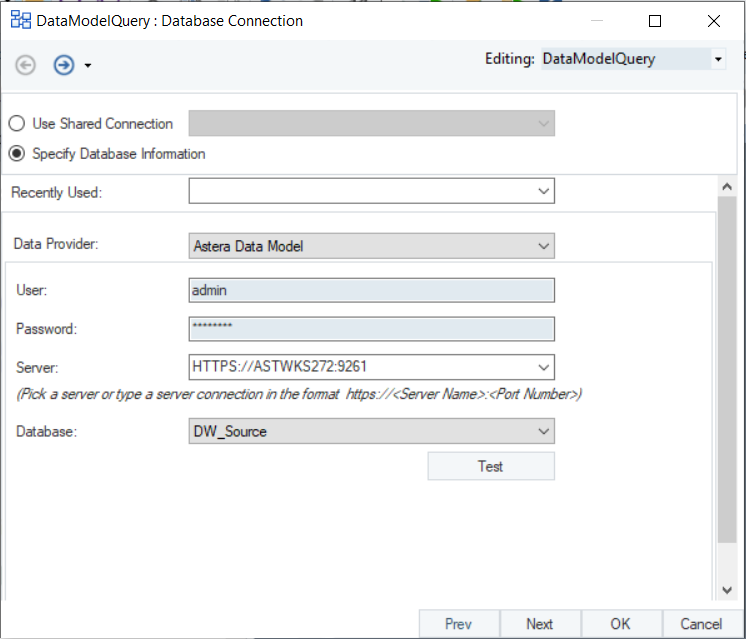
Once you’ve chosen a deployed model, click Next.
5. The Query Source Layout screen will appear.
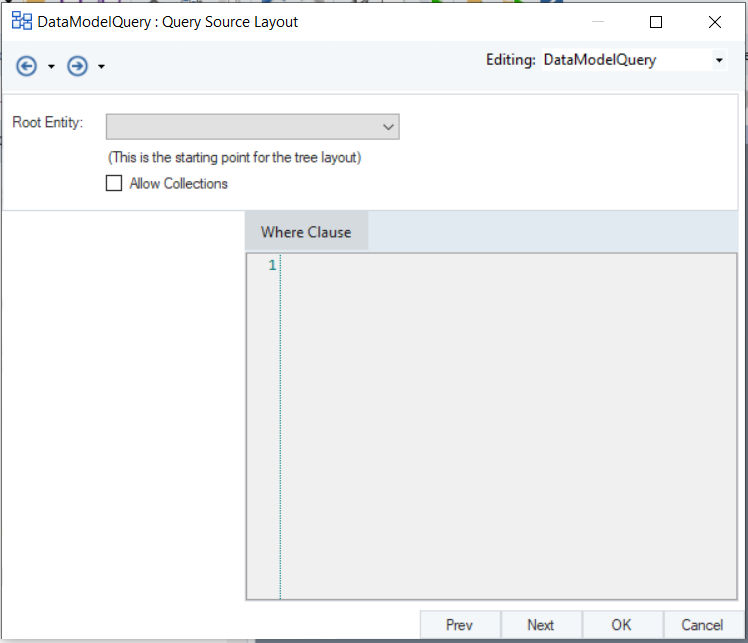
On the Query Source Layout screen, you can select a root entity from a list of entities present in the source model, via the Root Entity dropdown menu.
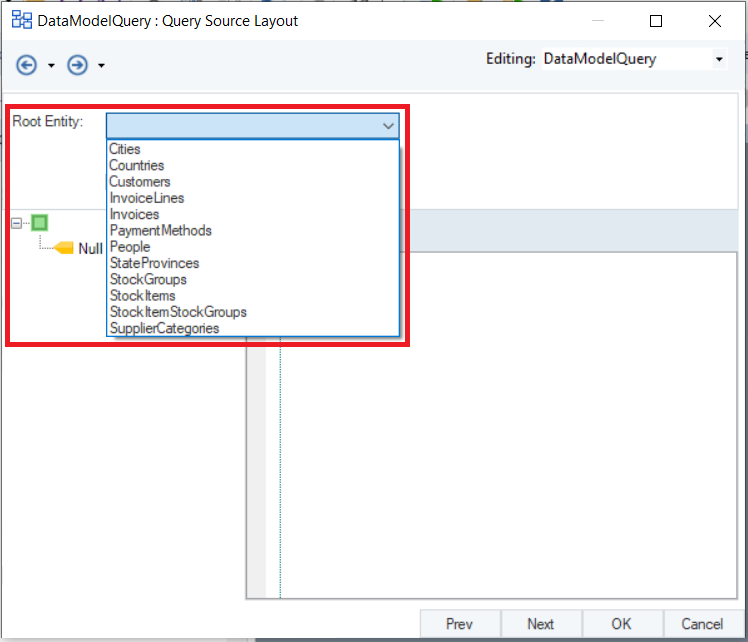
The root entity serves as a starting point for a tree layout that includes all of the entities that you need to extract data from.
In this case, the root entity in the source data model is InvoiceLines.
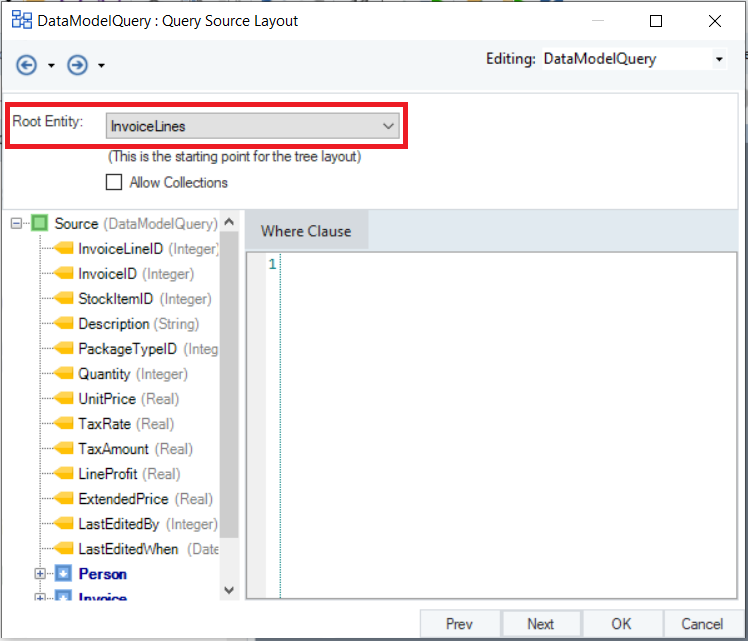
Once you’ve chosen a root entity, a tree/hierarchical layout starting from the root entity will appear on the left side of the screen. You can expand the inner nodes to reveal the fields present in other entities of the source model.
Checking the Allow Collections option will enable collection nodes in the tree layout.
In the Where Clause textbox, you can add an optional SQL statement that will serve as a filter for incoming records.
Click OK once you’ve chosen a root entity. You’ve now configures the Data Model Query object. The tree layout, starting from the root entity, will be visible in the object.

The fields present in this layout can now be mapped further to other objects in the dataflow.
This concludes our discussion on the Data Model Query object.