Introduction to Dataflows
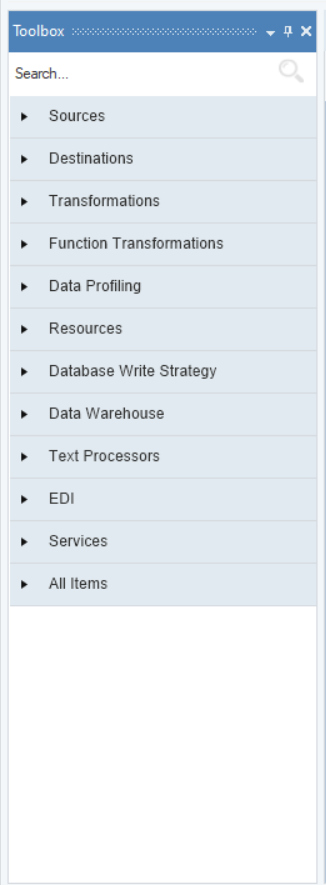
The ETL and ELT functionality of Astera Data Warehouse Builder is represented by dataflows. When you open a new dataflow, you’re provided with an empty canvas knows as the dataflow designer. This is accompanied with a toolbox that contains an extensive variety of objects, included sources, destinations, transformations, and more.
Using the toolbox objects and the user-friendly drag-and-drop interface, you can design ETL pipelines from scratch on the dataflow designer. In terms of data warehousing, this functionality is used when populating the fact and dimension tables present in a data warehouse.
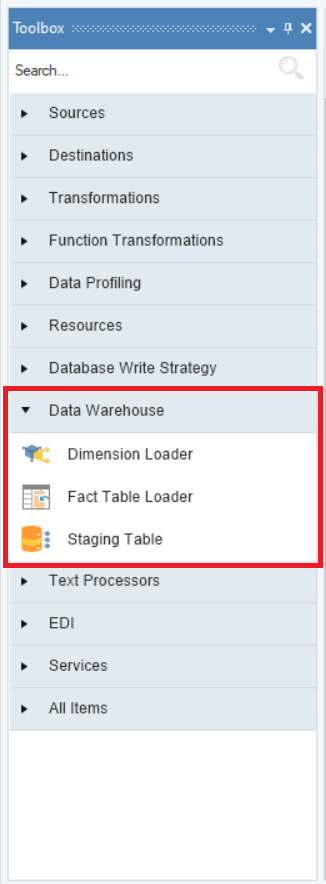
The toolbox contains a section titled Data Warehouse. This section includes the Fact Loader and Dimension Loader objects, which can be used to load data into fact and dimension tables, respectively.
Here is a sample dataflow that we’ve designed to write data to a dimension table.
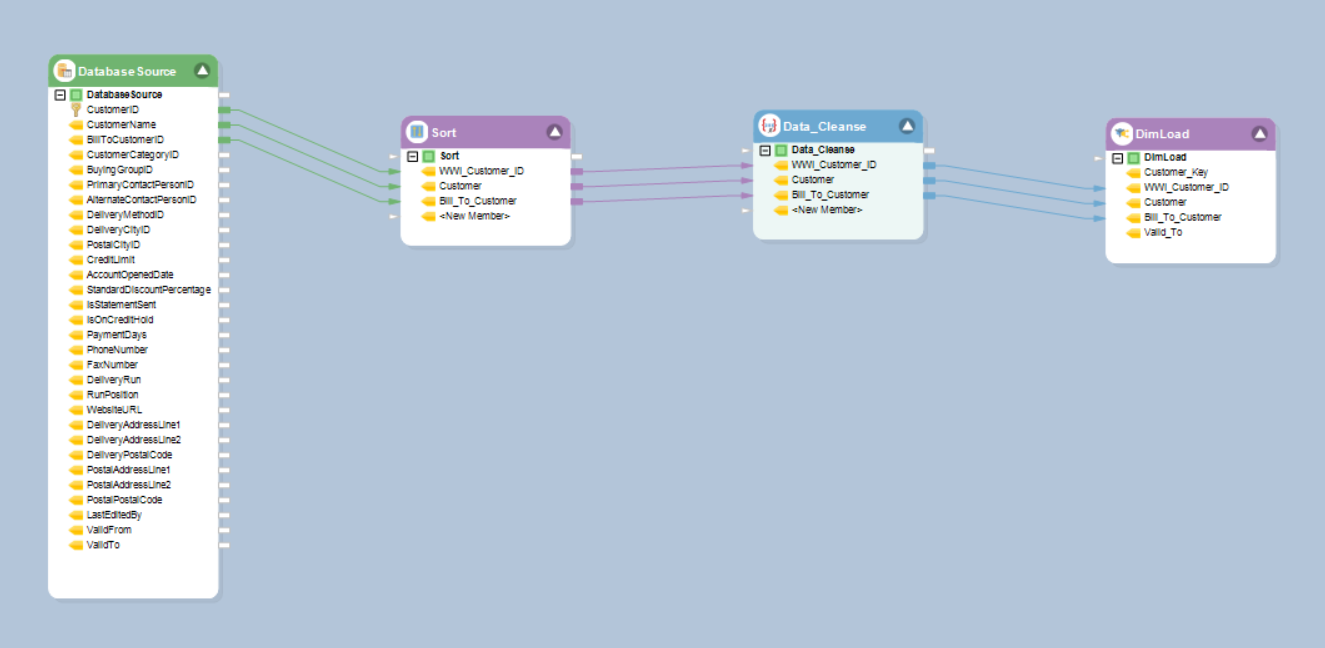
In this dataflow, we’ve extracted data from a deployed model via the Database Table Source object. After that, we’ve performed the Sort and Data Cleanse transformations on the extracted data, before finally mapping it onto the Dimension Loader object.
If you wish to go over the object-wise documentation for the various sources, destination, transformations, etc., in the dataflow toolbox, you can visit the Centerprise documentation here.
To execute the ETL process you’ve designed in a dataflow, press the Start Dataflow button in the main toolbar.

You also have the option to execute a dataflow as an ELT process. To do so, press the Start Job in Pushdown Mode option.

This concludes our introduction to dataflows in Astera Data Warehouse Builder. In the rest of this section, we’ll take a look at each dataflow object that is relevant to the data warehousing process.