Deploying a Data Model
In Astera Data Warehouse Builder, you can deploy or publish a data model to the server for data consumption. Once a model has been deployed, it is available to be used in the creation of ETL pipelines via dataflows or for data visualization and analysis through industry-leading visualization tools such as Power BI, and Domo using a built-in OData service.
Video
Deployment and Staging Directories
Before you can deploy data models in Astera Data Warehouse Builder, you need to specify the deployment and staging directories in the cluster settings.
To access the cluster settings, right-click on the default cluster node in the Server Explorer and select Cluster Settings from the context menu.
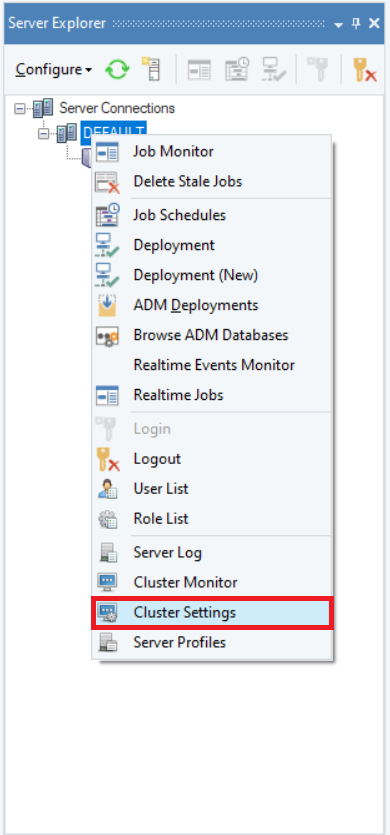
A new tab titled Cluster Settings will open in the client.
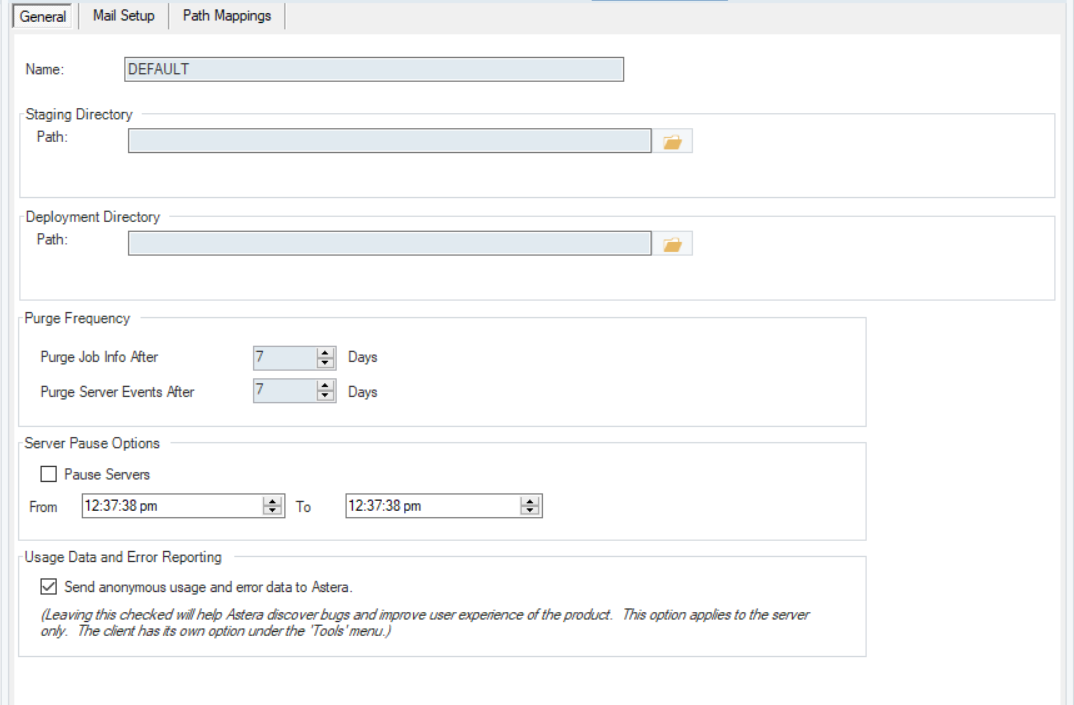
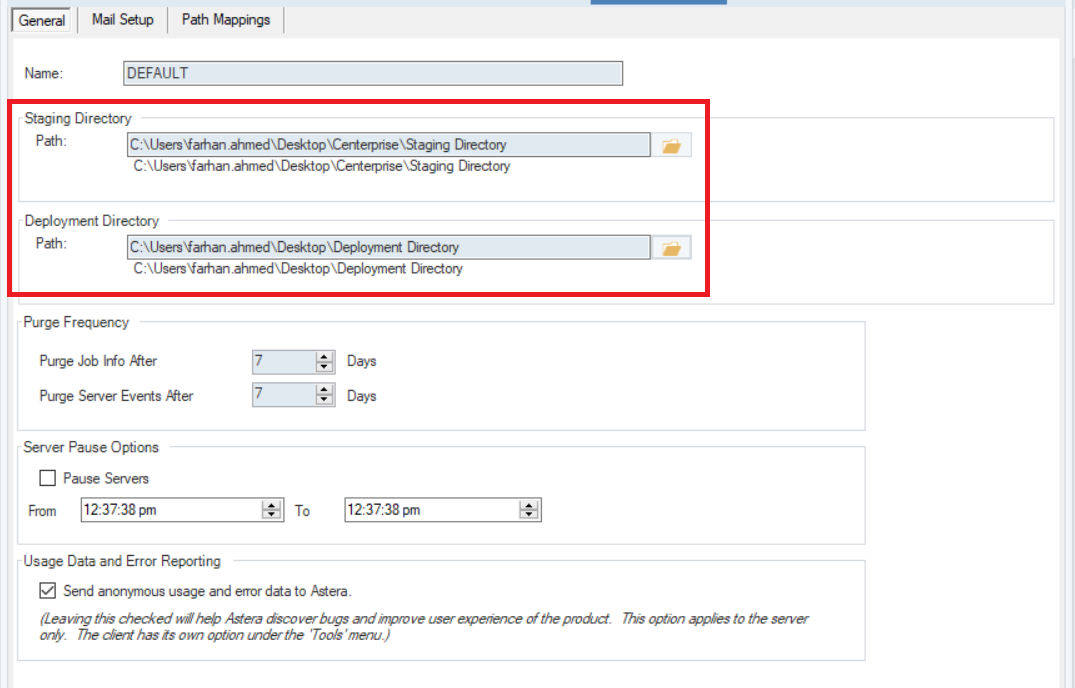
Here, you can provide folder paths for the staging and deployment directories.
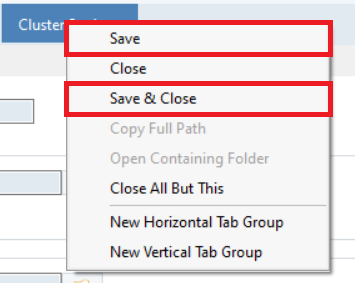
Save your directories by pressing CTRL+S. Altervatively, you can right-click on the Cluster Settings tab and select the appropriate option.
How to Deploy a Data Model
Method 1 – Direct Deployment
There is a Deploy Data Model option on the data model toolbar.

Before you can deploy a model, you need to make sure that it does not contain any verification errors. To learn how you can verify a data model, click here.
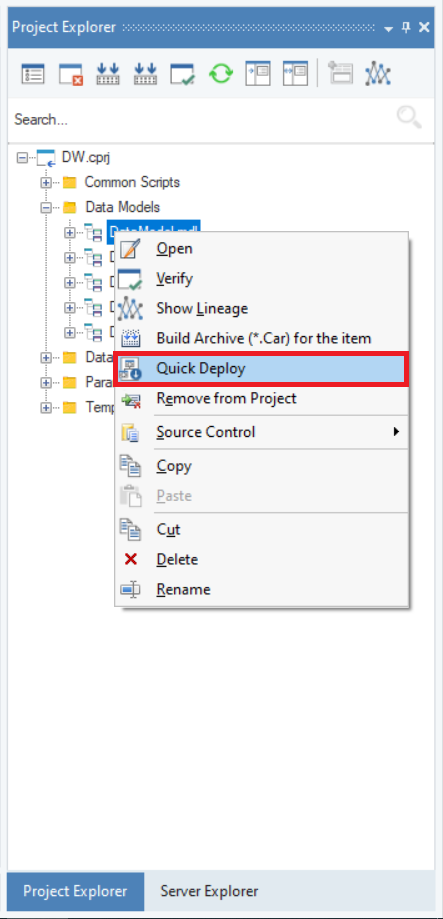
Once the model has been verified successfully, click on the Deploy Data Model option. Alternatively, you can right-click on the data model from within the Project Explorer and select Quick Deploy from the context menu.
If you haven’t saved the model beforehand, a pop-up window will open and give you the option to save it.

Click Yes. The Data Model Deployment window will appear.
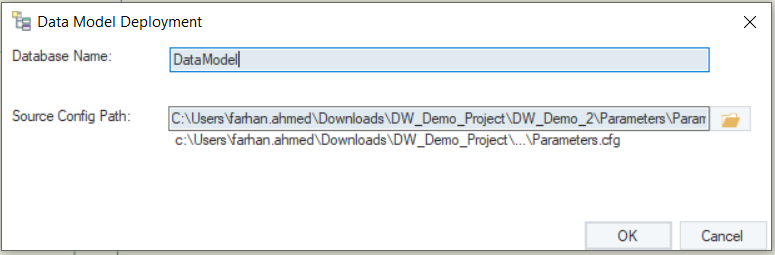
The following options are available on this window:
- Database Name: In this text box, you can define a name for the virtual database representing the deployed data model.
- Source Config Path: Here, you can provide the path to a config file that can be used to modify data model parameters.
Once you’ve filled these boxes, click OK.
The Job Progress window will show the deployment being processed at the server.
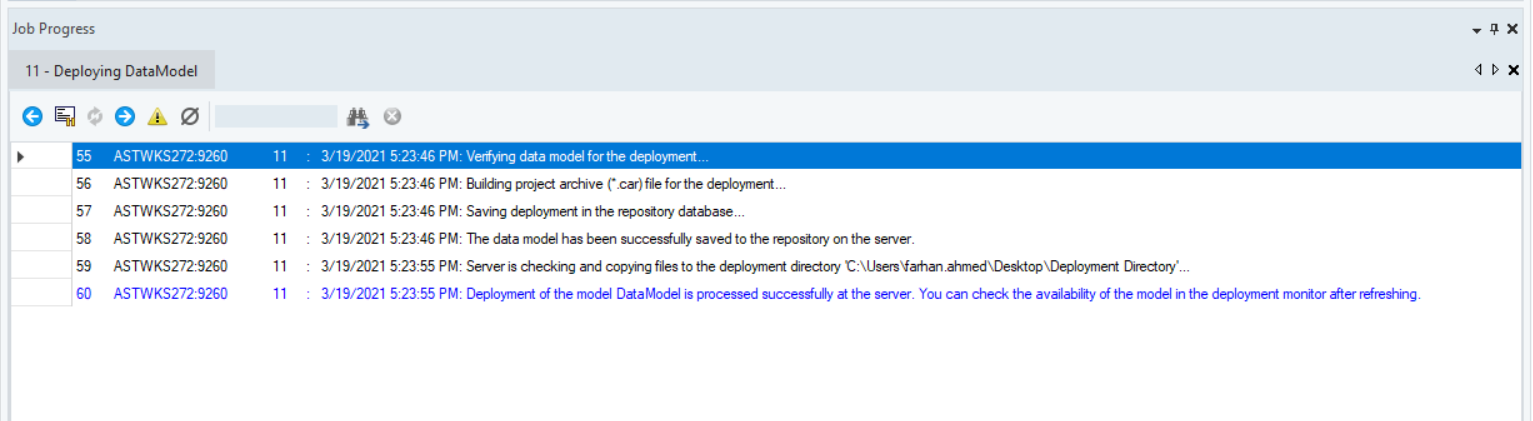
Note: The archive file for direct deployment is generated automatically.
Method 2 – Using the Add Deployment Option in the ADM (Astera Data Model) Deployments Tab
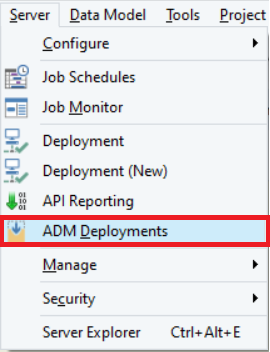
To access the ADM Deployments tab, go to Server > ADM Deployments.
A new tab for Data Model Deployments will appear on the client.
Here, you can view all of your deployed data models and add new deployments as well.
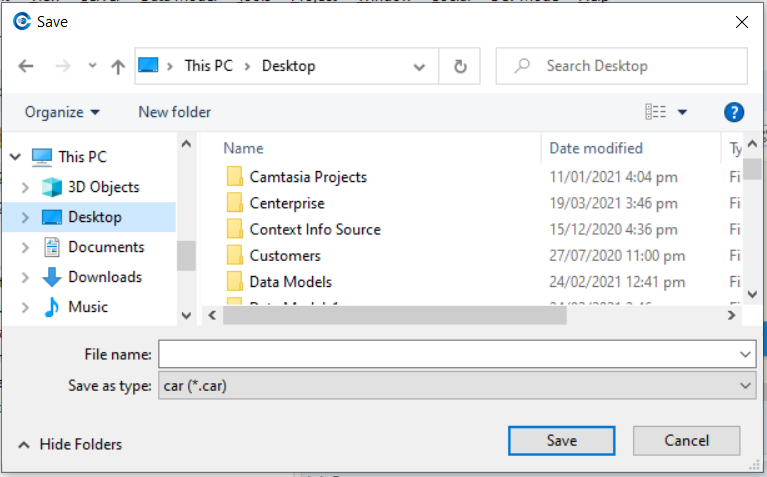
Before adding a new deployment, you will have to generate an archive file for the data model manually. To do that, right-click on the data model in the Project Explorer and select Build Archive (*.Car) for the item.

A pop-up window will allow you to save the archive file at your specified location.
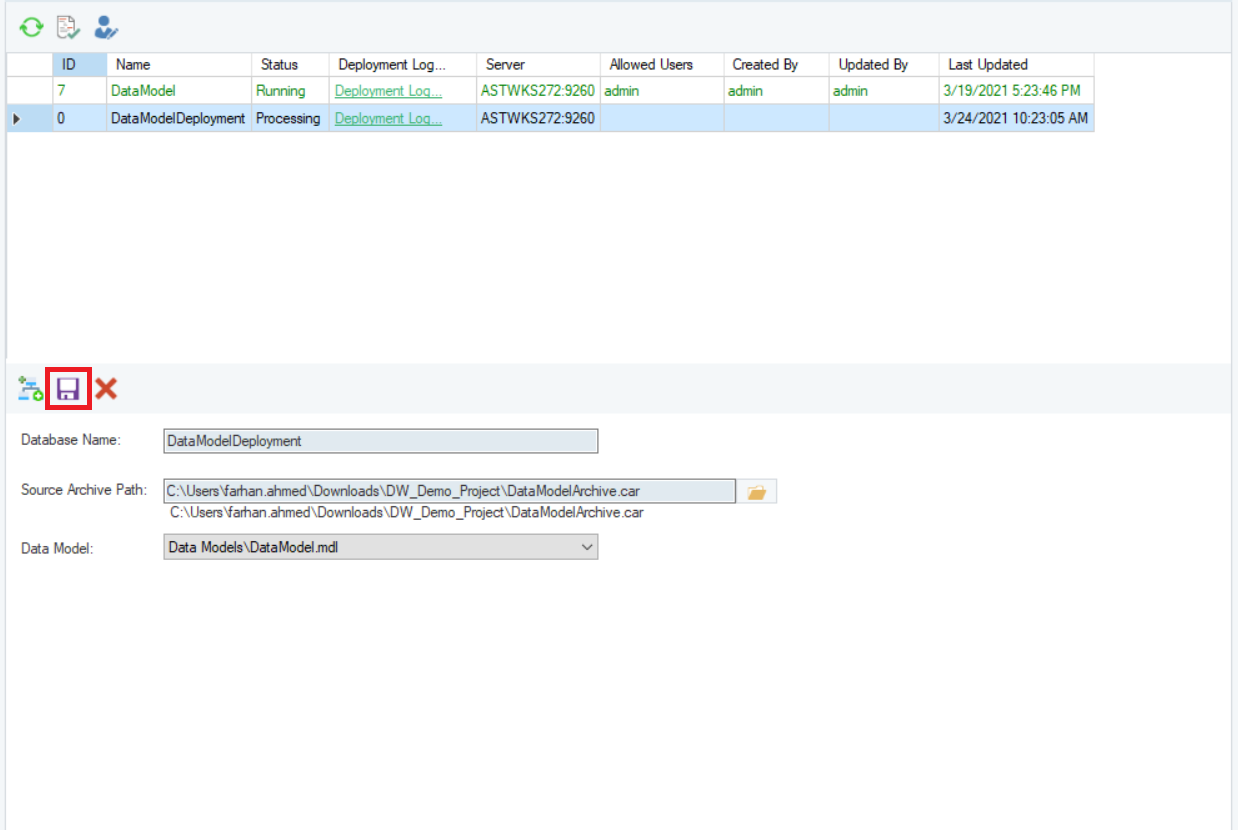
To add a new deployment in the Data Model Deployments, click on the Add Deployment icon.

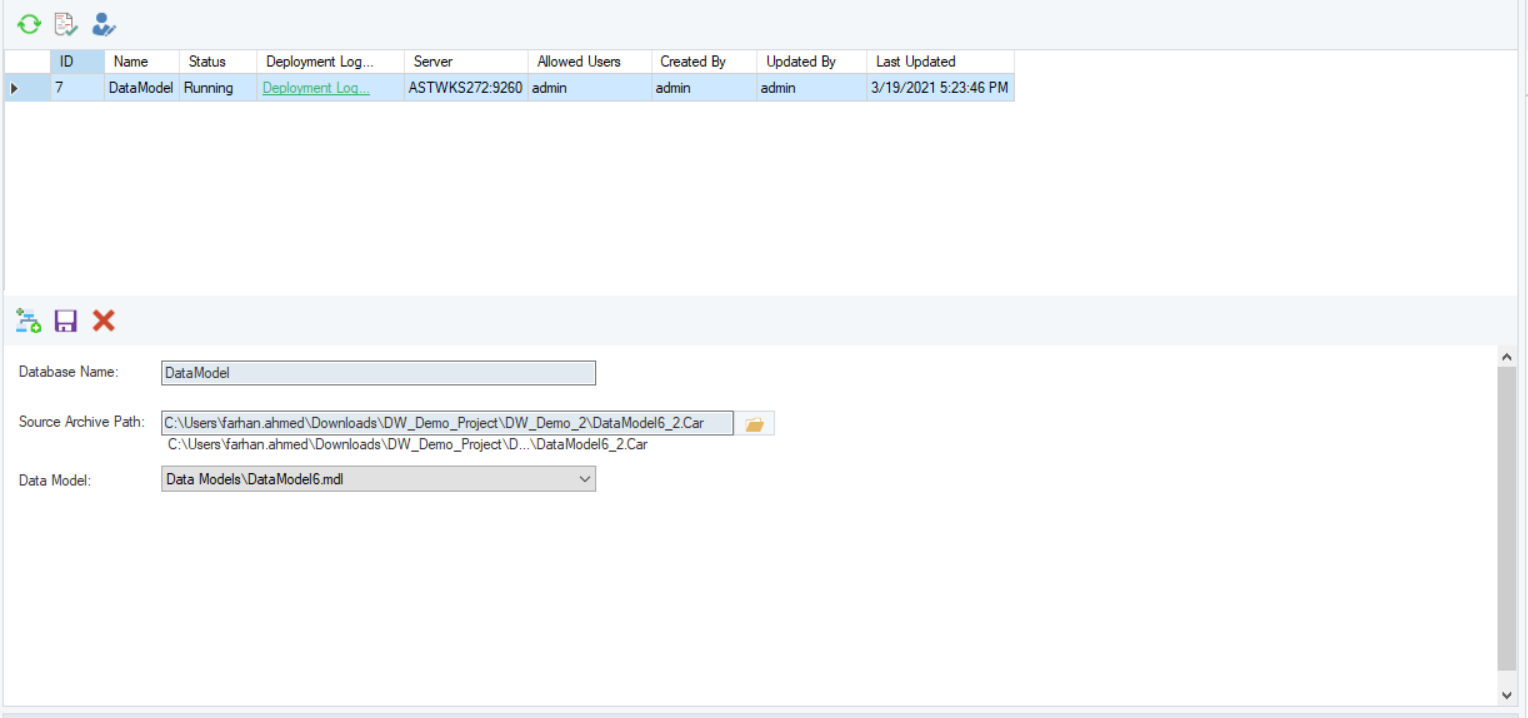
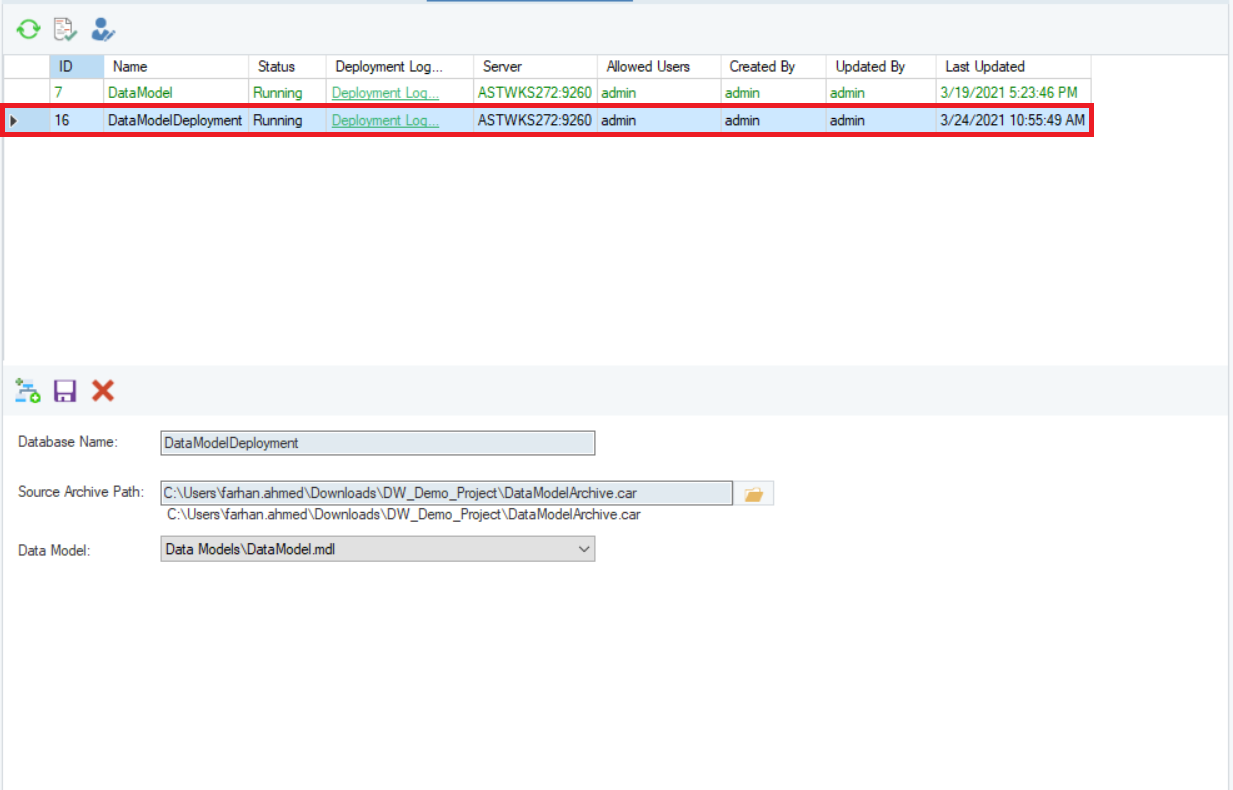
Once a new deployment has been added to the list, you must provide the following details:
- Database Name: A name for the virtual database representing the deployed data model.
- Source Archive Path: The path to the archive file for the model.
- Data Model: From this dropdown menu, you must select the data model that is being deployed.

Once you’ve filled in all of these details, click on the Save Deployment icon to save the deployment.
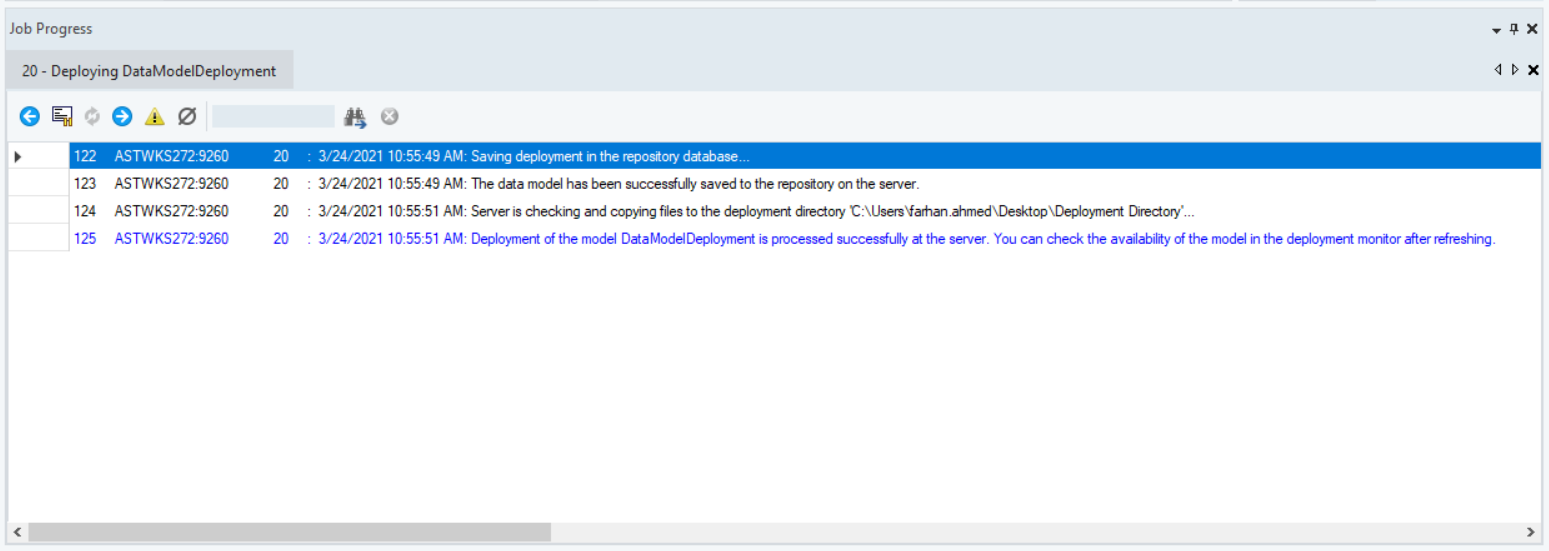
The deployment will be processed at the server, as indicated by the Job Progress window.
This concludes our discussion on deploying a data model. In the next article, we’ll talk about how you can use deployed data models in ETL pipelines.