Connecting to a Server from the Client
Video
Overview
After you have successfully installed the Astera DW Builder client and server applications, open the client application. You will see the Server Connection screen as pictured below.
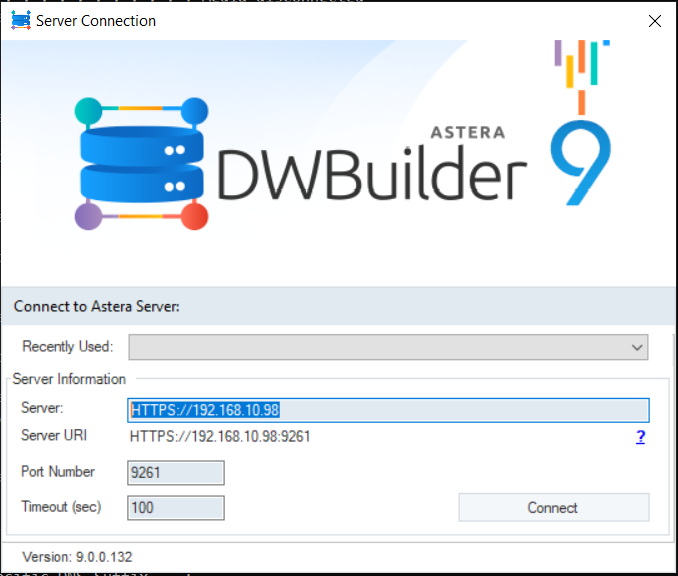
Enter the Server URI and Port Number to establish the connection.
The server URI will be the IP address of the machine where the Astera Integration Server is installed.
Server URI: (HTTPS://IP_address)
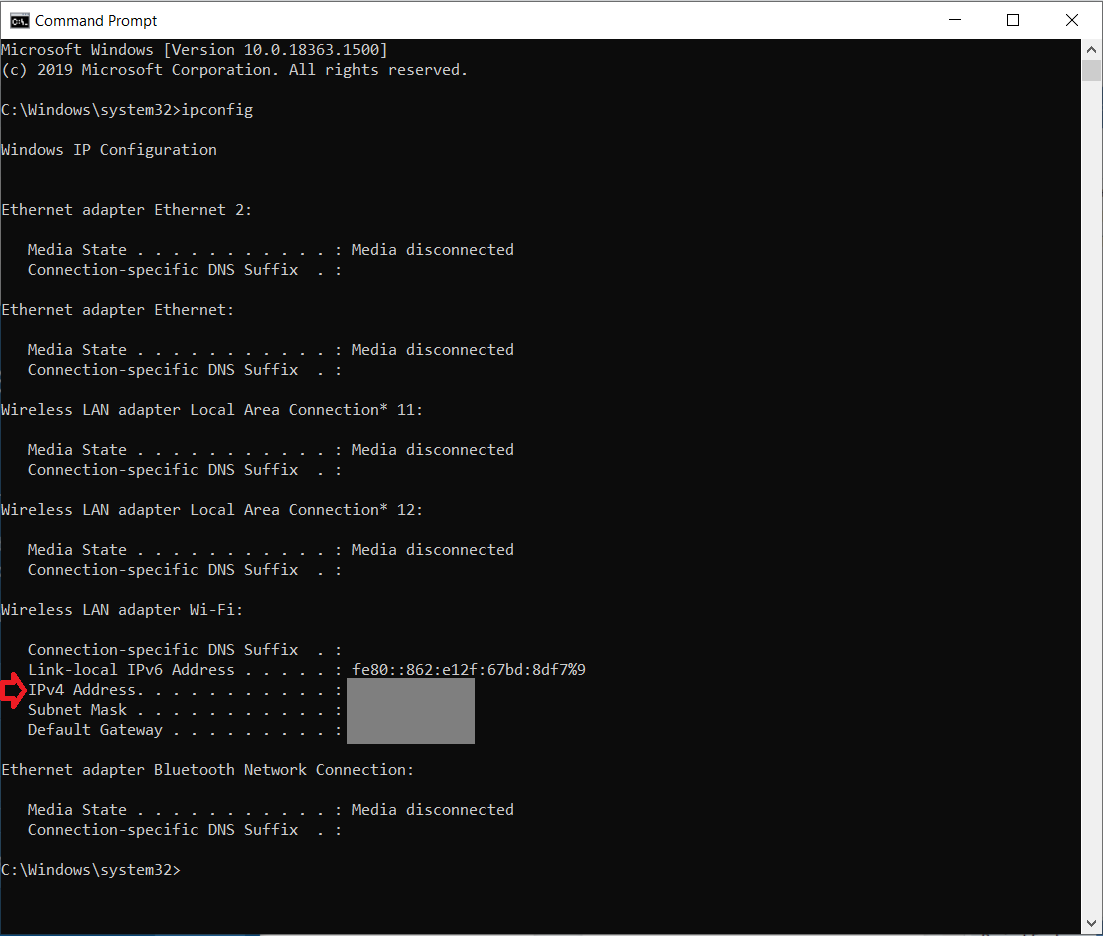
Note: You can get help of your network administrator to get the IP address of the machine where Astera Integration server is installed. Alternatively, you can launch the command prompt and type the command ipconfig to get the IP configuration details for the machine.
The default port for the secure connection between the client and the Astera Integration Server is 9261.
If you have connected to any server recently, you can automatically connect to that server by selecting it from the Recently Used drop-down list.
Click Connect after you have filled out the required information.
The client will now connect to the selected server. You should be able to see the server listed in the Server Explorer tree when the client application opens.
To open Server Explorer go to Server > Server Explorer or use the keyboard shortcut (Ctrl + Alt + E).
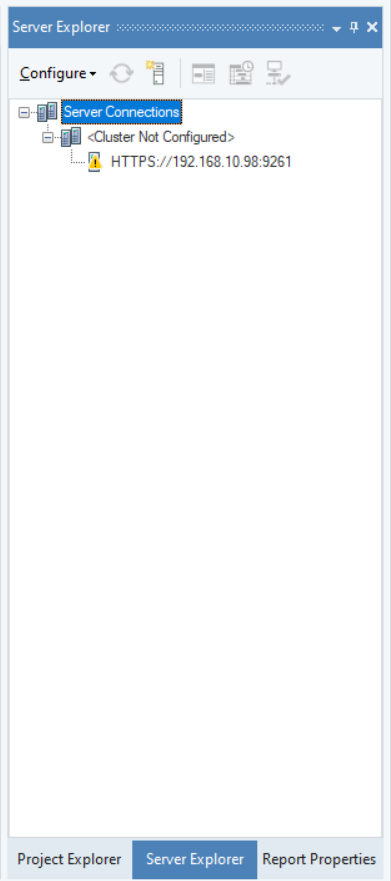
The yellow icon with exclamation mark means that the server is not configured. Before you can start working with the Astera Data Warehouse Builder client, you will have to create a repository and configure the server. To learn how you can do that, click here.
This concludes our discussion on connecting to a server from the Astera Data Warehouse Builder client.