Dimension Loader
The Dimension Loader object in the Data Warehouse section of the toolbox allows you to write data to a dimension table. You can connect to a deployed dimension model and then choose a dimension table that you want to write your data to.
In this article, we’ll be taking a look at how you can configure and use the Dimension Loader object in Astera Data Warehouse Builder.
Video
Example
Here, we have a sample dimensional model that has been deployed to the server.
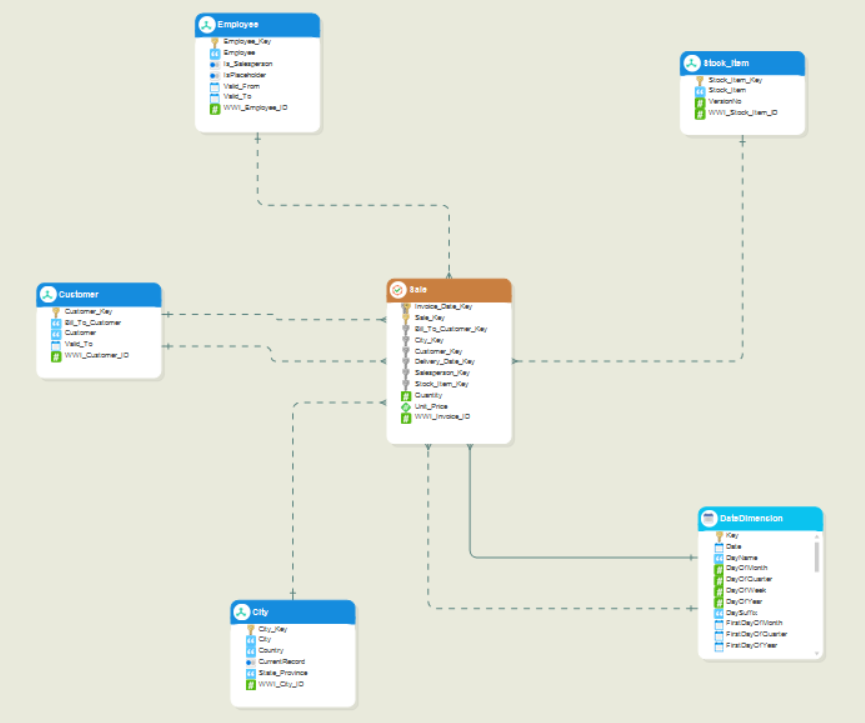
This model contains four dimension entities, one fact entity, and a date dimension entity. In this example, we’ll be loading data into the Customer dimension using the Dimension Loader object.
Configuring the Dimension Loader Object
1. To get the Dimension Loader object from the toolbox, go to Toolbox > Data Warehouse > Dimension Loader.
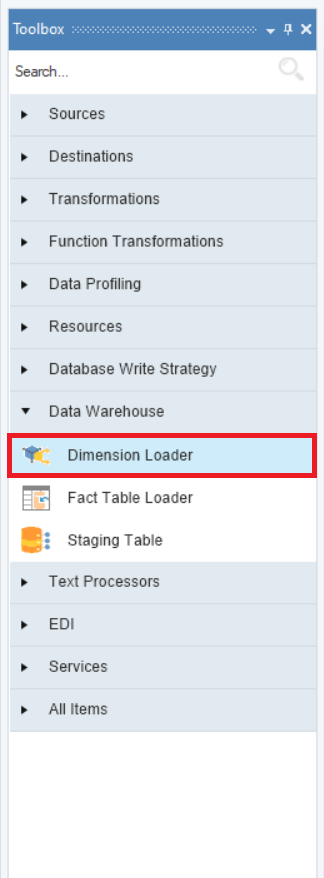
2. Drag and drop the Dimension Loader object onto the dataflow designer.

The object is currently empty because we are yet to configure it.
3. To open the properties window of the Dimension Loader object, right-click on it and select Properties from the context menu. Alternatively, you can double-click on the object.
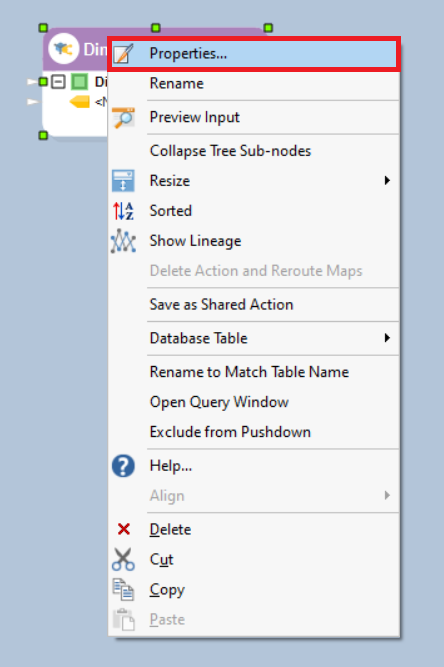
A configuration window will appear on your screen.

Using this window, you can configure the Dimension Loader object.
4. On the Database Connection screen, you can choose a data provider from the options available in the Data Provider dropdown menu.
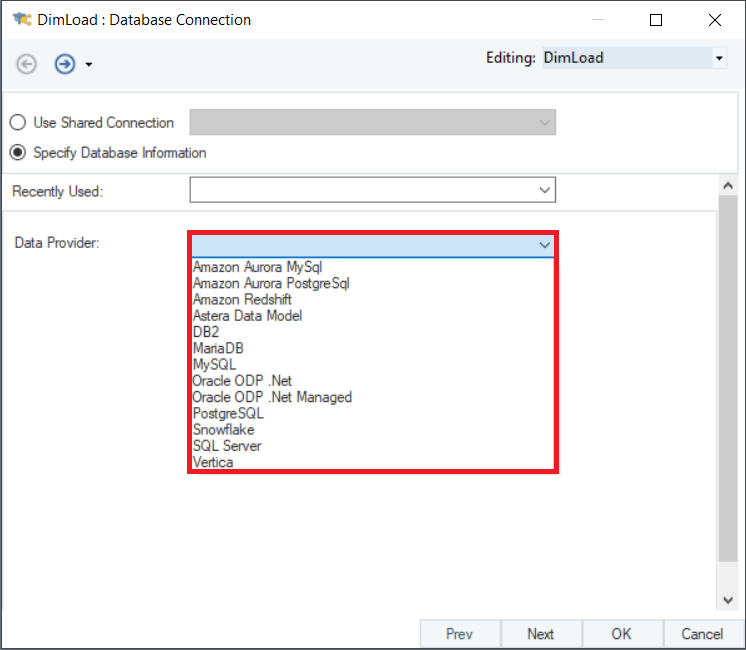
Since the dimension entities are present in the deployed dimensional model, we’ll select Astera Data Model from the list of data providers.
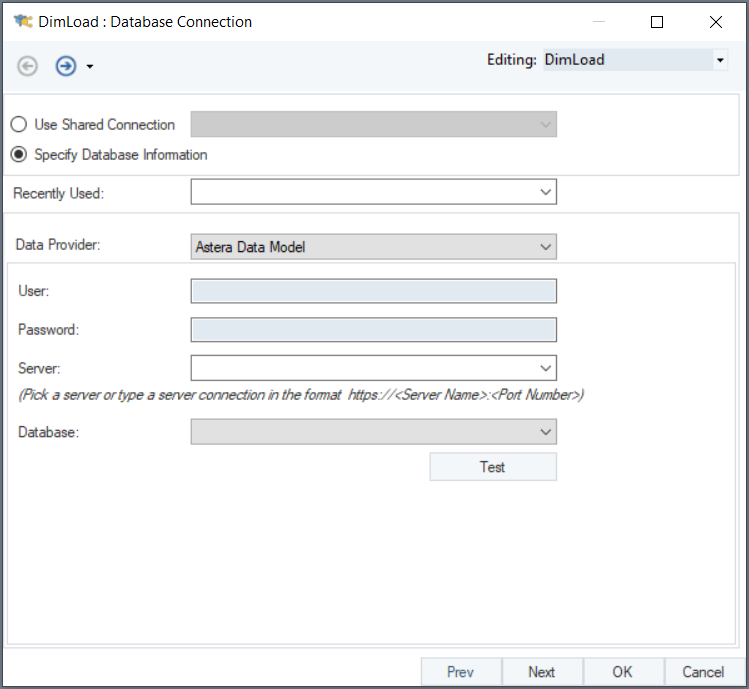
Once you’ve provided your Astera Data Warehouse Builder credentials, you can select a deployed model from the Database dropdown menu.

Note: The default username is admin, and the default password is Admin123.
In this case, we’ll select DW_Sale, which represents the dimensional model that we saw earlier.
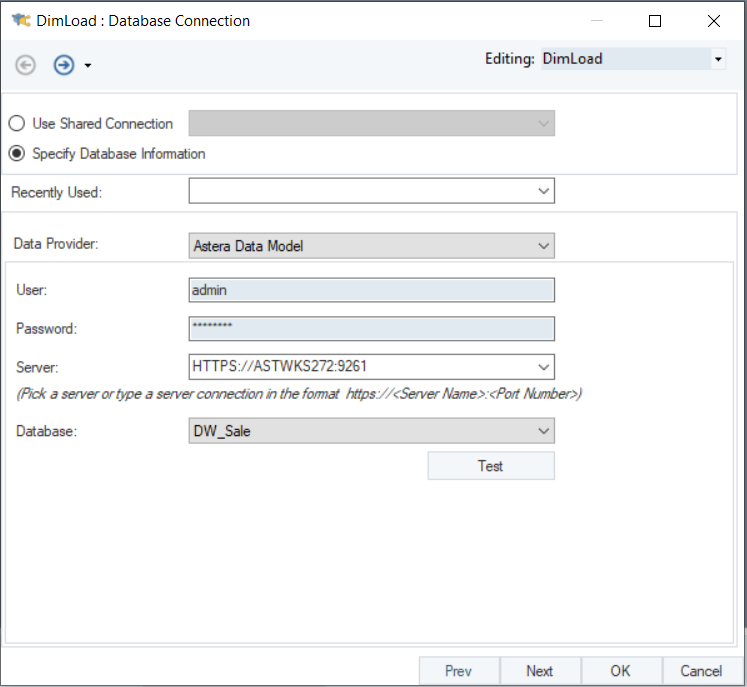
Once you’ve chosen a deployed model, click Next.
5. On the Pick Table screen, you can pick a table from the dimension entities present in the deployed model that you’ve chosen.
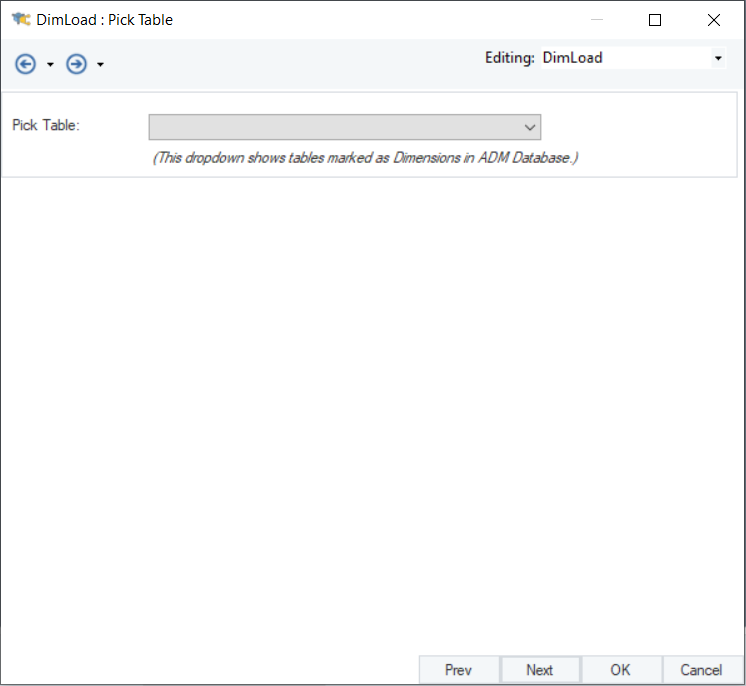
The Pick Table dropdown menu allows you to choose from the dimension entities.
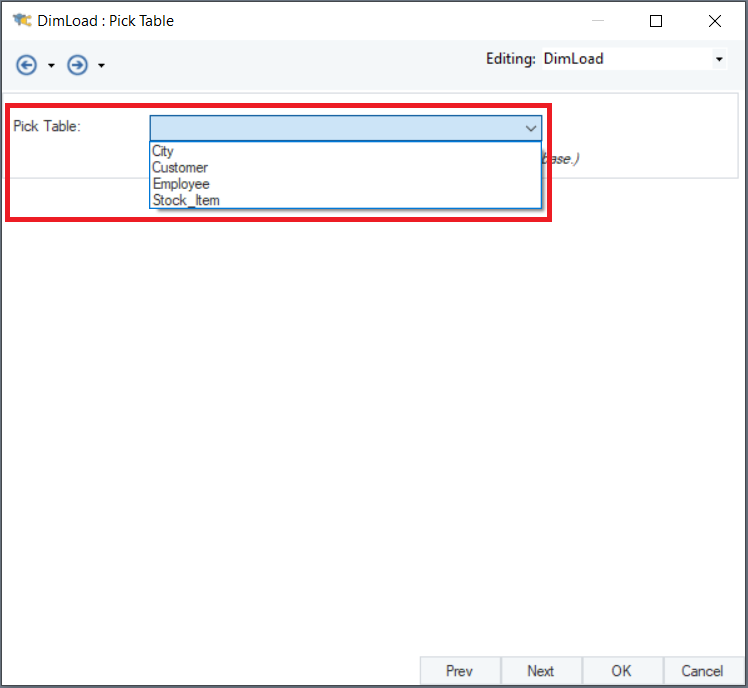
In this case, we’ll choose the Customer table from the list.
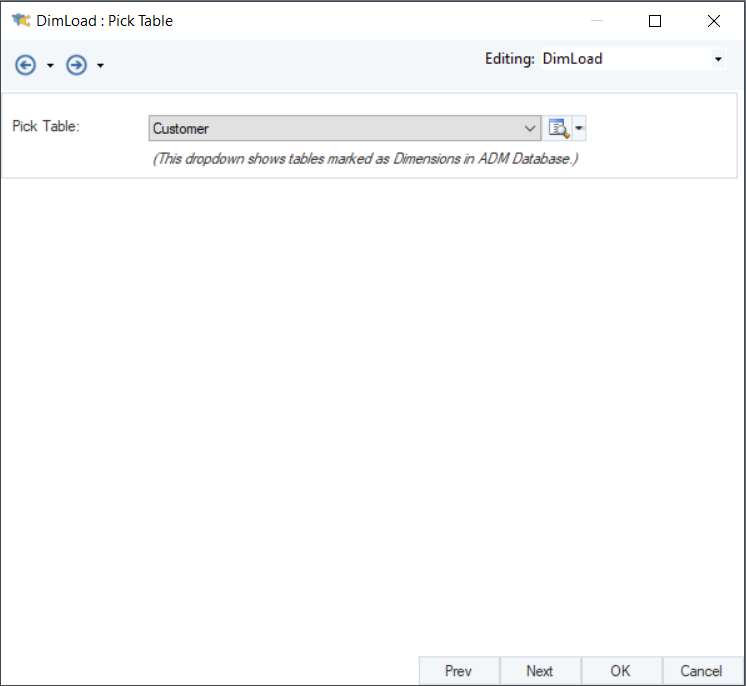
Once you’ve chosen a dimension table, click Next.
6. On the Layout Builder screen, you can view the layout of the entity, including the characteristics and roles of each field. However, you cannot modify the layout of the entity from this screen.

Click OK to close the configuration window.
The Dimension Loader object has now been configured and you’ll be able to see all of the fields in the object layout.
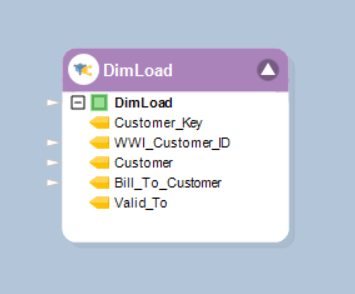
You can now map the incoming source data to each relevant field.
7. Choose a relevant source object from the toolbox and configure it so as to extract the source data. In this case, we’ll use a Database Table Source object to extract data from the source deployment, and then map the relevant fields to the Dimension Loader object.
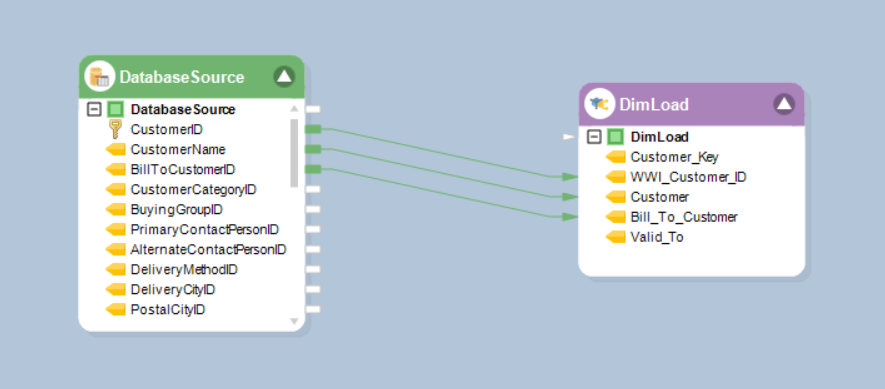
To learn more about the Database Table Source object, click here.
You can now run the dataflow to load data into the dimension table.
This concludes our discussion on the Dimension Loader object in Astera Data Warehouse Builder.