Creating a Data Model from Scratch
When you open a new data model in Astera Data Warehouse Builder, you’re provided with an empty canvas referred to as the data modeler. Here, you can either reverse engineer an existing database or create a model from scratch. To learn about reverse engineering, click here.
In this article, we’ll show you how to create a data model from scratch.
Video
Toolbox – Drag and Drop
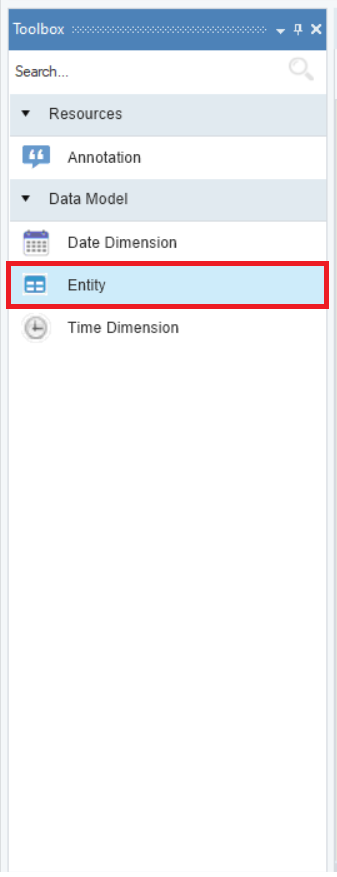
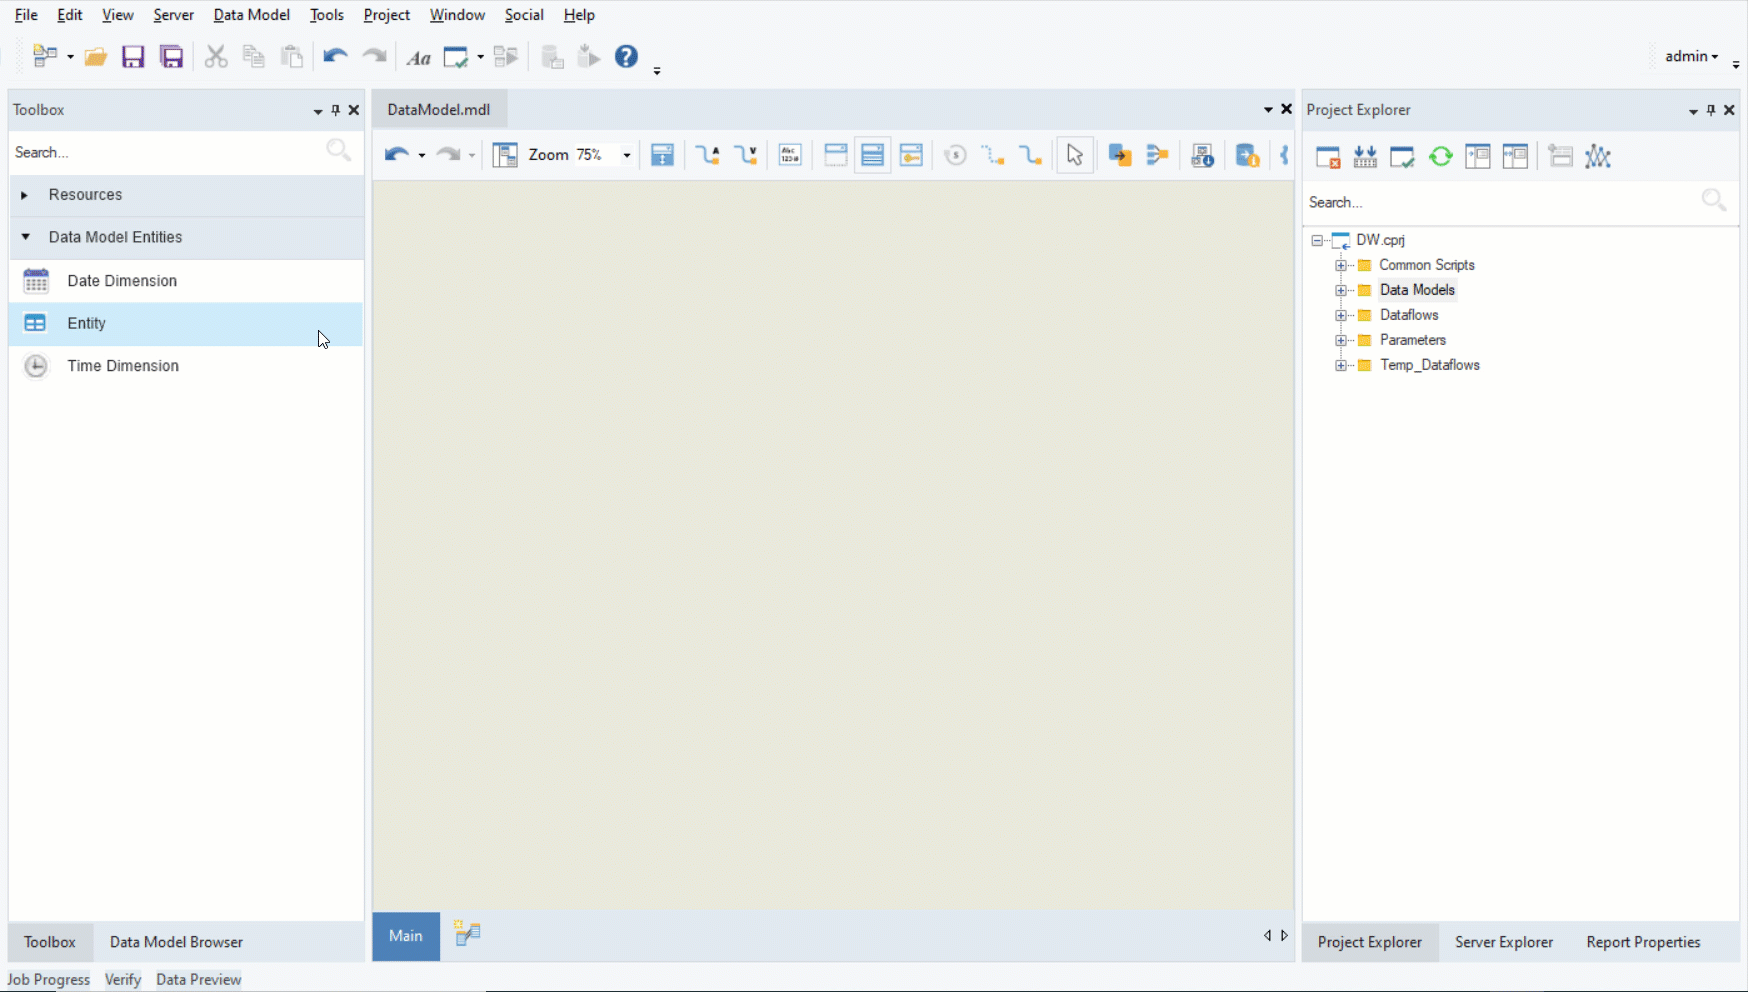
In the data model section of the toolbox, you’ll notice an object named Entity.
You can drag and drop this object onto the data modeler to add new entities to it.
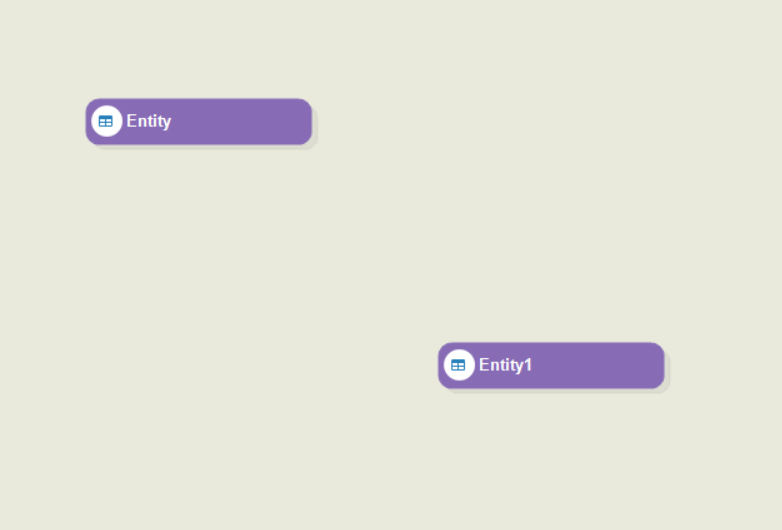
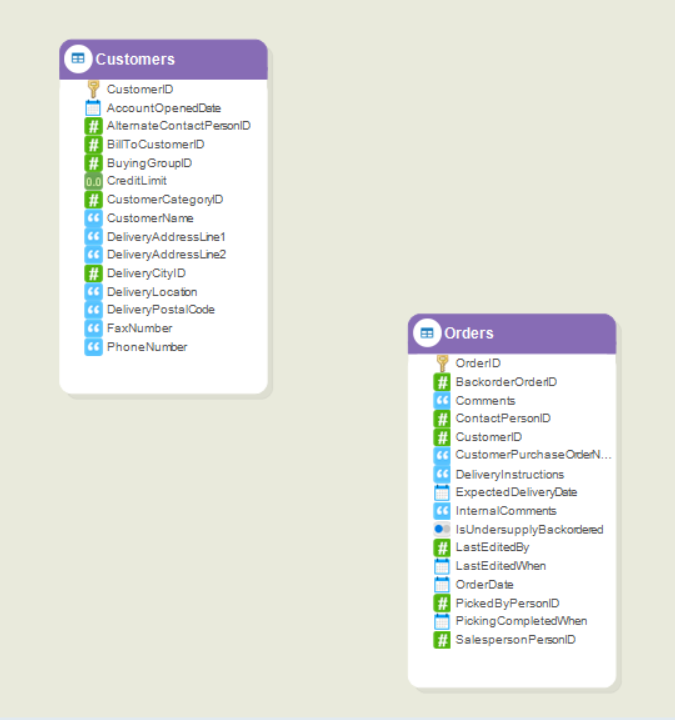
Here, we’ve added two new entities to the empty model.
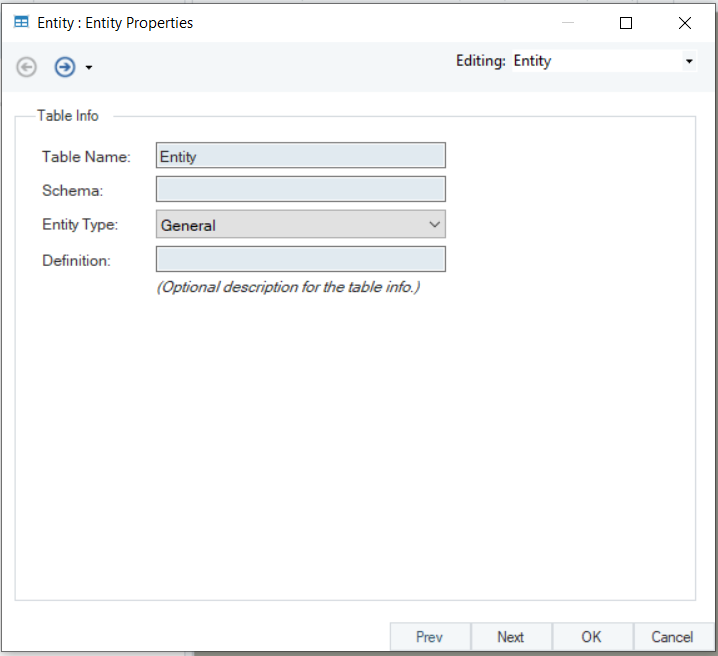
Entity Properties
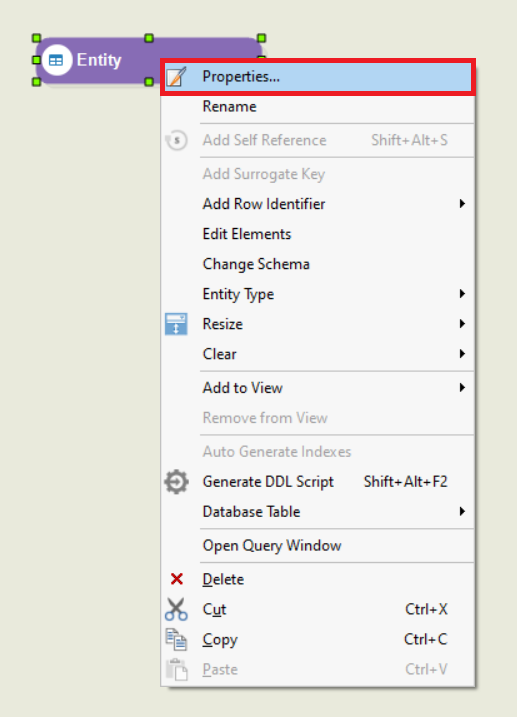
To access the properties of an entity, right-click on it and select Properties from the context menu.
A configuration window will appear. On the Entity Properties screen, you can:
- Update the name of the table via the Table Name textbox.
- Fill in the Schema textbox to specify the schema of the entity.
- Change the entity type via the Entity Type dropdown menu.
- Add an optional description for the table via the Definition textbox.
Here is a look at the Entity Properties screen of one of the entities in our model, after the required modifications have been made.
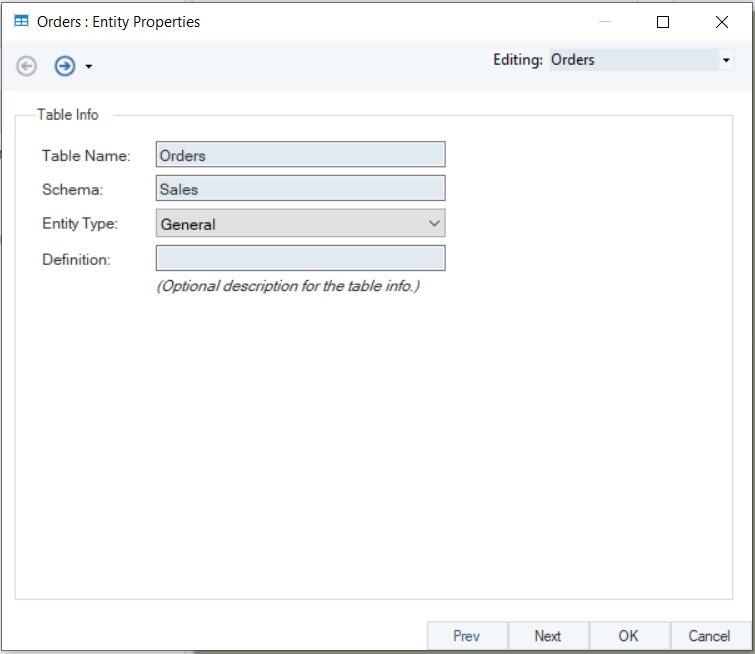
As you can see, we’ve changed the table name to Orders and specified the schema of the table, Sales. Once you’ve made the required changes, click Next.
On the Layout Builder screen, you can create elements for the entity by specifying their name, data type, and other characteristics, by filling out the empty rows.

Here is what the layout looks like after we’ve added one field to the newly added Orders entity.
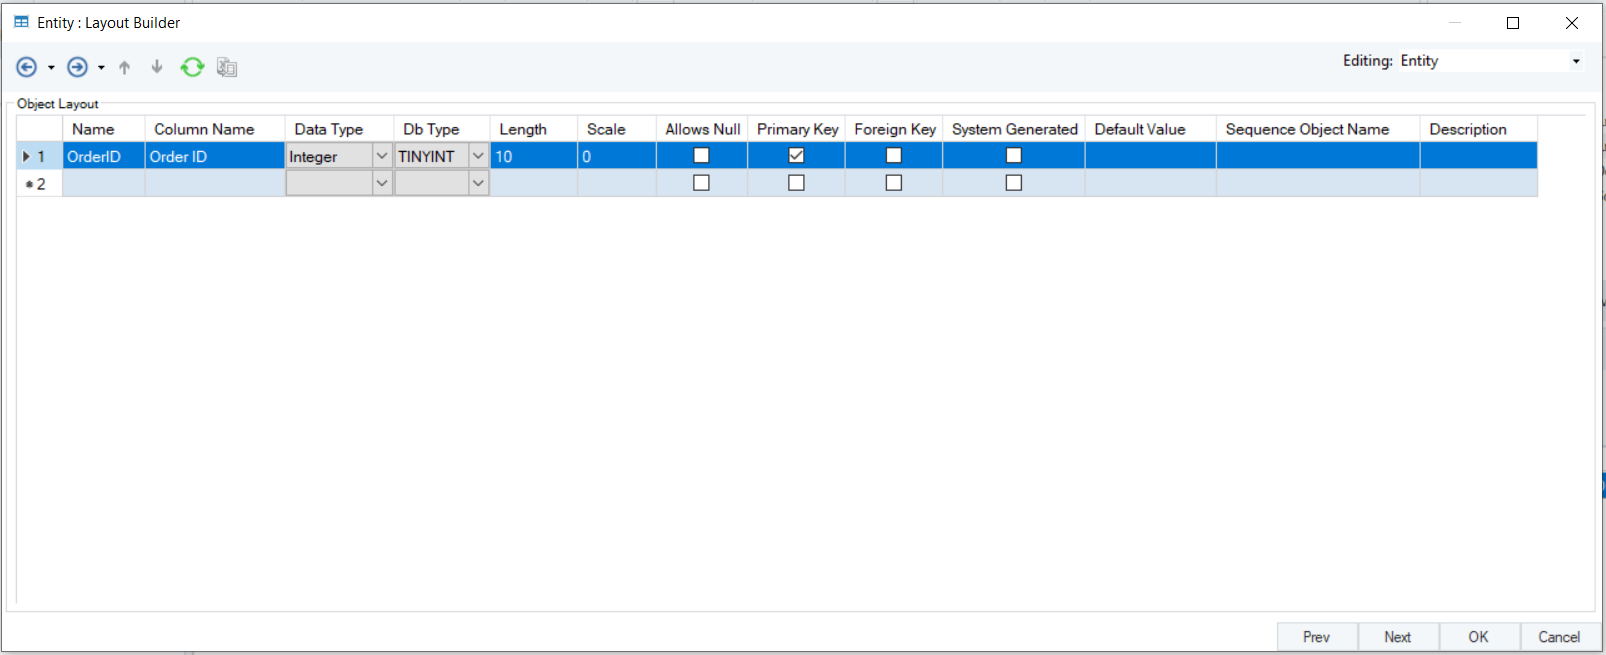
Similarly, you can create all of the fields that are relevant to a particular table. Once that is done, click Next.
On the Entity Indexes screen, you can add new indexes to the entity through the Add Index icon.
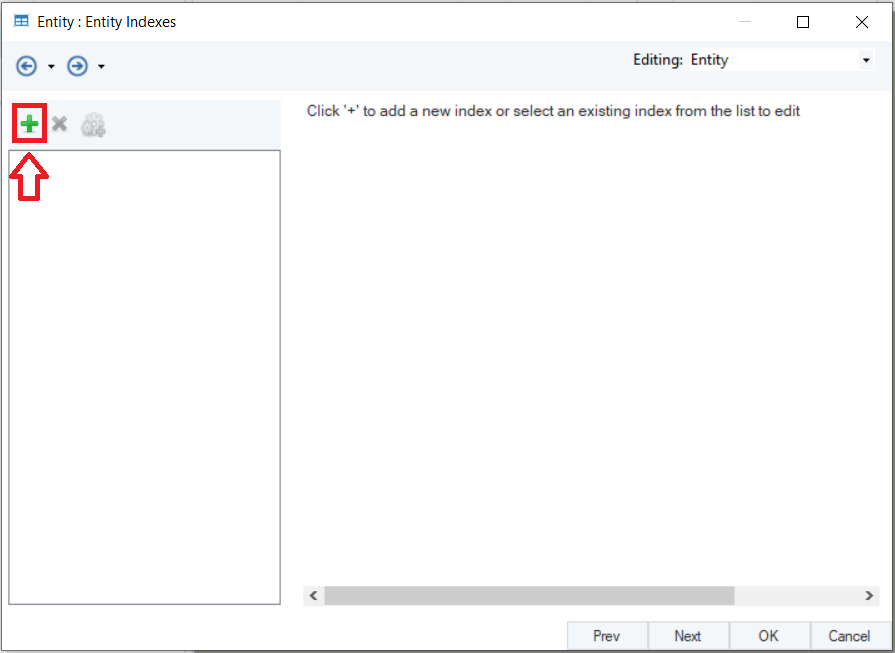
Once you’ve added new indexes, if any, click OK to close the configuration window. You have now configured a new entity from scratch.
For a detailed overview of entity properties, click here.
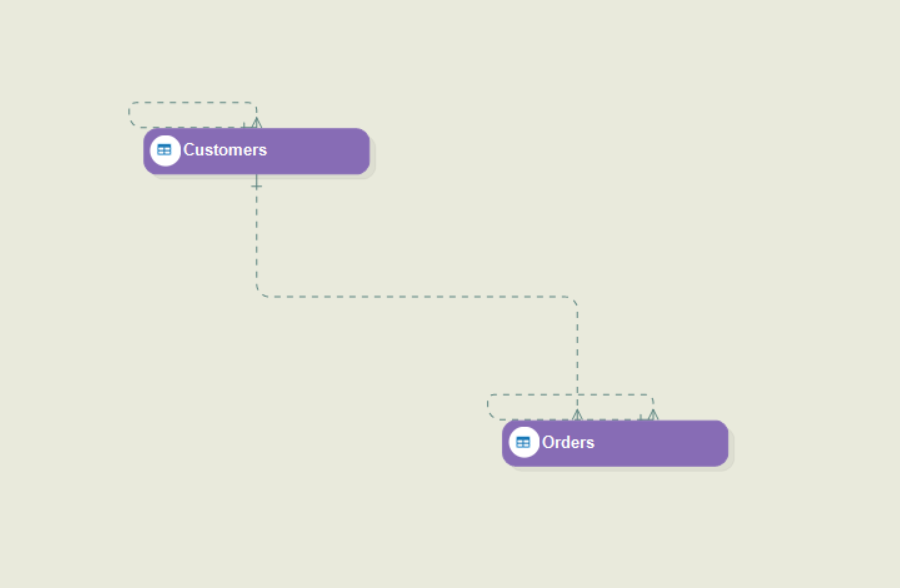
In our model, we’ve specified the general properties and layout of both of the newly added entities. This is what the model looks like so far:
Relationships
Once you’ve added the entities that you want to include in the model, and specified their schema and layout, you can create relationships between these entities. Using the icons in the DWB toolbar, you can create:
- Non-Identifying Relationships
- Identifying Relationships
- Self-Reference Relationships.
![]()
To learn more about how you can create entity relationships in Astera Data Warehouse Builder, click here.
In this case, we’ve created a non-identifying relationship between the two entities and self-reference relationships within each entity.
Forward Engineer
The final step in creating a data model from scratch is to forward engineer the newly created entities and relationships to a database.
- Use the Create DDL Script icon to build a script for the model.
- Using the generated DDL script, populate an empty database in your selected database server with the contents of the model.
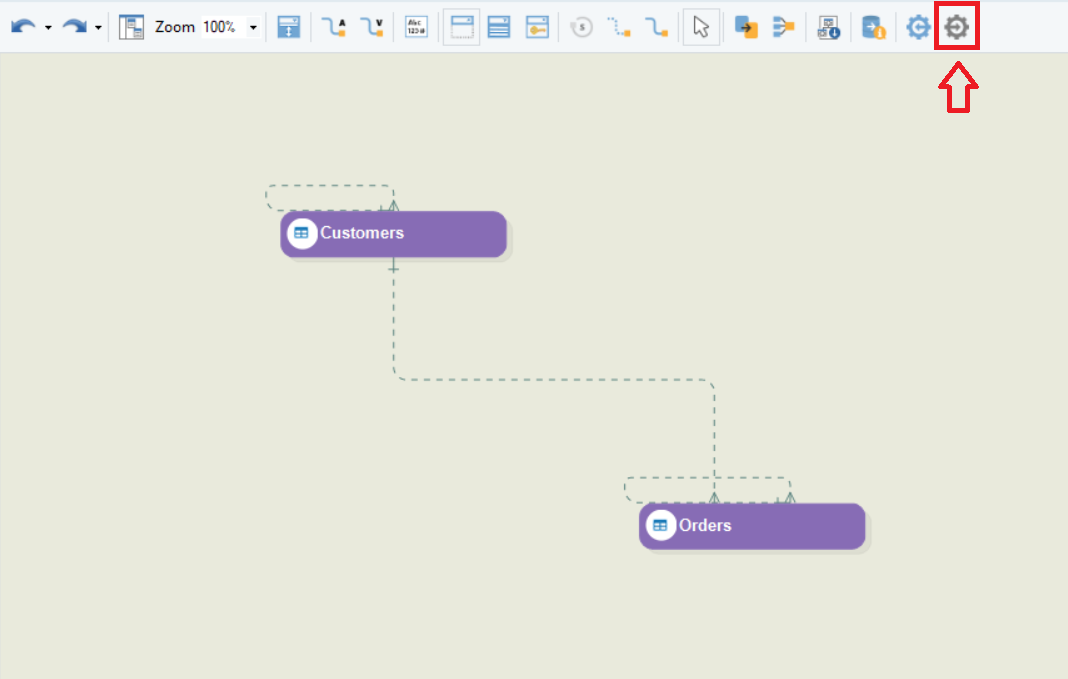
- Once that is done, establish a connection to that database via the Change Database Connection Info icon in the DWB toolbar.

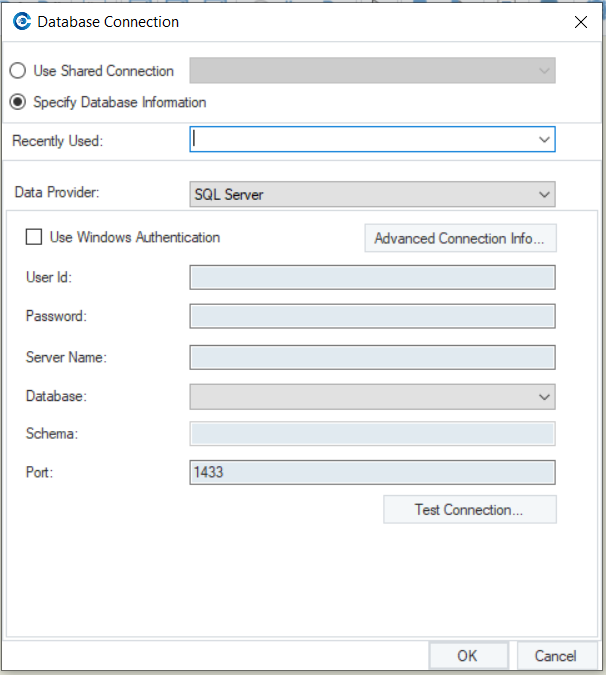
In this case, we’ve made the database on an SQL server.
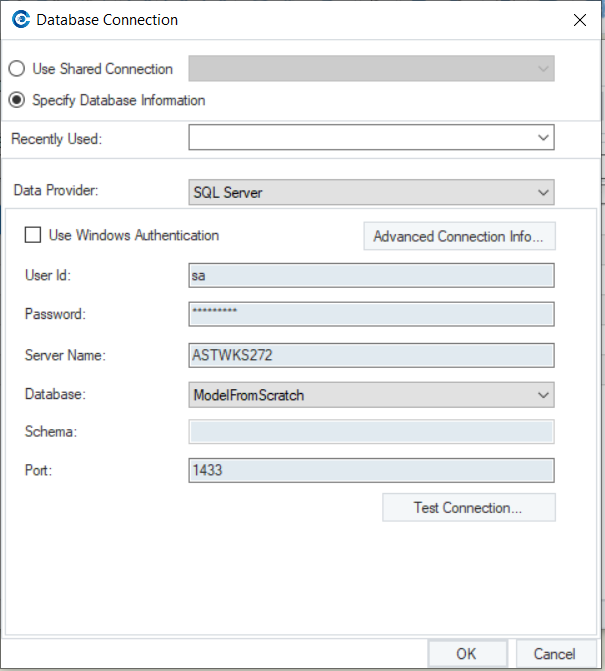
You can test the connection using the Test Connection button. Once it is successful, click OK. The model is now ready to be verified and deployed.
This concludes our discussion on creating a data model from scratch in Astera Data Warehouse Builder.