Validate Metadata and Data Integrity
The Validate Metadata and Data Integrity option in the Astera DW Builder allows you to check and verify the validity of the data present in dimension and fact tables. It gives users the option to check if these tables contain any invalid or ‘bad’ data. For instance, in a dataset containing employee records, the effective and expiration date ranges for two records of the same employee may be overlapping with each other. Moreover, the expiration date for a record could lie before its effective date, or two records of the same employee could be marked as ‘Active’ at the same time.
All of these examples constitute data that does not make logical sense. Hence, it is considered invalid or ‘bad’. The purpose of the Validate Metadata and Data Integrity option is to notify the user that these issues exist in the data present within the entities of a deployed dimensional model.
In this article, we’ll learn how to use this option. Additionally, we’ll take a look at some basic examples of its usage.
How to Use the Validate Metadata and Data Integrity Option
Before you can use the Validate Metadata and Data Integrity option on the entities of a dimensional model, you need to deploy the model. To learn about data model deployment, click here.
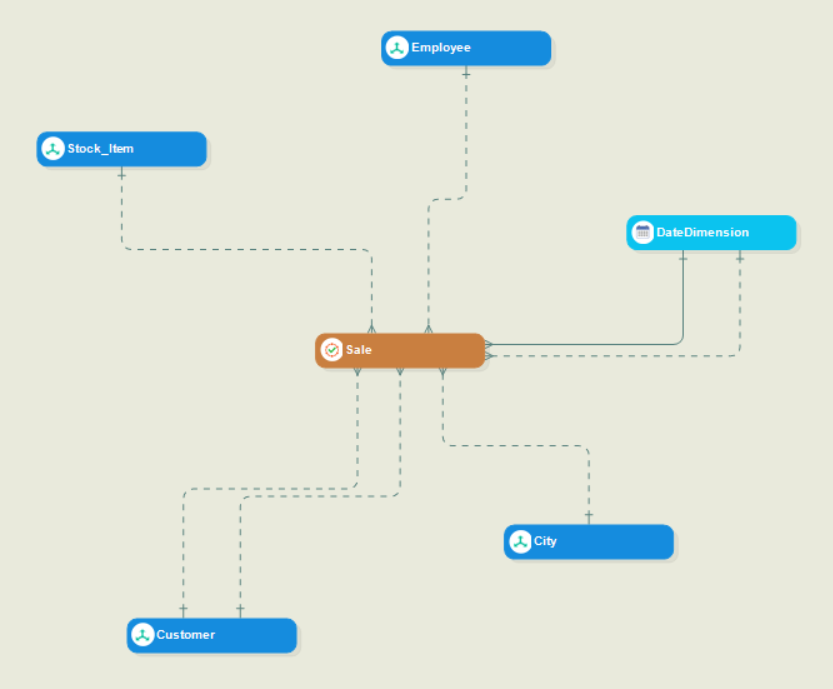
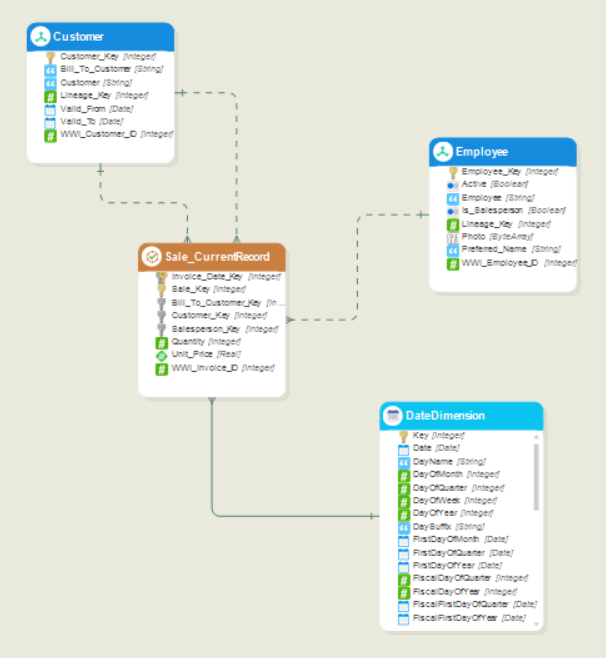
For this demonstration, we’ll deploy the following model:
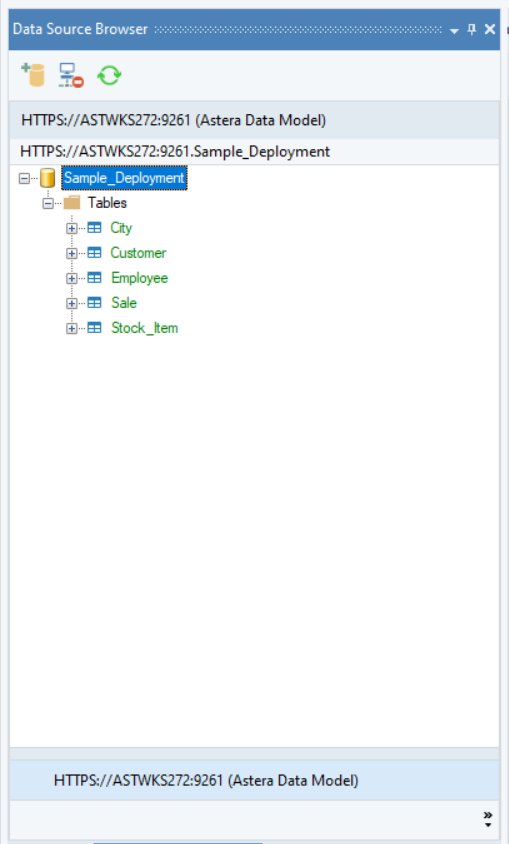
You can view your deployments within the Data Source Bowser by establishing a connection with the Astera Data Model data provider. To learn about opening and using the Data Source Browser, click here.
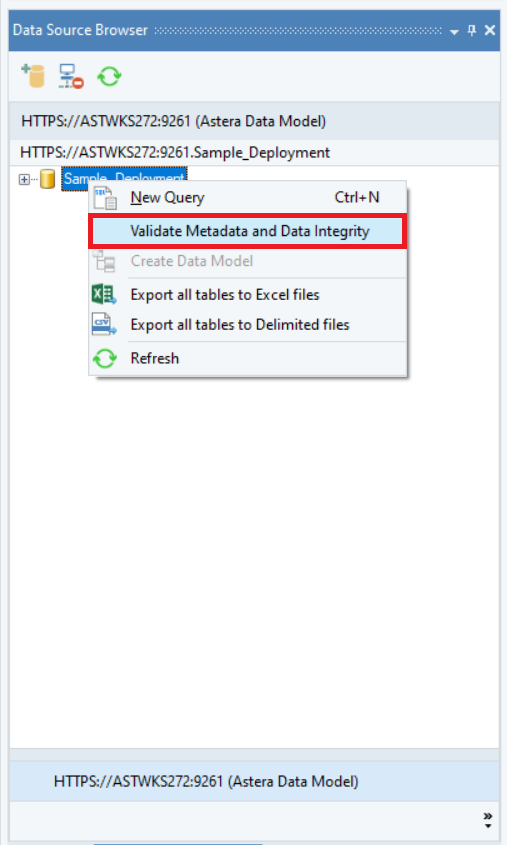
Right-click on the deployment in the Data Model Browser and select the Validate Metadata and Data Integrity option from the context menu.
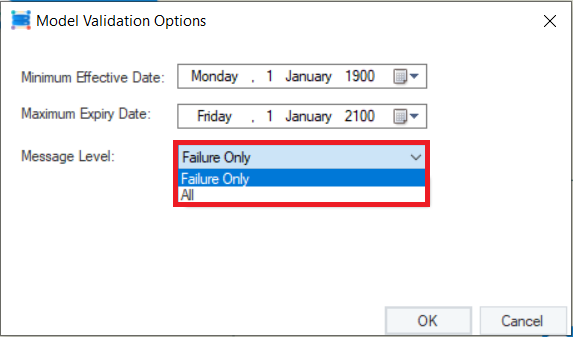
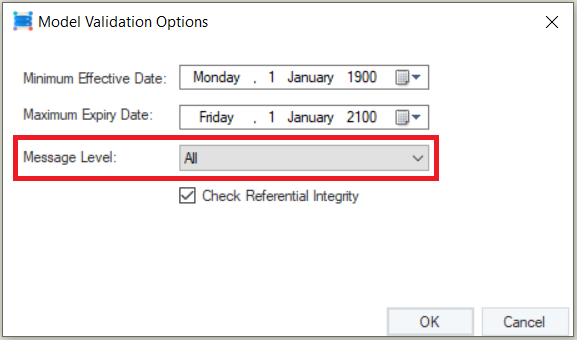
A pop-up window titled Model Validation Options will appear on your screen.
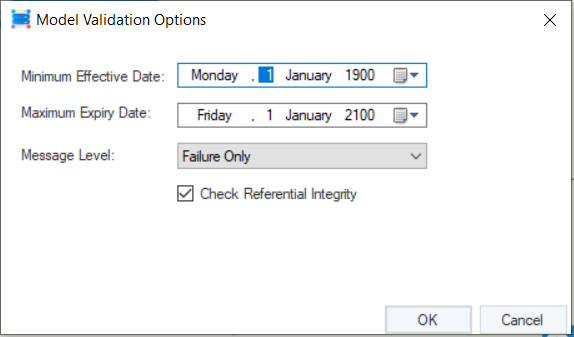
This window contains the following options:
Minimum Effective Date: The minimum date value that would be considered a valid entry in the Effective Date record identifier column/field.
Maximum Expiry Date: The maximum date value that would be considered a valid entry in the Expiration Date record designator column/field.
Message Level: This dropdown menu allows you choose the message level that will appear in the Job Progress window when validating metadata and data integrity. There are two options:
- Failure Only: Will show only the messages that indicated failure in validating data.
- All: Will show all the messages.
Check Referential Integrity: When this option is checked, it verifies whether the parent table in an entity relationship contains a primary key corresponding to the foreign key in the child table.
Once you’ve made the appropriate selections from this window, click OK.
You’ll be able to see the data validation process take place within the Job Progress window.
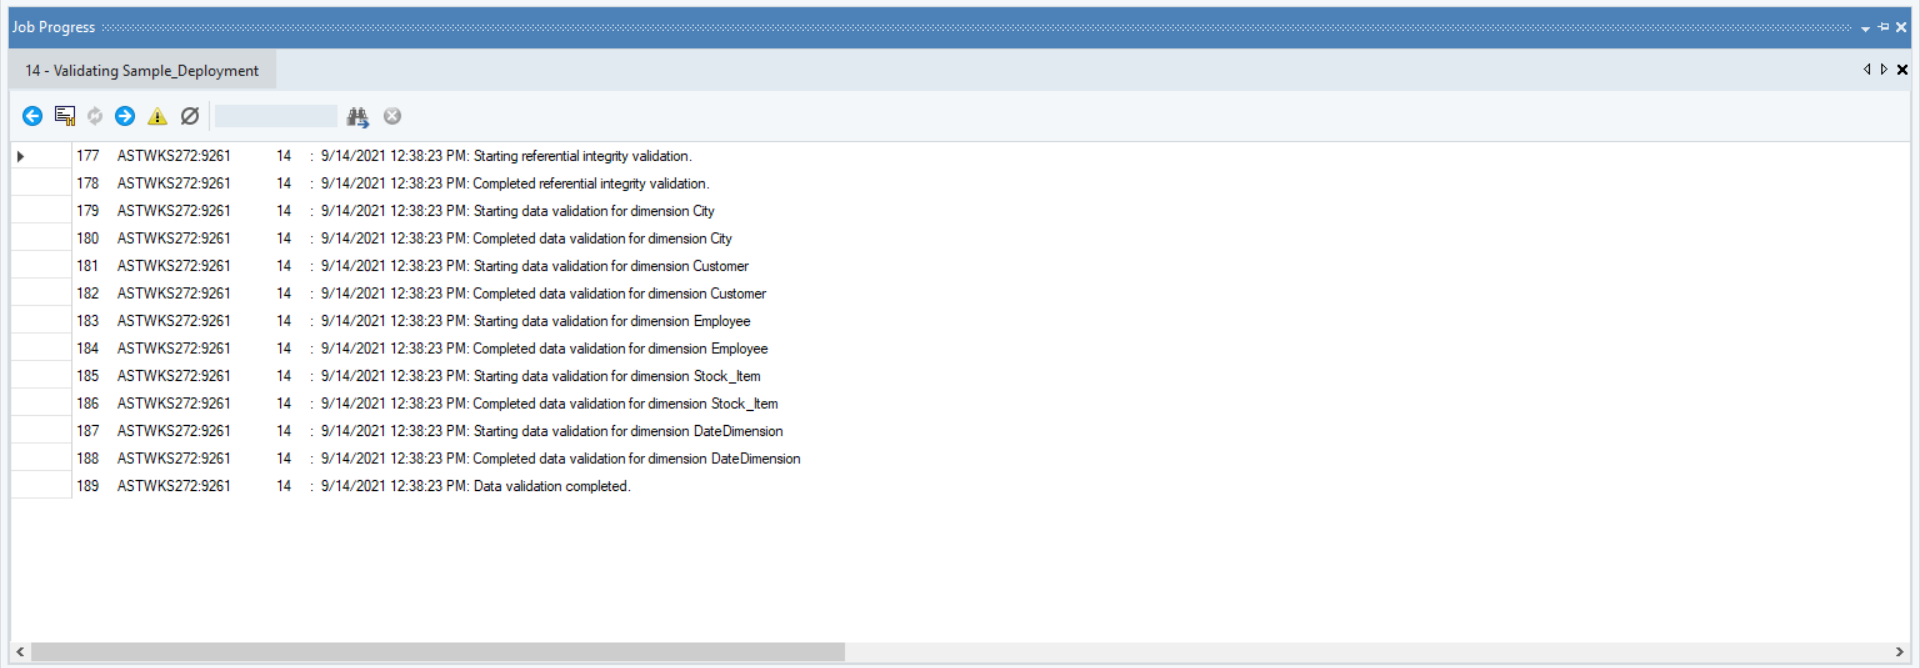
In this case, the data within this deployment does not contain any validation errors.
Now, let’s take a look at a few common validation errors that you may encounter.
Common Validation Errors
In this section, we’ll examine the following dimensional model with different validation errors.
Case 1: Multiple Active Values
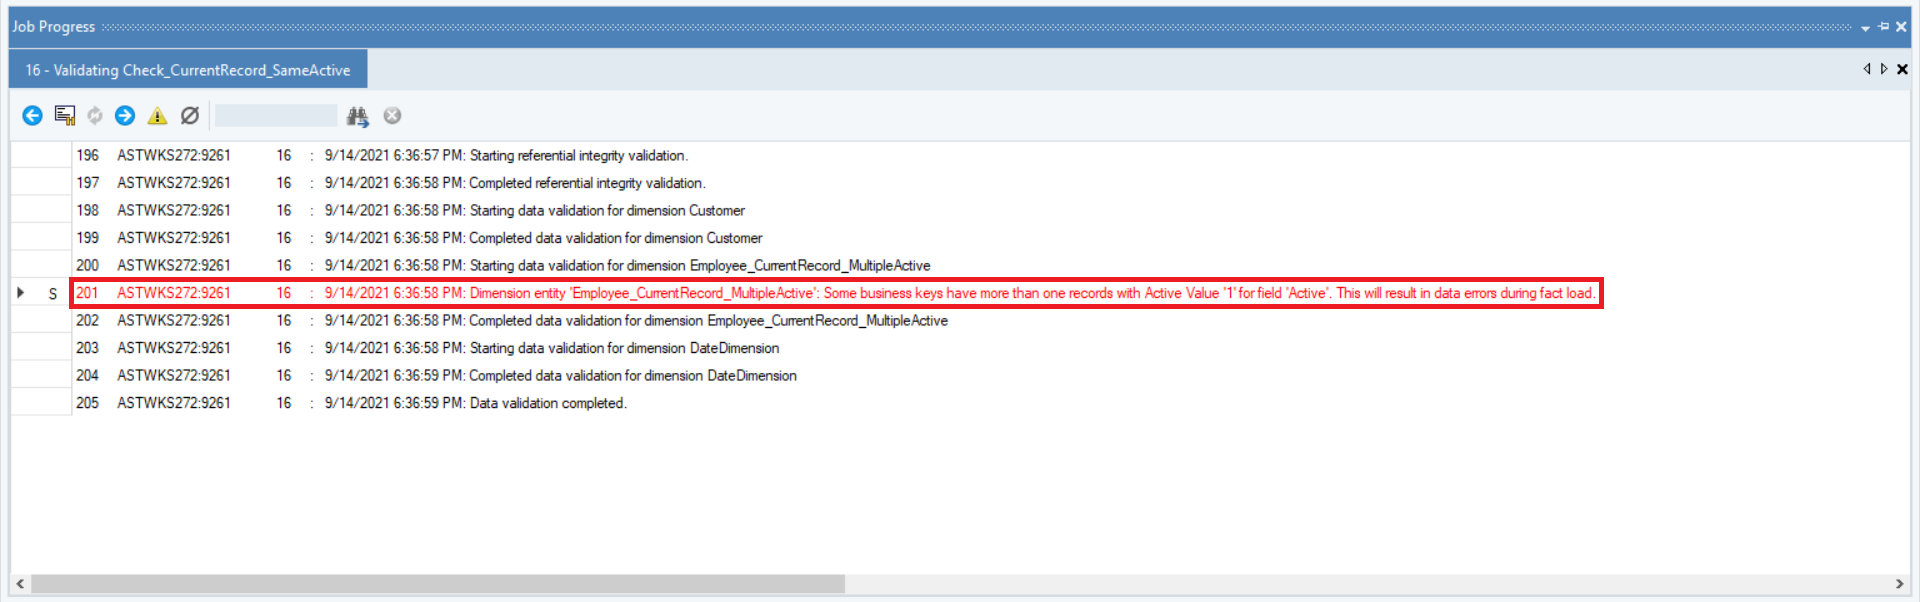
In this case, the Employee table contains two or more active records for one employee. More specifically, two or more records for the same employee have been marked as ‘Active’ in the Current Record Designator field.
This is the error message that appears in the Job Progress window when you verify metadata and data integrity for this deployment:
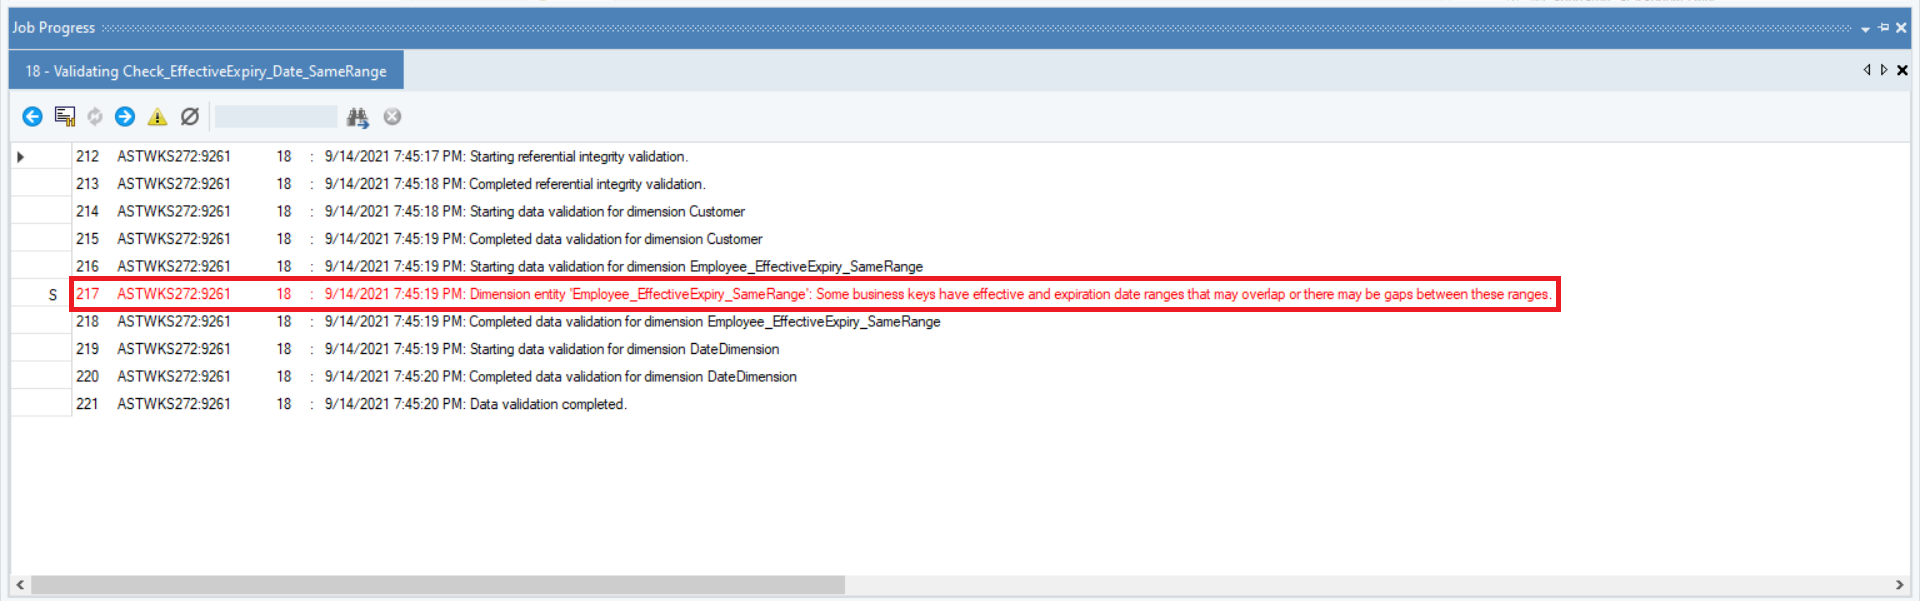
Case 2: Overlapping Date Ranges
In this case, there is an overlap between the effective and expiration date ranges for two records of the same employee in the Employee table.
This is the error message that appears in the Job Progress window when you verify metadata and data integrity for this deployment:
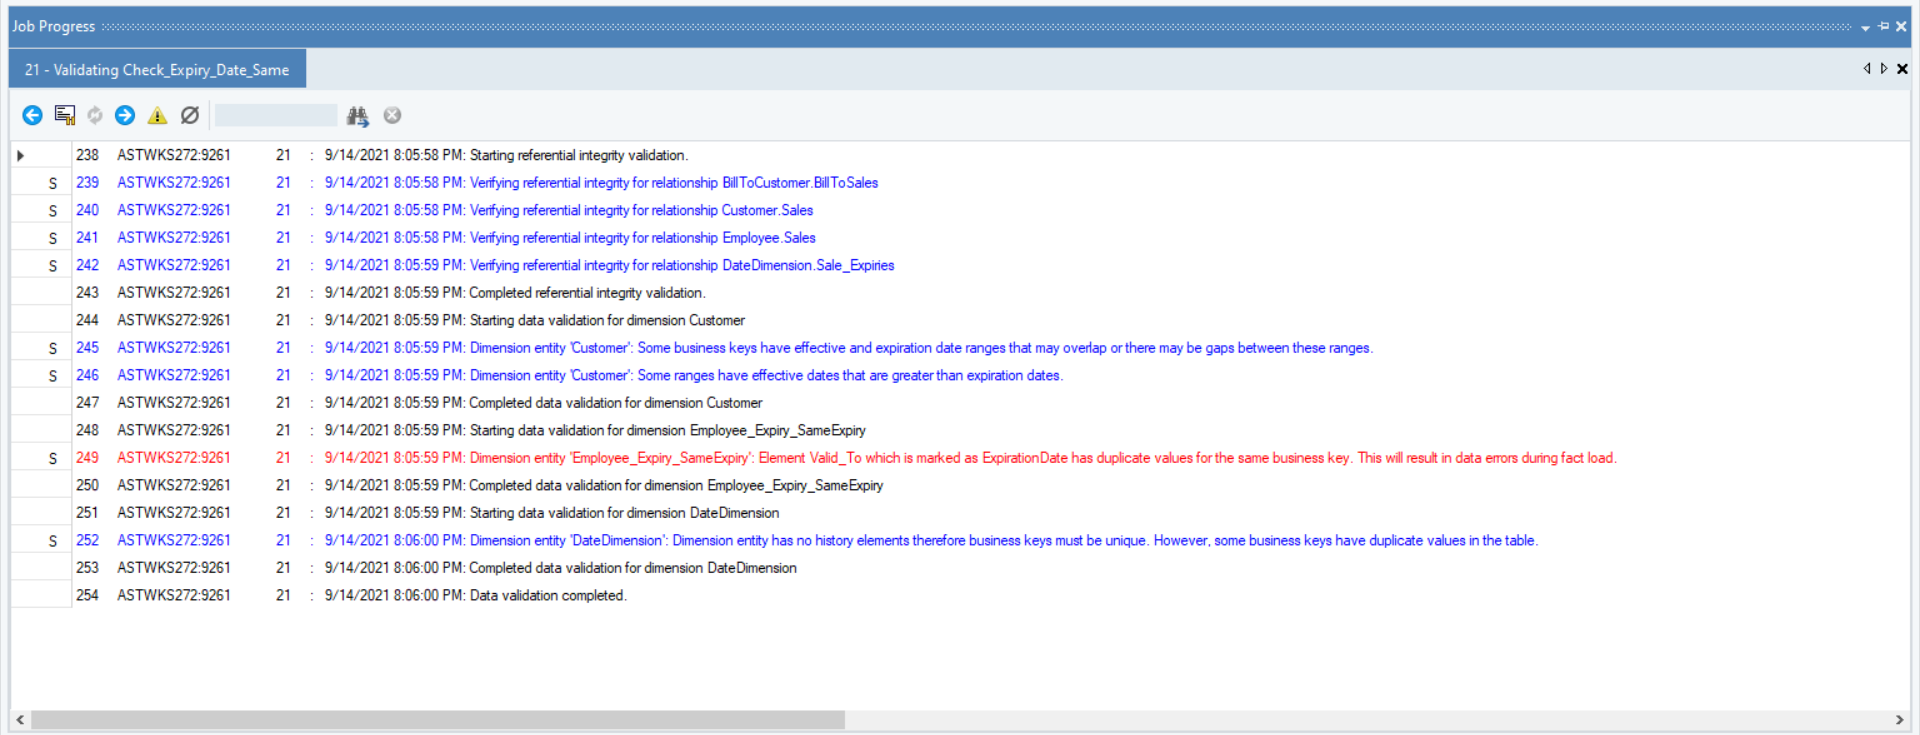
Case 3: Duplicate Expiration Date
In this case, two records of the same employee in the Employee table have an identical expiration date.
Here, we’ve selected All under the Message Level option in the Model Validation Options window.
These are the messages that appears in the Job Progress window when you verify metadata and data integrity for this deployment:
This concludes our discussion on using the Validate Metadata and Data Integrity option in Astera DW Builder.