Connecting an Astera Data Model to a Third-Party Visualization Tool
Astera Data Warehouse Builder gives its users the functionality to access and use deployed data models in third-party visualization and analytics tools such as Power BI, Tableau, Domo, etc. This is enabled through a built-in OData module that offers seamless connectivity to any application that provides OData support. Once the connection is established, the data present within the data warehouse can be used to create comprehensive dashboards for visualization and analysis.
In this article, we’ll take a look at how you can connect to a deployed model in Microsoft Power BI via OData.
Step 1: Obtain a Security Certificate
First, you need to obtain a security certificate (.pfx extension) that contains an encryption key and some other information needed to encrypt data. This certificate is specific to an organization’s domain and can be generated by the networking and security team.
Once you’ve obtained this certificate, paste the file to the installation directory of the Astera Integration Server.
Note: The path to the installation directory is usually C:\Program Files\Astera Software\Astera Integration Server 9.
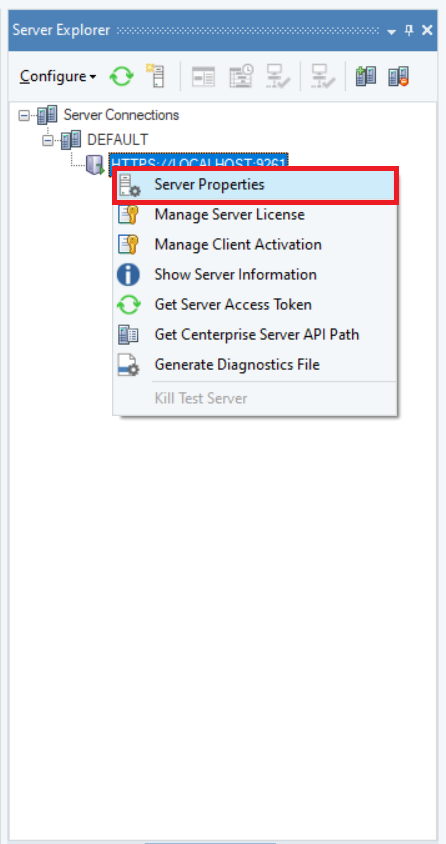
Next, open the Astera DW Builder client application and open the Server Properties tab from here: Server Explorer > Server Connection Name > Server Properties.
In the Server Properties tab, go to the Certificate Settings section and enter the File Path (path to the .pfx file) and Password (the certificate password).
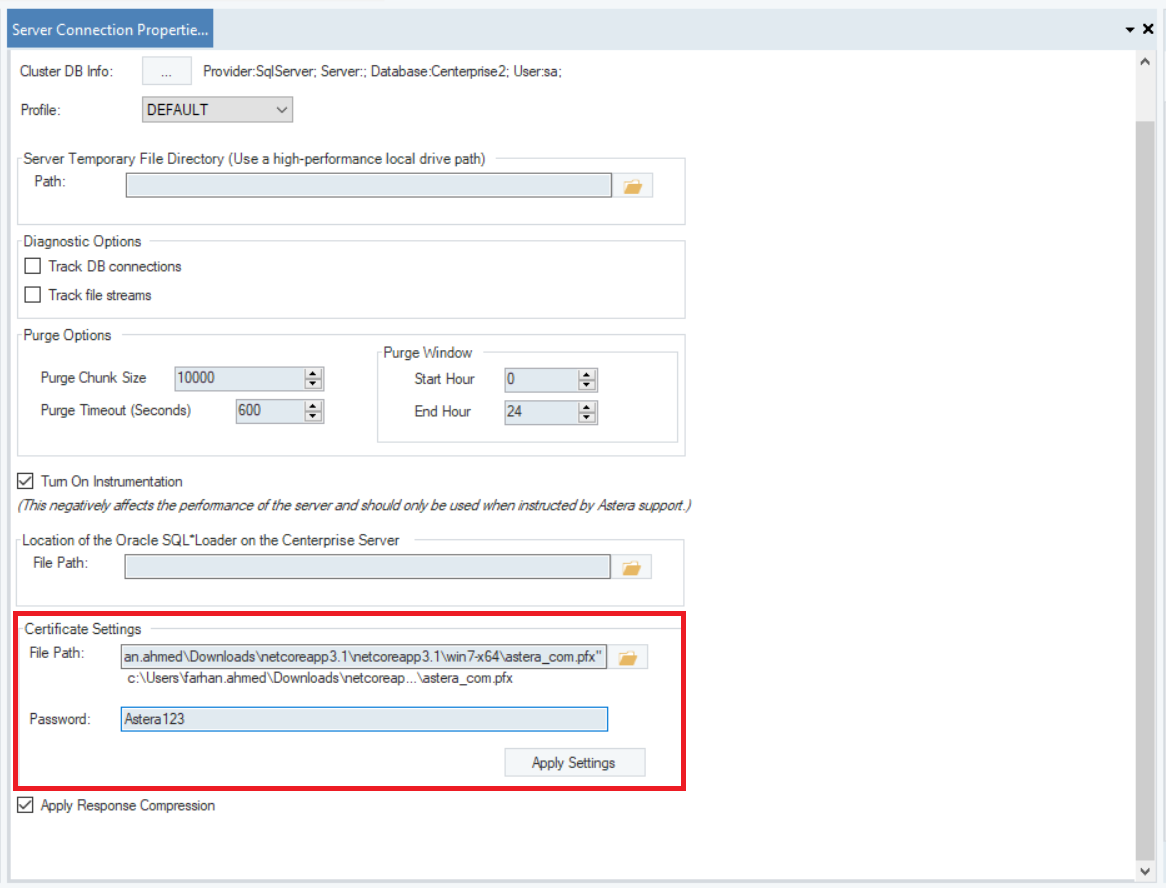
Once done, click on the Apply Settings button. Right-click on the Server Properties tab and click on Save and Close to save the changes and close the tab.

Step 2: Import the Security Certificate
Next, you need import the security certificate to your local machine. Double-click on the .pfx file. An import wizard will appear on your screen.
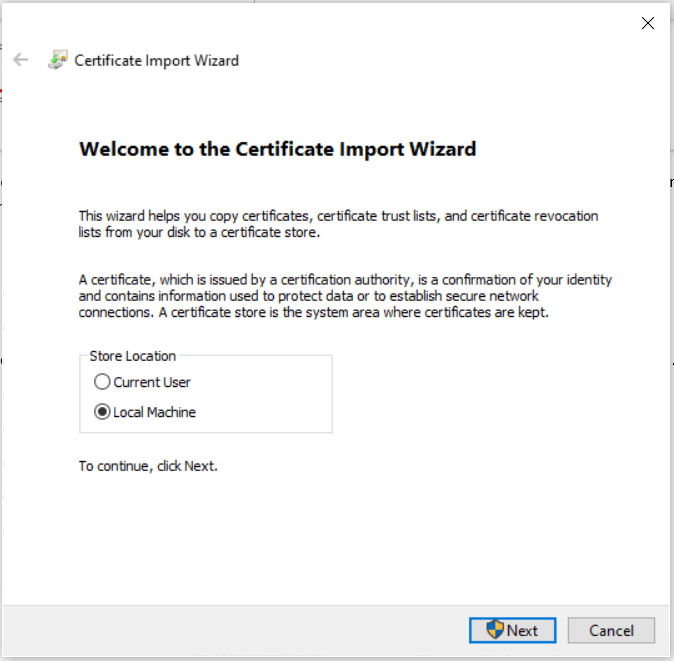
On the first page, you can select the system area where the certificate is kept. Click Next.
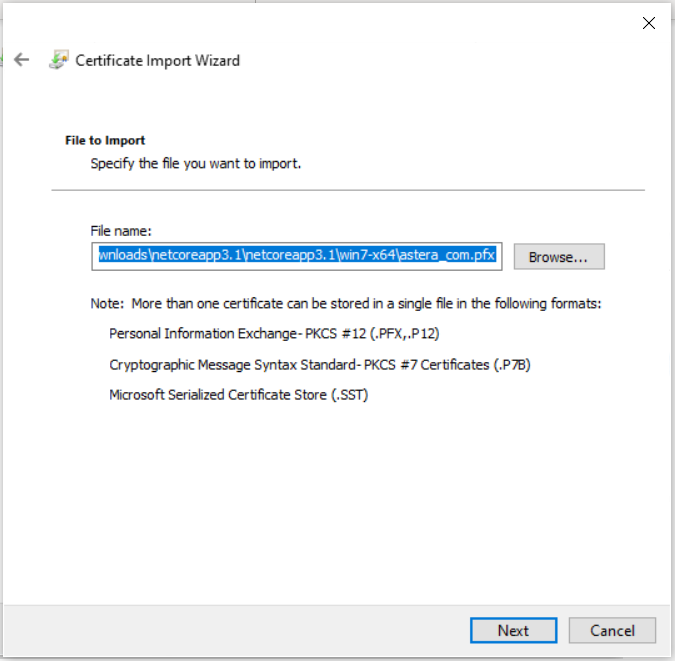
Here, specify the .pfx file that your want to import. Click Next.
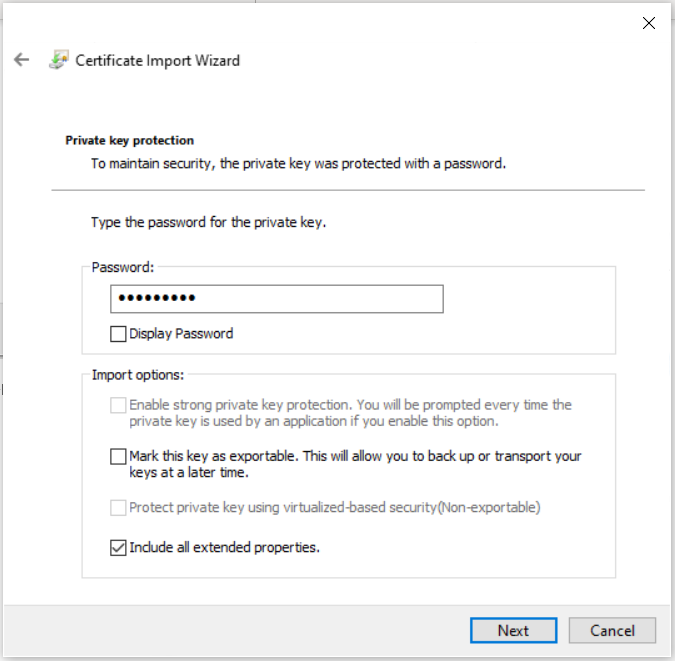
Here, enter the password for the private encryption key. You can get this password from the team that generated the certificate. Click Next.
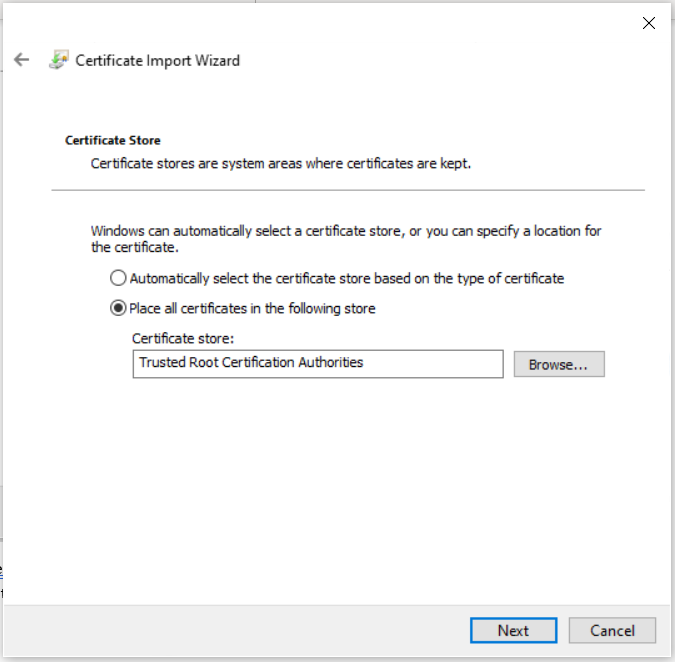
Here, specify a location for the certificate by selecting Place all certificates in the following store and clicking on Browse. You can also opt for windows to automatically choose a location for your certificate by selecting the first option. Click Next.
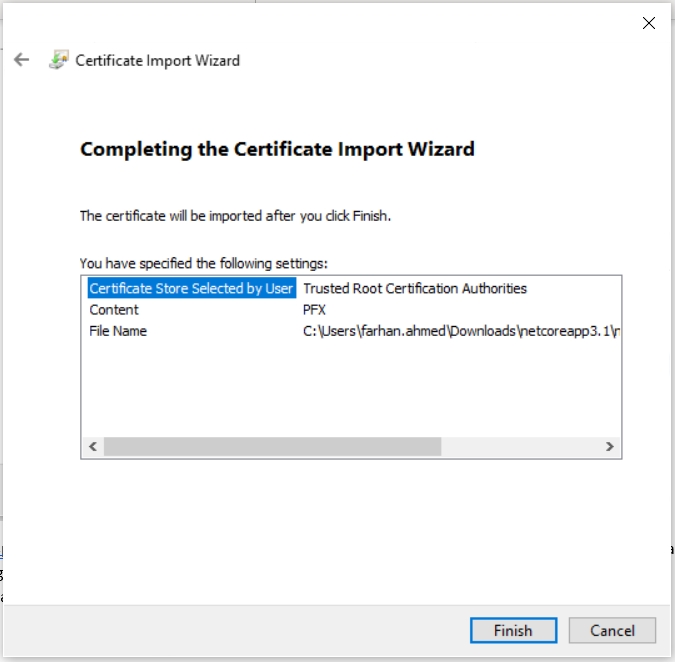
Finally, click Finish to import the certificate.
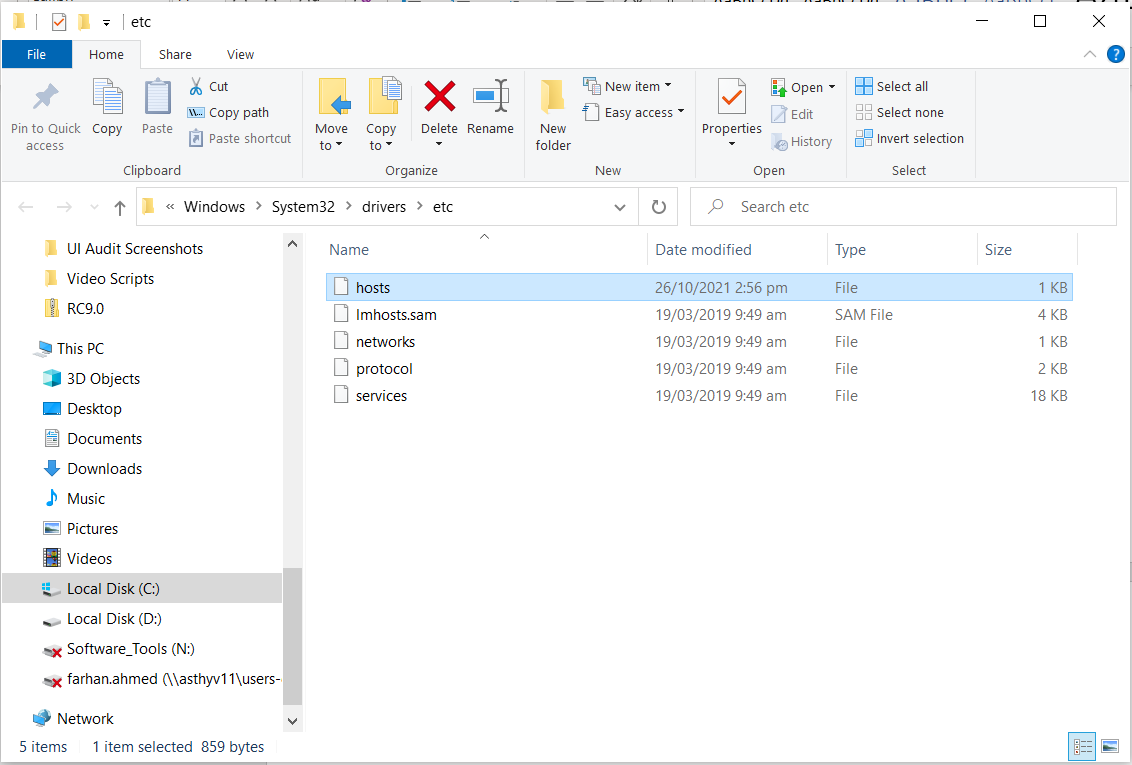
Step 3: Modify the Hosts File
The Windows hosts file is a system file that maps servers or hostnames to IP addresses. To access this file, go to the following path on your Windows machine:
C:\Windows\System32\drivers\etc
Open the hosts file and add the following line at the end:
127.0.0.1 [domain name]
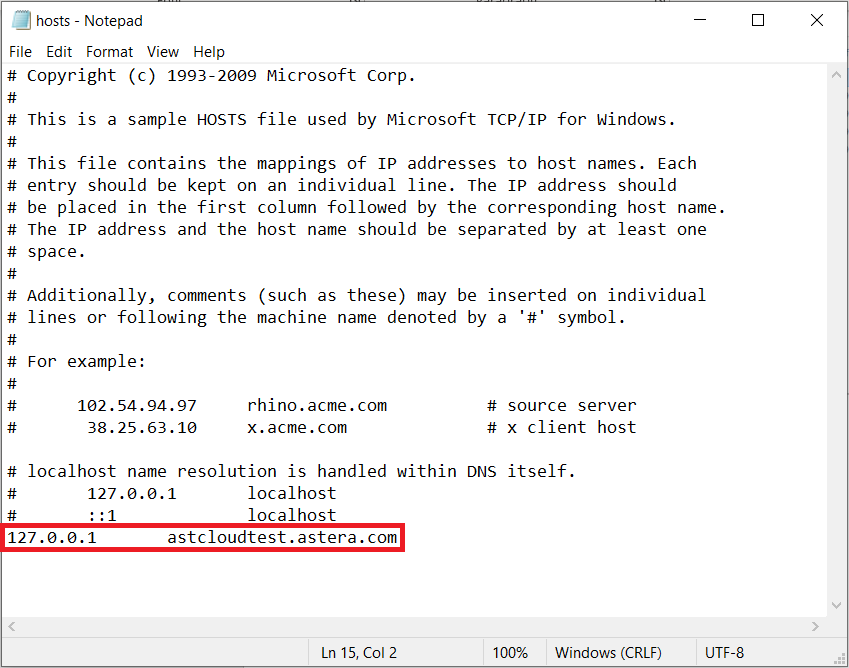
Here, astcloudtest.astera.com represents the domain used to generate the security certificate. By adding this line, you have mapped the DNS resolution for your domain to your local host.
Once done, save and close the hosts file. At this point, you will have to restart the Astera Integration Server for all of these changes to take effect in Astera DW Builder. In Windows, you can access the service for the Astera Integration Server via this path:
C:\ProgramData\Microsoft\Windows\Start Menu\Programs\Administrative Tools > Services > Astera Integration Server
Note: When you’re saving the hosts file, please ensure that the file extension has not changed.
Step 4: Connect to an OData Service from Power BI
The process we have followed up to this point is valid for any visualization tool that supports OData. From here onwards, we will take a look at how you can connect Power BI to the OData service for a deployed data model. To learn about data model deployment in Astera DW Builder, click here.
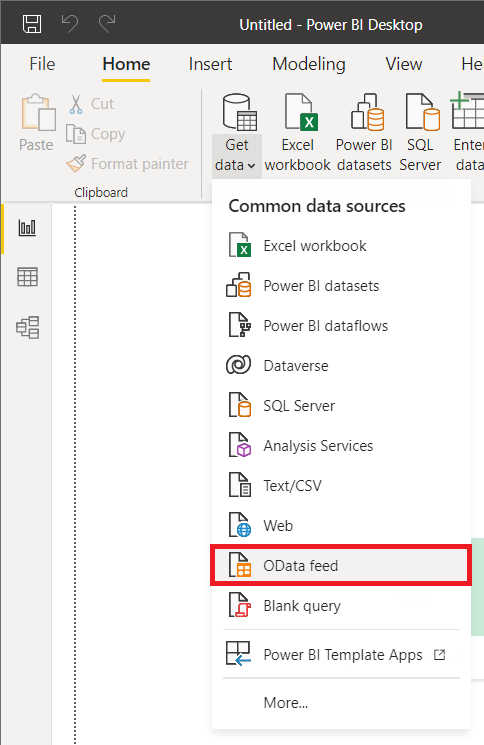
In Power BI, select the Get Data dropdown in the Home ribbon at the top.

In the dropdown menu, you’ll be able to see some common data sources. From this list, click on OData Feed.
A new window titled OData Feed will give you the option to add a URL for your desired OData feed.
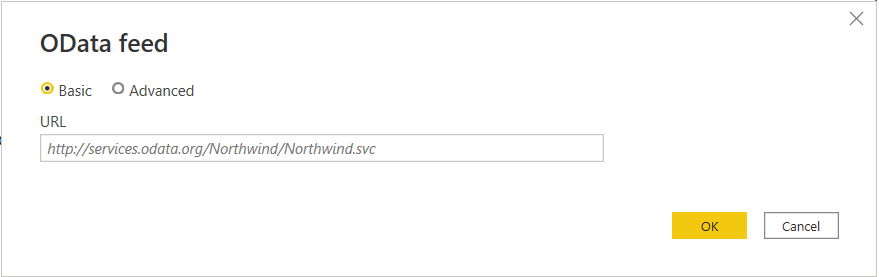
Here, enter the URL in the following format:
[domain name]:9261/api/odata/[deployment name]/
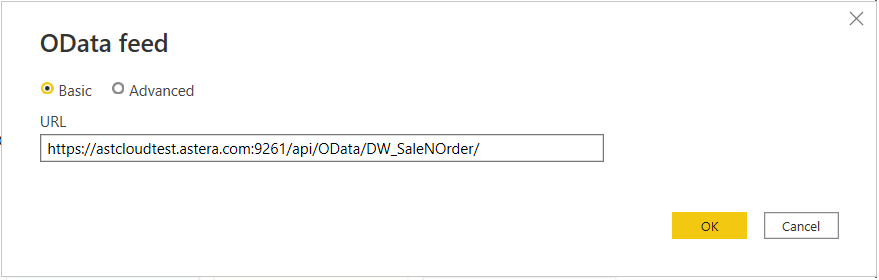
Click OK to connect to the deployed model.

You can now use the data within these tables to create dashboards for visualization and analysis.
This concludes our discussion on connecting an Astera Data Model to a third-party visualization tool via OData.