Upgrading to Centerprise 7.6
The upgradation process mentioned in this document applies to the previous versions of Centerprise, particularly:
- Centerprise 7.4
- Centerprise 7.5
Note: Prior to any upgrade, we strongly recommend that you create a full backup of your repository database. Also, upgrading a lower level environment first (such as QA, UAT, etc) is recommended, prior to upgrading the production environment. This will reduce the risk of encountering errors when upgrading the production environments.
Exporting and Importing Scheduled Tasks
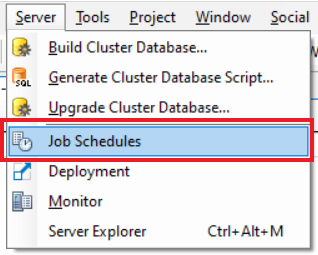
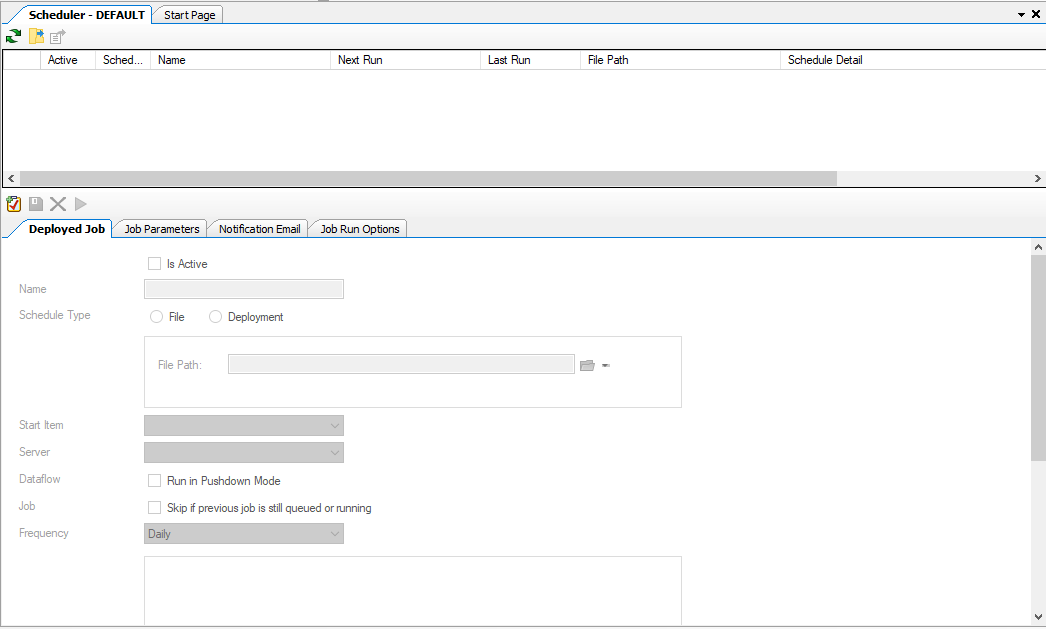
1. On Centerprise 7.4/7.5, navigate to the main-menu bar and go to Server > Job Schedules.
This will direct you to the main screen of the Scheduler.
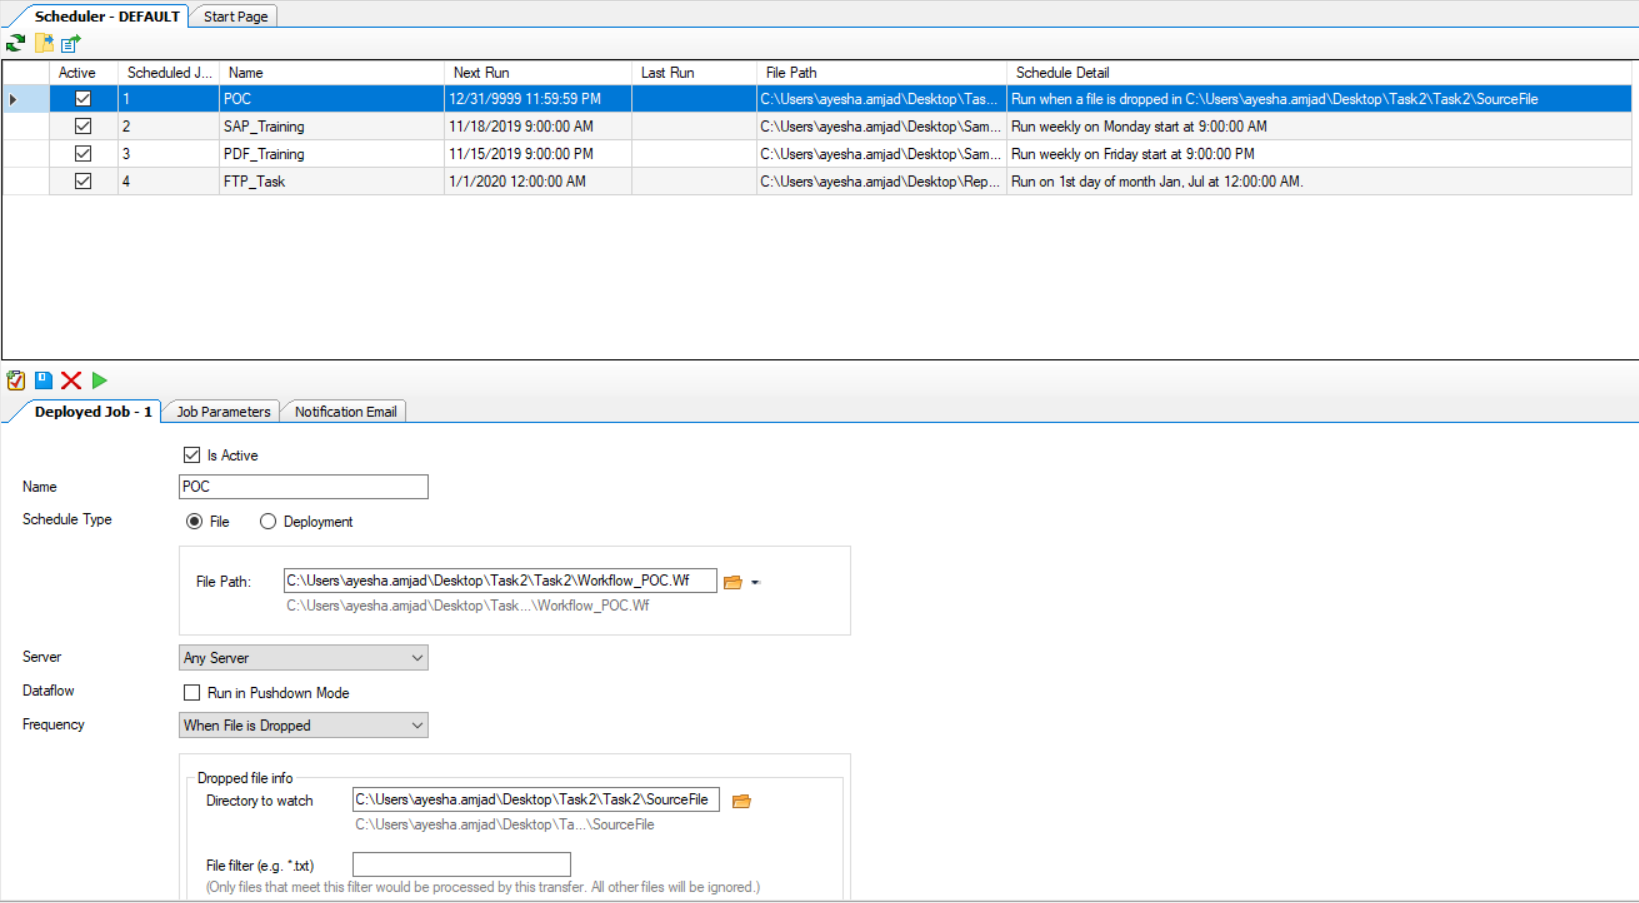
Observe that there are some active scheduled tasks here that are to be exported to Centerprise 7.6.
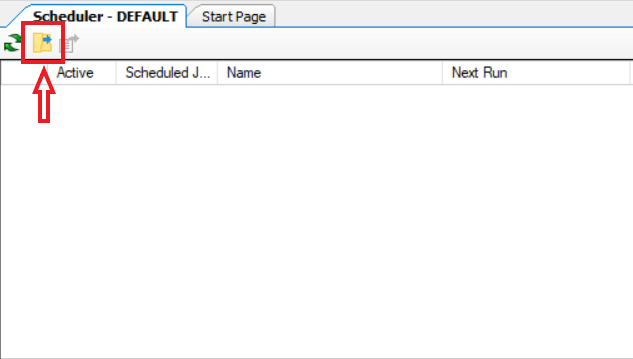
2. Select all active scheduled tasks, click on the Export Schedule icon ![]() placed above the list of scheduled tasks.
placed above the list of scheduled tasks.
![]()
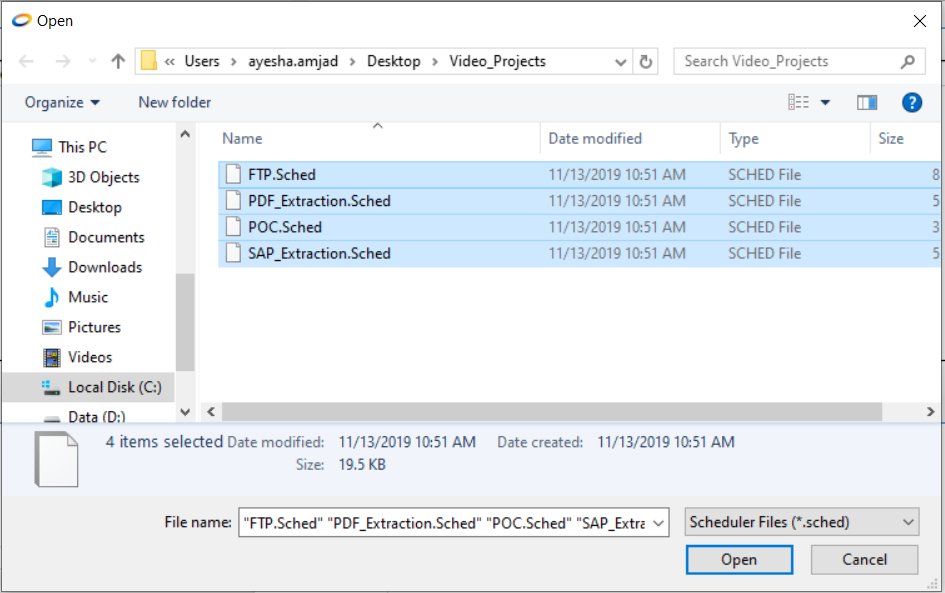
It will direct you to browse the folder where these exported schedules will be saved with a .Sched extension.
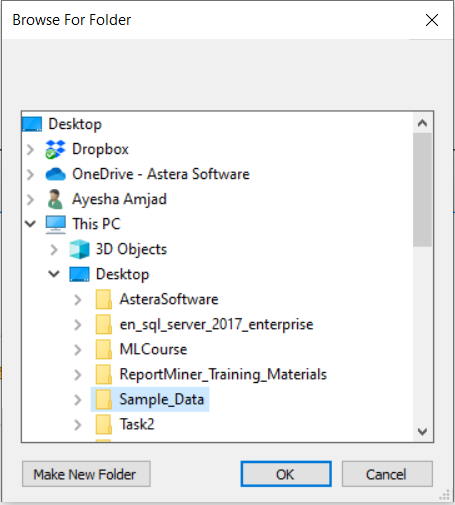
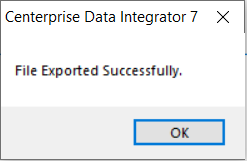
3. Select the folder and click OK. You will receive a message on successful file export.
4. Install Centerprise 7.6.
Learn to install Centerprise Client 7.6 from here.
5. Open Scheduler on Centerprise 7.6.
5. Click on the Import Schedule ![]() icon.
icon.
6. Direct it to the folder where you have saved .Sched files, exported from the older version, select all and click Open.
All the scheduled tasks will be imported to Centerprise 7.6.
Upgrading Cluster Database
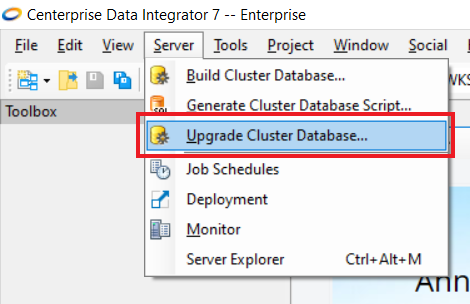
Centerprise can automatically upgrade an existing Cluster Database to version 7.6 with the Upgrade Cluster Database command.
1. On Centerprise 7.6, navigate to the main menu bar and go to Server > Upgrade Cluster Database.
A Database Connection window will open. This is where you will have to specify the connection details of the updated repository.
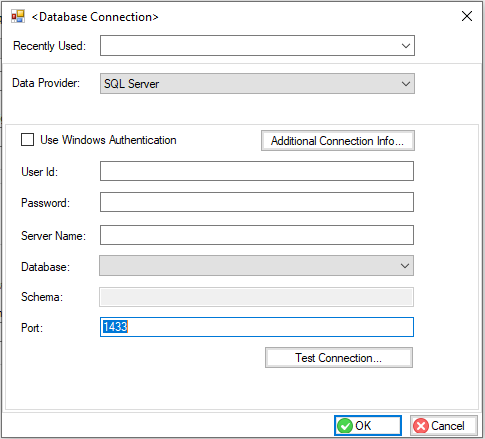
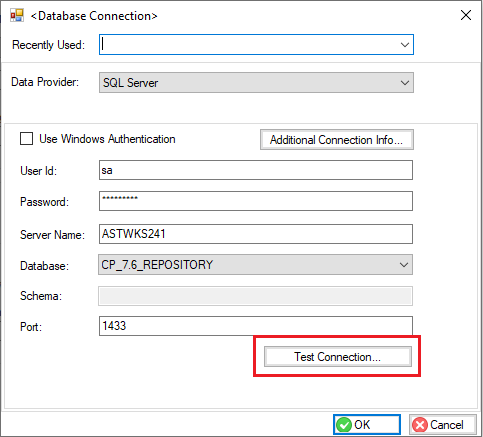
2. After specifying the connection details and configuring, click on Test Connection.
A Connection Test Results message is received.
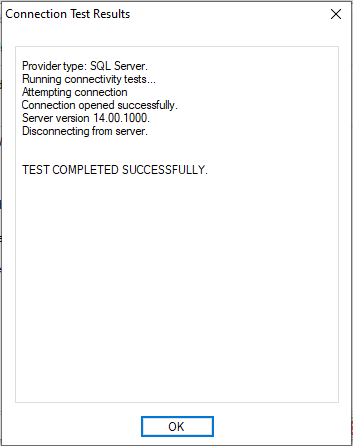
3. Click OK. A dialogue box opens up and prompts for a response. Select Yes.

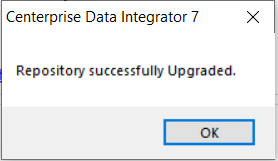
You will receive a message upon a successful repository upgrade.
This completes the upgrade from previous versions of Centerprise to Centerprise 7.6.
Next step is to configure server settings. To configure server settings, refer to this article over here.
To migrate from version 7 to 8, refer to this article over here.