Fixed Length File Destination
Centerprise Fixed Length File Destination provides the functionality to write data to a Fixed Length File.
Configuring the Fixed Length File Destination Object
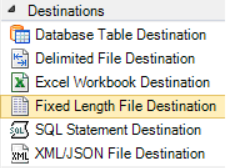
- To get a Fixed Length File Destination object from the Toolbox, go to Toolbox > Destinations > Fixed Length File Destination. If you’re unable to see the toolbox, go to View > Toolbox or press Ctrl + Alt + X.
- Drag-and-drop the Fixed Length File Destination object onto the designer.
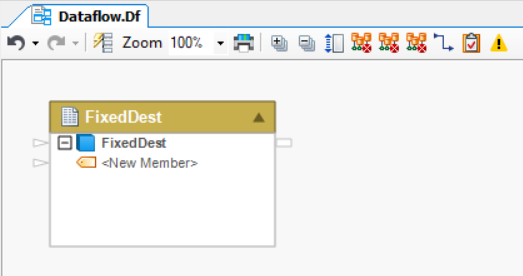
The dragged destination object is empty right now. This is because the object has not been configured yet.
Mapping
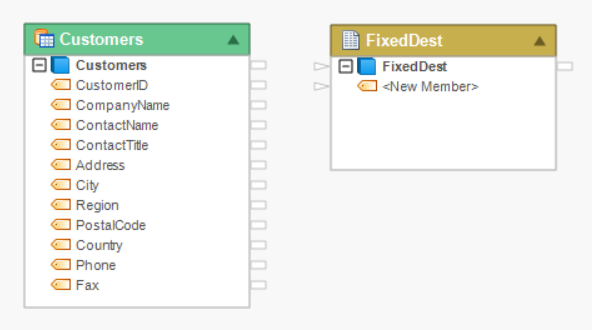
For the Fixed Length File Destination object to work, it needs to be provided with a data source.
Configure the source object and place it onto the designer next to the Fixed Length File Destination object.
Note: In this case we’ll be using a Customers sample table from the Database Source to write to the Fixed Length File Destination.
Now map the source object to the destination object. The following ways can be used for mapping:
i. By dragging and dropping the parent nodes onto each other for automatic mapping.
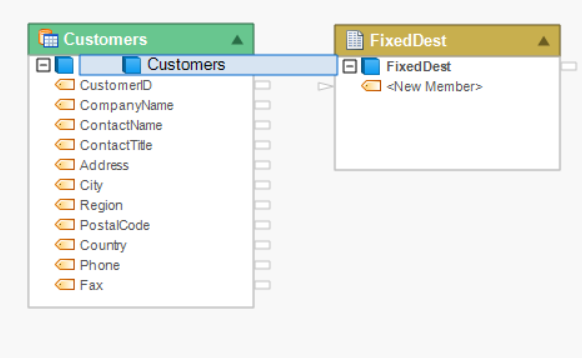
ii. By mapping the source parent node by dragging it to the destination parent node manually.
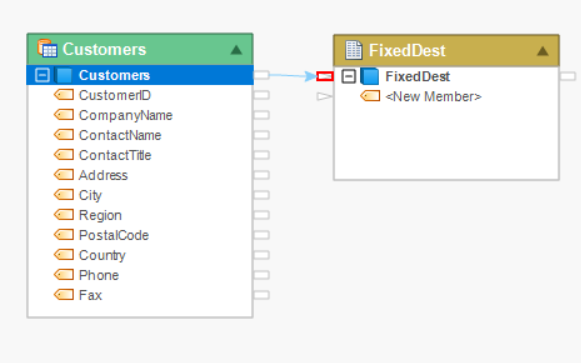
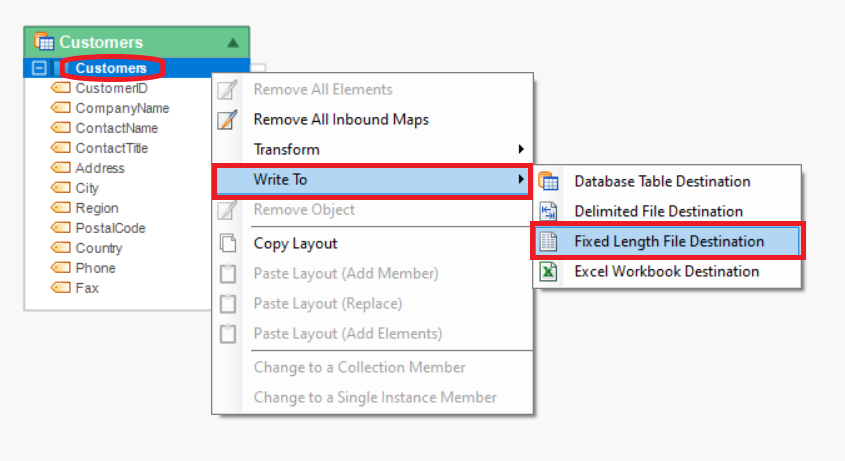
iii. By directly writing the source layout to a Fixed Length File Destination through the source context menu of its parent node.
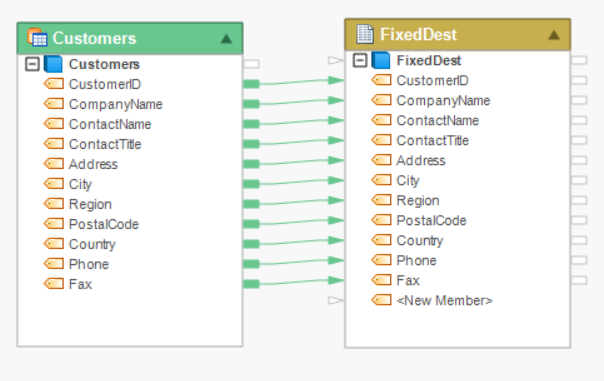
- The fields are now mapped.
Configuration
To configure the Fixed Length File Destination object, right-click on the header, select Properties from the context menu.
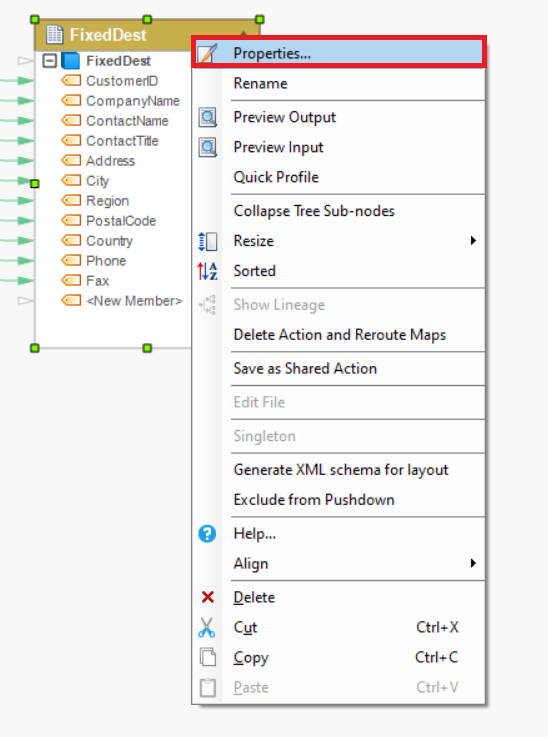
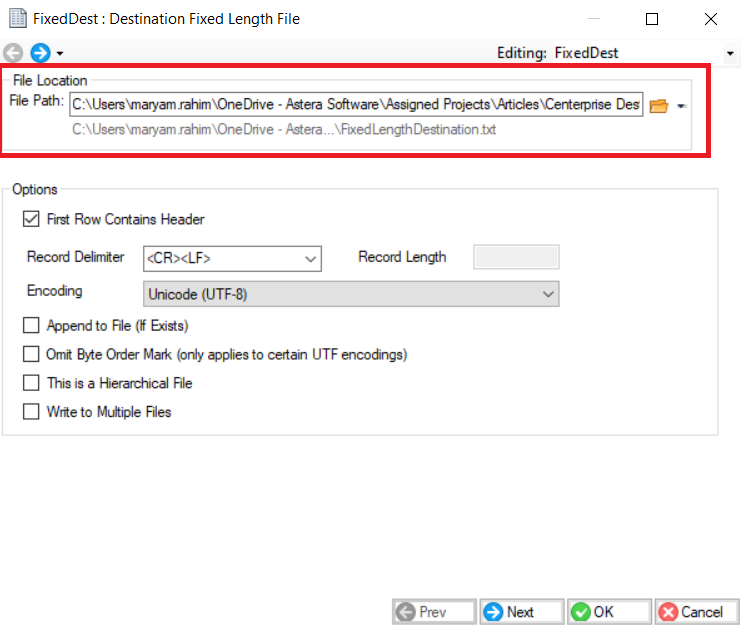
Select the Properties option from the context menu and a dialog box will open.
Provide the File Path. This is where the fixed length destination file will be saved.
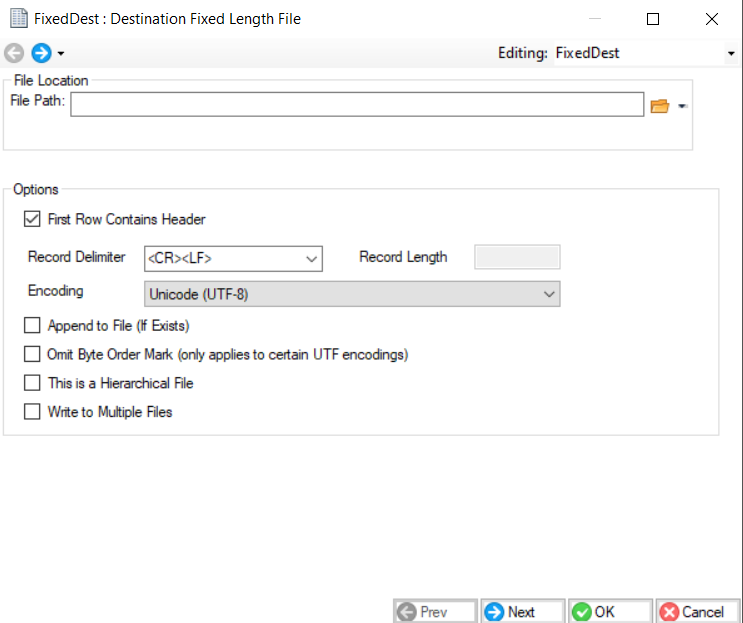
The dialog box has some other configuration options. Let’s go over these options:
Options:
- If the First Row Contains Header, check the box to read headers from the source file.
- Record Delimiter box - Allows to select the delimiter for the records in the fields. The choices available are carriage-return line-feed combination, carriage-return and line-feed. The record delimiter can also be of choice, instead of choosing from the available options.
- In case the records don’t have a delimiter, the Record Length box is used to specify the character length for a single record.
- Encoding box - Allows to choose the encoding scheme for the delimited file from a list of choices. The default value is Unicode (UTF-8)
- Choose Append to File (If Exists) to append to an existing file or create a new file. Creating a new file will overwrite any existing file.
- Check on Write to Multiple Files for the data to be saved to multiple files instead of one single file. This can be done within a single dataflow through the destination object and supporting transformations.
- To define hierarchical file layout and process the data file as a hierarchical file check the This is a Hierarchical File box. Centerprise IDE provides extensive user interface capabilities for processing hierarchical structures.
Once the data reading options have been specified on this screen, click Next.
The next screen will show a Layout Builder. On this screen, the layout of the fixed length destination file can be modified.
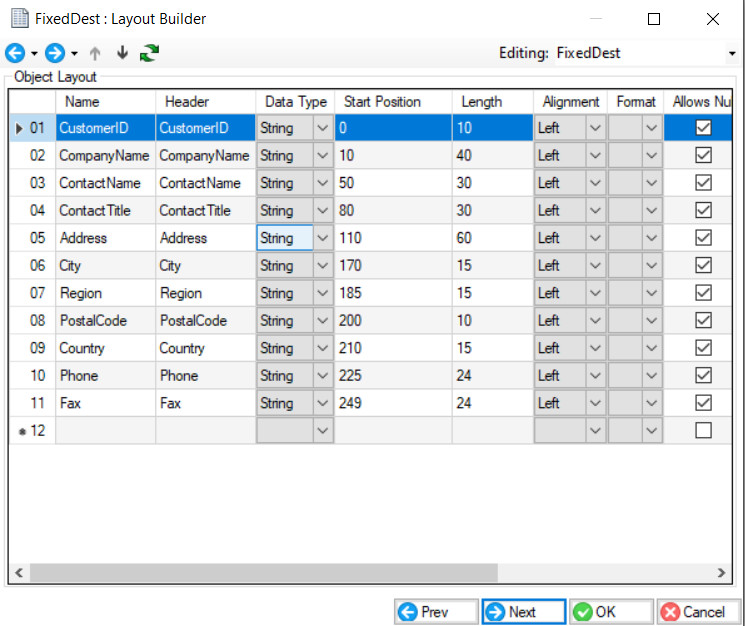
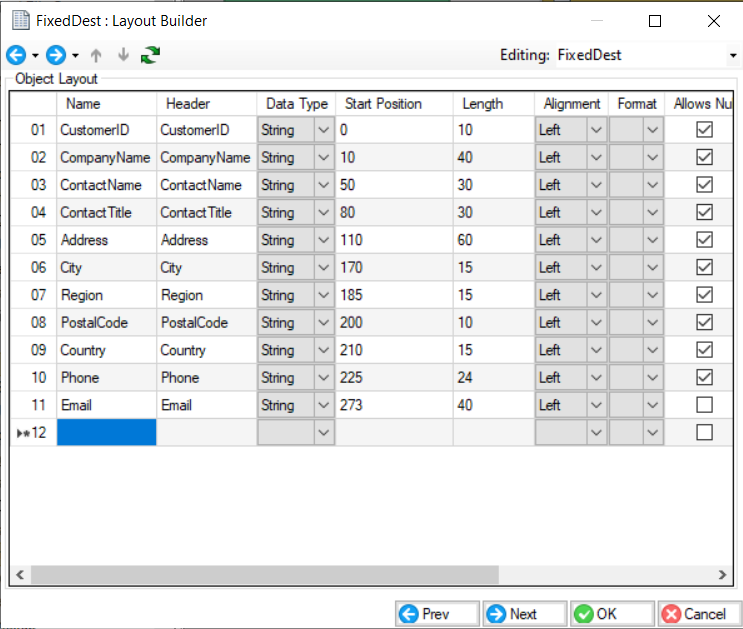
To add a new field to the layout, go to the last row of the layout (Name column), which will be blank and double-click on it, and a blinking text cursor will appear. Type in the name of the field to be added and select the subsequent properties for it. A new field will be added to the source layout.
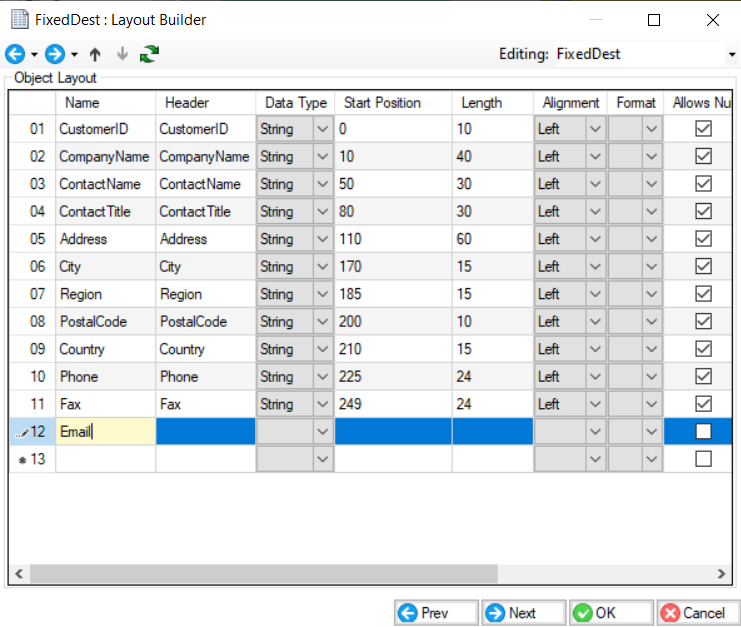
Note: Adding a new field (Email) to the layout.
To delete a field from the layout, click on the serial column of the row that is to be deleted. The selected row will be highlighted in blue.
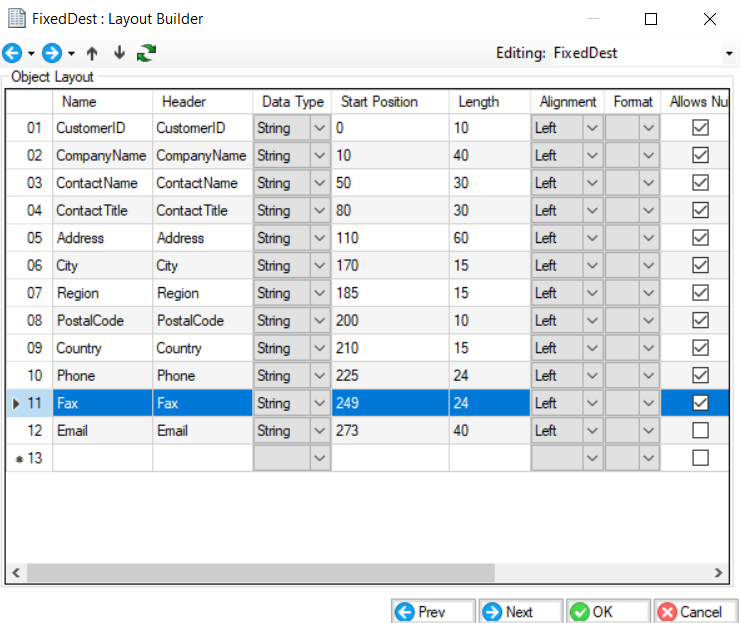
Note: Deleting the Fax field from the layout.
Right-click on the highlighted line, a context menu will appear which will have the option to Delete.
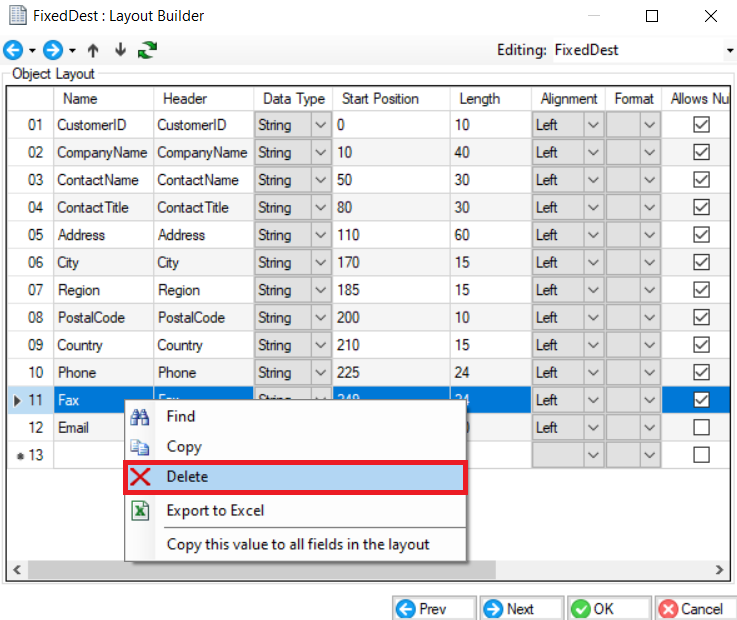
Selecting delete will delete the entire row.
The field is now deleted from the layout and won’t appear in the output.
Note: Modifying the layout (adding or deleting fields) from the layout builder screen in Centerprise will not make any changes to the actual source file. The layout is specific to Centerprise only.
To change the position of any field and move it below or above another field in the layout, select the row and use Move up/Move down keys.
Note: Find the Move up/Move down icons on the top left of the builder.
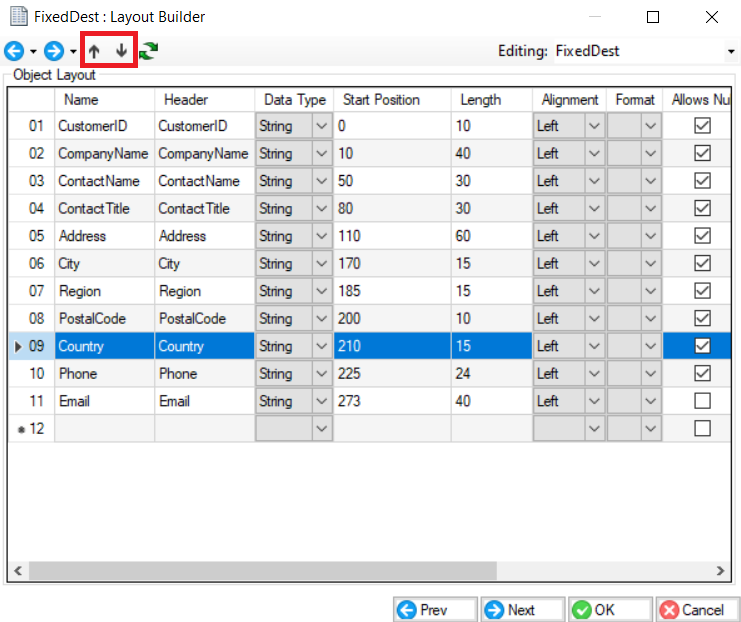
For example: To move the Country field right below the Region field, select the row and use the Move up key to from the 9th row to the 8th row.
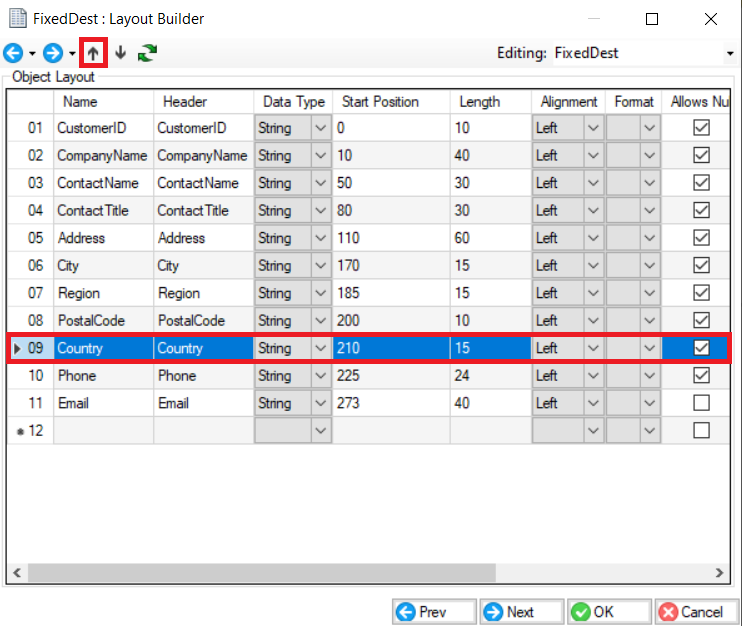
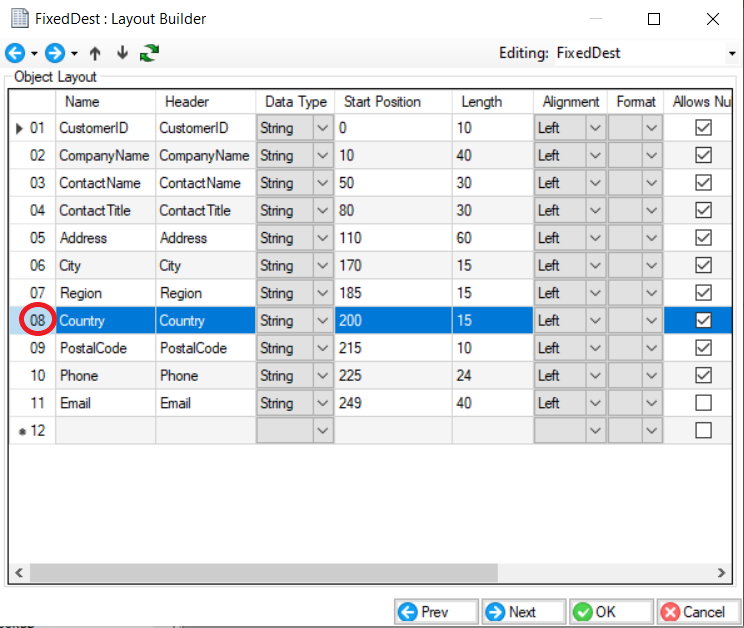
The row is now moved from the 9th position to the 8th position.
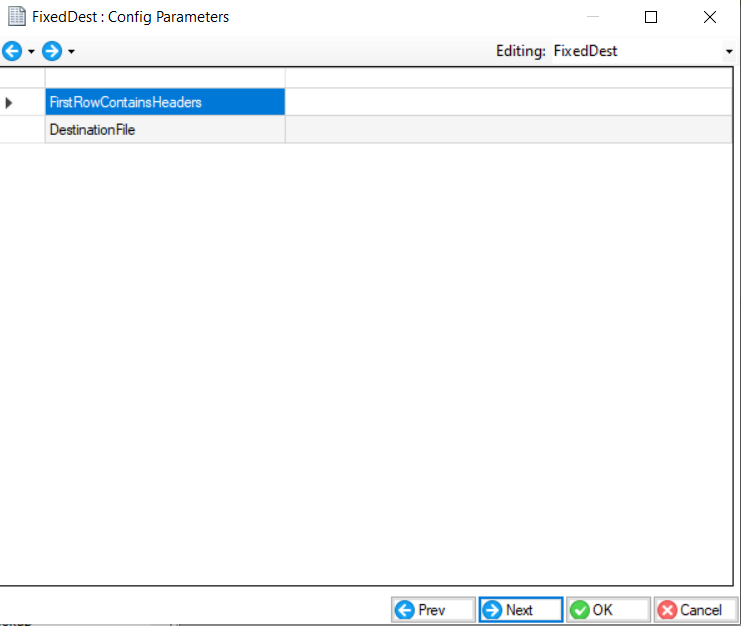
Once the object layout is configured, click Next. A new screen will appear -Config Parameters, which allows to further configure and define parameters for the fixed length destination file.
Parameters can provide easier deployment of flows by eliminating hardcoded values and provide an easier way of changing multiple configurations with a simple value change.
Note: Parameters left blank will use their default values assigned on the properties page.
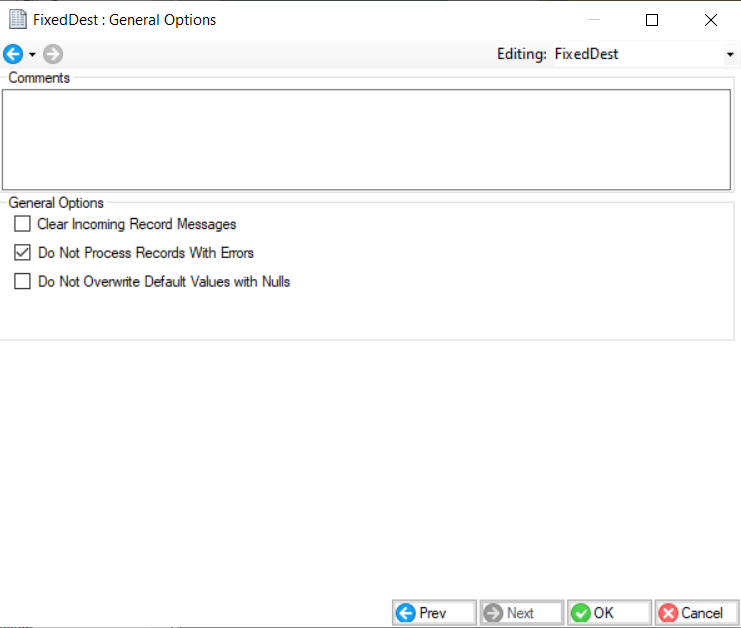
A General Options screen will appear. On this screen:
- Comments can be added.
- General Options are given, which relate to processing of records in the destination file.
Click OK.
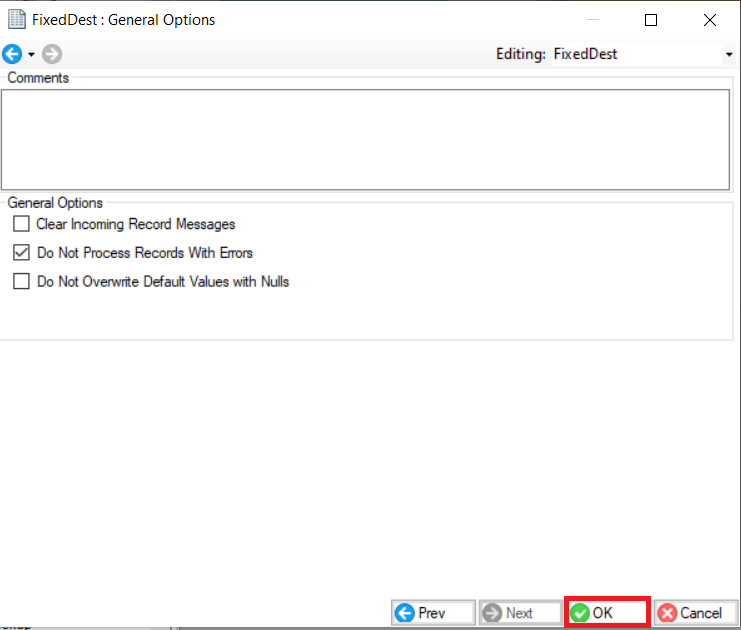
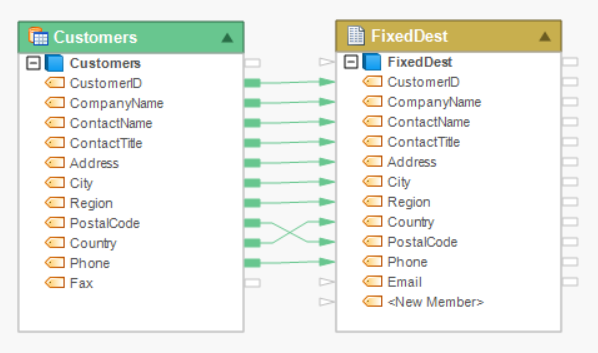
The FixedDest object is now configured according to the changes that were made in the properties window.
Note: The changes that were made in this case are:
- Added a new field -Email in the layout.
- Moved the Country field below the Region field.
The Fixed Length File Destination object is successfully configured and the destination file can now be created by running the dataflow.