Using Data Quality Rules in Astera Centerprise
Data Quality Rules found in the Data Profiling section of the toolbox is used to apply one or more conditions, called data quality rules, against incoming records. Records that do not meet the data quality rule criteria will be assigned the ‘Error’ status and may be optionally excluded from processing by the downstream objects.
Data Quality Rules is a record-level component which means that it does not require the entire dataset to flow through it. In other words, you can map a single or a couple of fields to the Data Quality Rules component to set up quality validation criteria and the transformed records can be mapped further in the dataflow.
Steps to Use the Data Quality Rules in a Dataflow
Let’s understand the application and usage of Data Quality Rules with this example.
Here we have sample data of employees of a fictitious organization which we have retrieved using an Excel file source.
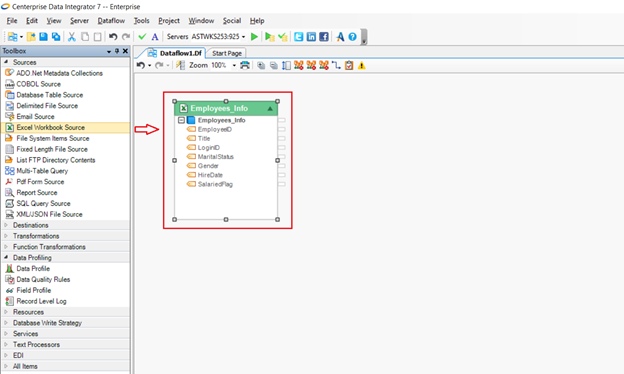
If we look at the preview, you can see that it has different fields such as EmployeeID, Title, LoginID, MaritalStatus, Gender, HireDate, and SalariedFlag.
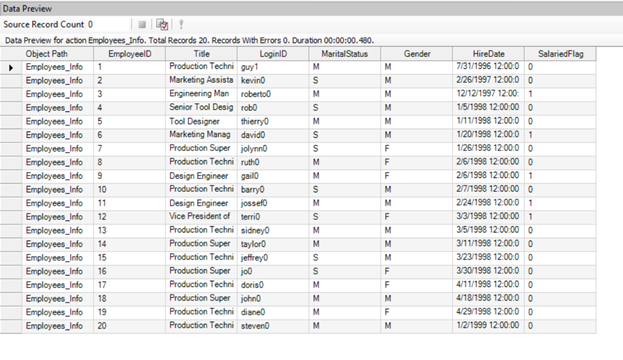
The values in the SalariedFlag column specify whether an employee is salaried in terms of True and False – True, if the employee is salaried, and False, if the employee is non-salaried and therefore is eligible for overtime.
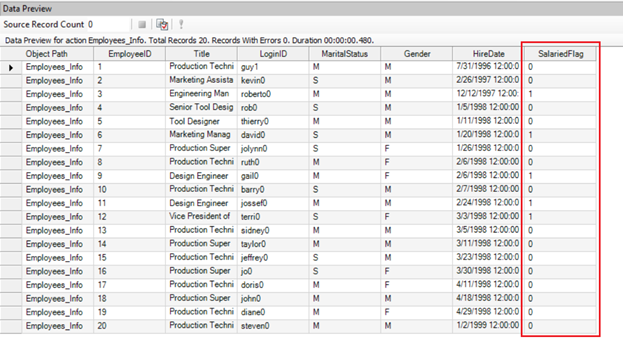
We can apply data quality rules to these values and identify which employees are not salaried and therefore, are eligible for overtime. The Data Quality Rules object will process all records and those that doesn’t match the criteria will be returned with an error. Which means that in this example, the Salaried employees with the salary flag ‘True’ will return an error whereas the records of employees with salary flag ‘False’ will pass the data quality rule.
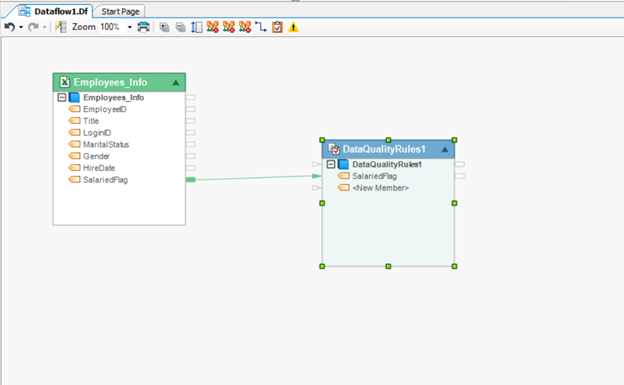
For this, drag the Data Quality Rules object from the Data Profiling section in the toolbox and drop it onto the dataflow designer.
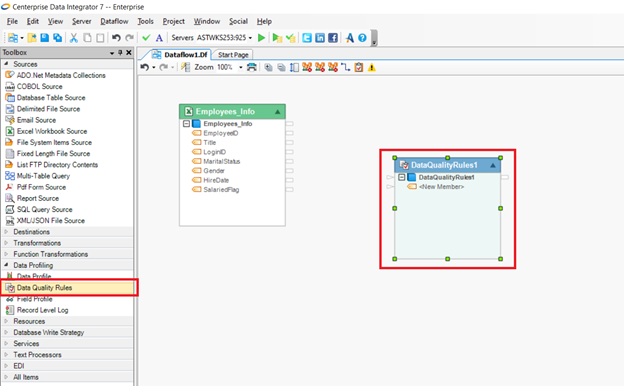
Now map the SalariedFlag field to the Data Quality Rules object.
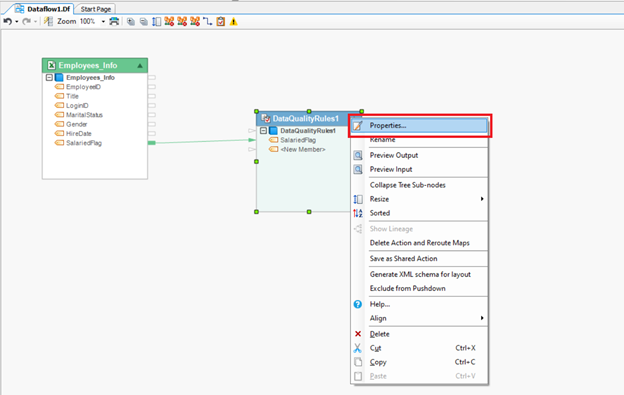
Right-click on the Data Quality Rules object and select Properties from the context menu.
This will open a new window. The first screen is the layout builder screen where you can see the ‘SalariedFlag’ field we have mapped from our source.

Click ‘Next’ to proceed to the Data Quality Rules screen.
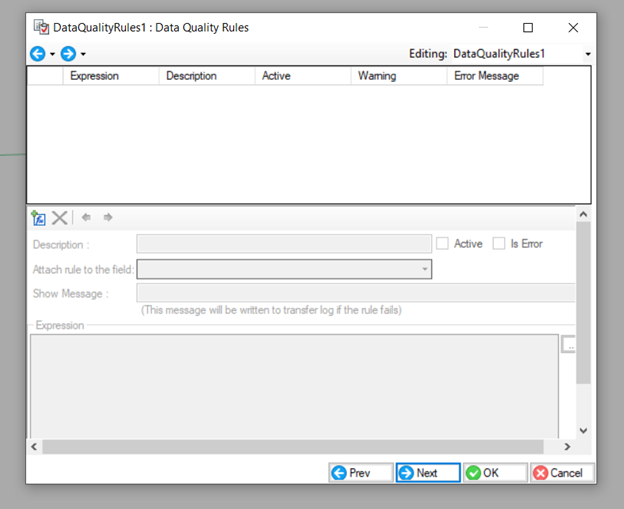
Here, we’ll set up the rules or data quality criteria. Click this  button to add a new rule.
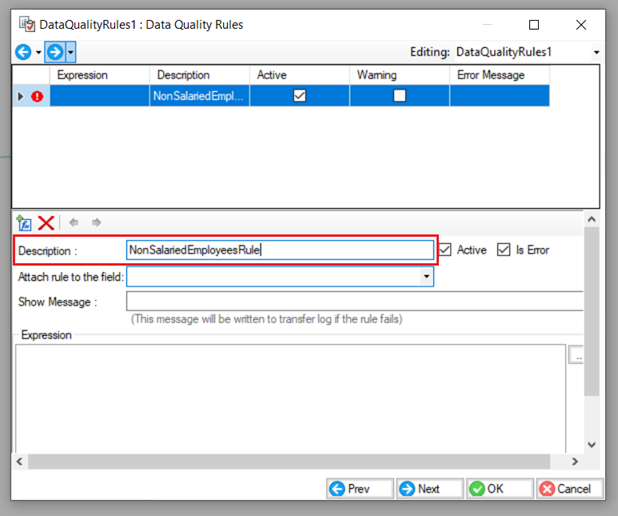
Once a new rule is added, the options on this window will activate and the rule will be added to the grid.

Let’s explore these options one by one:
Description: The description field contains the name or description of the rule. By default, the rules are termed as Rule1, Rule2 and so on, depending on the number of rules you add. But you can also rename the rules for better understanding and convenience.
As in this case, we want to set up data quality criteria to identify non-salaried employees, so we can rename the rule as “NonSalariedEmployeesRule.”
Attach rule to the field: This is a drop-down list from which you can attach a rule to a particular field. You can see that there’s a root node named ‘Data Quality Rules’.
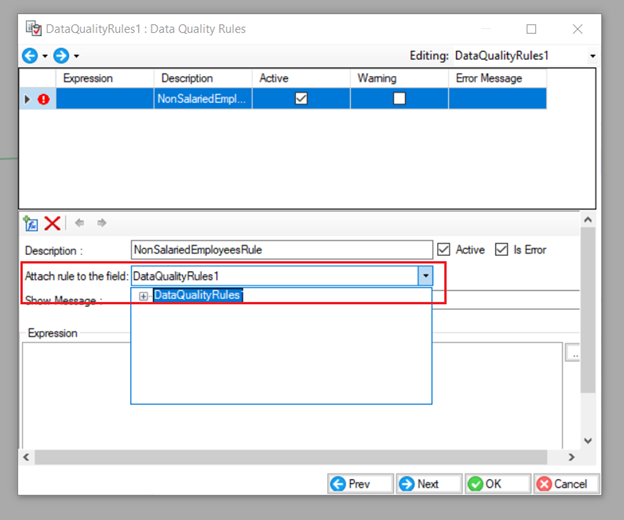
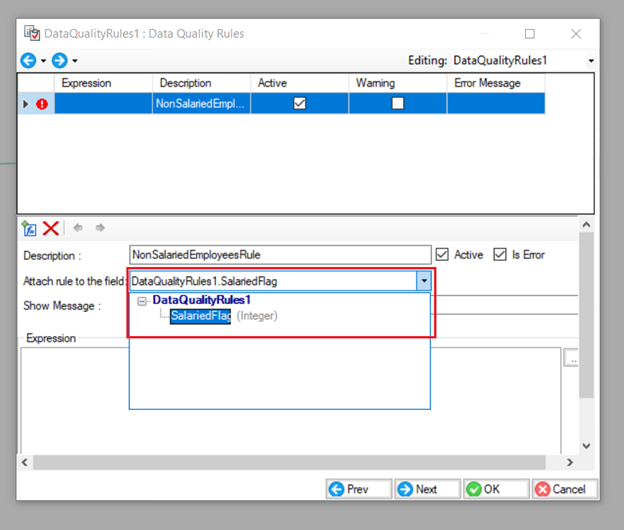
Listed within the Data Quality node are the fields mapped to the Data Quality Rules object. Here we have only one field mapped on which we want to apply this rule. In case you want to apply a rule to the whole dataset, you can simply double-click on the Data Quality Rules root node and the rule will be applied to all fields mapped to the Data Quality Rules object.
In this case, we’ll map the rule to the SalariedFlag field.
Expression box: This is where you can type in the expression for your rule.
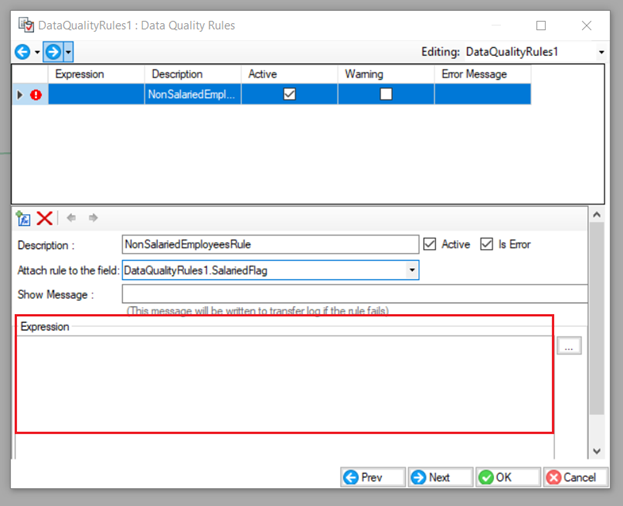
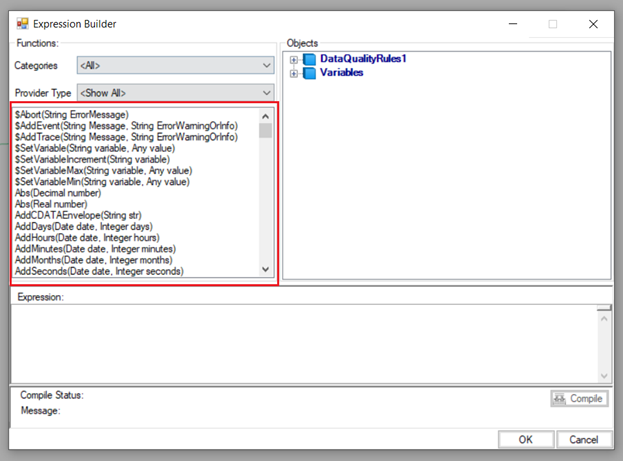
Or you can click this  button to enter the expression builder where you can choose an expression from Centerprise’s library of built-in expressions or write one of your own.
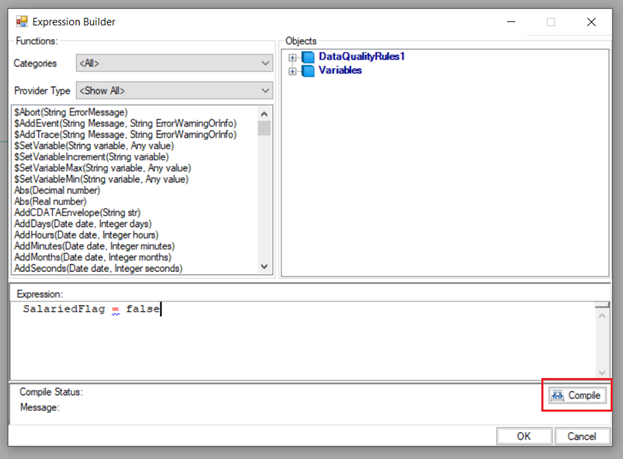
In this example, we want to validate records with the Salary Flag ‘False.’ So, we’ll write the expression:
SalariedFlag = false in the expression field.

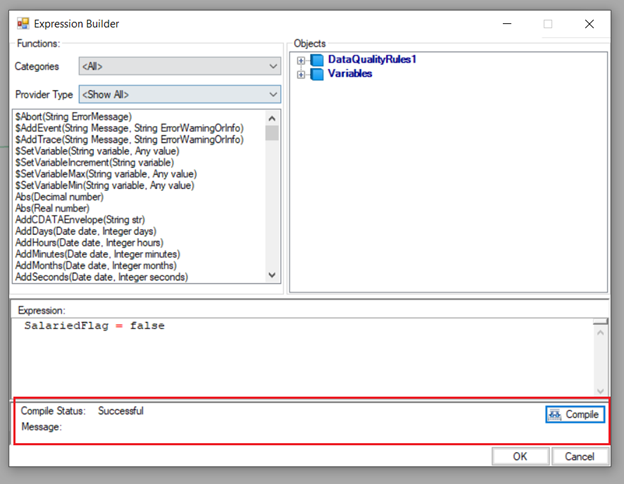
Now click ‘Compile’ to check if the expression is correct.
It says ‘Successful’ so we can click OK. Alternatively, it will give you an error if the expression is incorrect and you’ll have to correct the expression before clicking OK.
Show Message: We can also write a message to show up with the errors, which can also be written to the error log. Let’s write a message:
Salaried employees are not eligible for overtime.
This message will help identify why a particular record was marked erroneous. And in case multiple rules are applied, the message will point out which rule was not qualified by a particular record.

Next, we have two checkboxes:
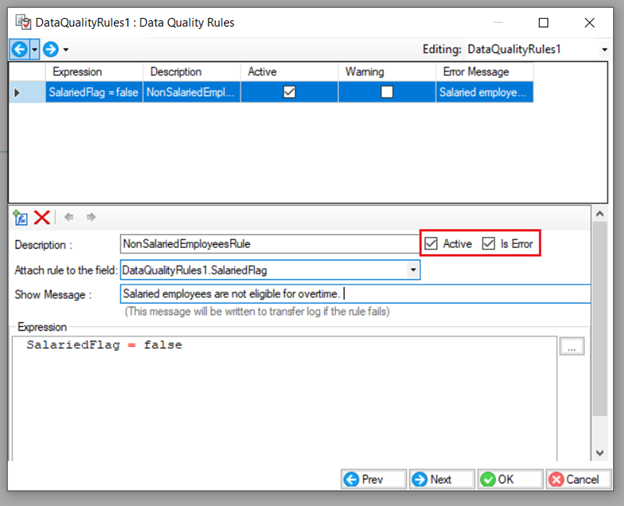
- Active – to activate a rule.
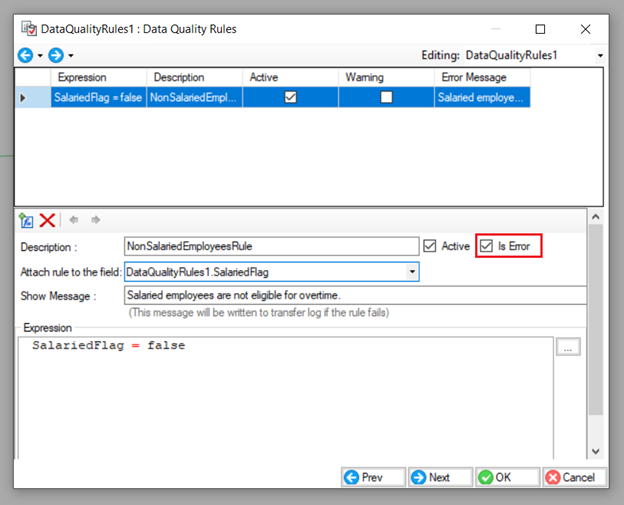
- Is Error – when this is checked, all records that return an error will not be written to a target. Which means that only the records that have passed the data quality rule will flow further in the dataflow pipeline.
However, if we uncheck this option, it will automatically check the ‘Warning’ checkbox. What it does is that the records that do not pass the rule will return with a warning and will be written to a target even though they failed to match the rule.

In this case, let’s keep the errors as errors by checking the ‘Is Error’ box.
So now we have set up a data quality rule.
You can add as many rules as you want by clicking this  button and similarly, you can also delete a rule by pointing it in the grid and then right-click > Delete. In this example, we’ll work with a single rule which has been set, so let’s go ahead and click OK.

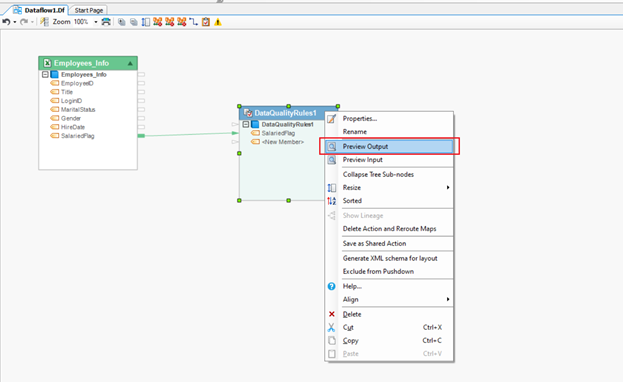
Now let’s look at the preview. Right-click on the Data Quality Rules object and select ‘Preview Output’ from the context menu.
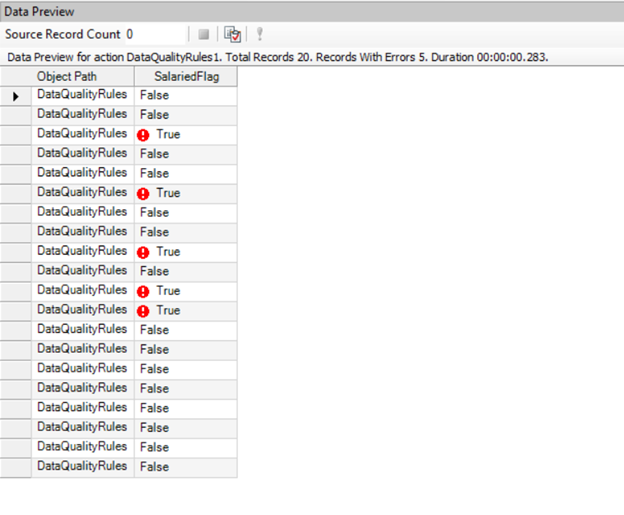
You can see that the records that have matched the rule, that is the records with ‘False’ salary flag have been validated and have matched the rule. On the other hand, the records that failed to match the rule, that is the records with the True flag have returned an error, denoted by a red warning sign.
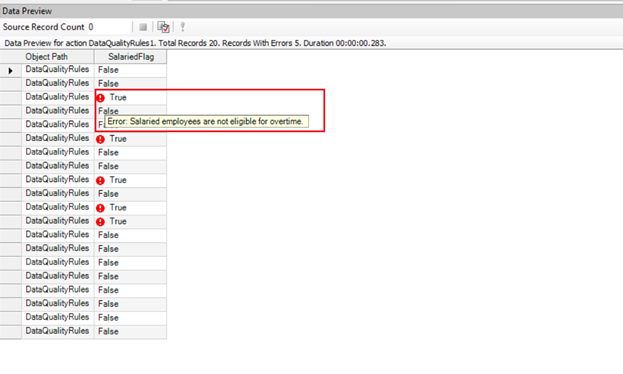
If you move the cursor over this warning sign, it will show the error message in the tooltip. This is especially useful in cases where you have applied more than one rule and you want to track which records have failed to match which rule or when you want to store the erroneous records in an error log.
So now that we have validated the records against our data quality rule, we can map it to a target which is a delimited file in this case. You can see that it’s named ‘Employees eligible for overtime,’ so the records of employees with the ‘False’ salaried flag will be passing through the Data Quality Rules and mapped to the destination file. Let’s do the mapping.

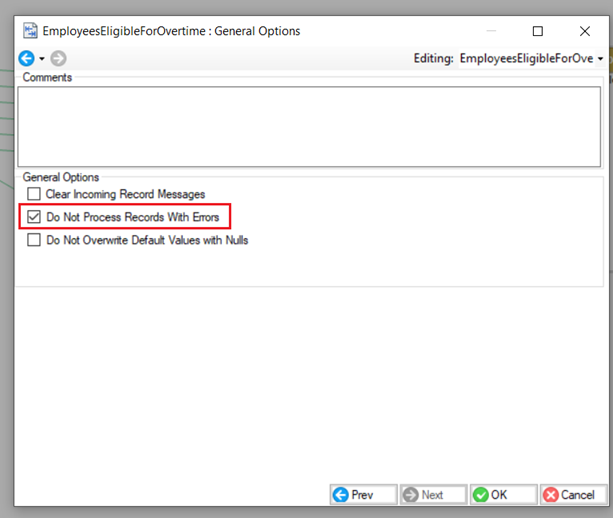
Now if we go to the properties of the destination file, you can see this option ‘Do Not Process Records With Errors’ on the last screen. It is checked by default in all target formats in Centerprise and what it does is that when we run this dataflow, all records that have matched the data quality rule will be written on to the destination file, whereas the records that failed to match the rule and returned an error will be omitted.
The records that fail to match the data quality rule can be written and stored in a separate error log. Click here to learn how you can store erroneous records using a Record Level Log.