Passthru Transformation
Passthru Transformation creates a new dataset based on the elements that were passed to the transformation. This is useful for organizing datasets for better readability and grouping of values that are otherwise calculated over and over again (e.g. a Sequence Generator Transformation).
In this document, we will learn how to use Passthru Transformation in Astera Centerprise.
Using Passthru Transformation
In this case, we have the data coming in from an XML/JSON File Source.
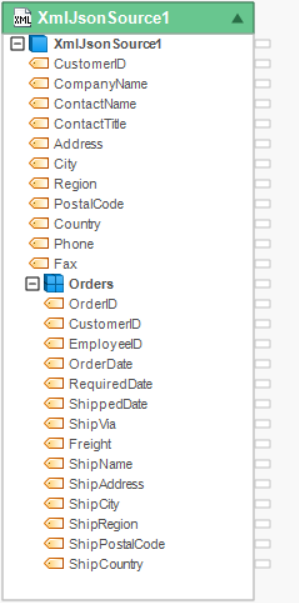
The source file contains customers’ information in the parent node and their order and shipping details in the collection/child node.
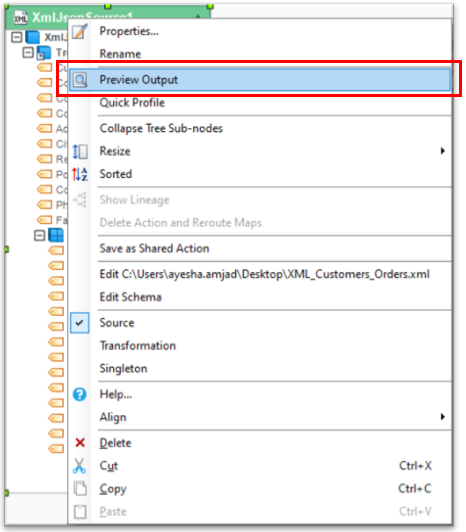
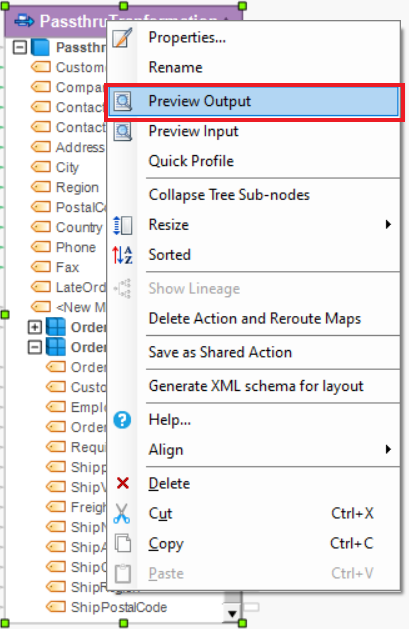
Preview data by right-clicking on source object’s header > Preview Output
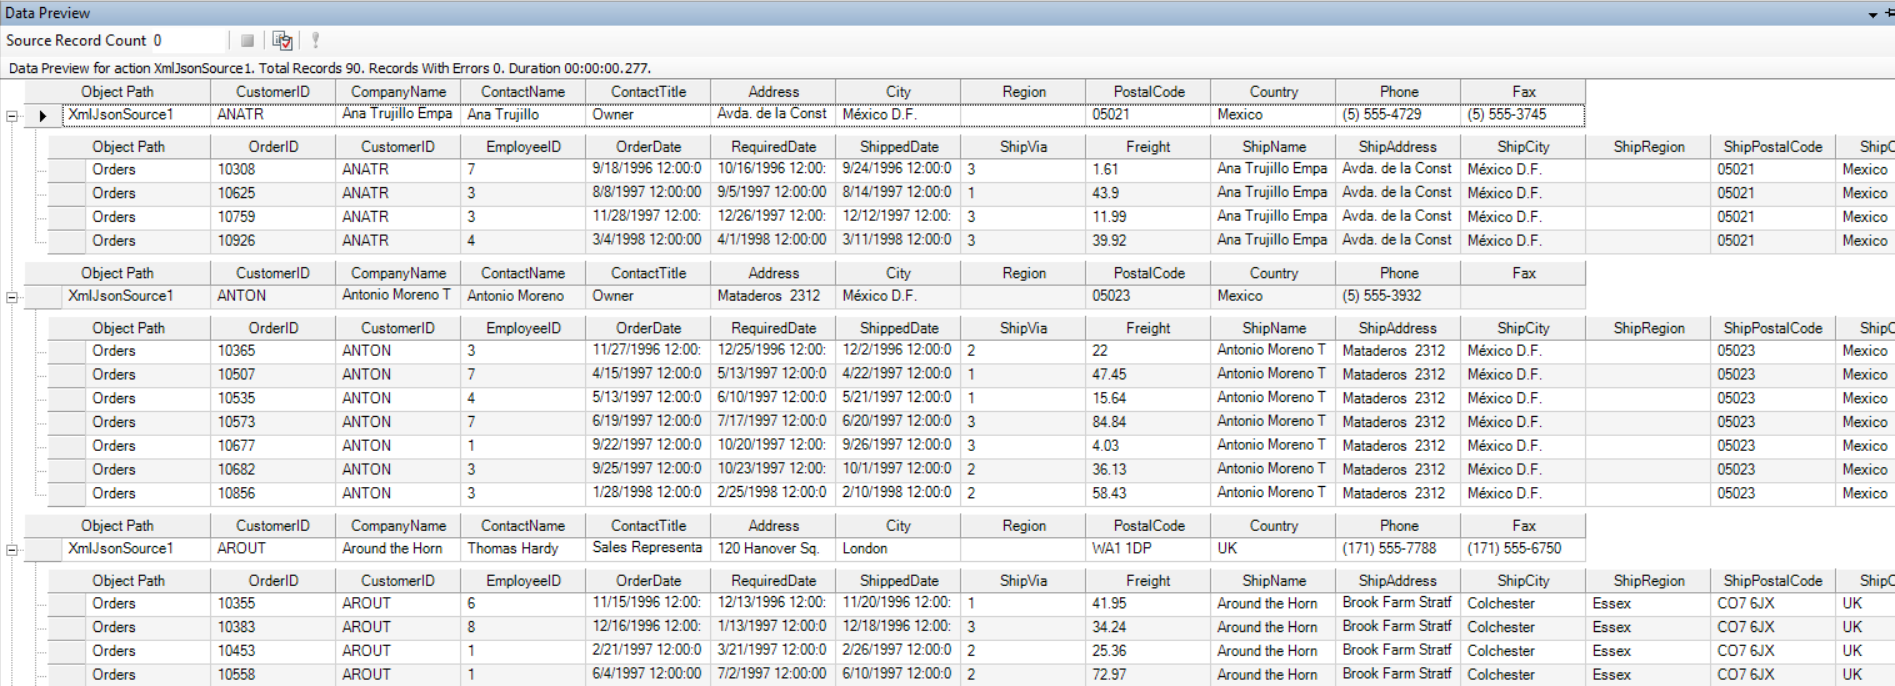
A Data Preview window will open up showing you the preview of the hierarchical data.
Now, we want to create a field in the parent node that contains the count of orders that arrived late for each customer, and write these records to a destination file. This new field in the parent node will depend on two fields, RequiredDate and ShippedDate, that are already present in the collection/child node.
For this purpose, we will use Passthru Transformation.
- To get a Passthru Transformation from the Toolbox, go to Toolbox > Transformations > Passthru. If you’re unable to see the toolbox, go to View > Toolbox or press Ctrl + Alt + X.

- Drag-and-drop the Passthru object onto the designer.
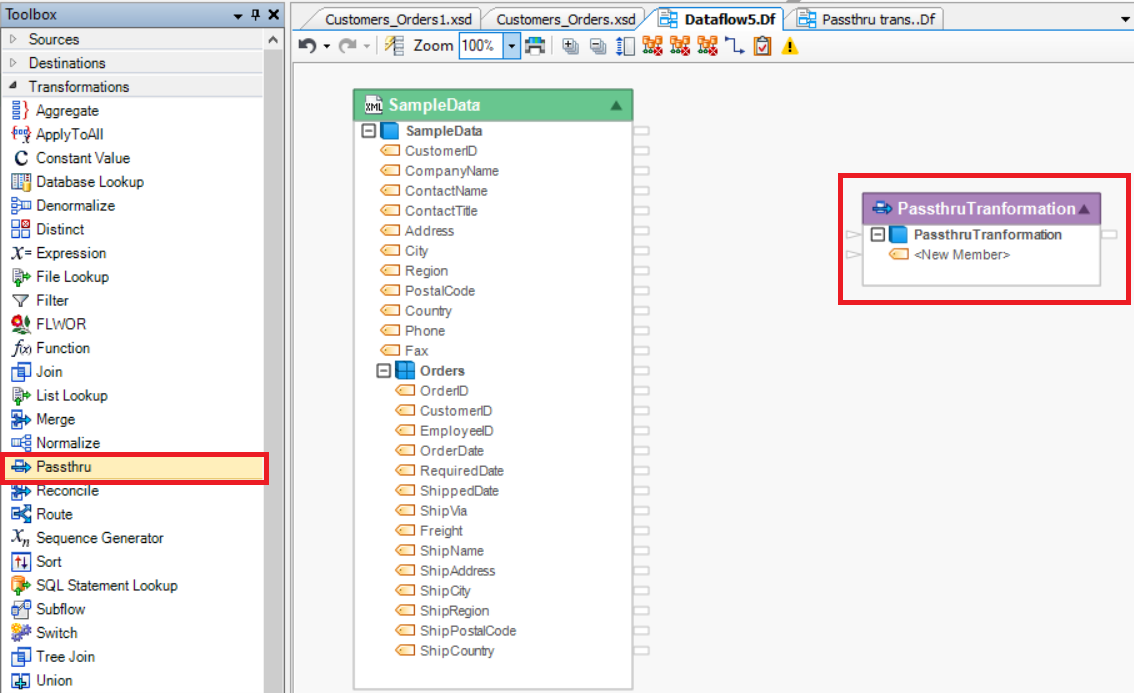
You can see that the dragged transformation object is empty right now. This is because we haven’t mapped any fields on it yet.
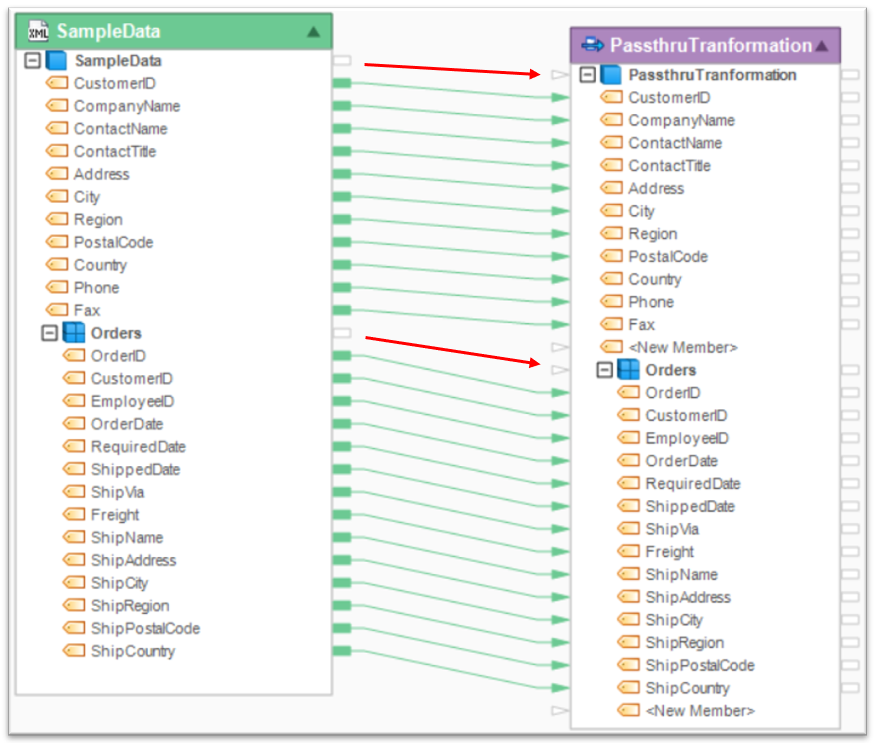
- Auto-map source onto the transformation by dragging-and-dropping top node of the source object, SampleData onto the top node of transformation object – PassthruTransformation.
Similarly map the Orders collection node from the source object onto the
Configuring the Passthru Transformation Object
- To configure the Passthru Transformation object, right-click on its header and select Properties from the context menu.
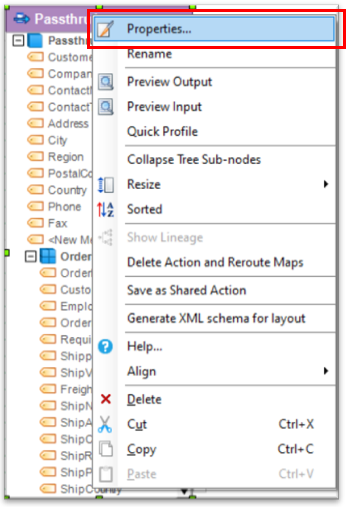
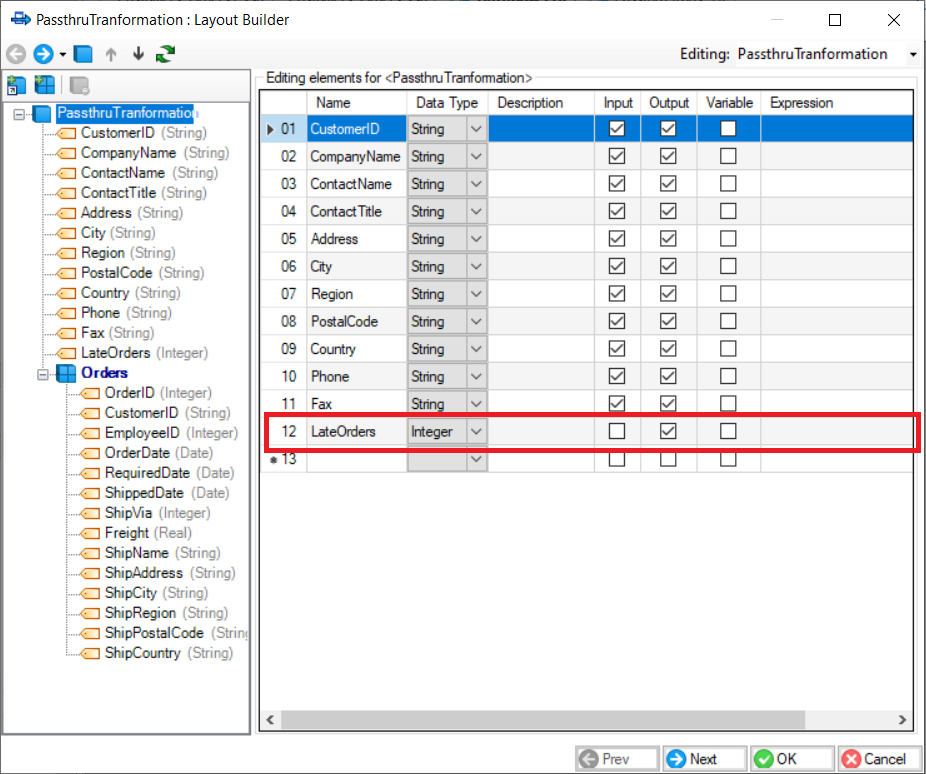
A configuration window for Passthru Transformation will open. First screen is the Layout Builder screen. This is where we can create or delete fields, change their name or data types, mark any field as a variable or attach expression to any field.
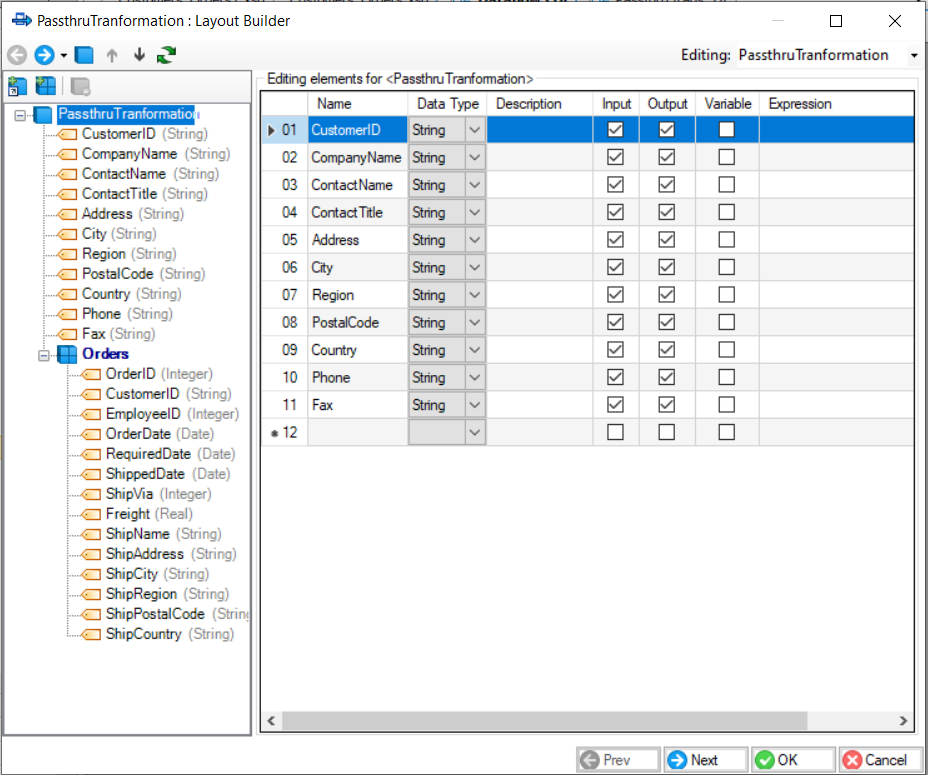
- Create a new field under the parent node. Let’s call it LateOrders and mark it as an output field.
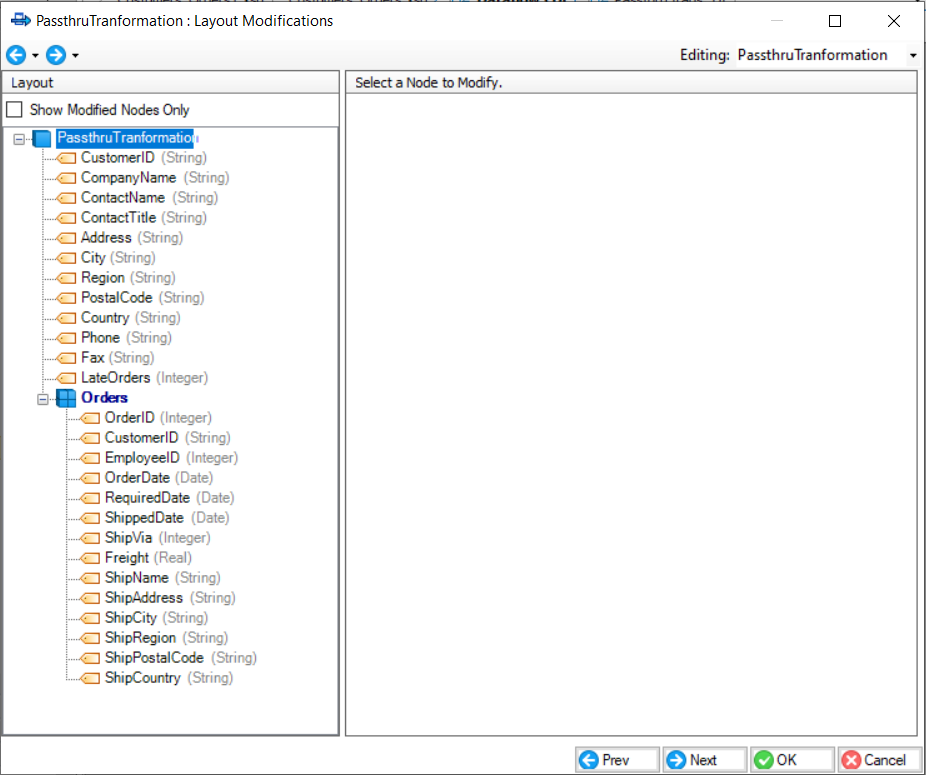
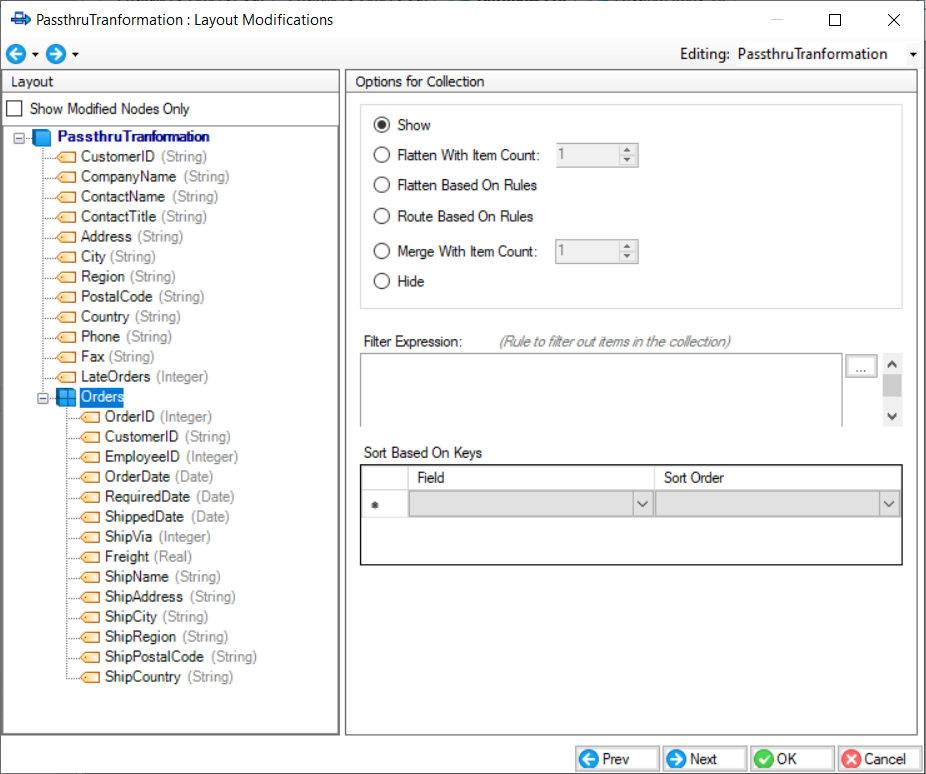
- Click Next and you will be directed to a Layout Modifications window.
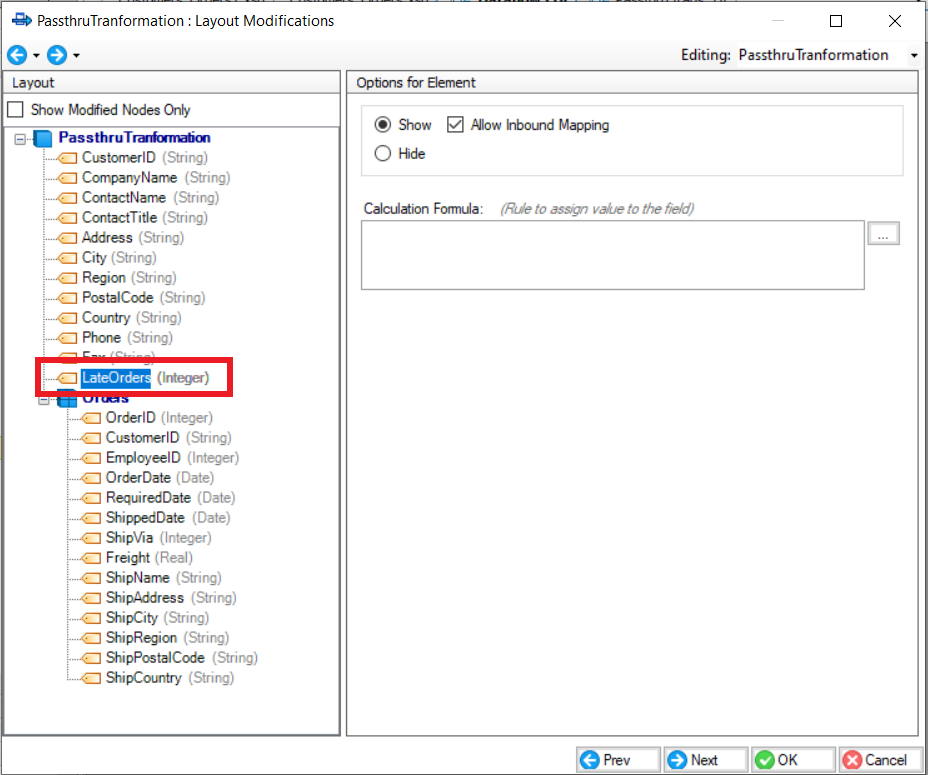
- Select the LateOrders field. Here you can modify any field by applying expressions on it.
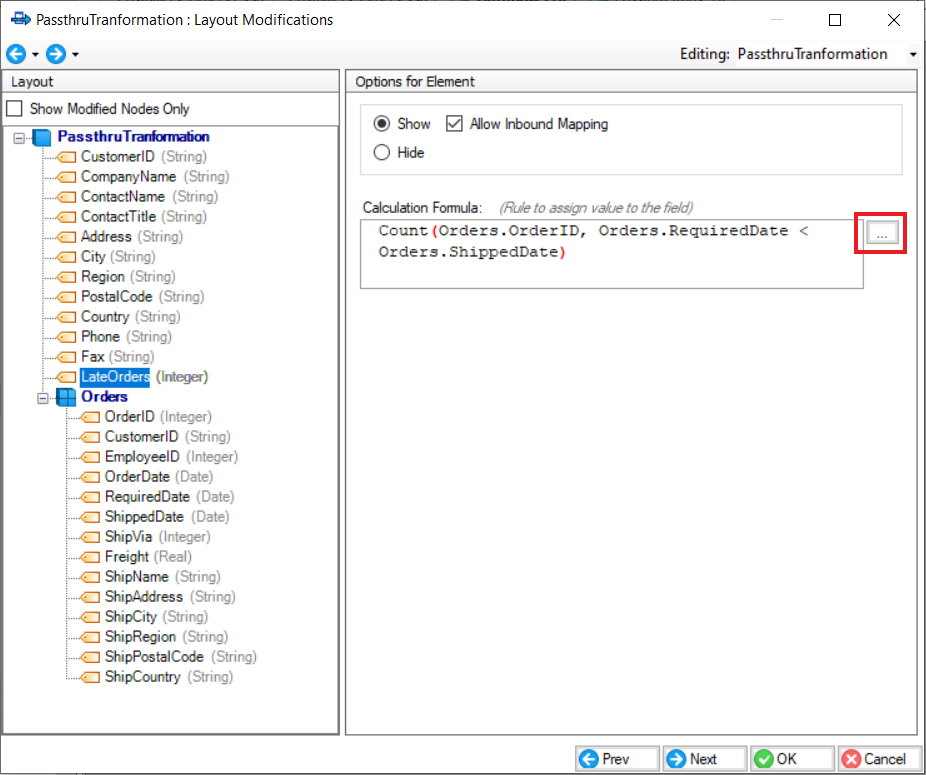
- Write the expression that counts the number of late arriving orders. Click “…” next to the expression box to open the expression builder window where you can make use of the extensive library of built-in functions and expressions.
- Click on Orders node and a panel (Options for Collection) will appear. These options are only available for collection nodes. This is where we will specify the rule for routing late arriving orders.
- Select Route Based on Rules and a new section for adding rules will appear on the screen.
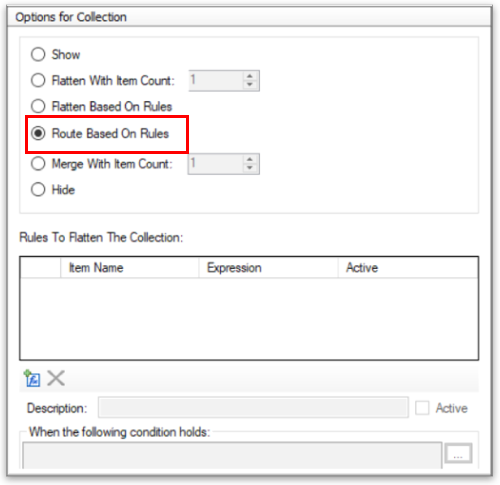
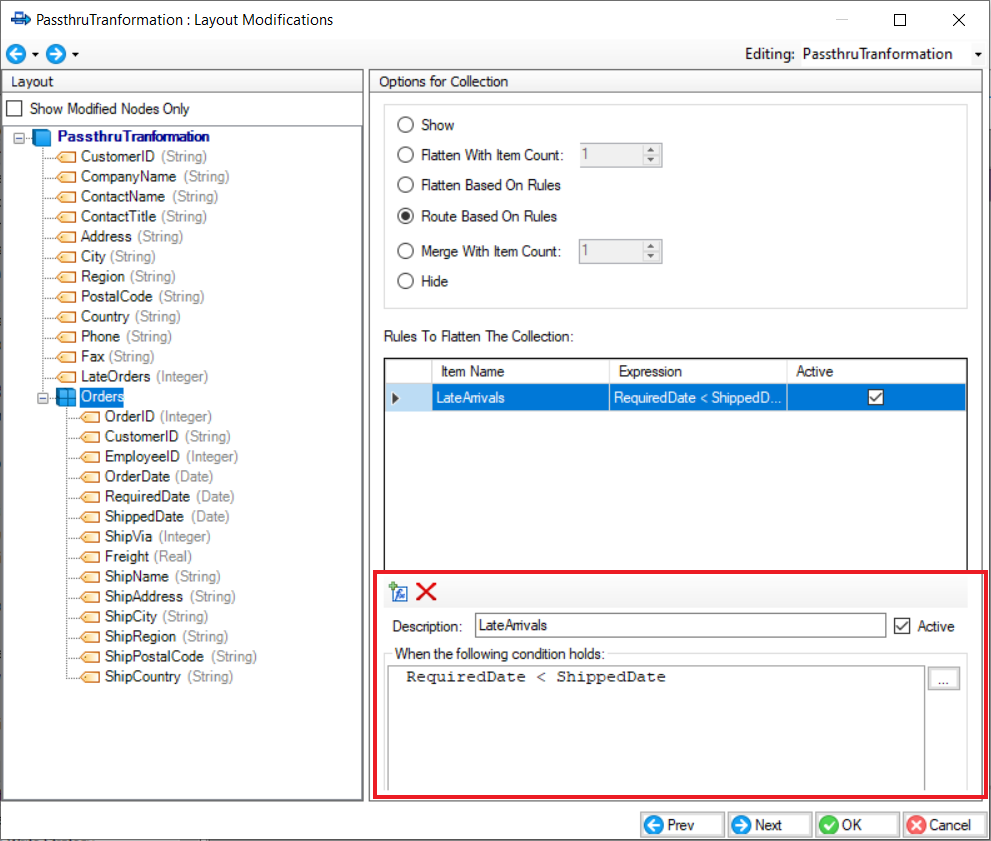
- Add a new rule by clicking on Add switch condition icon

Now, write an expression to route late arriving orders and name this rule “LateArrivals”
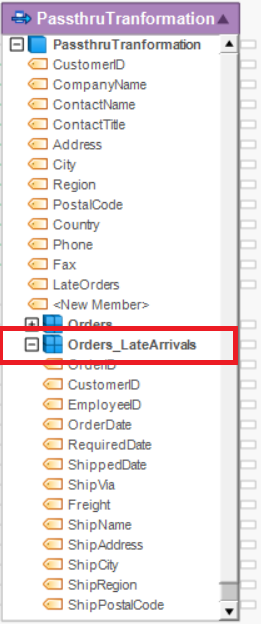
- Click OK. Now observe that a new collection node Orders_LateArrivals is added to the Passthru Transformation object.
- Right-click on Passthru Transformation object’s header and select Preview Output from the context menu.
A Data Preview window will open.
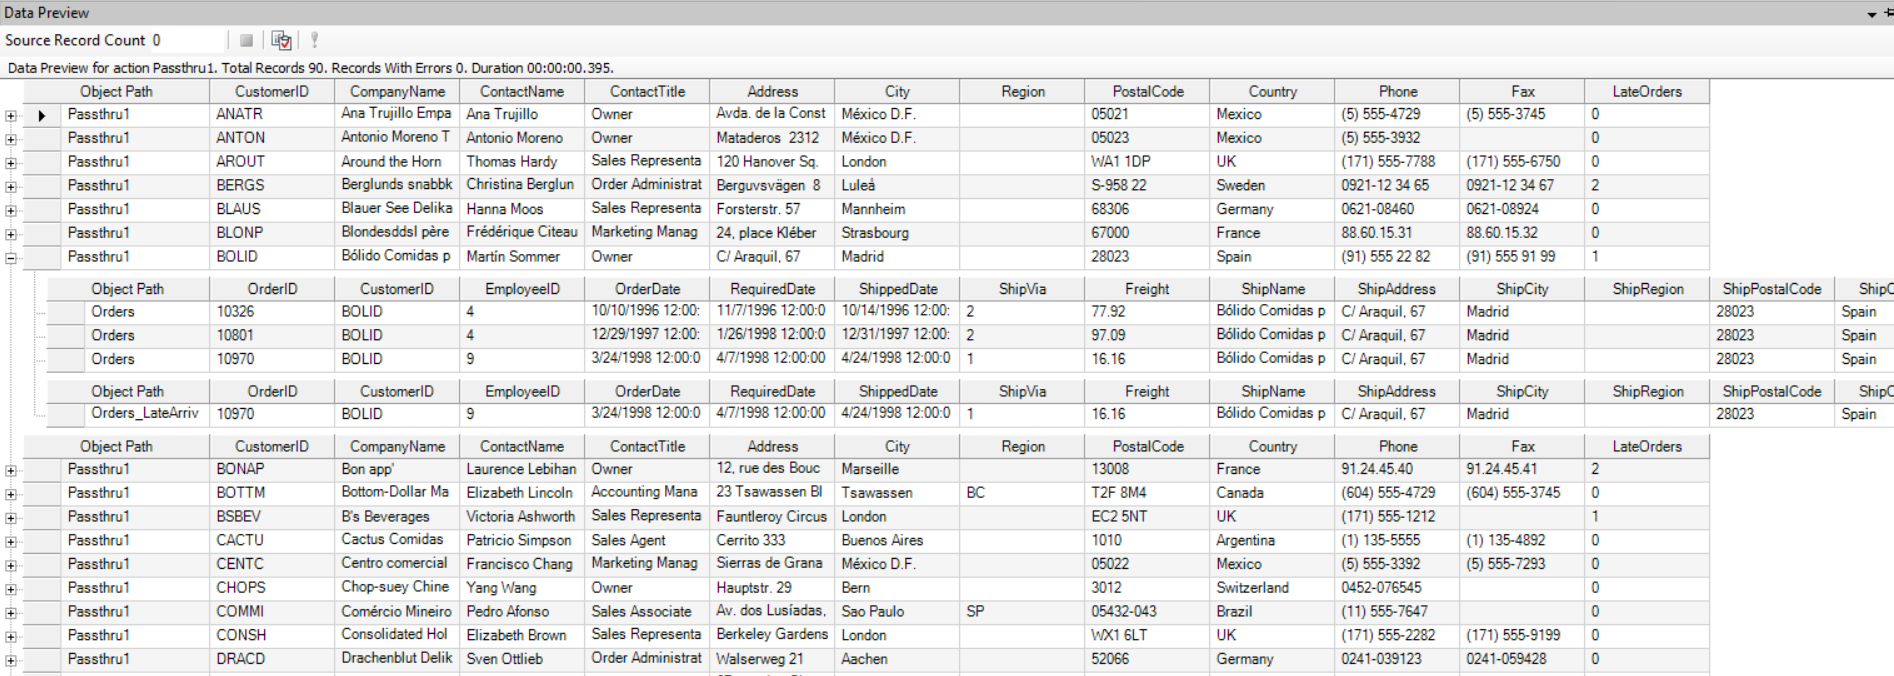
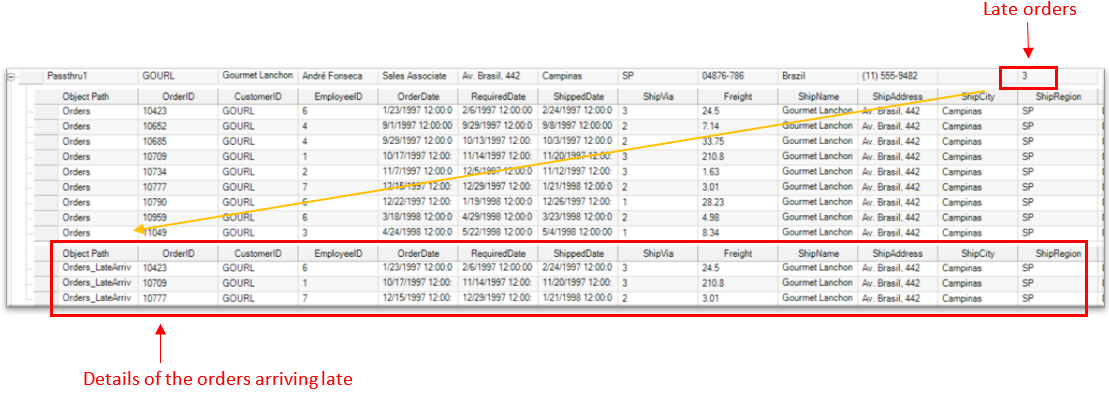
On expanding records, you will get corresponding order details and appended details of late arriving orders.
Writing Data to a Destination
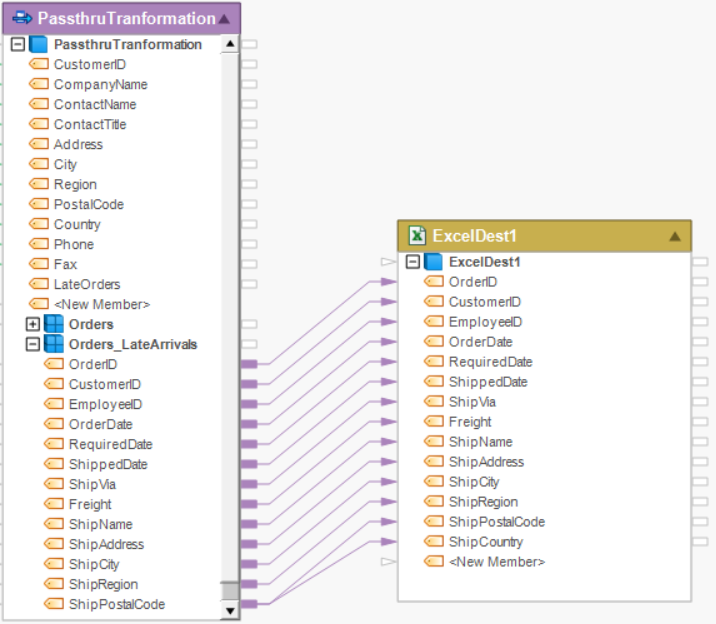
- Right-click on the collection node, Orders_LateArrivals, and go to Write to > Excel Workbook Destination.

An Excel Workbook Destination object will be added to the dataflow designer with auto-mapped fields from the collection field.
Configure settings for Excel Workbook Destination object.
Learn how to configure the settings for Excel Workbook Destination from here.
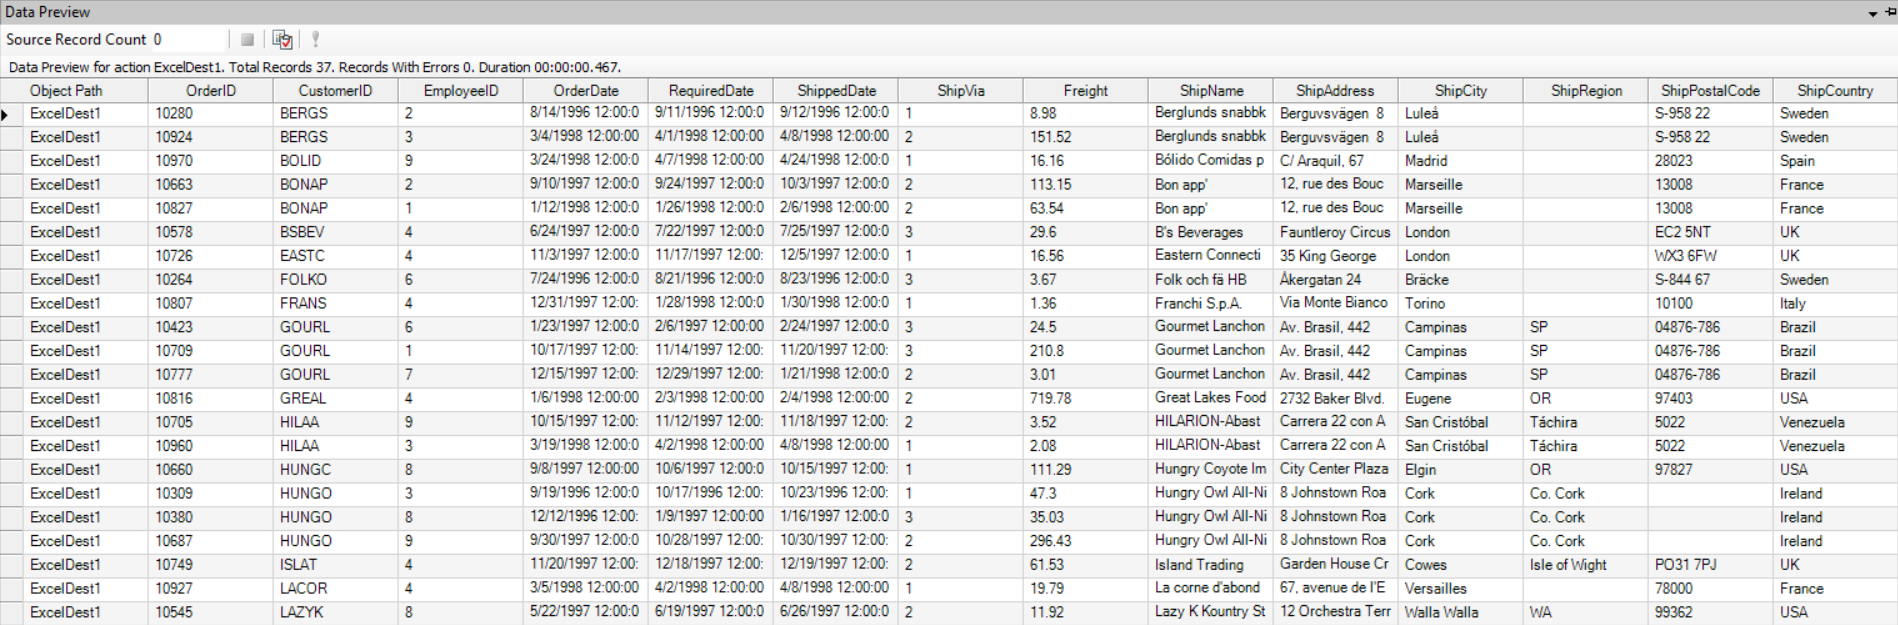
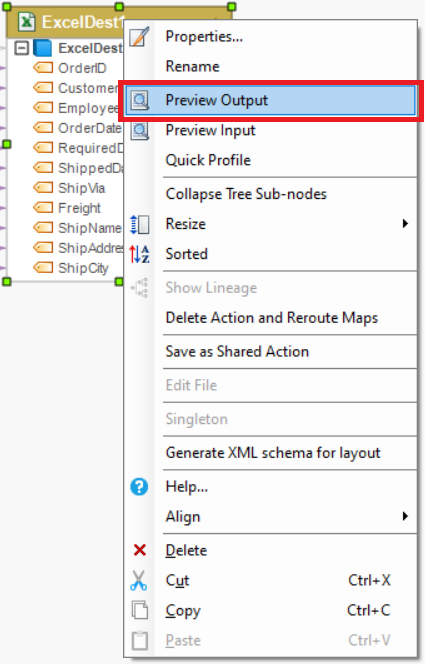
Right-click on Excel Workbook Destination object’s header and select Preview Output from the context menu.
A Data Preview window will open up, displaying the records with only late arriving orders.