Connecting to Cloud Storage
Applies To:
- Centerprise - Enterprise Edition
- ReportMiner - Enterprise Edition
In this article, we will see how a user can create a shared connection to access and store files from and to the cloud in Astera ReportMiner. To browse cloud files in a report model, the report model should be a part of a project containing the Shared Action Connection.
Note: This feature of browsing files from the cloud only works in ReportMiner Enterprise and Centerprise Enterprise if the user has the Cloud Connector add-on.
Creating a New Cloud Connection
To create a new cloud connection in a project, you need to add a shared connection within the scope of that project. Once that is done, you can browse for cloud files from the Report Options panel in a report model that is present within the same project.
Adding a Shared Connection in a Project
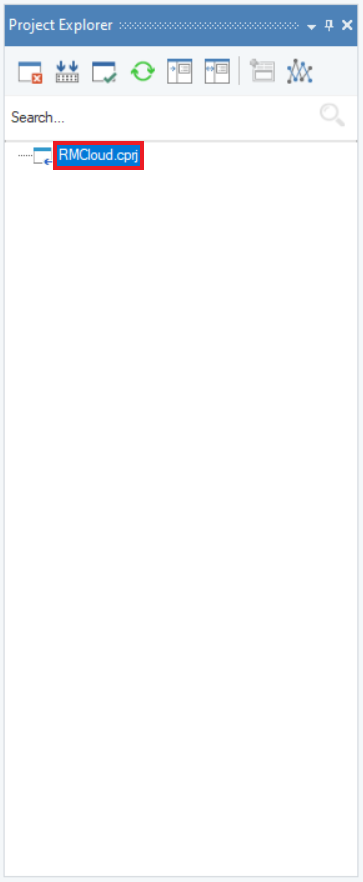
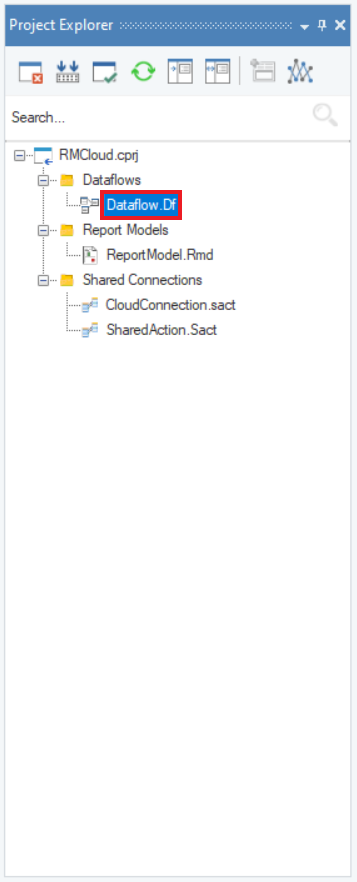
1. To add a shared connection, we need to create a new project first. Here, we have named our project RMCloud.cprj.
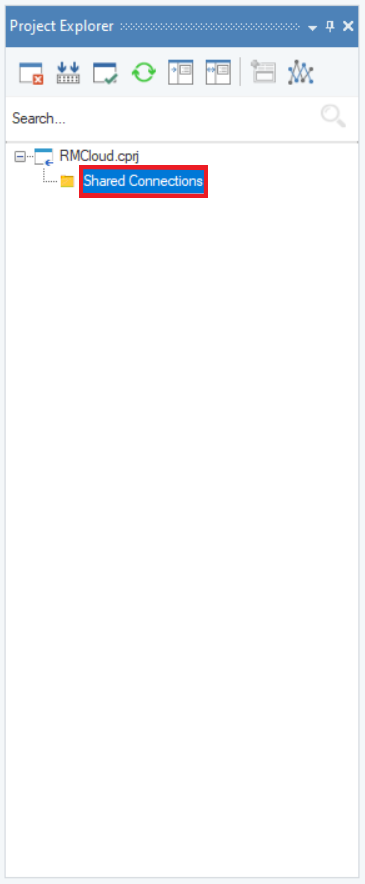
2. Next, create a folder, Shared Connections, inside the project. We will save our shared connections (.sact files) in this folder.
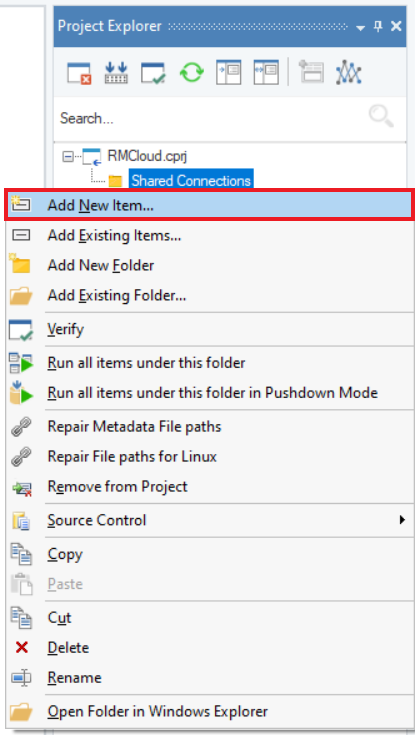
3. Right-click on the folder, and select Add New Item…
4. Select SharedAction from the list of file types, give it a meaningful name, and click Add.
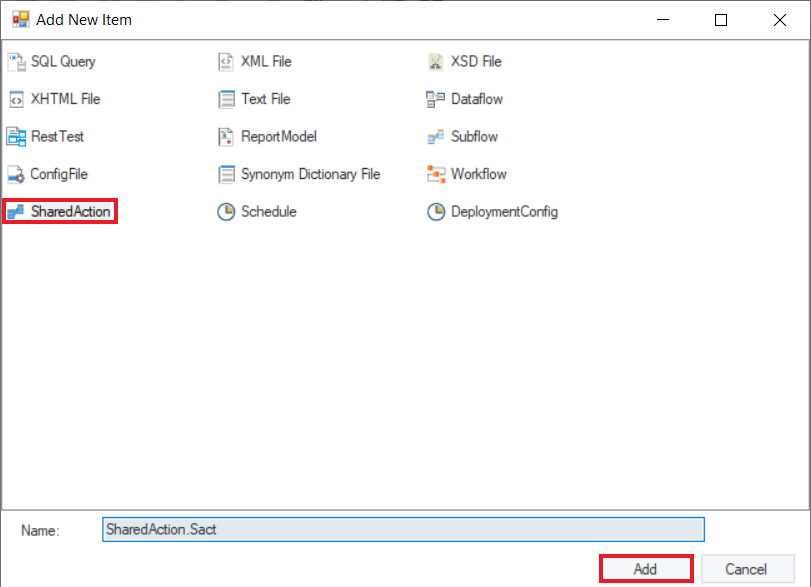
5. A .sact file will open. We have saved it with the name SharedAction.sact.
Go to Toolbox > Resources and drag-and-drop the Cloud Storage Connection object onto the designer.

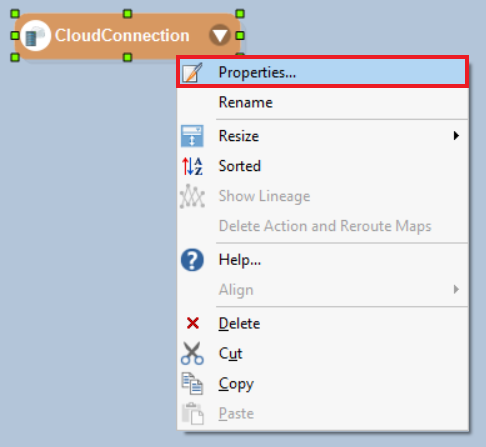
6. Right-click on the header of the object and select Properties.
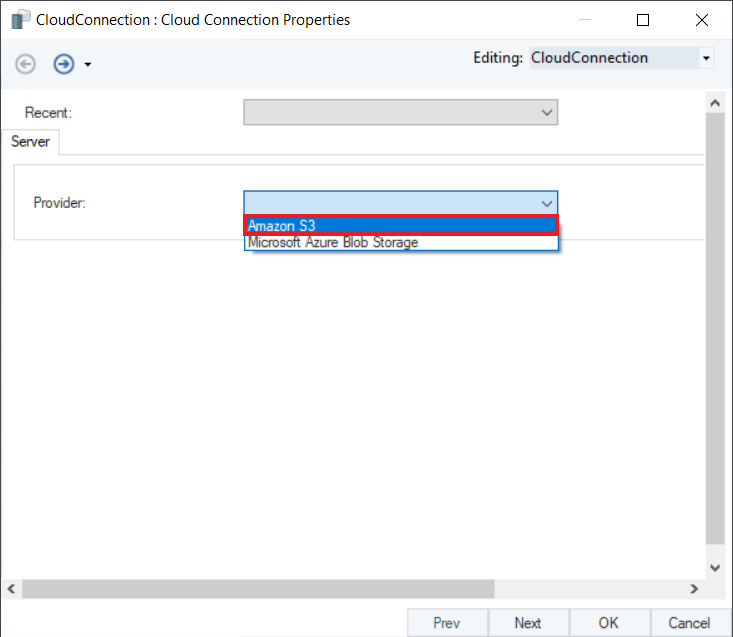
7. A Cloud Connection Properties window will open, where you can configure your Cloud Connection object by providing appropriate credentials. Select the Provider from the drop-down menu. In this case, we will select Amazon S3.
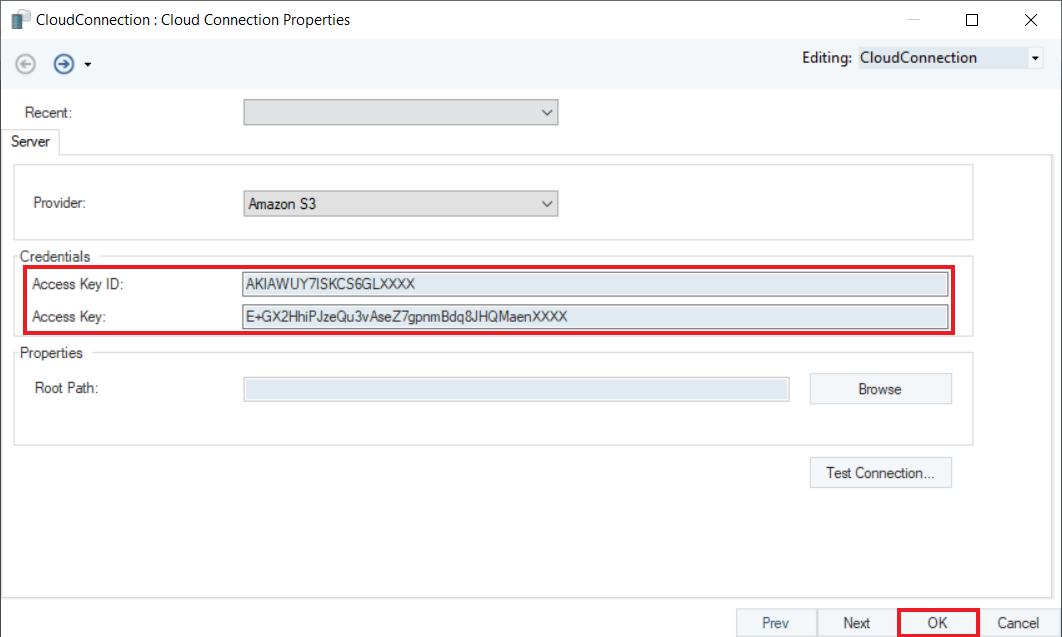
8. Provide appropriate credentials, Access Key ID and Access Key. Click OK.
Your SharedAction.sact is now configured. You can access files from this cloud connection in the project.
Adding a Shared Connection via Report Options
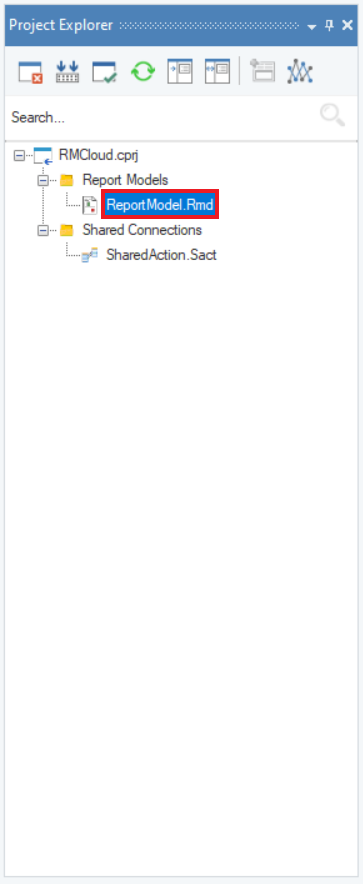
1. To create a new cloud connection through Report Options, we need to create/add a report model within our project first.
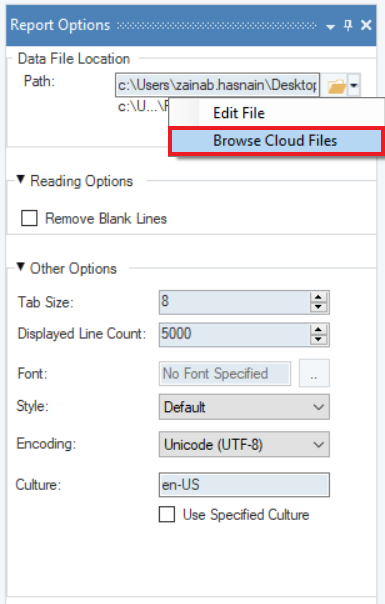
2. Open the report model. Go to the Report Options panel, and click on the arrow next to the folder icon in the Data File Location group-box. Select the Browse Cloud Files option.
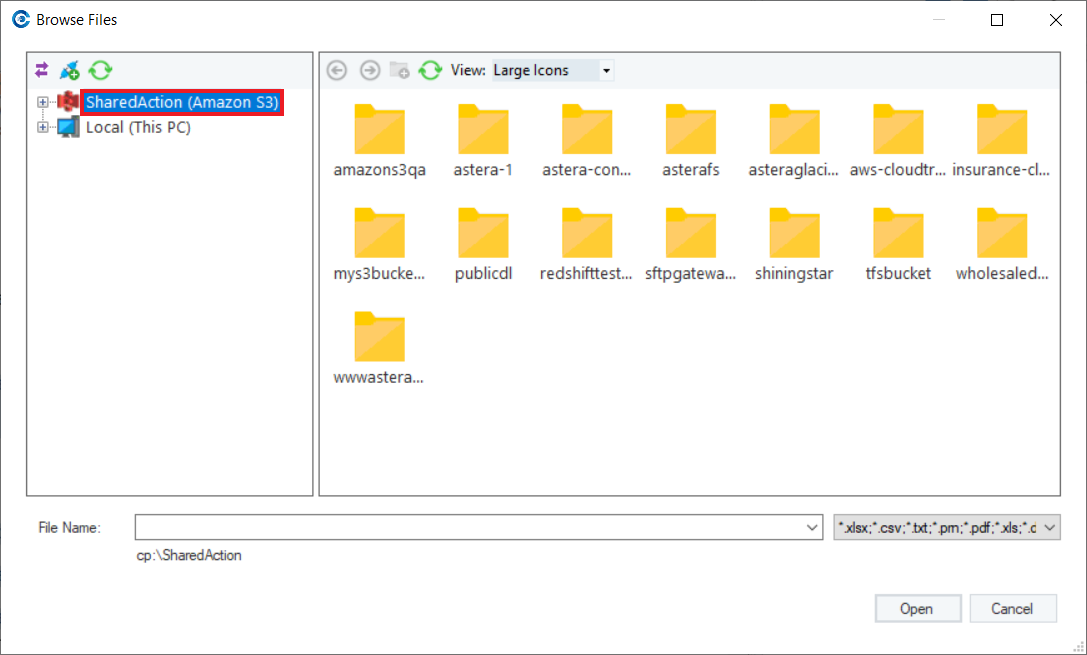
3. A Browse Files window will open. We can see the Amazon S3 SharedAction connection we created above in this window.
4. Click on the Add New Connection icon.
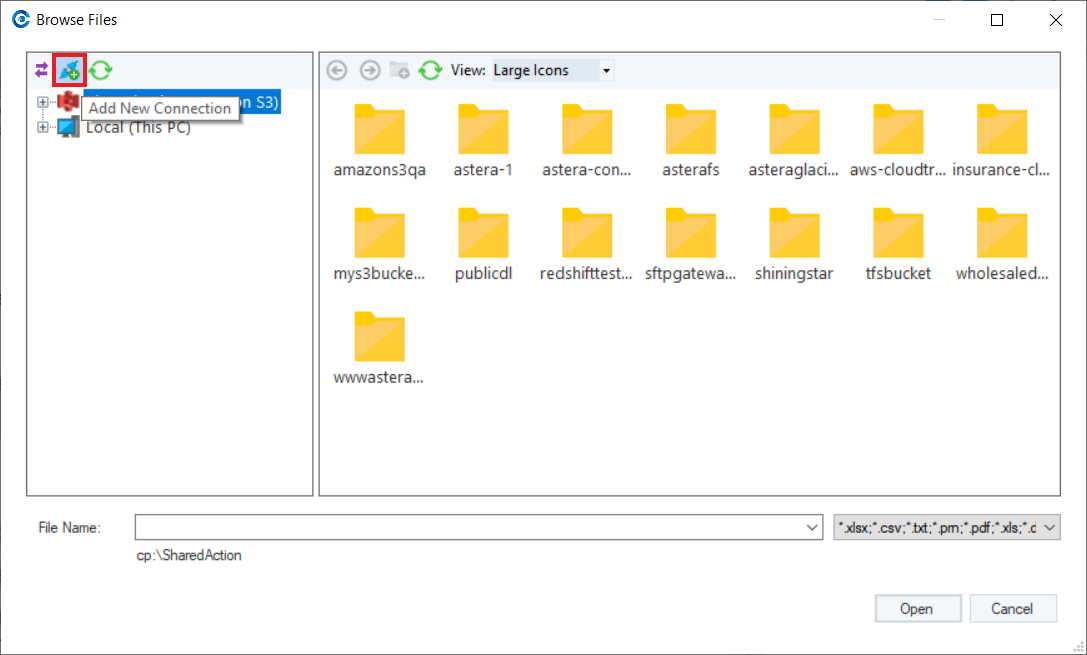
Note: This is an alternative way for you to add a shared action (shared cloud connection) to the project you are working in. If you have already created a shared action for the cloud connection you want to use in your project, there is no need to add a new connection.
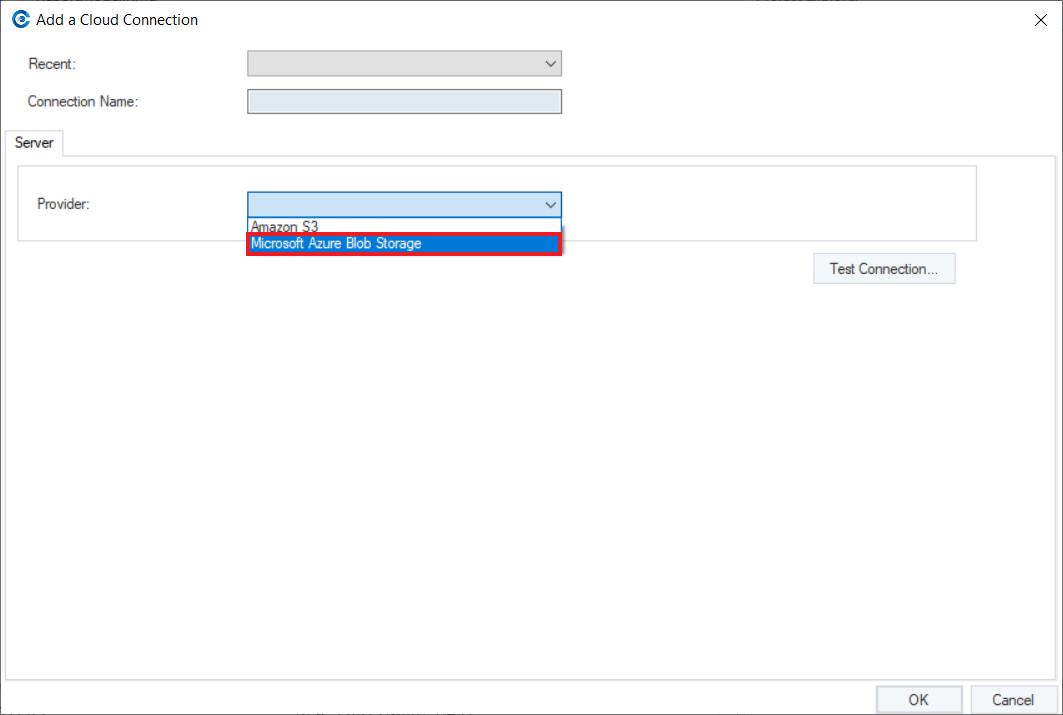
5. A window to Add a Cloud Connection will open.
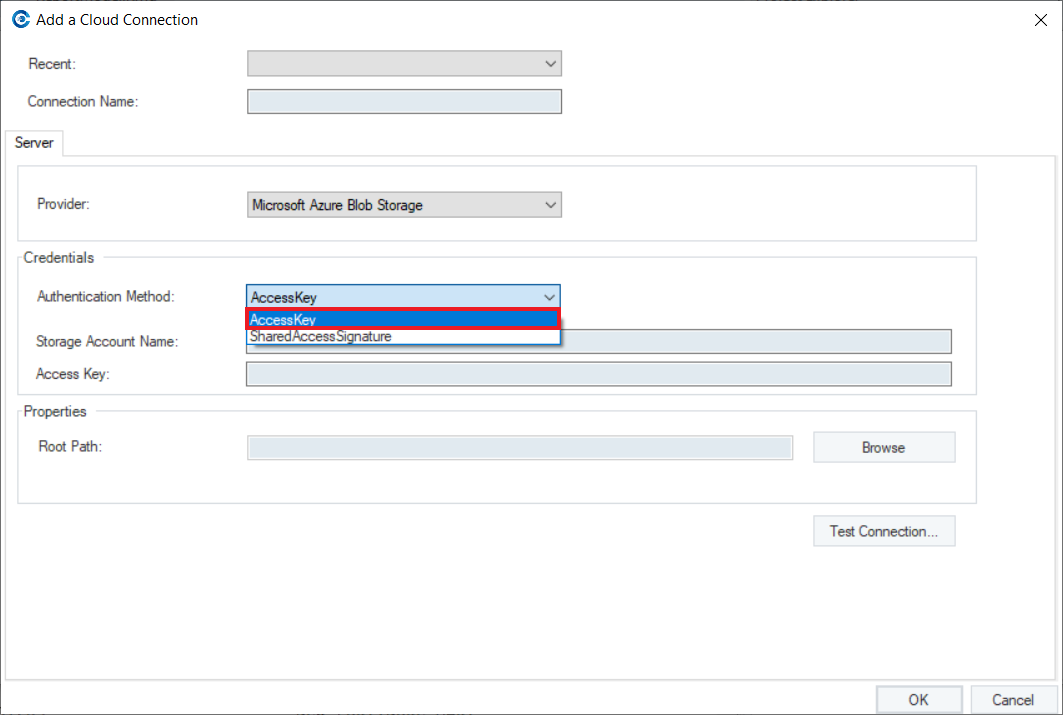
Here, we will select Microsoft Azure Blob Storage as our Provider.
6. There are two ways to authenticate the connection, using an Access Key or through Shared Access Signature. For now, we will use the Access Key.
7. Provide relevant credentials by specifying the Storage Account Name and Access Key. Click OK.
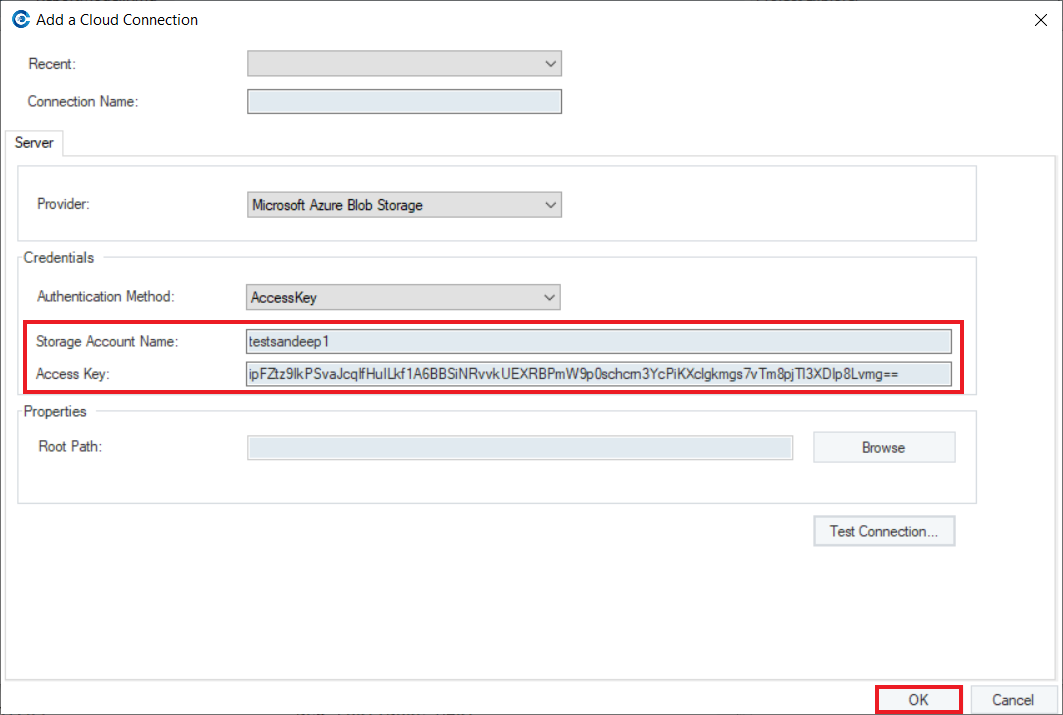
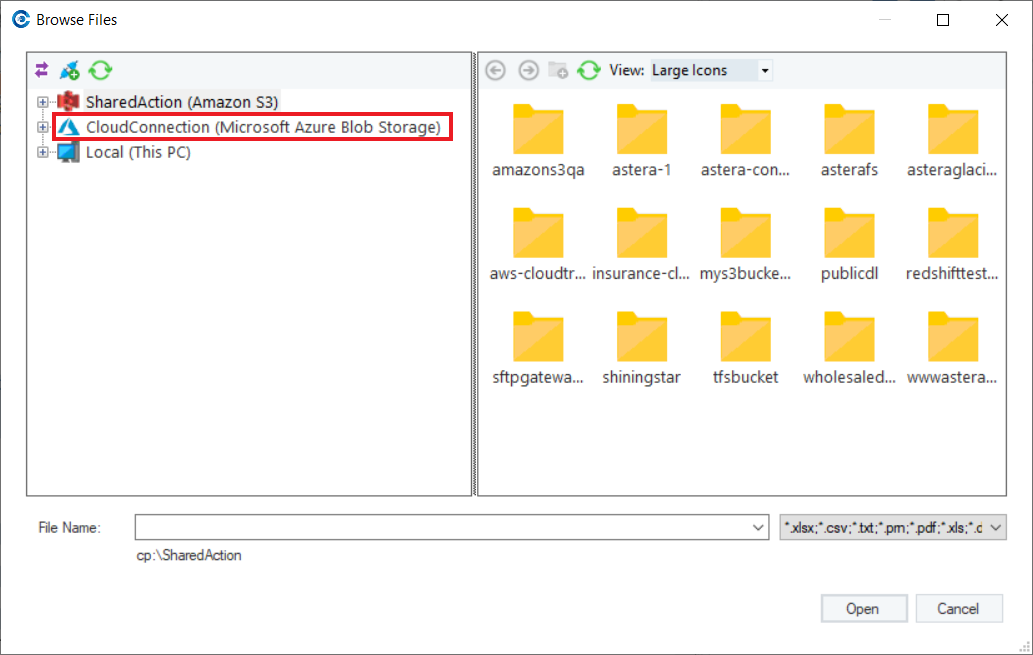
8. The newly created connection is now a part of the project.
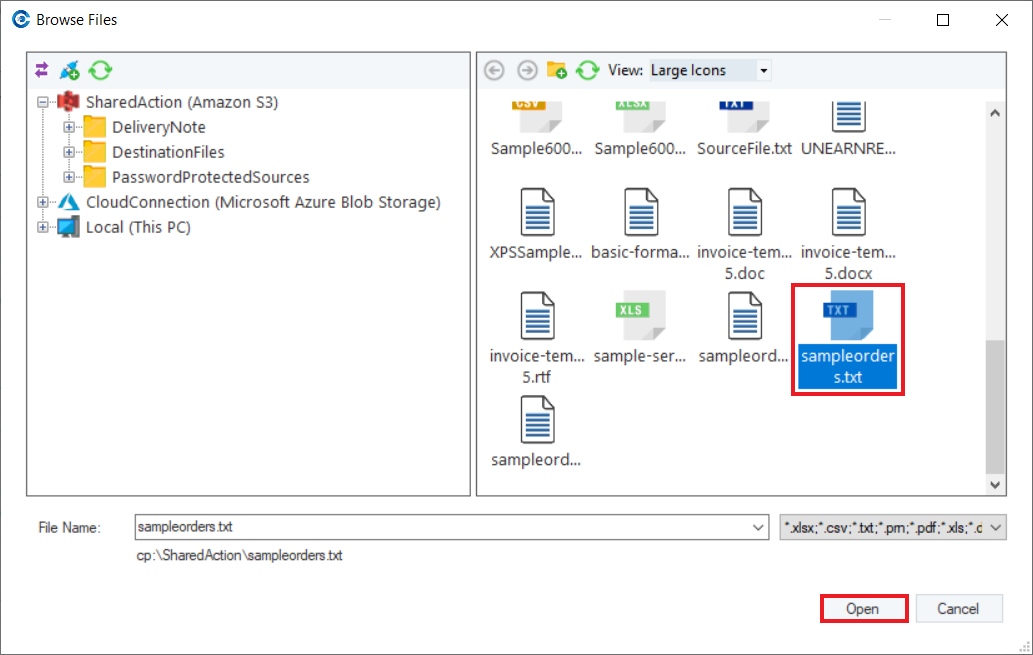
9. Select the file you want to extract data from from the cloud connection and click Open.
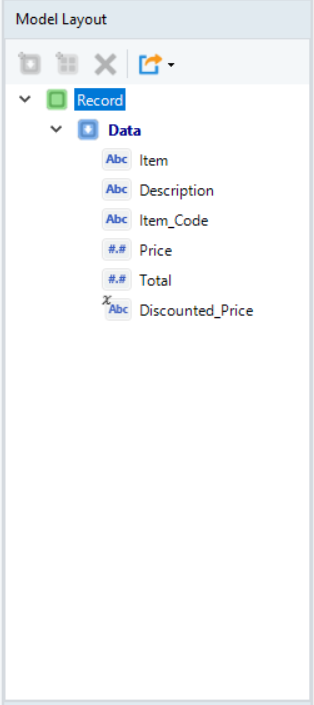
10. Create a data region and relevant fields in the report model to extract relevant data from the source file.
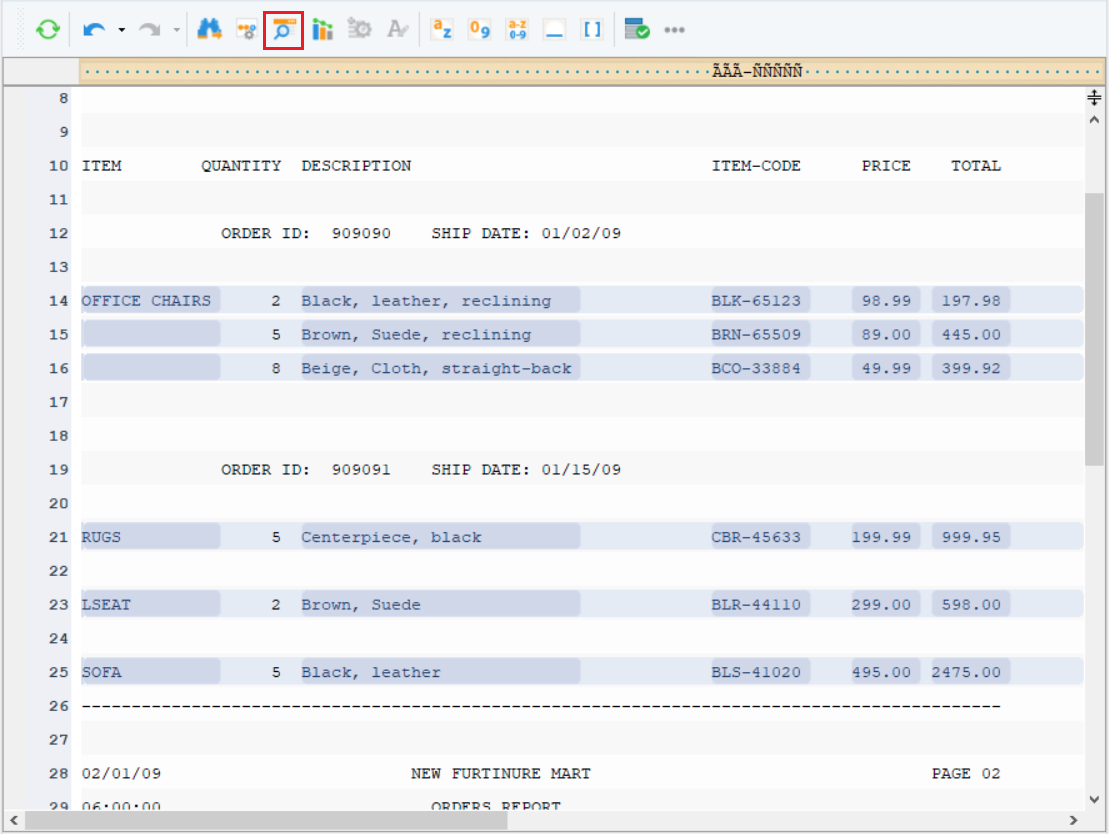
11. Click on Preview Data to see if the report model is extracting data from the specified fields correctly.
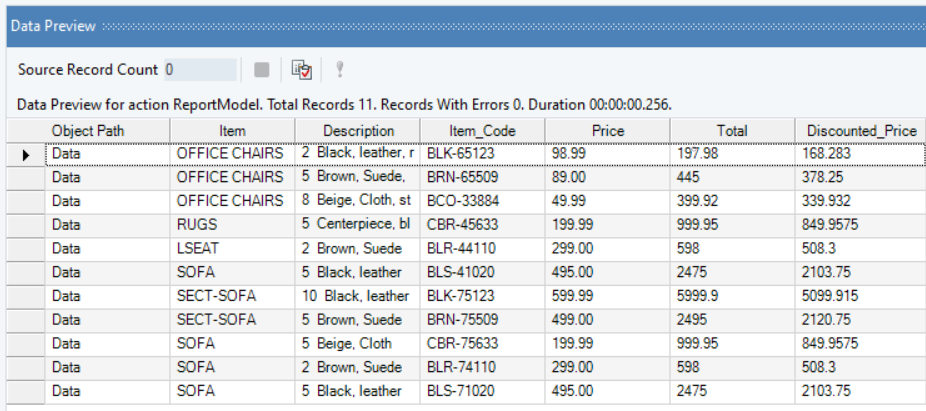
12. The Data Preview window shows the data extracted from the file located on the cloud.
Exporting Data to a Cloud Destination
Here is how we can export our extracted data to an Excel or a Delimited file and save it on the cloud destination.
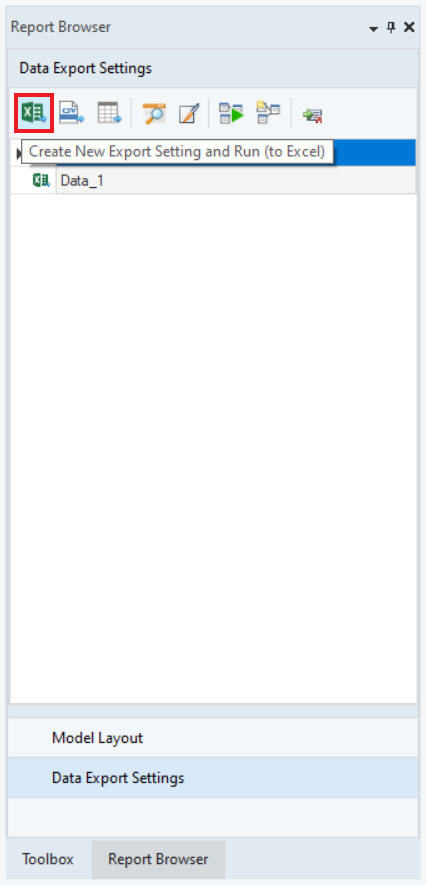
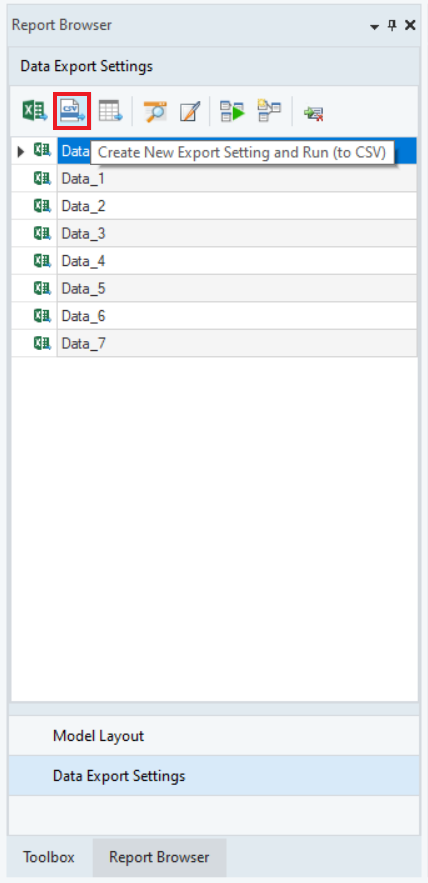
1. Go to Report Browser > Data Export Settings and select Create New Export Setting and Run (to Excel) option.
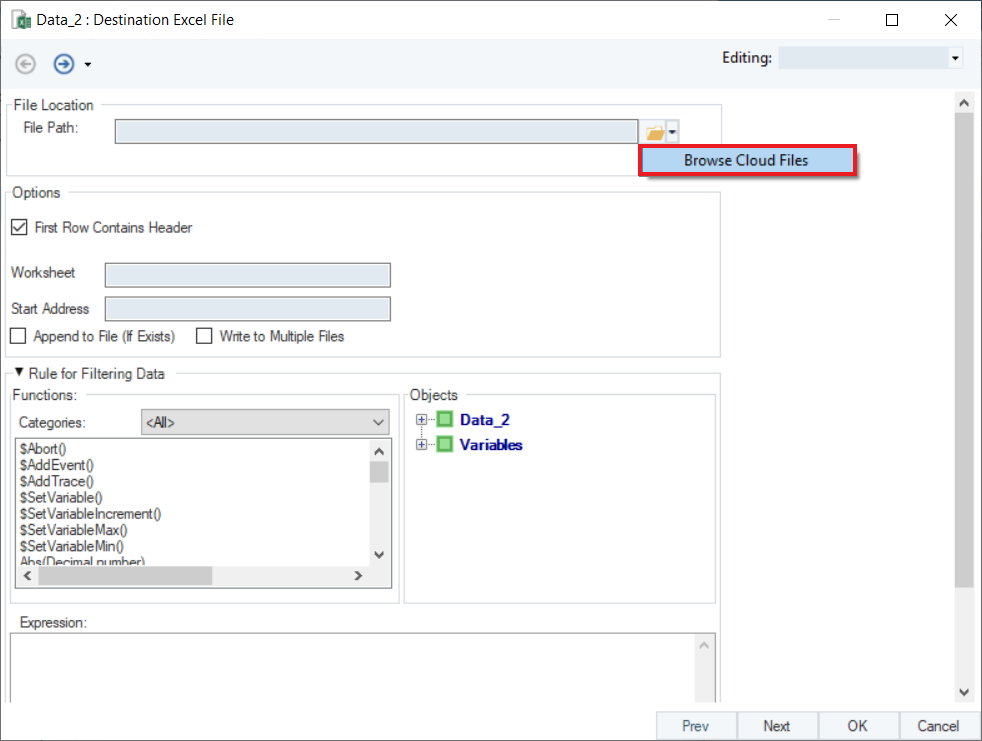
2. A configuration window will open. Click on the arrow next to the folder icon and select Browse Cloud Files option.
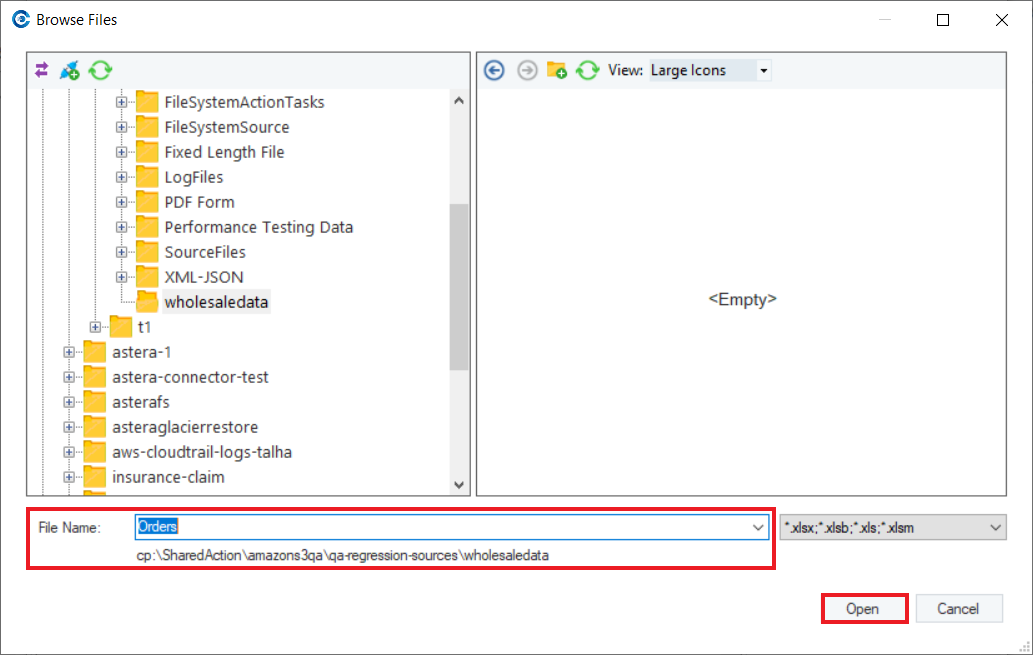
3. Locate the cloud directory where you want to save the Excel file, give it a meaningful name, and click Open.
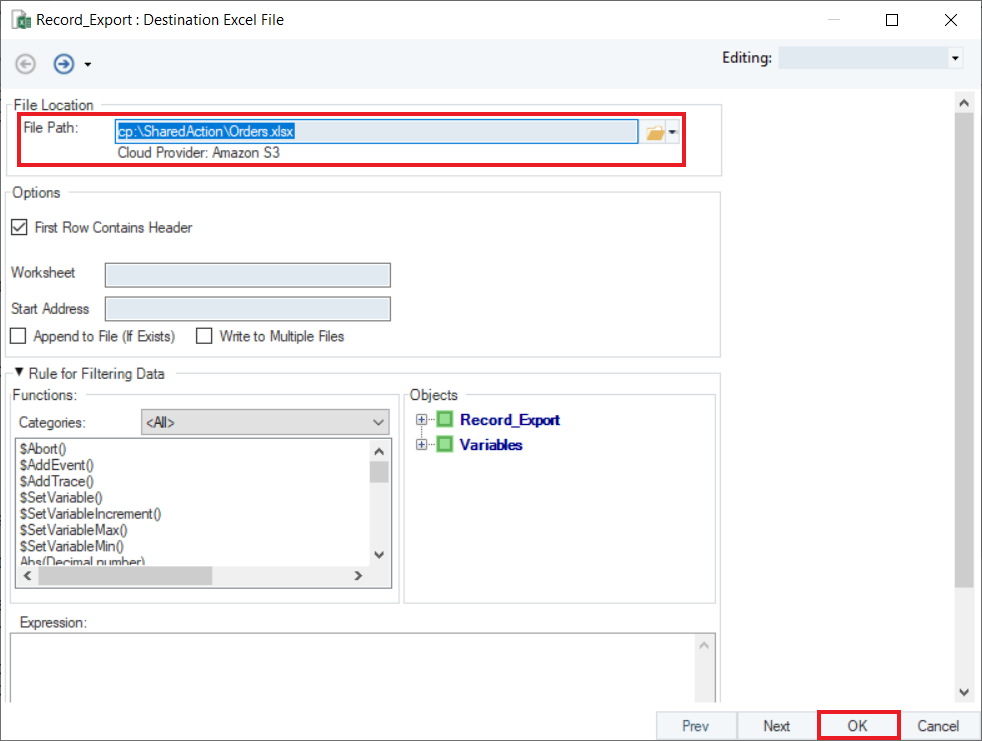
4. The file path is now pointing towards the Amazon S3 cloud provider. Click OK.
5. The Job Progress window shows the job status and the cloud path where the destination file has been created.

6. If you want to create a Delimited File Destination, click on this icon in the Data Export Settings window and follow the same steps (step 2 onwards) as mentioned above.
Using Files from the Cloud in a Dataflow
We can access files from the cloud in a dataflow using the Report Source object. For that, the dataflow must be a part of the project or must contain a Cloud Storage Connection object pointing to the cloud location.
In this case, we will extract data from a file saved on a cloud location using a report model from the local directory.
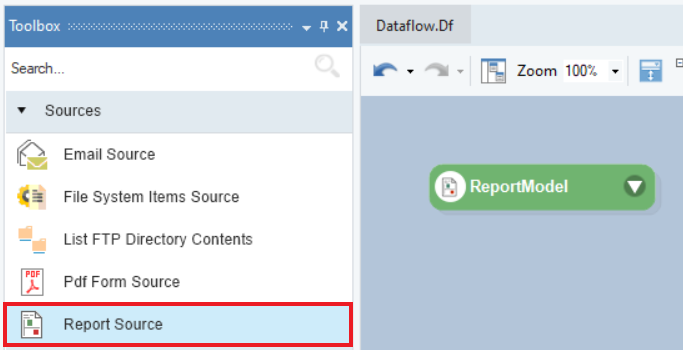
1. Go to Toolbox > Sources and drag-and-drop the Report Source object onto the designer.
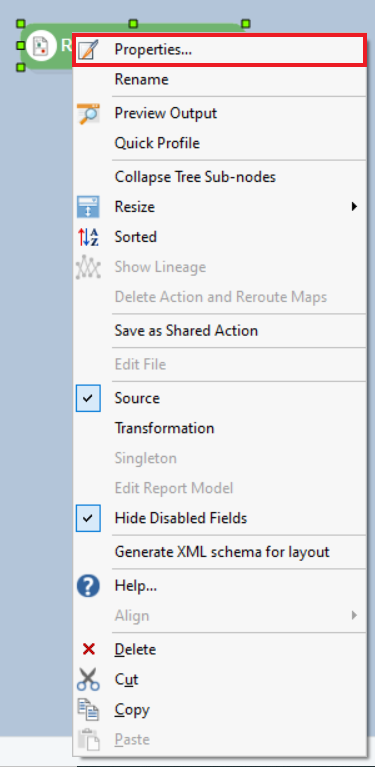
2. Right-click on top of the Report Model object header and select Properties from the menu.
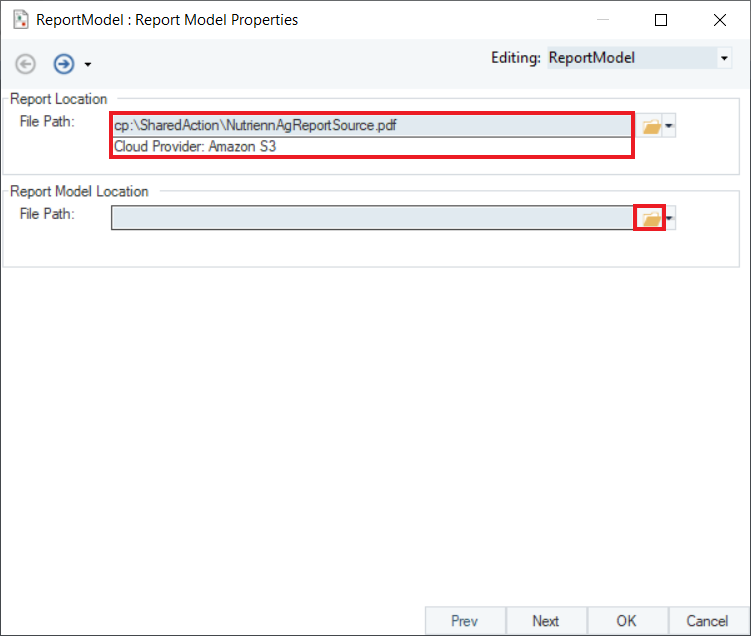
3. Click on the arrow button next to the folder icon in the Report Location group-box to browse files from the cloud.
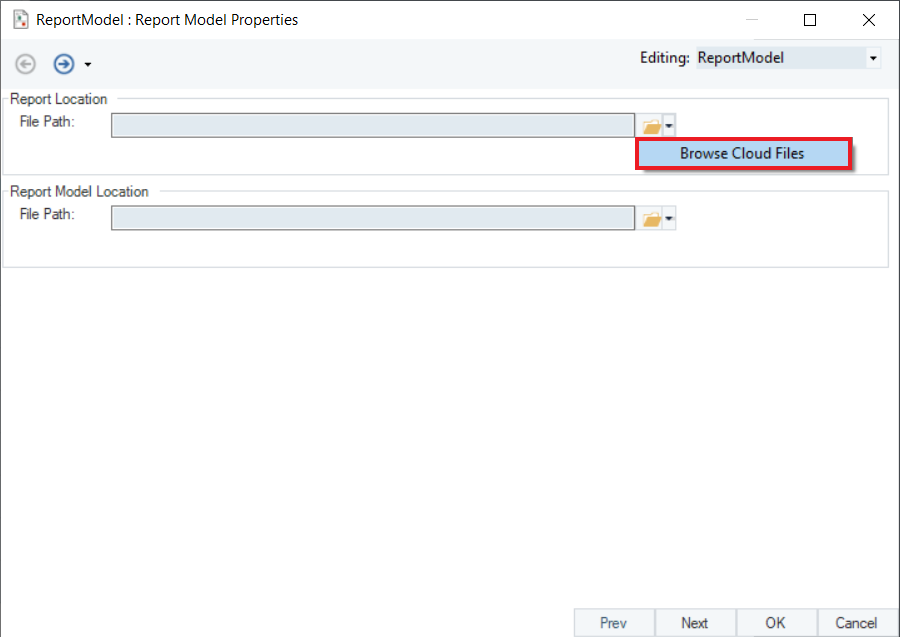
4. Locate the file in cloud directory and click OK.

5. The File Path is now pointing towards the Amazon S3 cloud provider. Click on the folder icon to browse the report model from your local directory.
Note: The report model must be a part of your project.
6. Click OK to close the window.
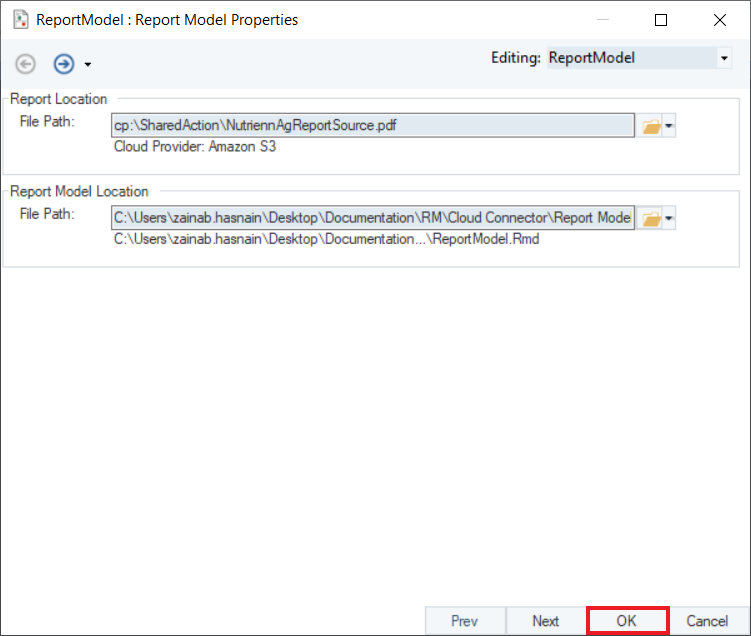
7. The Report Source object is now configured with a file path coming in from the Amazon S3 cloud connection and the report model from the local directory.
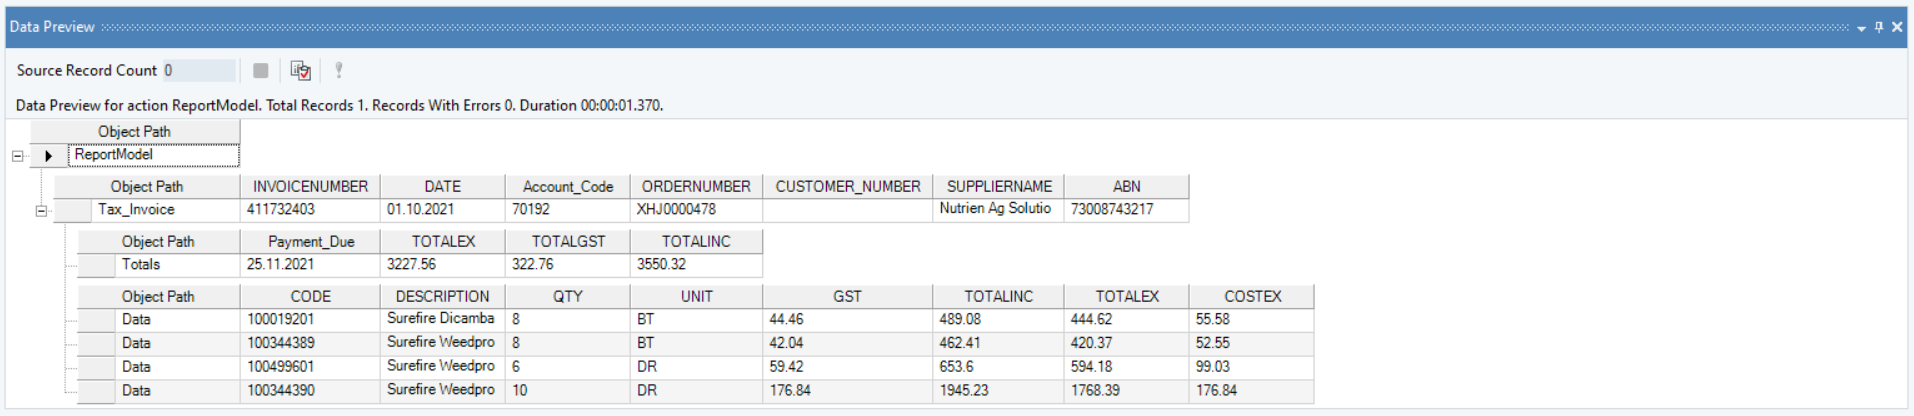
Right-click on the header and select Preview Output.

8. The Data Preview window shows that the file is correctly being read by the report model.
Using Files from the Cloud in a Workflow
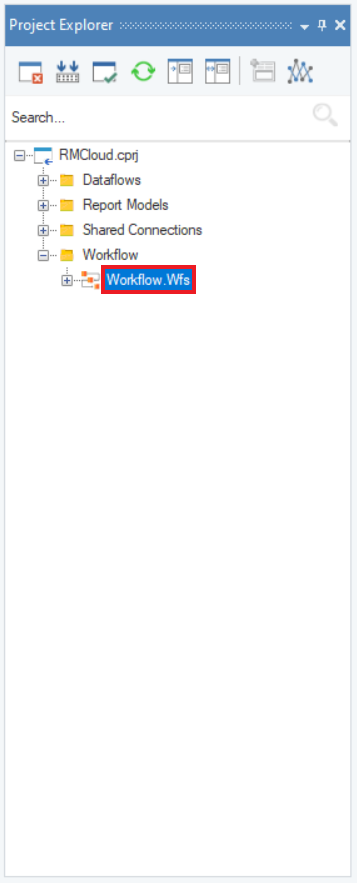
We can access files from the cloud in a workflow as well, using the File System object. For that, the workflow must be a part of the same project as your shared connection.
Use-Case
In this case, we want to read all the files from a particular cloud directory (in a workflow) and extract data from those files to write it in an Excel Workbook Destination (in a dataflow).
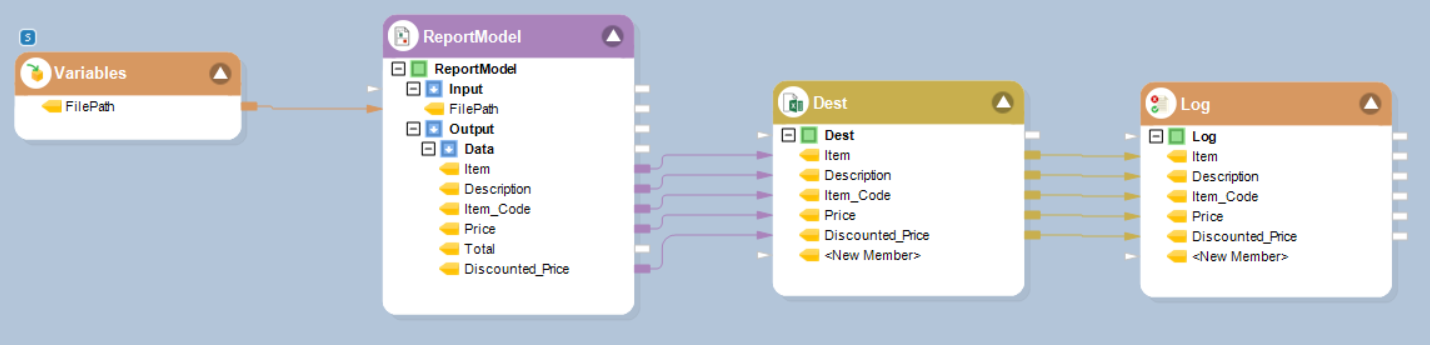
We will do this by using the Report Source as a Transformation in a dataflow where we can parametrize the path of the file we want to extract data from using the Variables object. This is what the dataflow will look like:
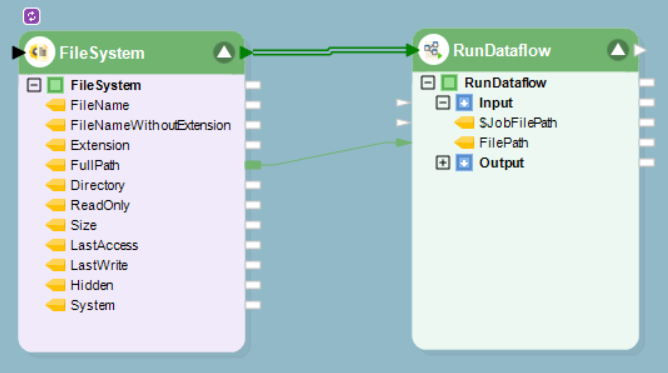
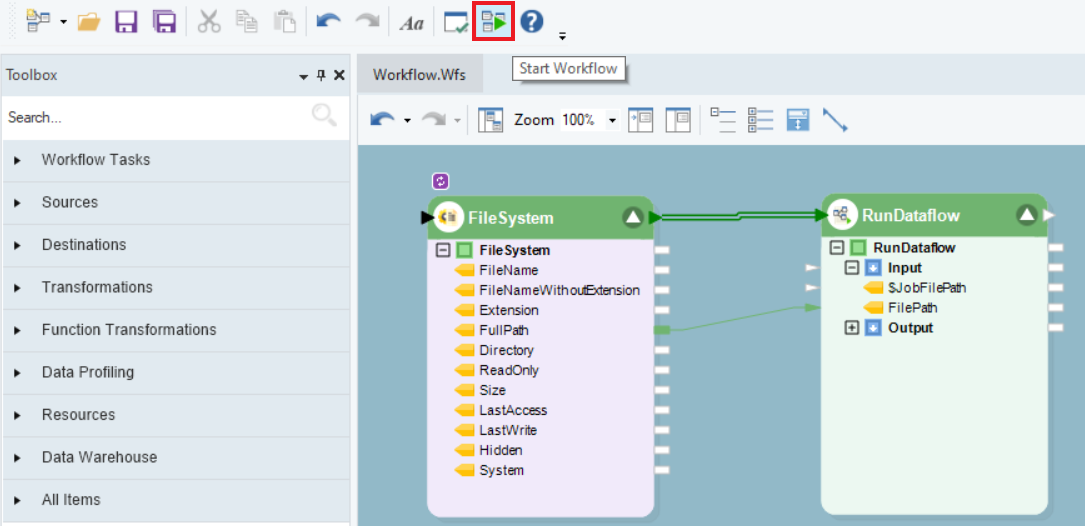
Then, we will call the dataflow in a workflow using a Run Dataflow object and read the files from the cloud using a File System Items Source in a loop. We will send the cloud file path of the source file to the File Path variable in the dataflow as shown below.
Using File System Items Source to Browse Cloud Files
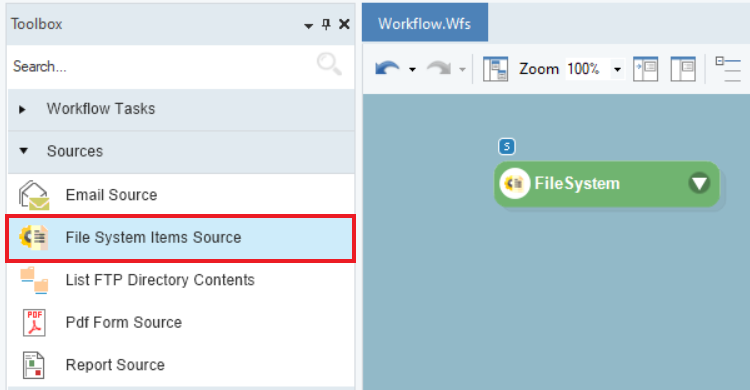
1. Go to Toolbox > Sources and drag-and-drop the File System Items Source object onto the designer.
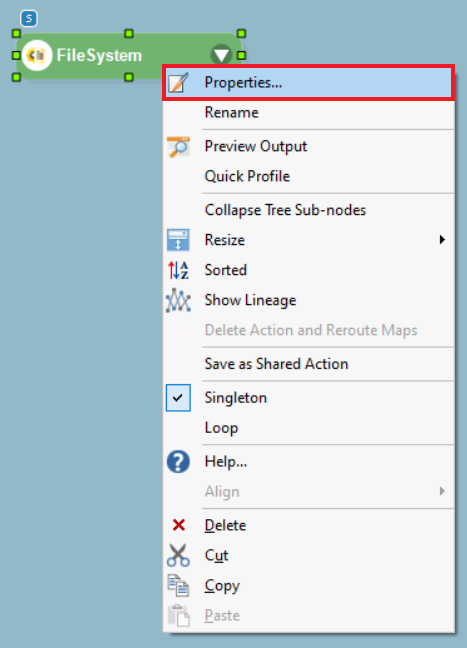
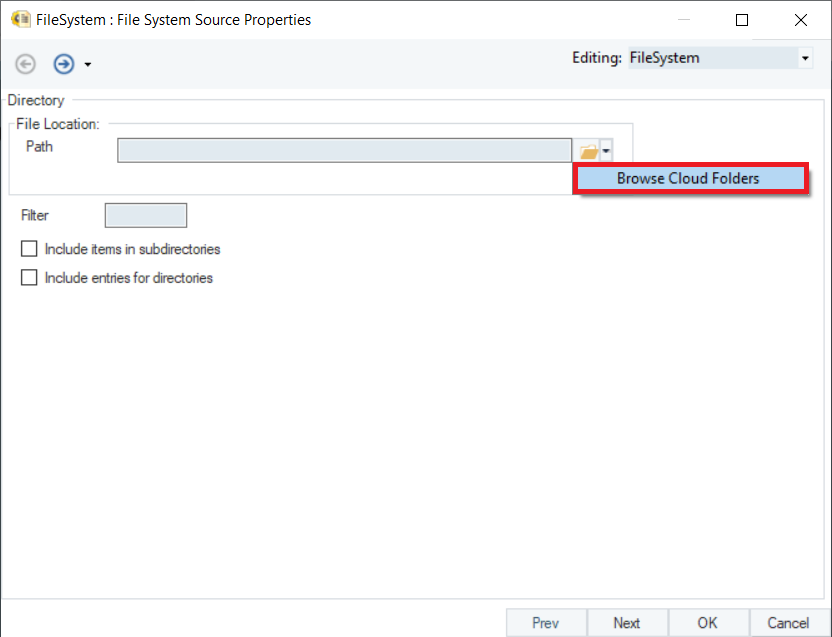
2. Right-click on the object header and select Properties.
3. Click on Browse Cloud Folders to access the cloud folder from where you want to read files.
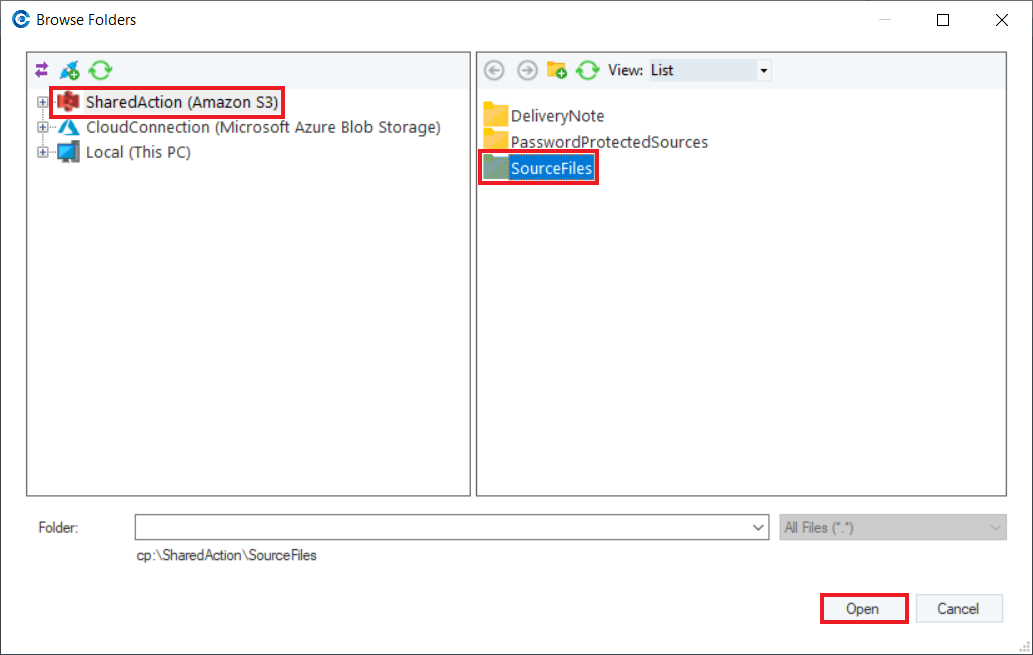
4. Here, we have selected the folder containing the source files from our Amazon S3 cloud connection. Click Open.
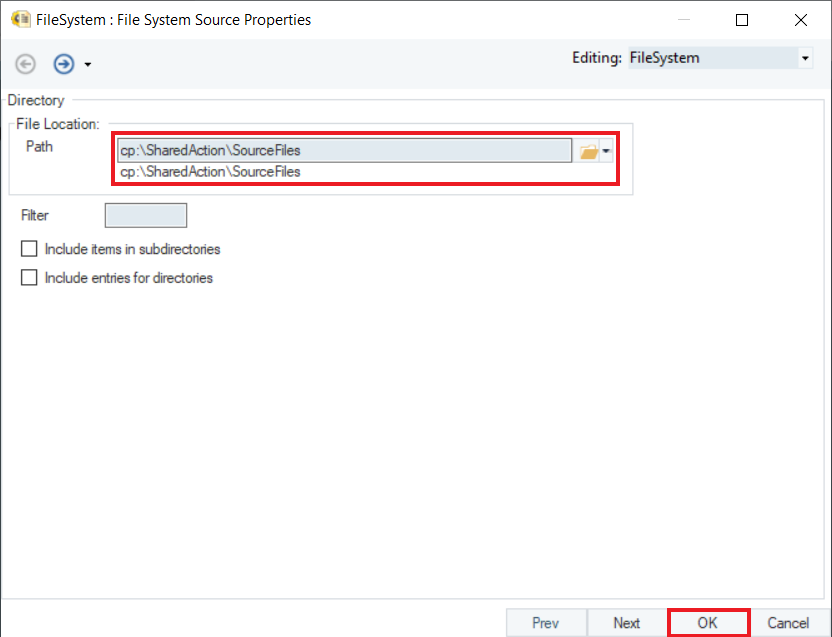
5. Our File Path is now pointing towards a cloud file path. Click OK.
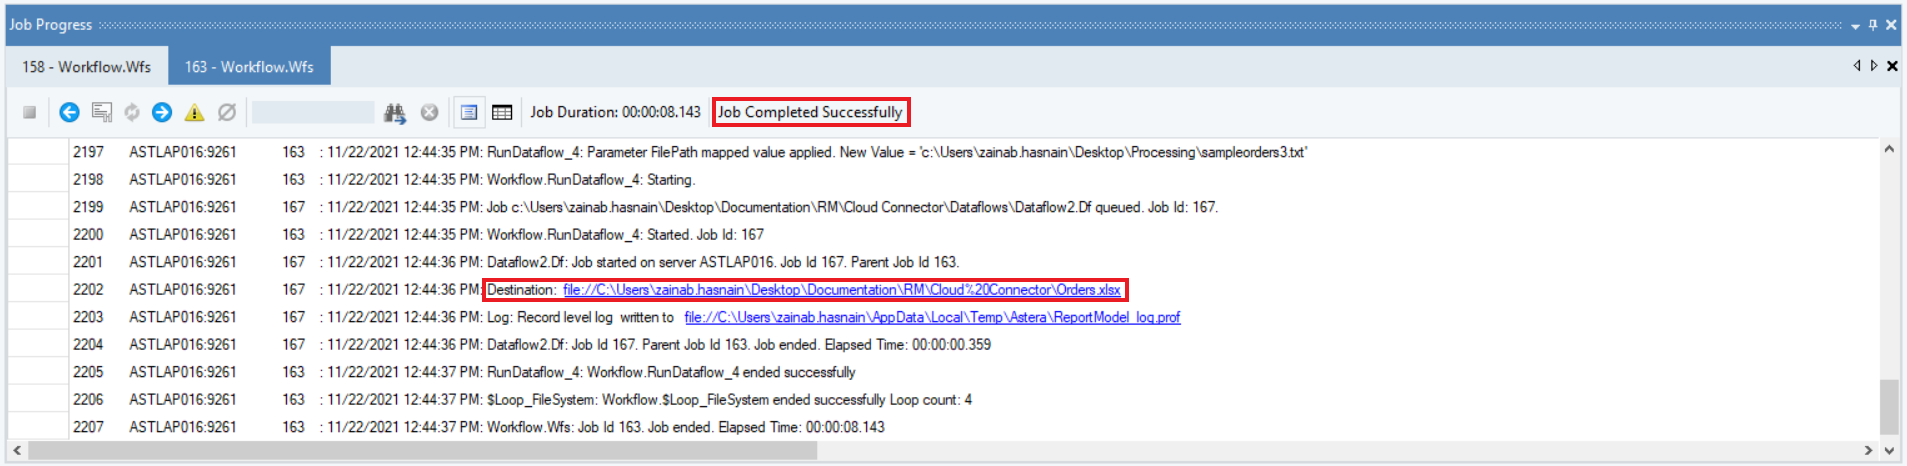
6. Our workflow is now complete. Click on Start Workflow to run the workflow.
7. The Job Progress window shows the status of the job and the path of the Excel destination.
This is how you can create cloud connections and browse files from the cloud in Astera ReportMiner.