Exporting Report Model to A Dataflow
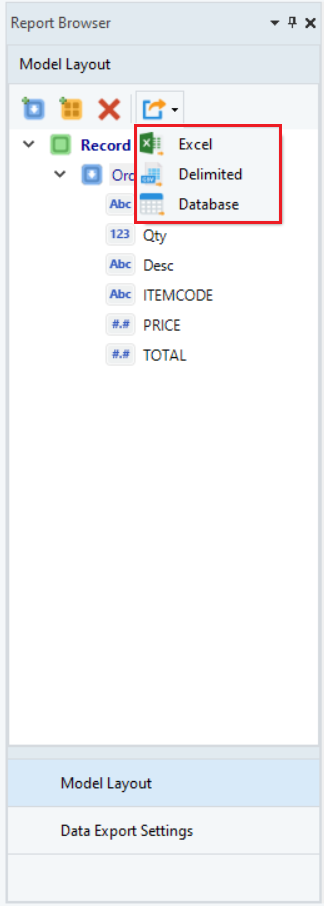
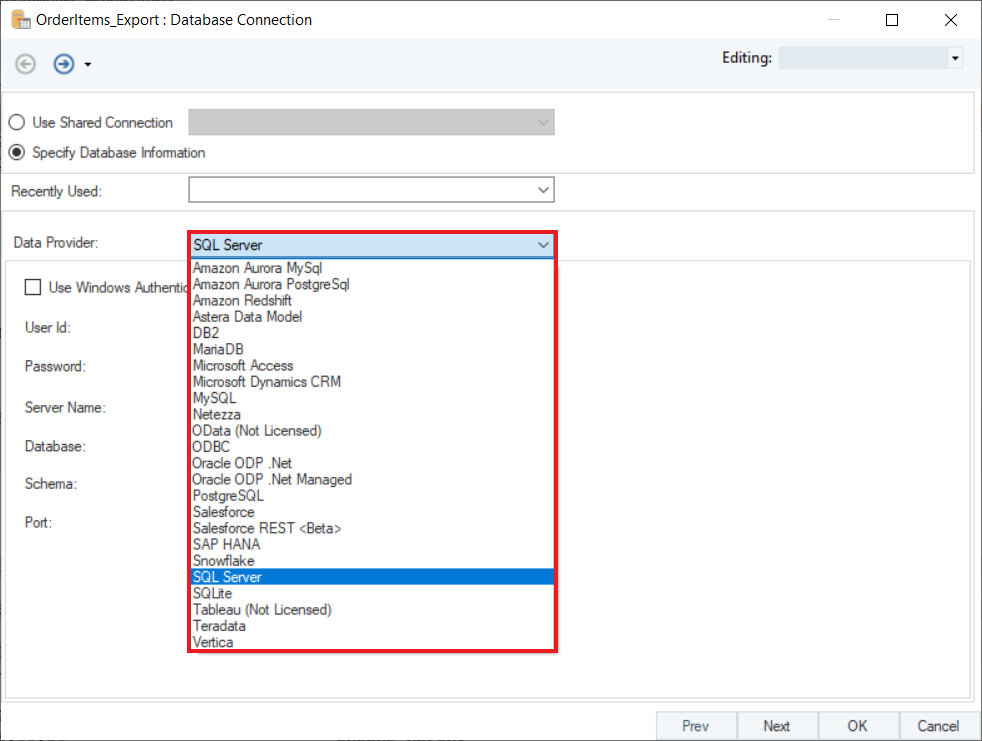
In Astera ReportMiner, you can export the extracted data to various destinations such as Excel workbooks, delimited files, or a database table destination such as SQL Server, PostgreSQL, MySQL, ODBC etc.
Note: The data providers available to you depend upon the ReportMiner license you have purchased.
Follow the steps mentioned below to export your Report Model to a dataflow:
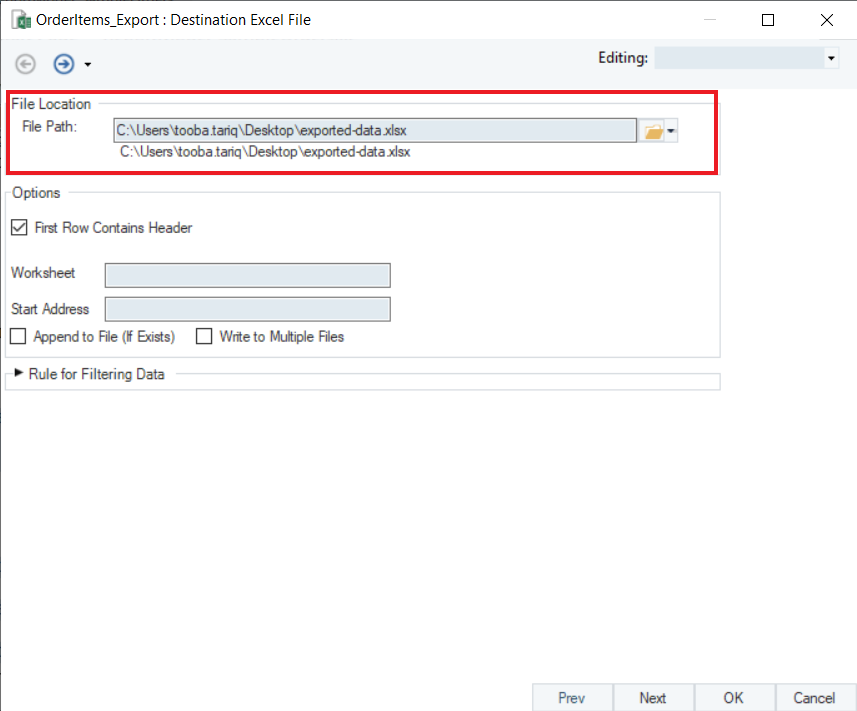
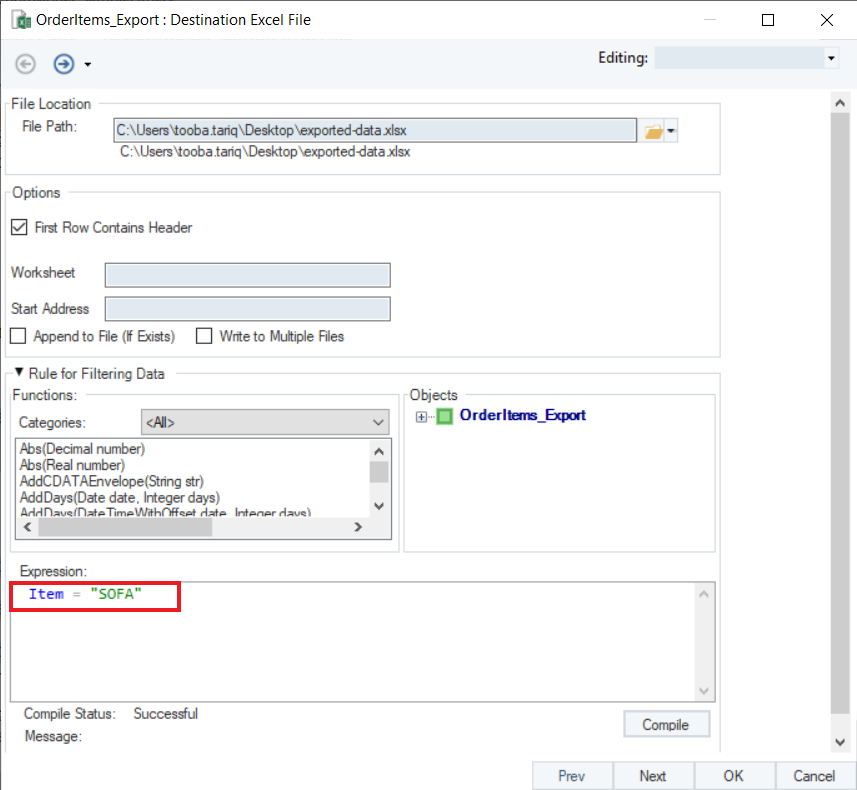
1. Click on the Create New Export Setting and Run (to Excel) icon in the Model Layout panel if you want to export your data to an Excel destination. This will open a new window where you will have to specify the output file location.
While exporting in ReportMiner, you have the option to send only filtered data to your export destination. You can see ![]() sign in the data export properties window where you can apply different filters to your data to get your desired output. Click on it to expand the available options.
sign in the data export properties window where you can apply different filters to your data to get your desired output. Click on it to expand the available options.
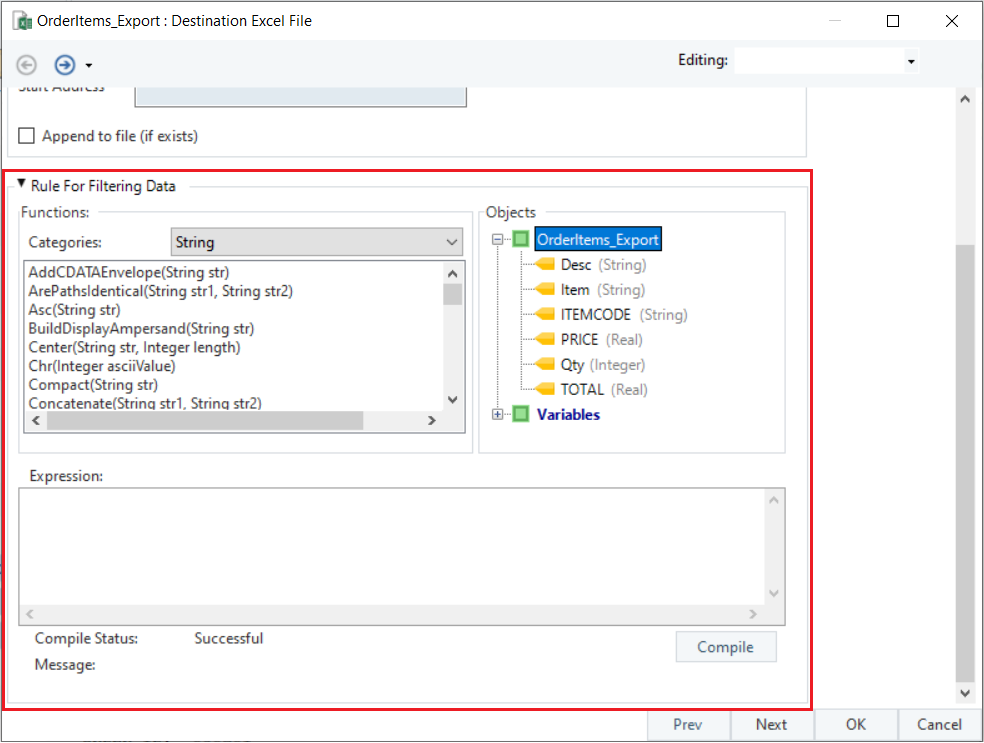
When you expand the rules for filtering data, you will see the following three sections:
- Functions - An extensive library of built-in functions from where you can select any function according to your requirement and apply it on your data
- Objects Panel - Contains the layout of your report model from where you can simply double-click on the object and write it in your function
- Expression builder - Here you can write your expressions by either selecting it from the built-in functions library or writing one of your own
2. Write expression ITEM= “SOFA” in the expression builder. Compile your expression to check if it is successful, and click OK when the compile status is “Successful”.
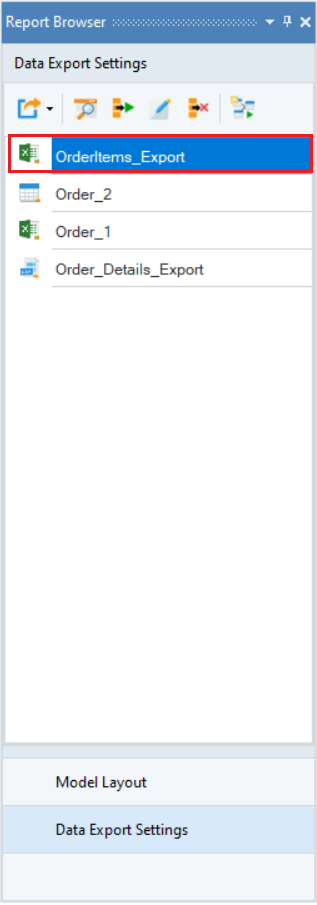
3. Go to the Data Export Settings panel where you can see your exported file with multiple export setting options such as:
- Preview Selected Export
- Edit Export Settings
- Run Selected Export
- Create Dataflow
- Remove Export Settings
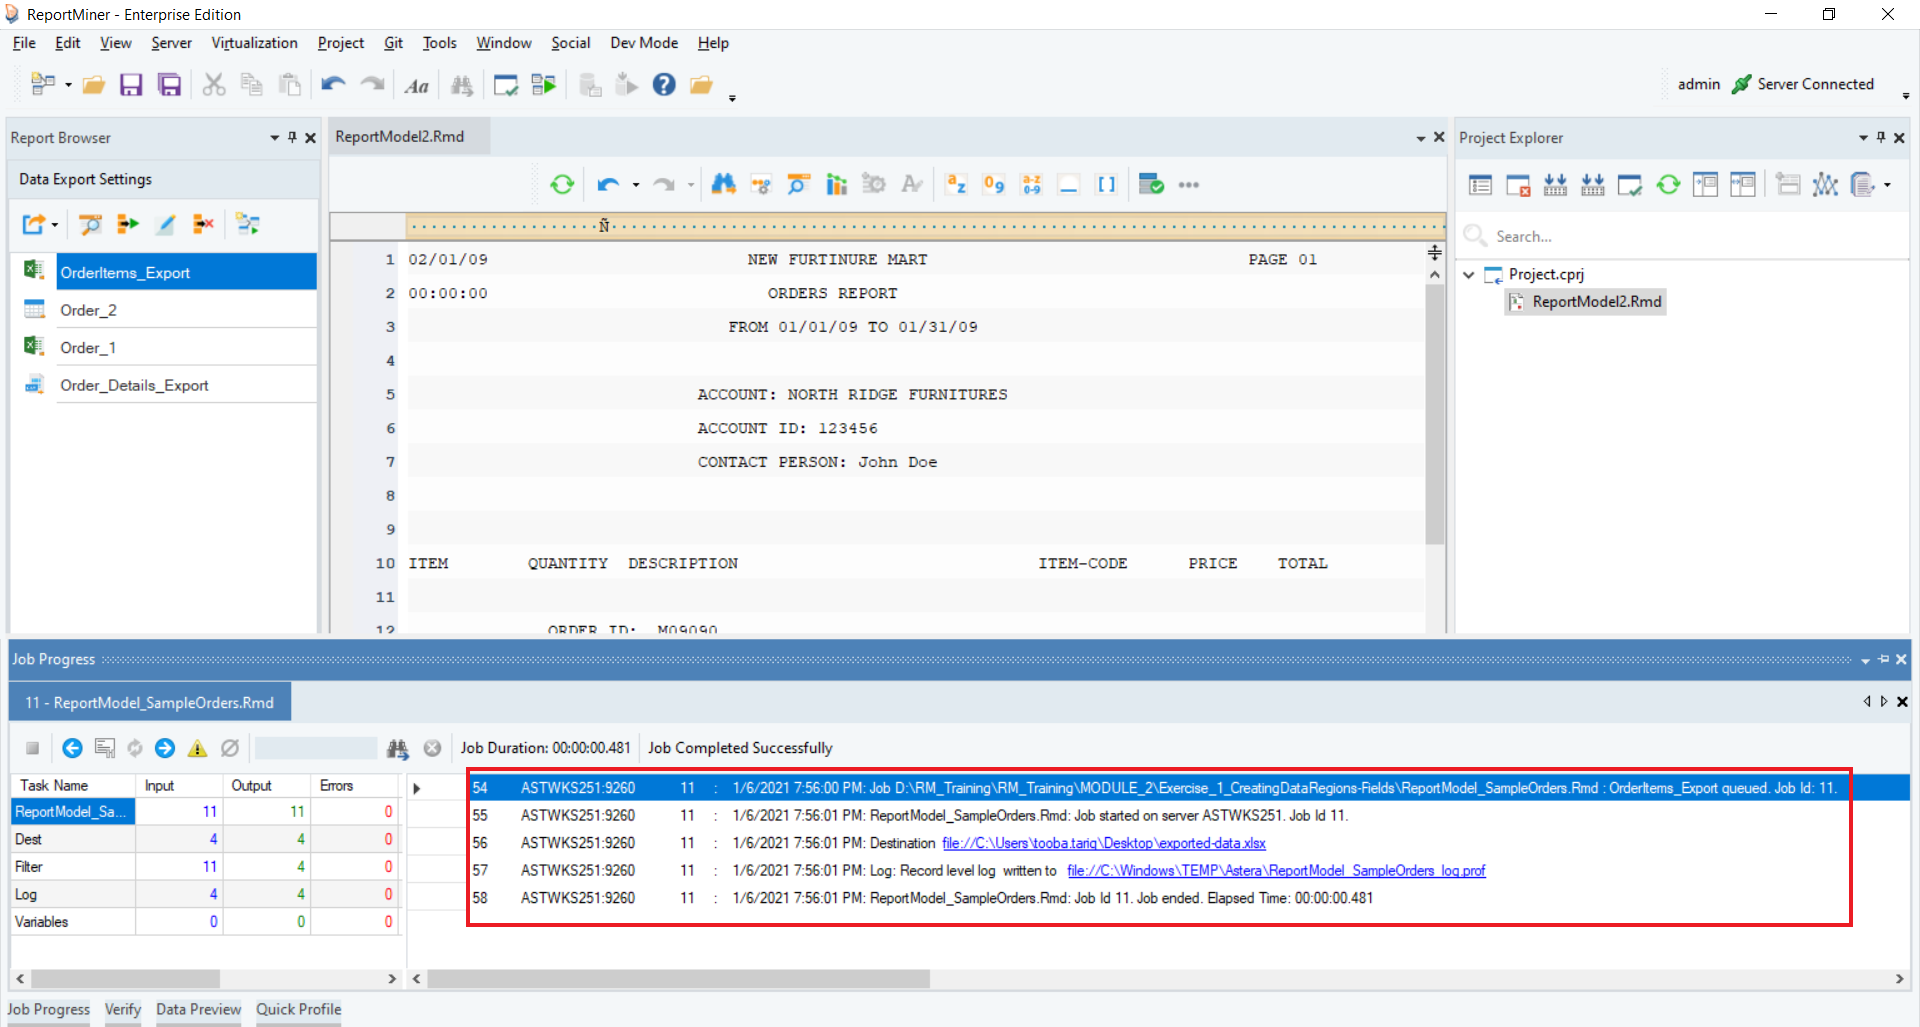
4. Click on Run Selected Export button. While the export is running, you can see the progress details and completion status in the job trace appearing in the Job Progress window. On a successful job run, you will get a clickable link to the destination file and the log file in the job trace. If your export encountered any errors during the run, you can click on the link for the log file and view error details.
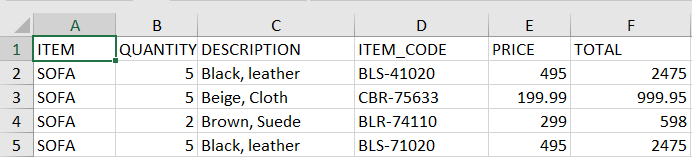
5. Click on destination file link to open the output file. You can see that only filtered items have been exported to the destination file.
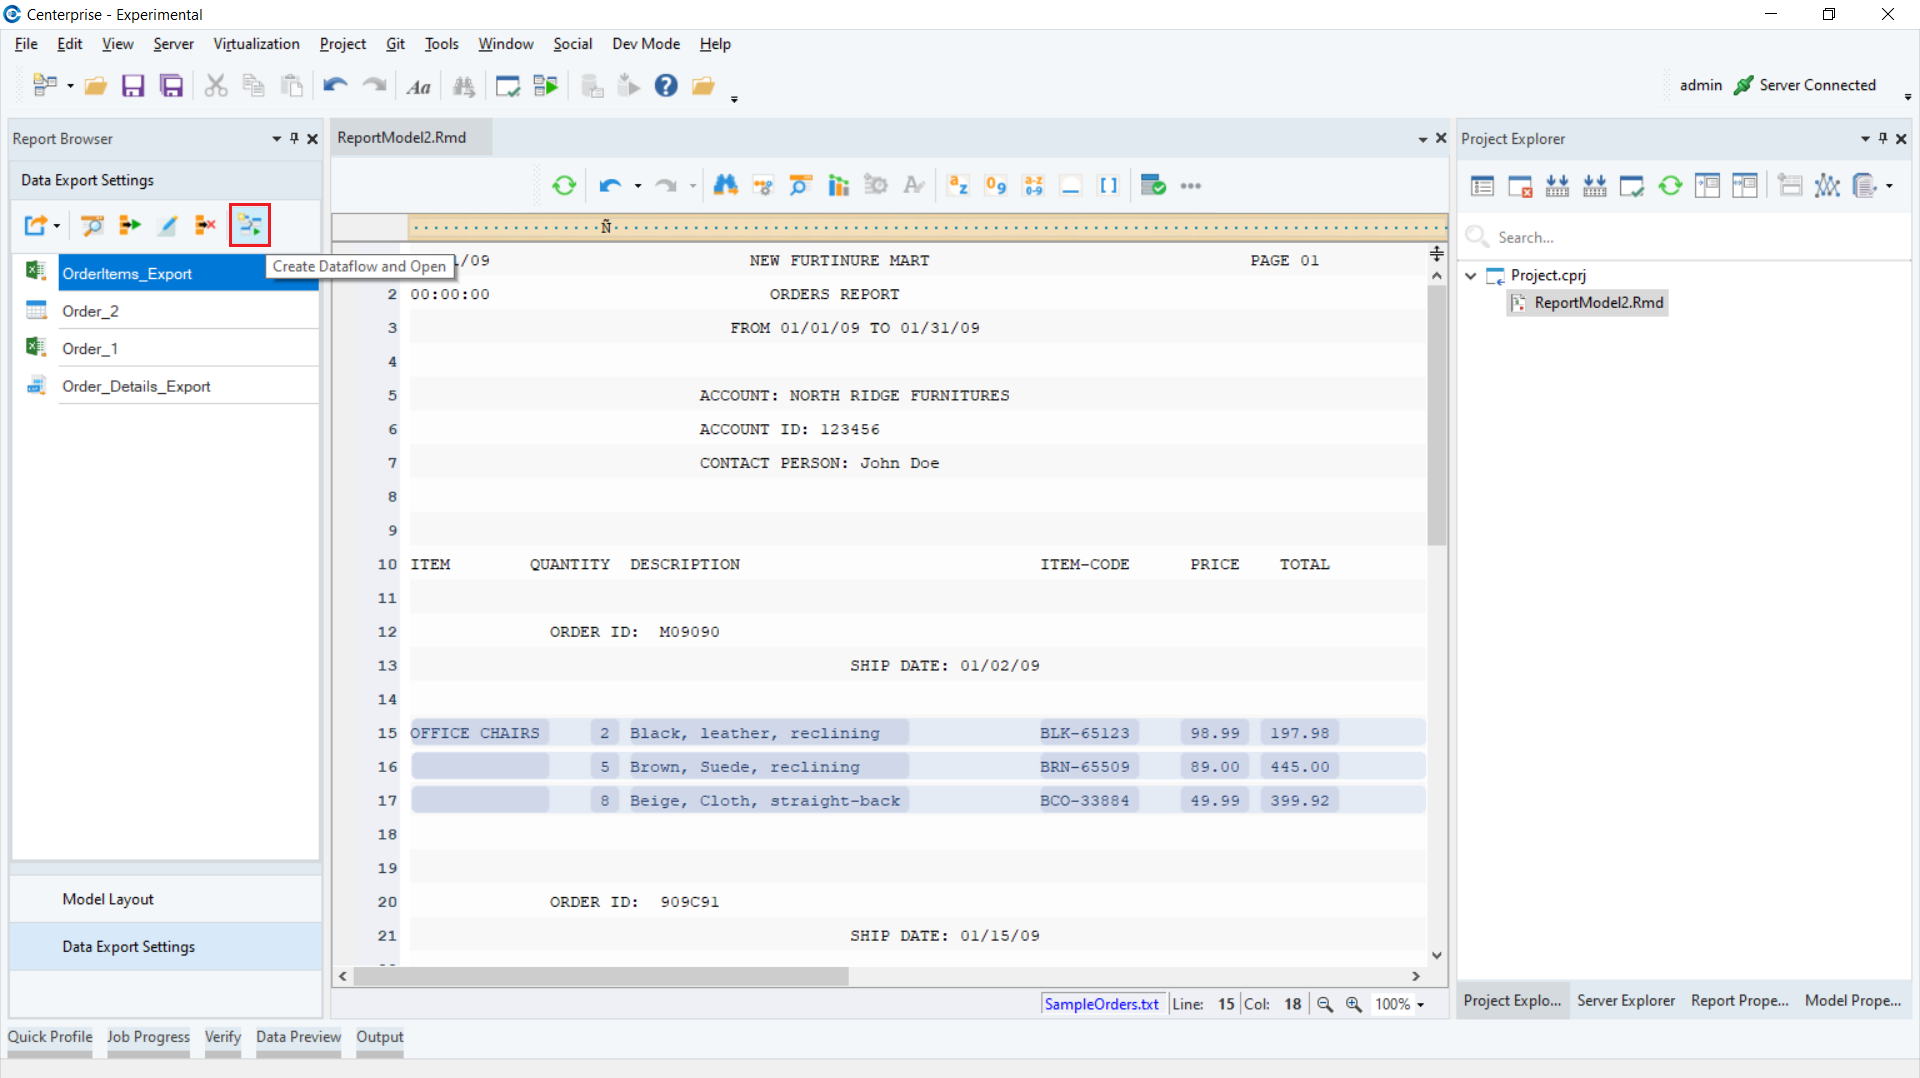
6. Now, to export your Report Model to a dataflow, click on the Create Dataflow and Open  option present in the Data Export Settings panel.
This is how your dataflow would look like:
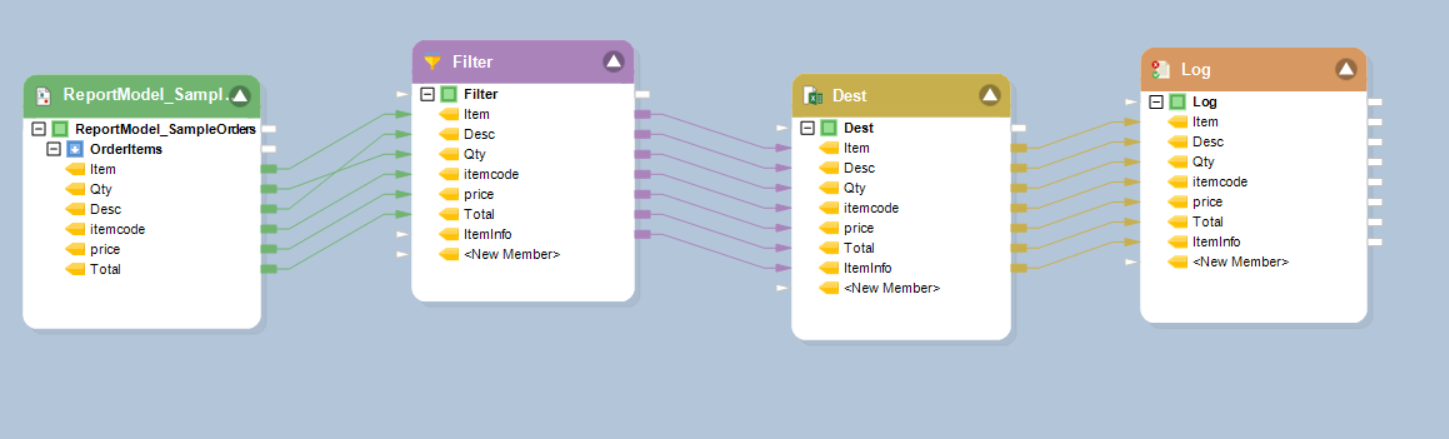
Your dataflow has been created successfully.