Reusing The Extraction Template for Similar Layout Files
Astera ReportMiner gives users the functionality of reusing a report model i.e., the extraction template for files of a similar layout. In this article, we will learn how to orchestrate the whole process.
A report model i.e., ReportMiner template contains the extraction logic to mine data from unstructured documents. The extraction process can be customized by the users via the properties and options available in Astera ReportMiner. To learn more about a report model, refer to this article.
Sample Use-Case
In Astera ReportMiner, there are various reusability methods of the report model. The reusability methods enable the users to obtain meaningful data from several unstructured documents of a similar layout using the same report model i.e., the extraction template. In this article, we will look at the techniques we can apply to achieve this goal.
- By using a workflow with File System Item Source object in Loop mode: As part of this technique, we will cover the creation of a workflow using a File System Item Source object in Loop mode as the source.
- By using the Context Information and the Job Scheduler: As part of this technique, we will cover the creation of a workflow using the Context Info object as the source. Moreover, we will also apply scheduling on the workflow.
In the following sections, let’s go over the whole process of how the above-mentioned techniques can be implemented.
Reusing the Report Model for Similar Layout Files
It is standard practice to create a report model containing all the extraction logic and settings so that it can be applied onto multiple files of a similar layout.
We are using an example extraction template. To learn more about how to extract data from an unstructured document, click here .
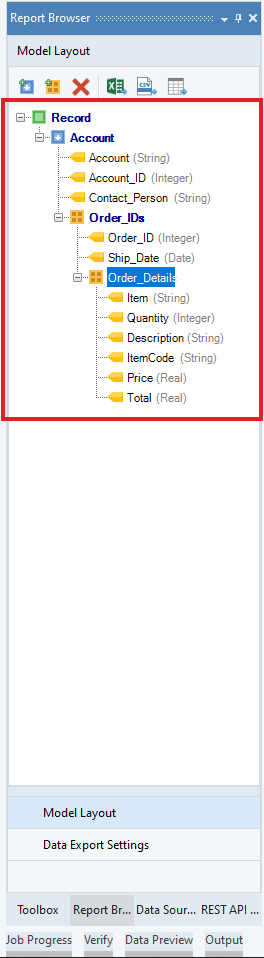
The example template we are using contains extraction logic to obtain details related to Accounts, the number of Orders placed by each account, and description of each Order. This is what the extraction template looks like:
To ensure better accessibility and manageability of the files, let’s create a project and add all the relevant documents to it.
Creating a Project
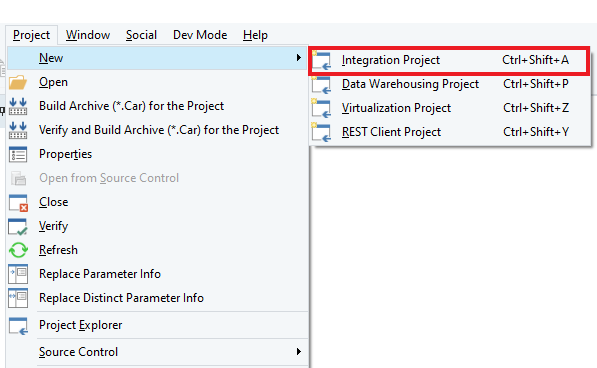
1. To create a project, go to Project > New > Integration Project.
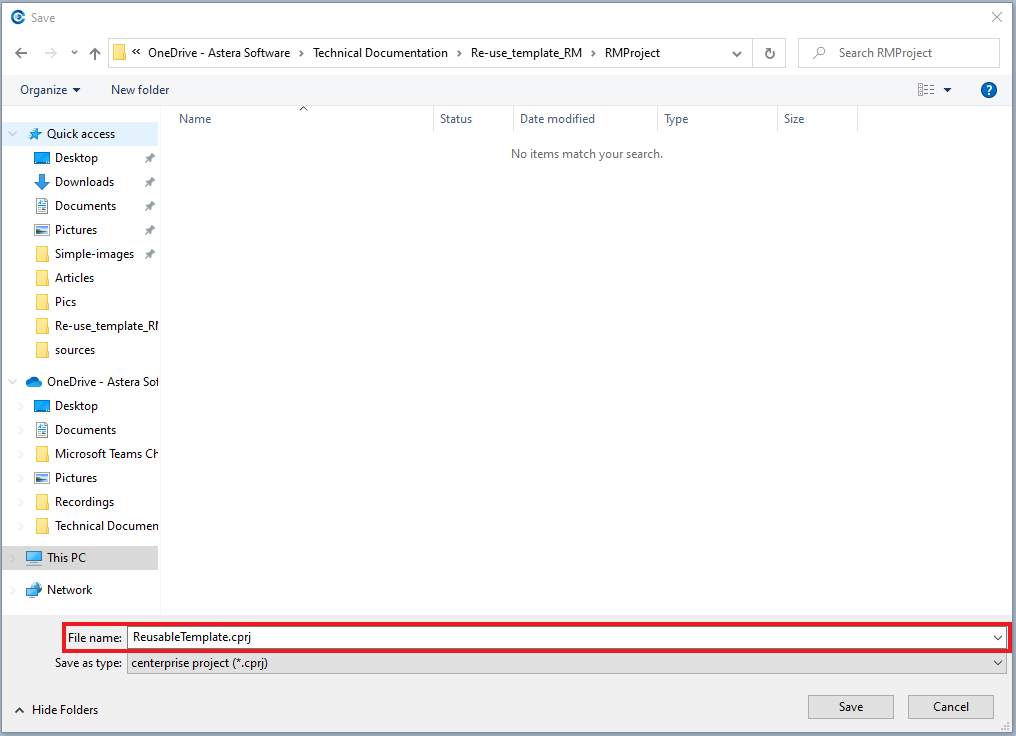
2. The file explorer will open. Navigate to the path where you want to save the project and write the name of the project.
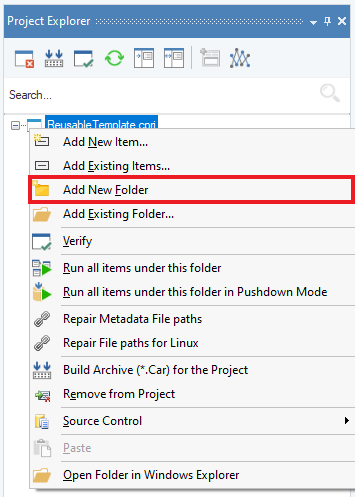
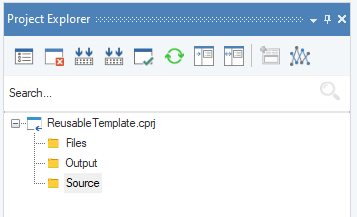
3. Right-click on the project in the Project Explorer window and select the Add New Folder option.
Here, we have created a folder named Files to store the flows, a folder named Sources to store the unstructured source documents, and a folder named Output to store the output files.
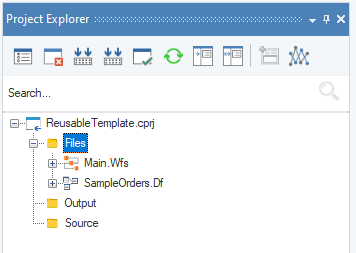
4. Right-click on the Files folder and select Add New Item option from the context menu. Add a dataflow and a workflow to the Files folder.
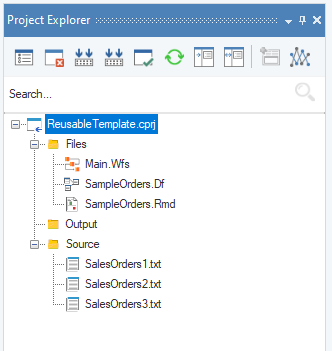
Similarly, use Add Existing Items to add unstructured source files in the Source folder and ‘SampleOrders.Rmd’ in the Files folder. ‘SampleOrders.Rmd’ is the extraction template.
We’ve successfully created a project. Now, let’s head towards designing the dataflow.
Creating a Dataflow
1. Double-click on the dataflow to open the empty designer.
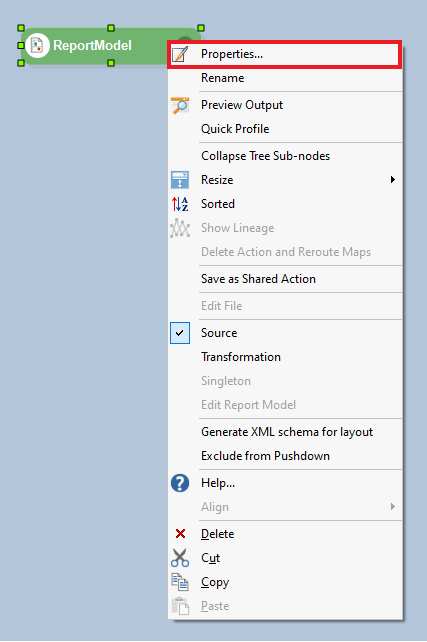
2. Drag and drop the Report Source object onto the dataflow designer from Toolbox > Sources > Report Source. Right-click on the object’s header and select Properties from the context menu.
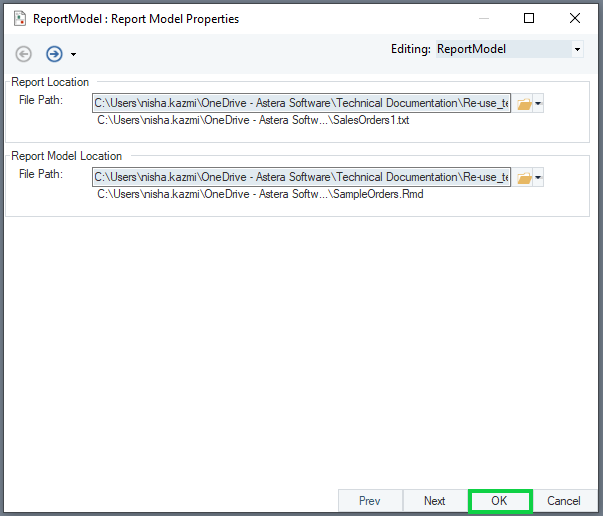
The Report Model Properties window will open. Here, you have to provide file paths for the Report Location and Report model Location.
- Report Location: File path of the unstructured document.
- Report Model Location: File path of the extraction template.
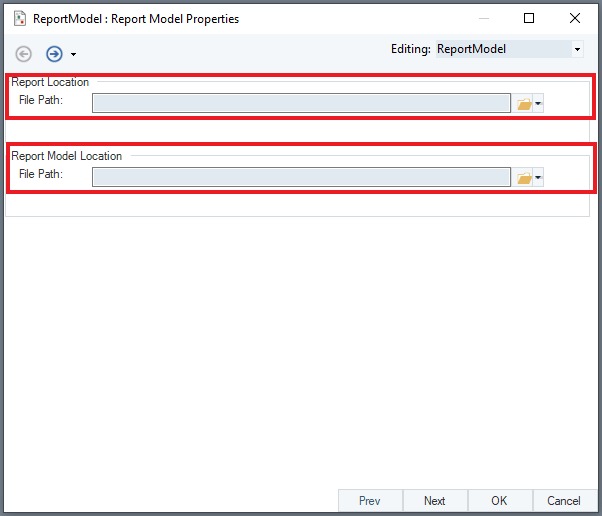
Click OK to proceed.
Note: You can also export the report model to a dataflow. To learn more about how to do that, click here.
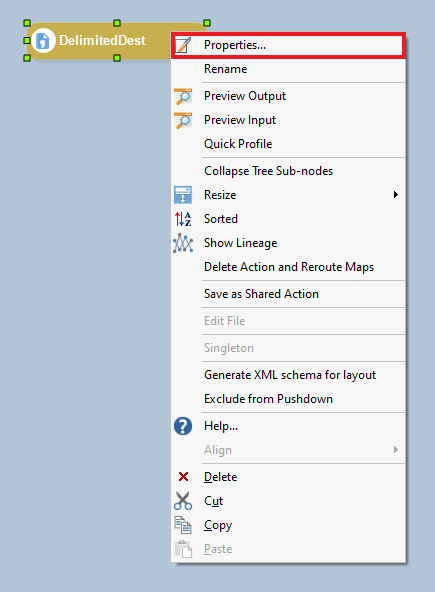
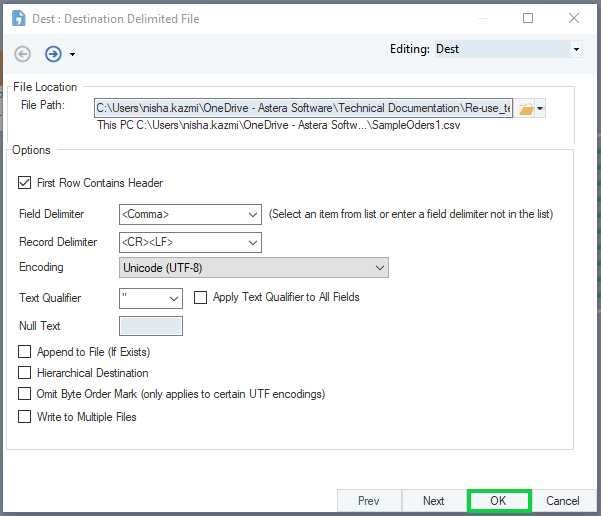
3. To store the extracted data, drag and drop a destination object onto the dataflow designer. Here, we are using a Delimited Destination object. Right-click on the destination object’s header and select Properties from the context menu.
This is the Configuration window.
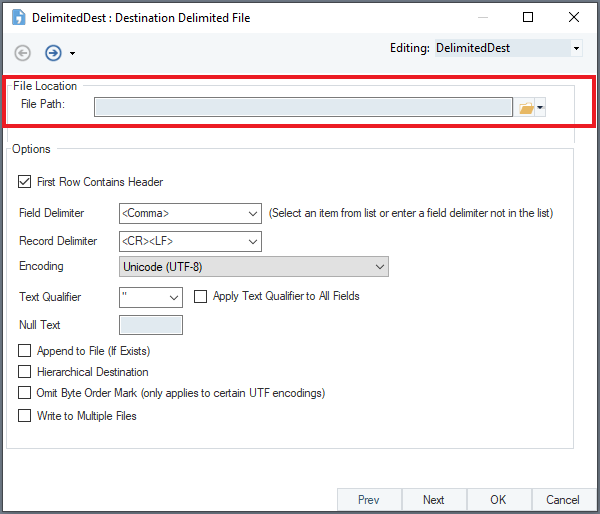
Here, specify the destination file path and utilize the relevant configuration options available according to your needs.
Now, click OK.
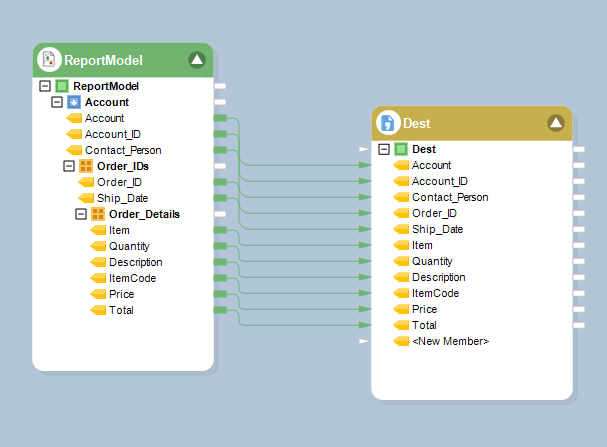
4. Map the data fields from the Report Source object to the Delimited Destination object.
Now, for the dataflow to use multiple source files, you have to parametrize the source file path. Similarly, to provide destination path for each source file, parametrize the destination file path. Parameterization will allow the source files and their respective destination files to be replaced at runtime.
In the following section, let’s see how we can achieve this.
Parameterizing the Dataflow
1. Drag and drop the Variables object from Toolbox > Resources > Variables onto the dataflow designer.
2. Right-click on the Variables object’s header and select Properties from the context menu.
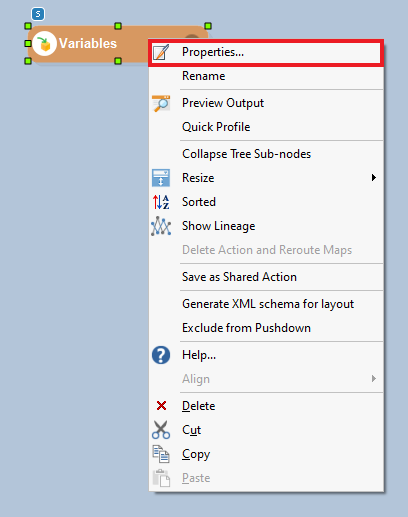
The Properties window will open.

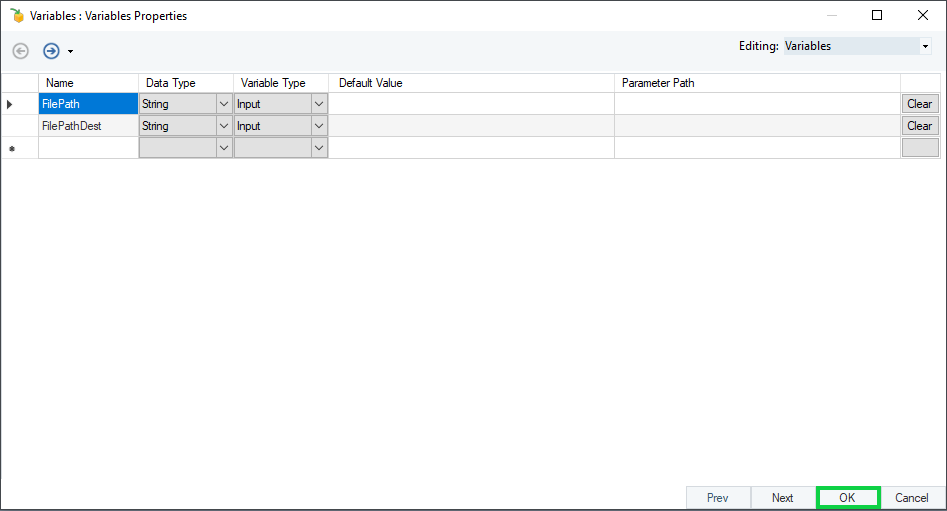
You have to create two fields. One field is for the source file path, while other is for the destination file path. Set the Variable Type of both as Input and provide their file paths in the Default Value column.
Note: Default Value is optionally added to verify if the dataflow is accurately configured. At runtime, parameters passed as blank are replaced by the Default Value entry. In other words, the Default Value entry will only take effect when no other value is available.
Now, click OK.
3. Double-click on the Report Source object’s header. Click on Next. This is the Config Parameters window. Set the FilePath variable as the Value of FilePath field.
4. Double-click on the destination object’s header and click Next till you reach the Config Parameters window. Set the FilePathDest variable as the Value of the DestinationFile field. Click on OK.
We have now created a final dataflow. Let’s proceed towards designing the workflow.
Designing a Workflow
1. Drag and drop the Run Dataflow object from Toolbox > Workflow Tasks > Run Dataflow onto the workflow designer.
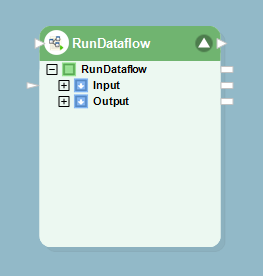
2. Double-click on the Run Dataflow object’s header to open the Start Dataflow Job Properties window.
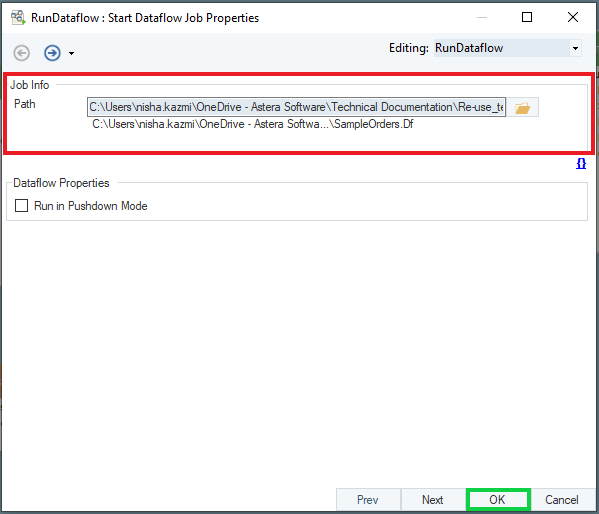
Specify the path to the dataflow that you want to execute in the Job-Info. To learn more about Run Dataflow object, click here.
Now, Click OK.
3. Drag and drop the File System Items Source object from Toolbox > Sources > File System onto the workflow designer.
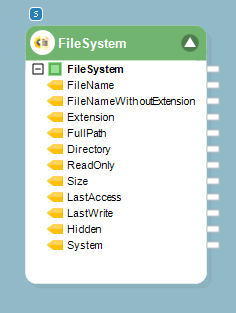
4. Double-click on the object’s header. The File System Items Source Properties window will open.
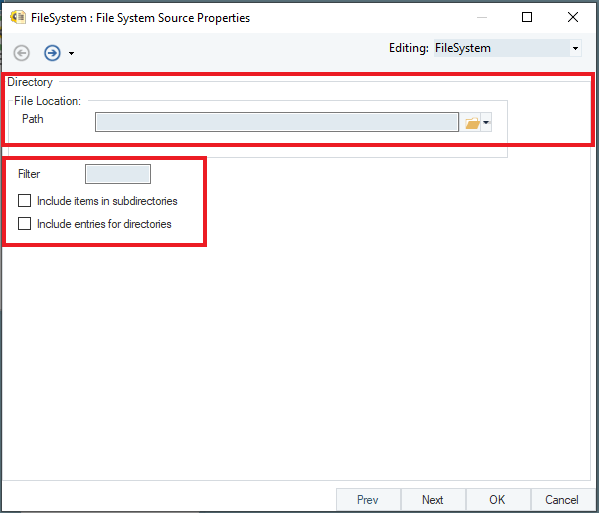
Here, specify the path to the directory where the source files reside. You can add an entry to the Filter textbox if you want to read files in a specified format only. Additionally, you may choose to include all items of the subdirectories and/or include all items inclusive of entries for subdirectories by checking the options at the bottom. To learn more about the File System Items Source object, click here.
Click OK to proceed.

Note: Here, the unstructured files in the Output folder were of “.txt” extension. Hence, only “.txt” files are being processed.
5. Map the FilePath data field of the File System Items Source object to the FilePath data field of the Run Dataflow object.
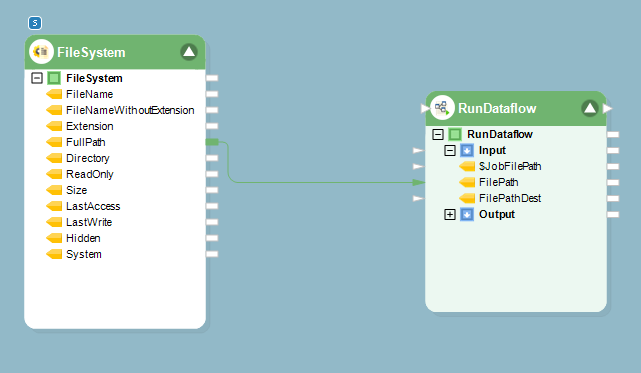
Now, let’s proceed towards the construction of the dynamic destination path.
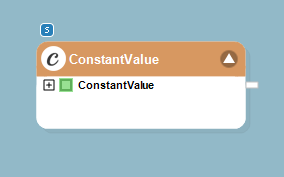
6. Drag and drop the Constant Value transformation object from Toolbox > Transformation > Constant Value onto the workflow designer.
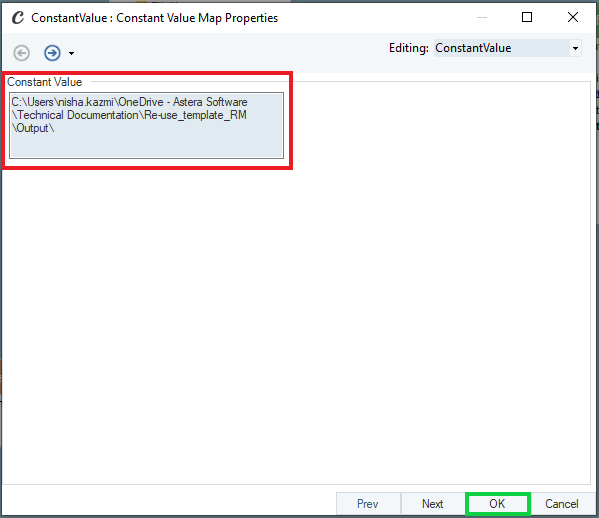
7. Double-click on the Constant Value object’s header. The Constant Value Map Properties window will open. Provide the path to the directory or folder where you want to store the output files. Click OK.
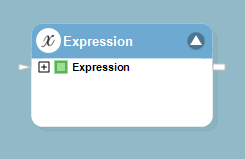
8. Go to Toolbox > Transformation > Expression, drag and drop the Expression transformation object onto the workflow designer.
9. Right-click on the Expression object’s header and select Properties from the context menu.
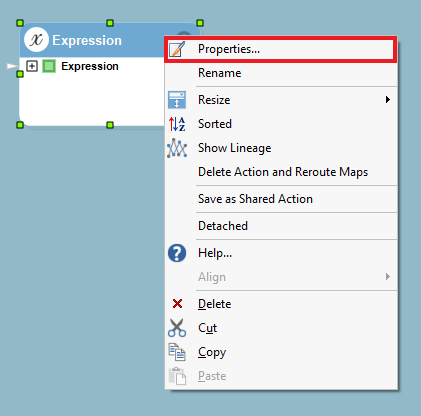
This will open the Layout Builder window. Here, you must create three data fields.
- FileDirectory, set as Input.
- FileName, set as Input.
- FilePathDest, set as Output.
Click OK.
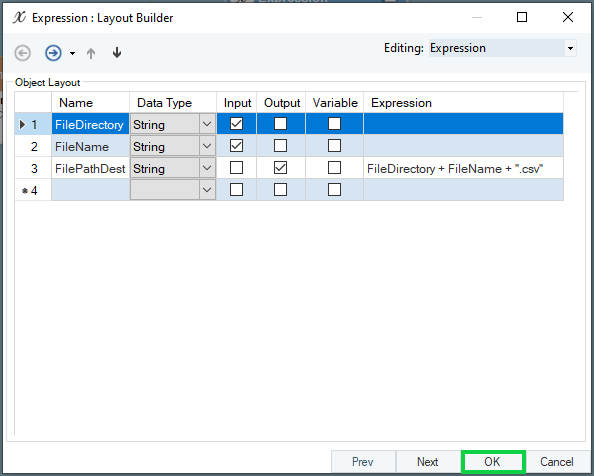
Note: Write the expression of FilePathDest field as FileDirectory + FileName + “.csv”. At runtime, this expression will create the destination file path for each source file.
To learn more about how to utilize the Expression transformation object, click here.
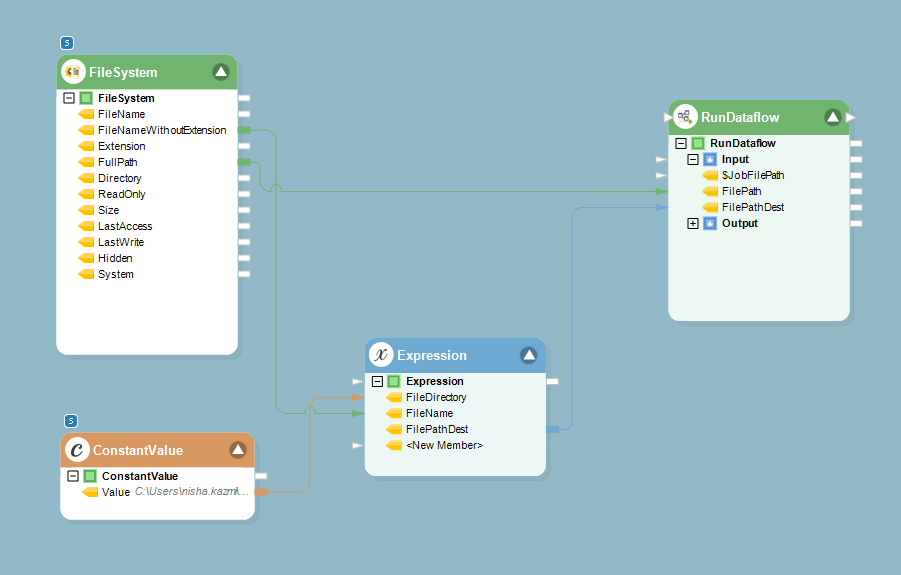
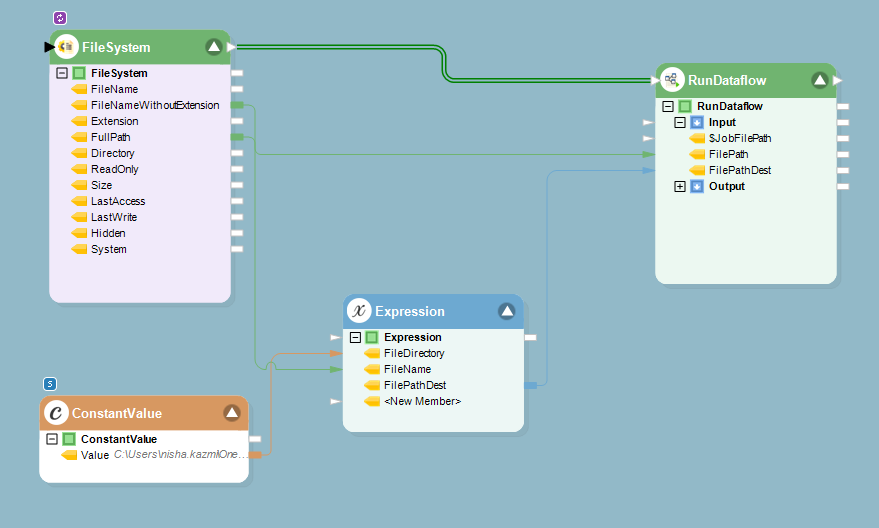
10. To construct the dynamic destination path, it’s necessary to make appropriate mappings for the fields of the objects. The directory that has been specified in the Constant Value object needs to be combined with the file name provided by the File System Items Source object. After the application of the defined expression on the fields, the resultant file path should be mapped to the Run Dataflow object. To achieve this, define the field mappings of the objects as follows:
- Map the Value field of the Constant Value object to the FileDirectory field of the Expression transformation object.
- Map the FileNameWithoutExtension field of the File System Items Source object to the FileName field of the Expression transformation object.
- Map the FilePathDest field of the Expression transformation object to the FilePathDest field of the Run Dataflow object.
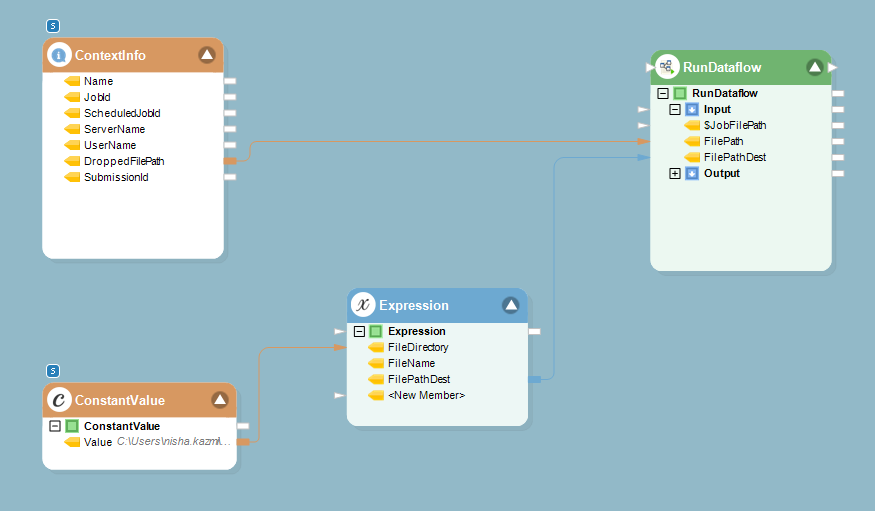
After mapping of the objects, this is what the final workflow looks like:
We have now created the final workflow. In the next section, let’s discuss the reusability techniques of the extraction template.
Reusing Methods
Let’s summarize what we have done so far. We have created a dataflow by using a Report Source object, Variable object, and a Delimited Destination object. The purpose of this dataflow is to apply the extraction logic on the unstructured document, parameterize the file paths using variables, and write the extracted data to a destination file.
We have also created a workflow and included objects such as File System Items Source, Constant Value, Expression transformation, and Run Dataflow. The purpose of this workflow is to execute the previously made dataflow and construct a dynamic destination path to store each source file at runtime.
Now, we will see how we can use the workflow and apply the extraction process on multiple unstructured files of similar format.
Applying Looping on File System Items Source Object
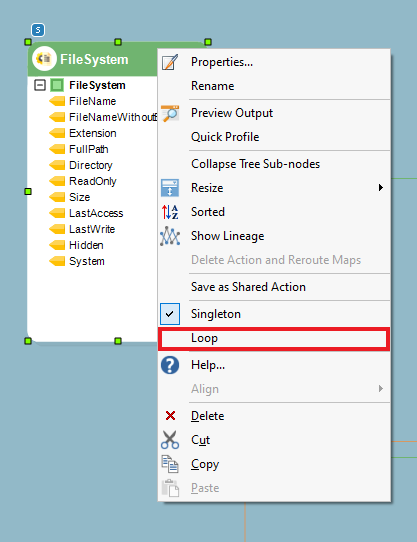
1. Right-click on the File System Items Source object’s header and select Loop from the context menu.
Note: By selecting the Loop option, we are ensuring that the File System Items Source object iterates through the entire folder. This will enable us to provide multiple source files to the Run Dataflow object. By default, the selected Singleton option only picks the first file in the folder.
2. Link the File System Items Source object to the Run Dataflow object.
Note: You can use Job Schedules on this workflow by following the steps defined under the Scheduling heading.
Using Context Info and Applying Scheduling
1. Instead of a File System Items Source object, you can use the Context Info object from Toolbox > Resources > Context Info to process a file whenever it is dropped at the path mentioned in the scheduled task.
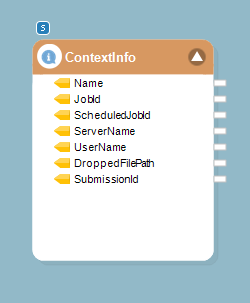
2. Map the DroppedFilePath data field from Context Info object to the FilePath data field in the Run Dataflow object.
Scheduling
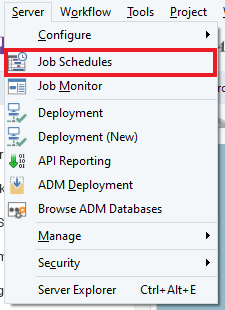
3. Go to Server > Job Schedules.
4. To add a new task for a schedule, click on the Add Scheduler Task.
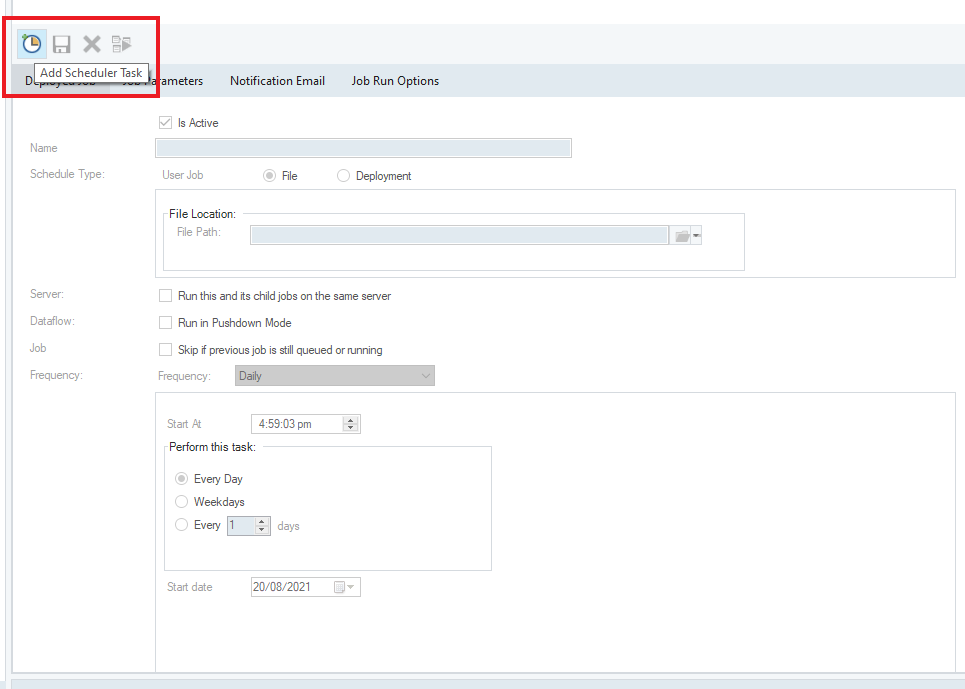
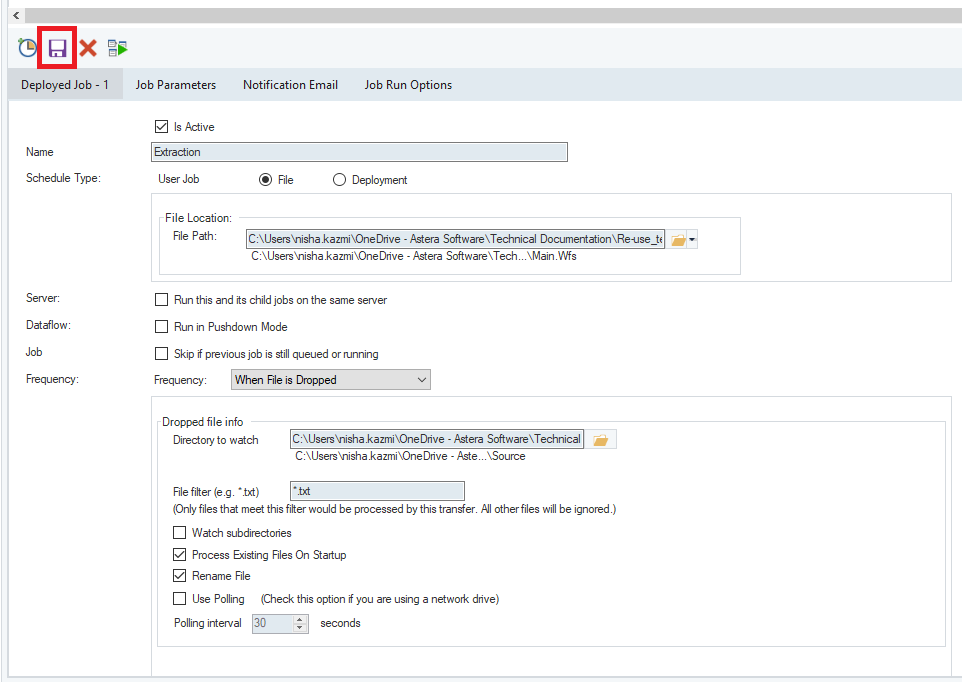
Specify the Name of the task . After that, select the Schedule Type. In our case, we want to schedule a workflow. Hence, we will select the File type for scheduling. Provide the path of the workflow in the File Location. There are some other options for Server, Dataflow, Job, and Frequency, which you can select according to your requirements.
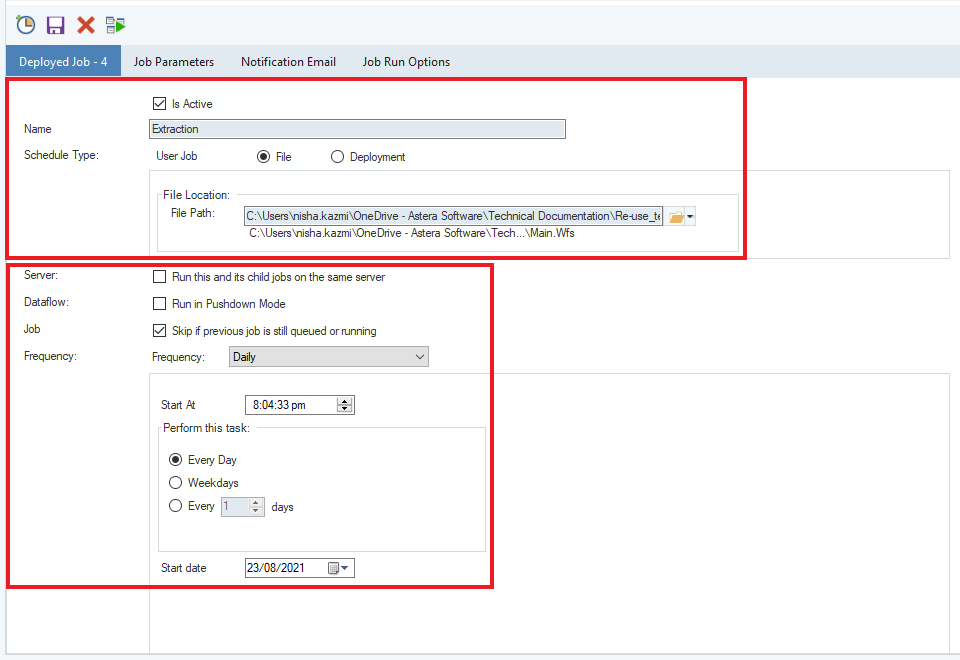
5. Click on the drop-down menu of Frequency and select When File is Dropped. To learn more about each Frequency type, click here.
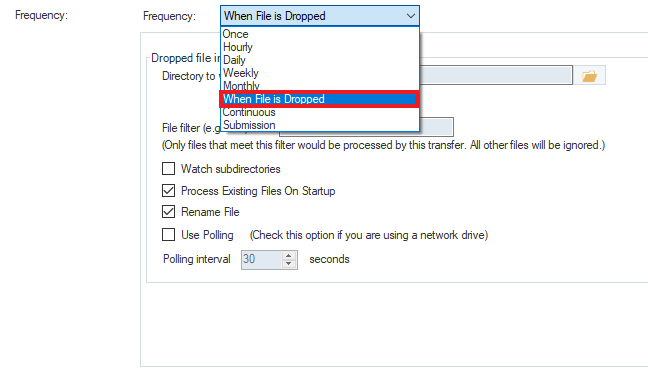
Here, provide the path of directory you want the scheduler to watch in case of a file drop. You can use the File Filter option to process a specific type of file format. Other options, including Watch Subdirectories, Process Existing Files on Startup, Rename File, and Use Polling, are available to be used according to your requirements.
Save the task by clicking on the Save Selected Task icon at the top left corner.
To gain further insights on how to schedule a job on the server using Job Schedules, click here.
This is how you can automate the whole process of extracting data from multiple files with similar layout using the same report model in Astera ReportMiner.