Floating Patterns and Floating Fields
What is a Floating Pattern?
A floating field pattern in Astera ReportMiner refers to the data points that are scattered throughout the report. The Floating Pattern option in Astera ReportMiner allows you to capture each data field no matter the location. With this option you must first specify a pattern in the pattern-matching bar and then check the Floating Pattern option. When the Floating Pattern option is enabled, it will capture all the lines that match the specified pattern.
Floating fields
The Floating Field option will automatically appear when the Floating Pattern option is checked. This option will capture all the misaligned data fields. It is enabled by default, however, you can disable it if you want the field positions to be fixed.
Working with Floating patterns and floating fields in ReportMiner
To work with floating patterns and floating fields in ReportMiner, follow the steps mentioned below:
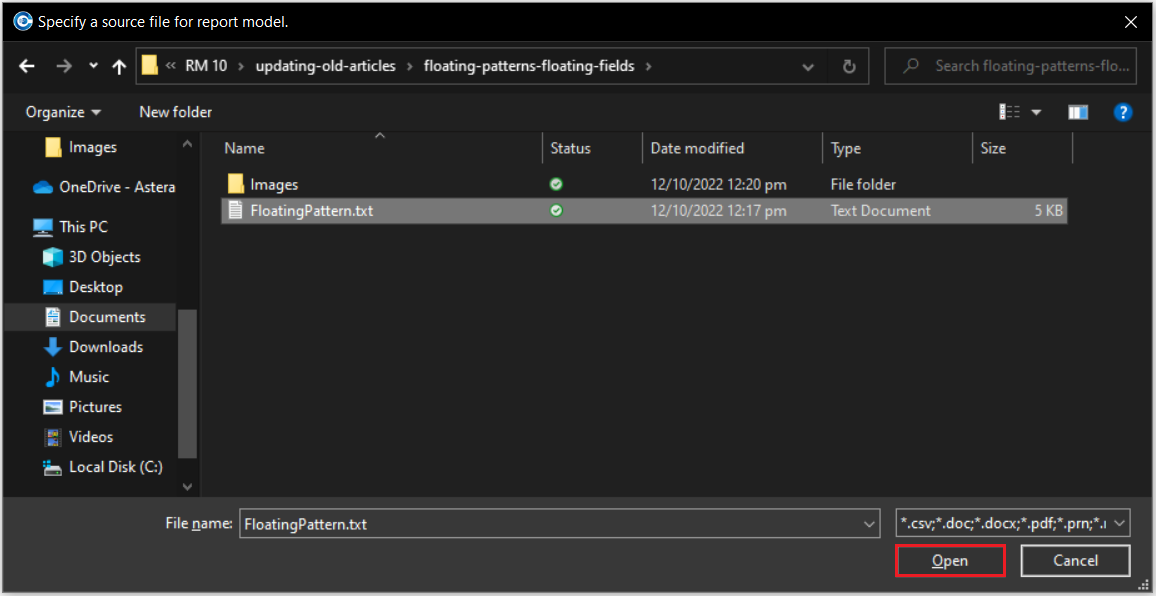
1. Go to File > New > Report Model and select the report on which you want to apply the Floating Pattern option. Click Open. The source report will open on designer window.
You can download the sample text file from here.
2. Right click on the Record node present in the Model Layout panel and click Add Data Region.

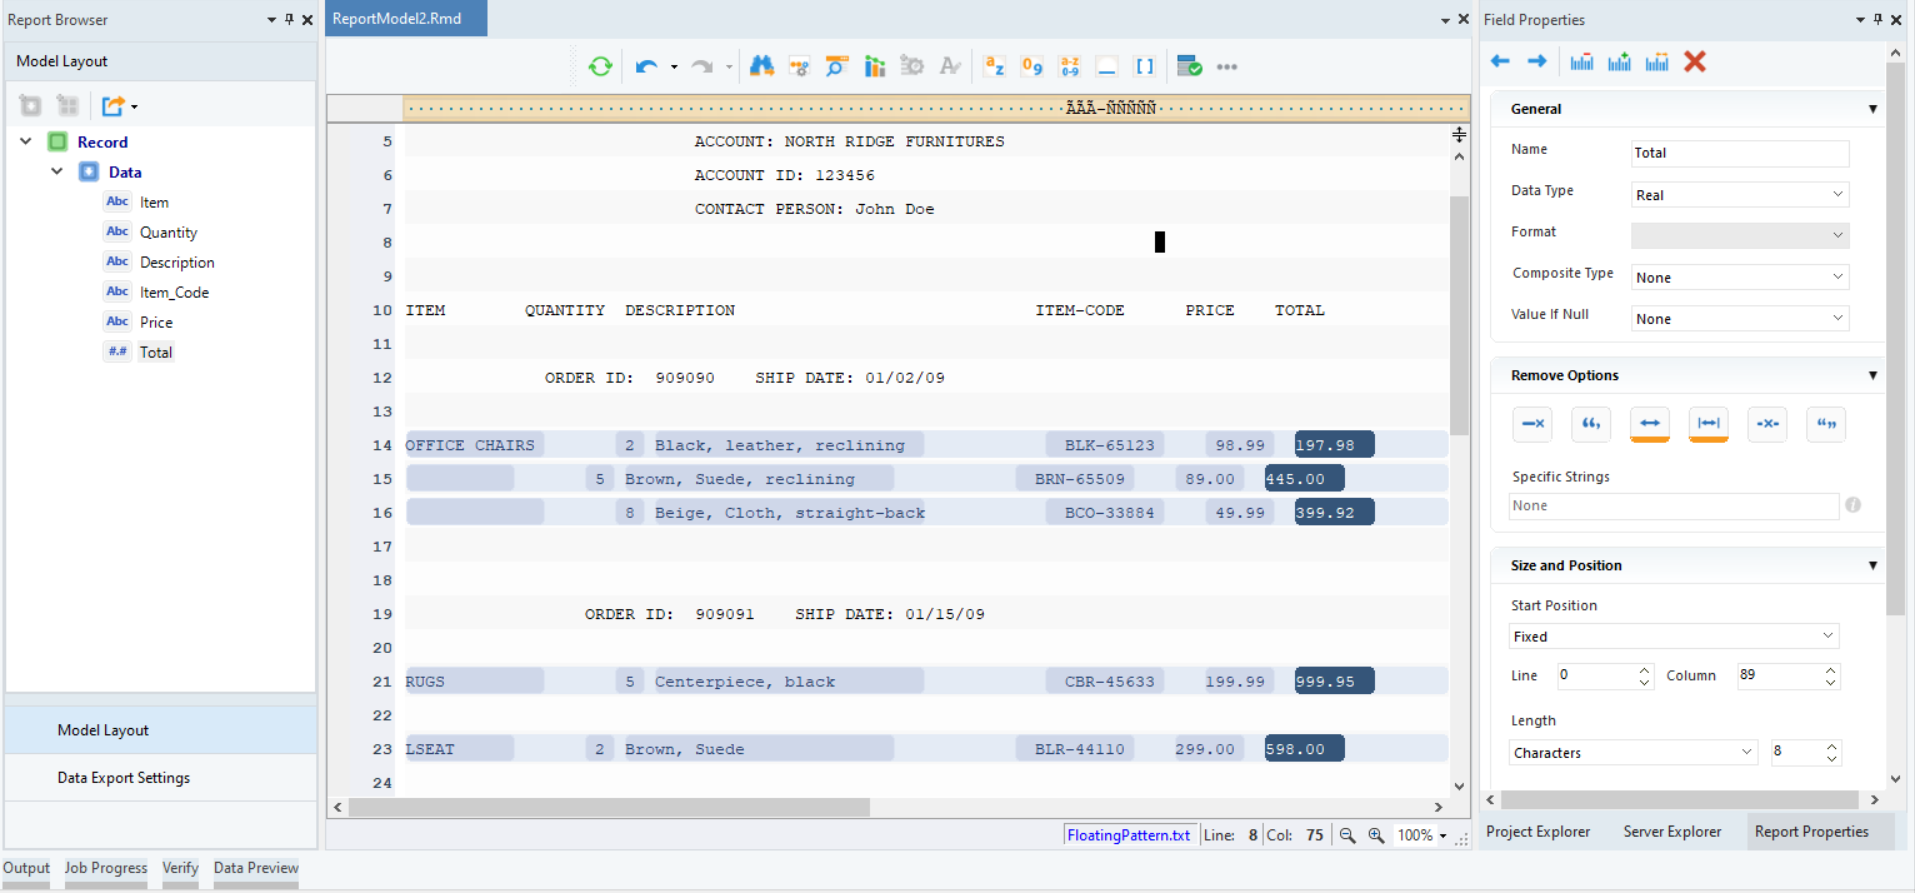
You will see a yellow bar, which is the pattern-matching bar appear along with Pattern Properties and Region Properties section.
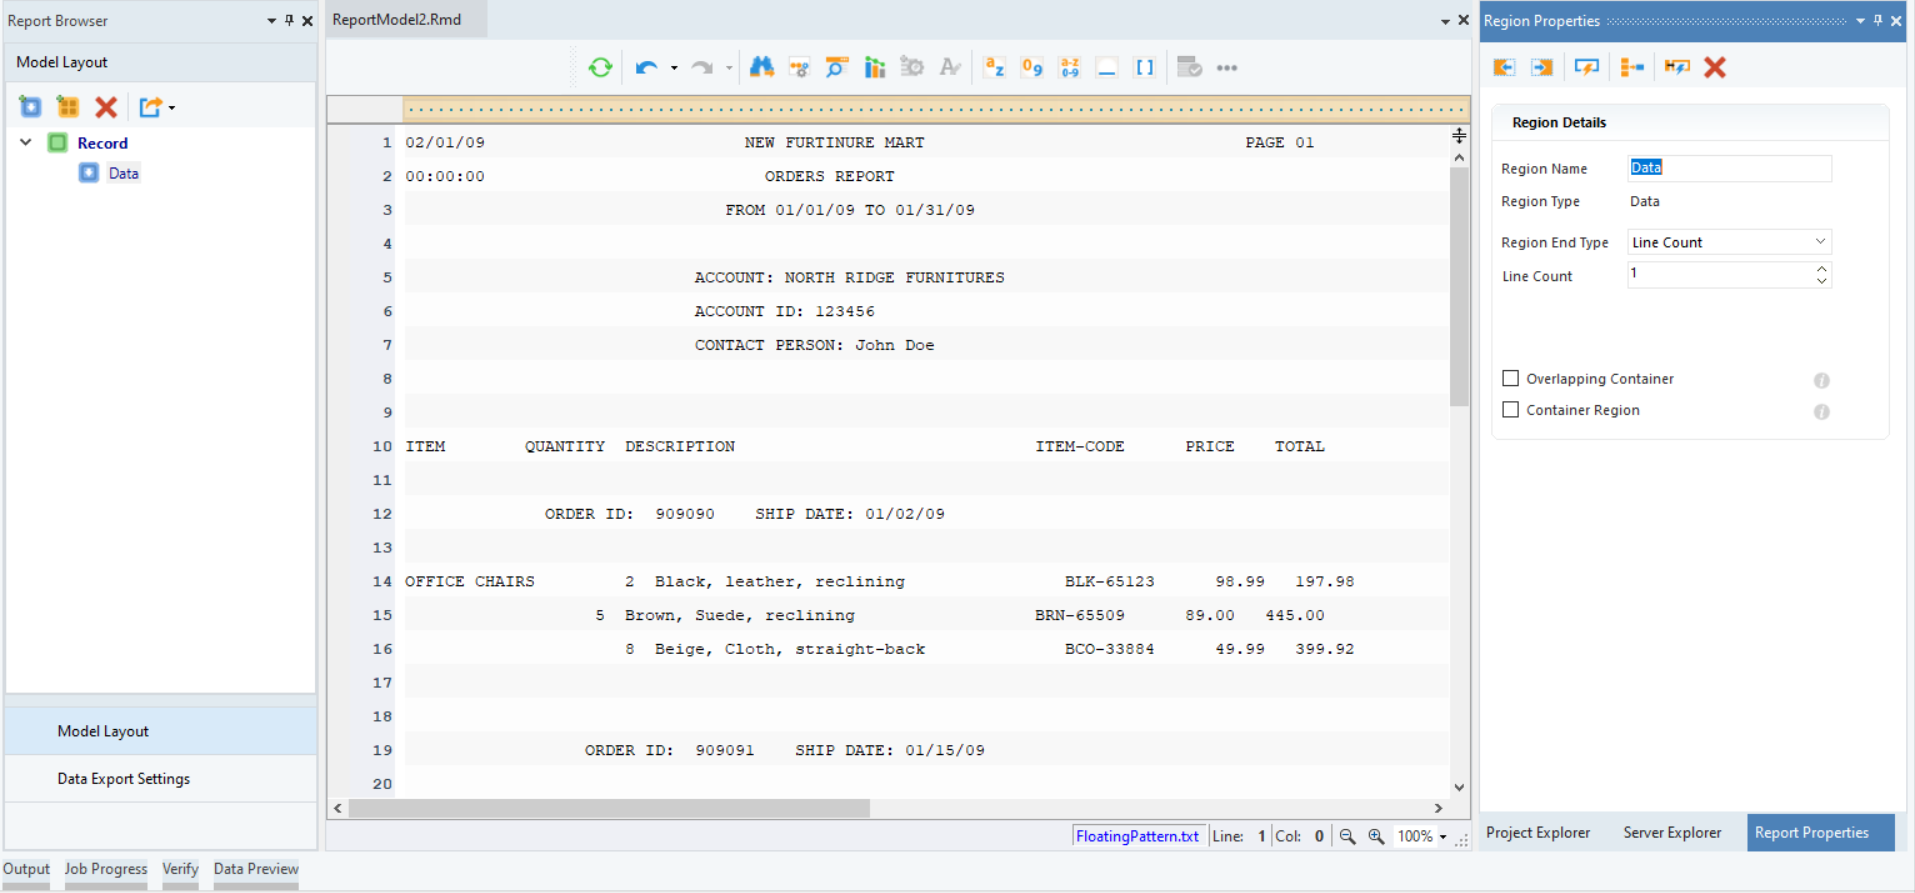
Write pattern in the pattern-matching bar to capture the desired data region in your report. In this case, three match any alphabet and five match any digit wildcards are used to specify the pattern**.** All data regions and data fields except the misaligned ones will be captured.
(Read: To know more about using wildcards.)
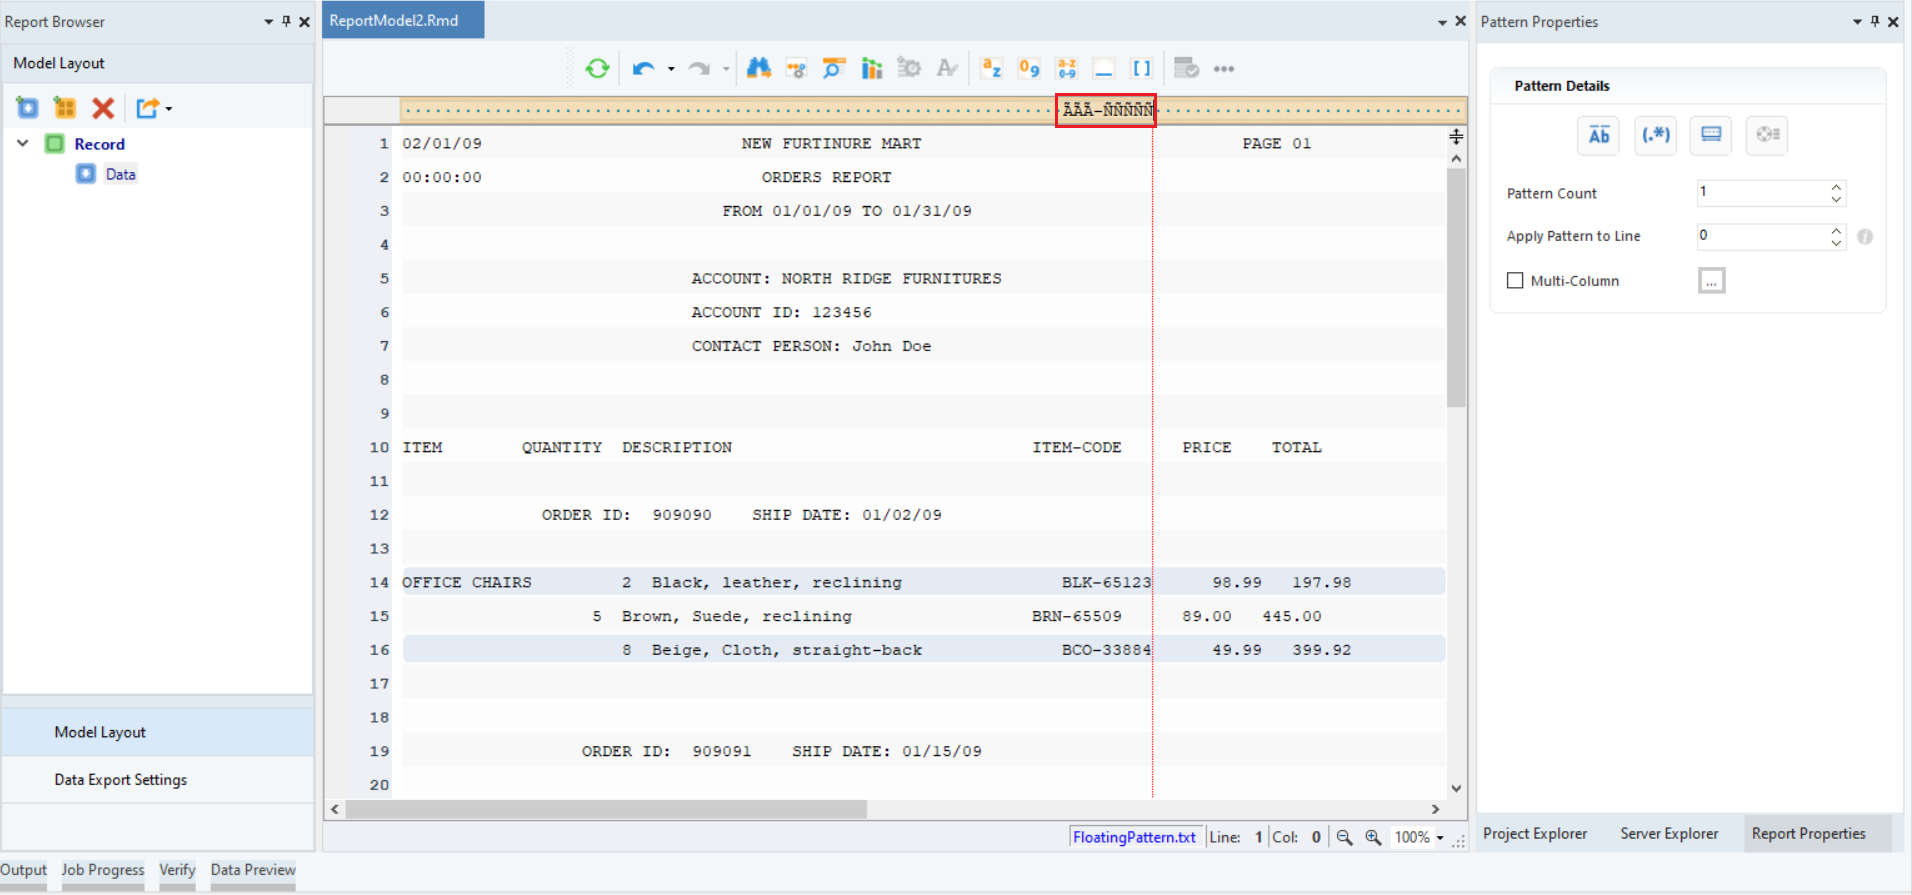
3. Now, select the Floating Pattern icon in the Pattern Properties section. You will see that all the misaligned patterns and fields will be captured.
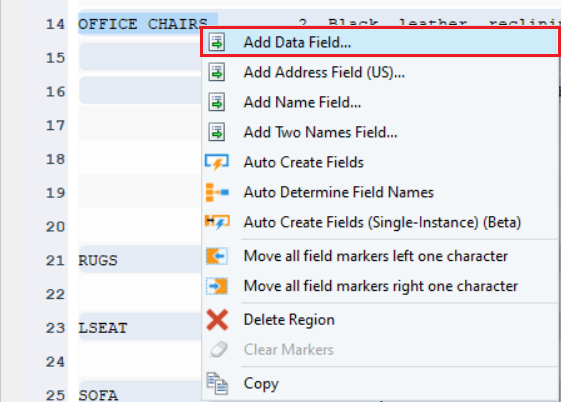
4. Right-click on data that you want to add in your data field and click Add Data Field. This will create a sub-node in the model layout. This sub-node is a data field and contains data that you have selected.
In this example, a sub-node for ITEM has been created with all the ITEM data being captured.
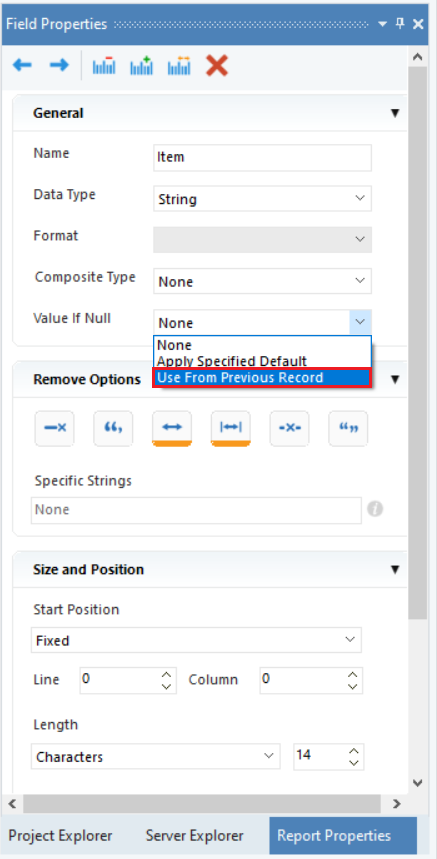
(Note: The ITEM column in the first data field contains null values under OFFICE CHAIRS. ReportMiner allows you to use any value from “Value if Null” option in the Field Properties. In this case, we have selected the Use From Previous Record option.)
5. Repeat these steps to create other fields.
6. You can now preview your data by clicking on the Preview Data option in toolbar. You will be prompted to save the report model first. Once saved, the Data Preview window will open.
