Exporting a Report Model
Astera ReportMiner makes it easy to export data from a report model directly to a number of different destination types such as Excel and CSV. Moreover, it supports export of data to a wide range of on-premise and cloud databases including SQL Server, Oracle, DB2, Sybase, MySQL etc.
In this document, we will learn how to export data in a report model to three different destination types.
Sample Use Case
In this example, we have incoming data extracted by the report model below.
Download the sample data file and report model from here.
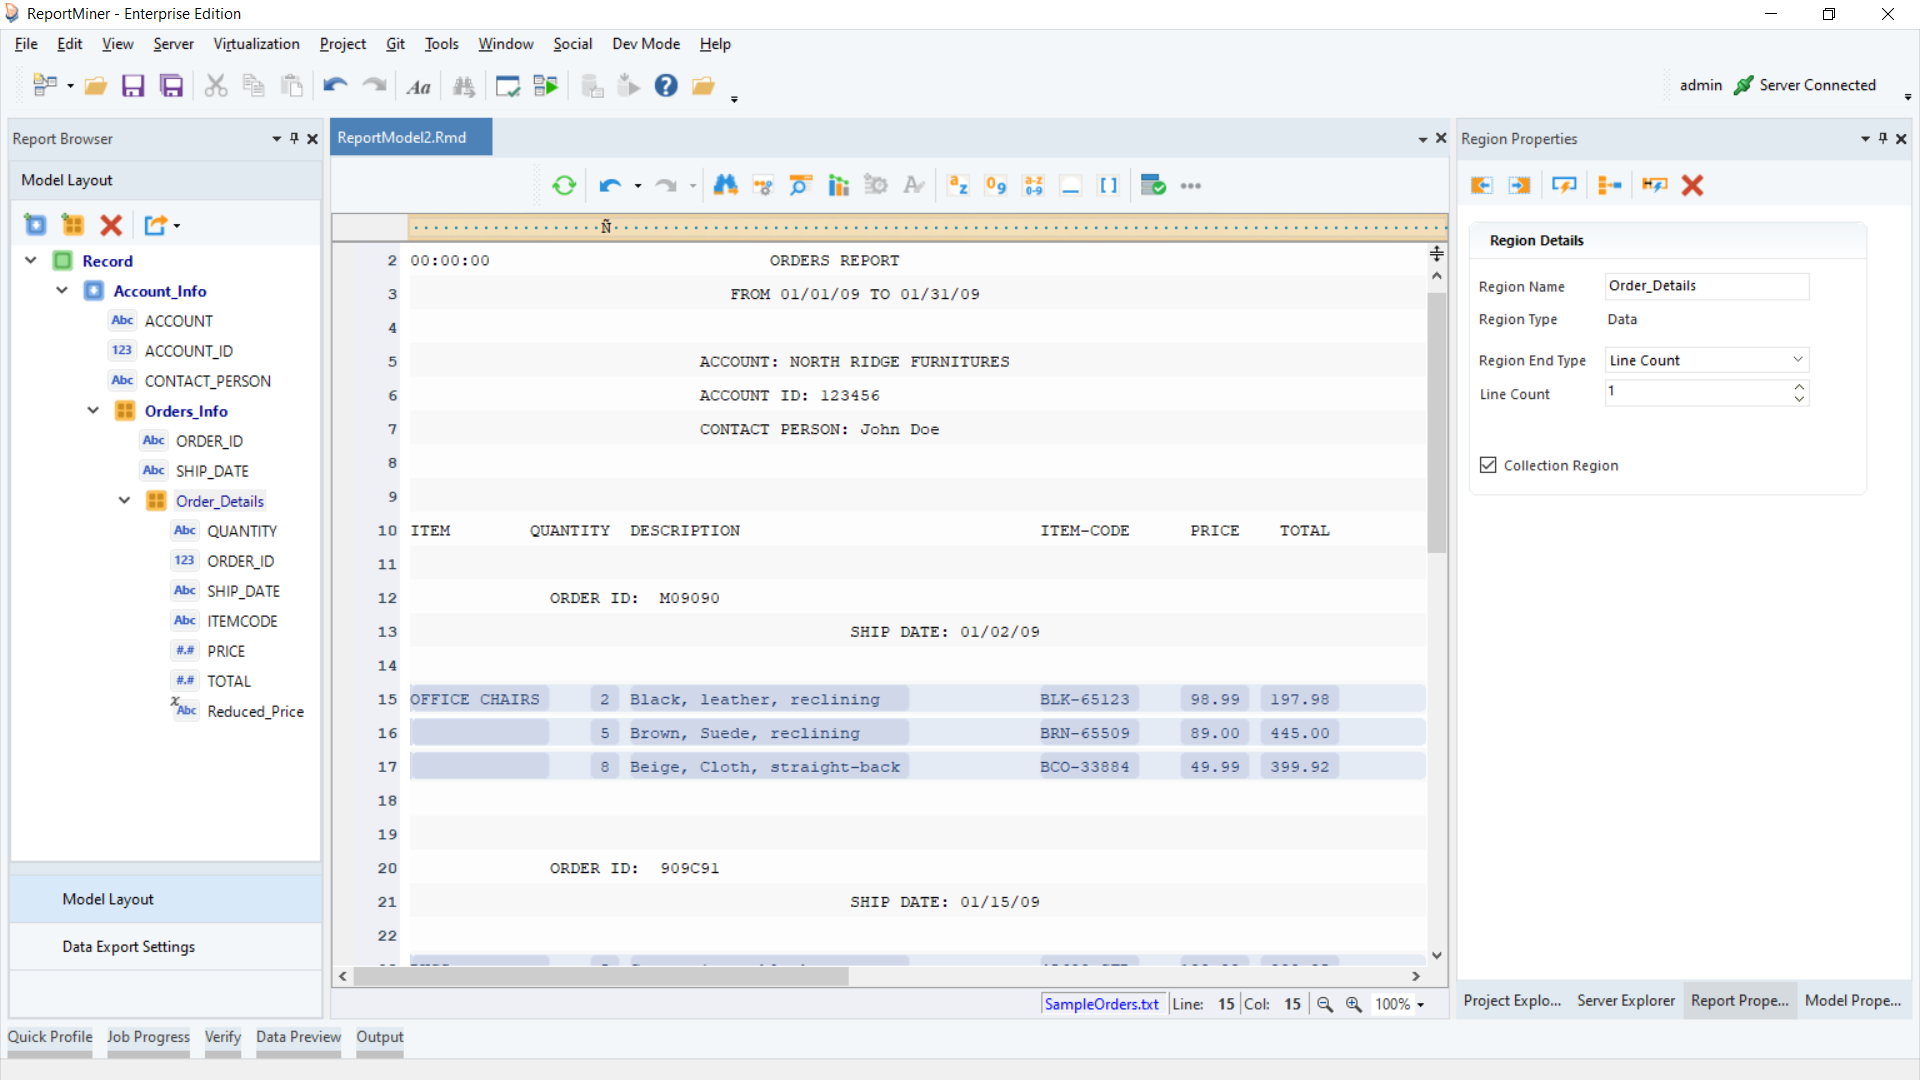
The model contains a hierarchical structure with three data regions and multiple fields.
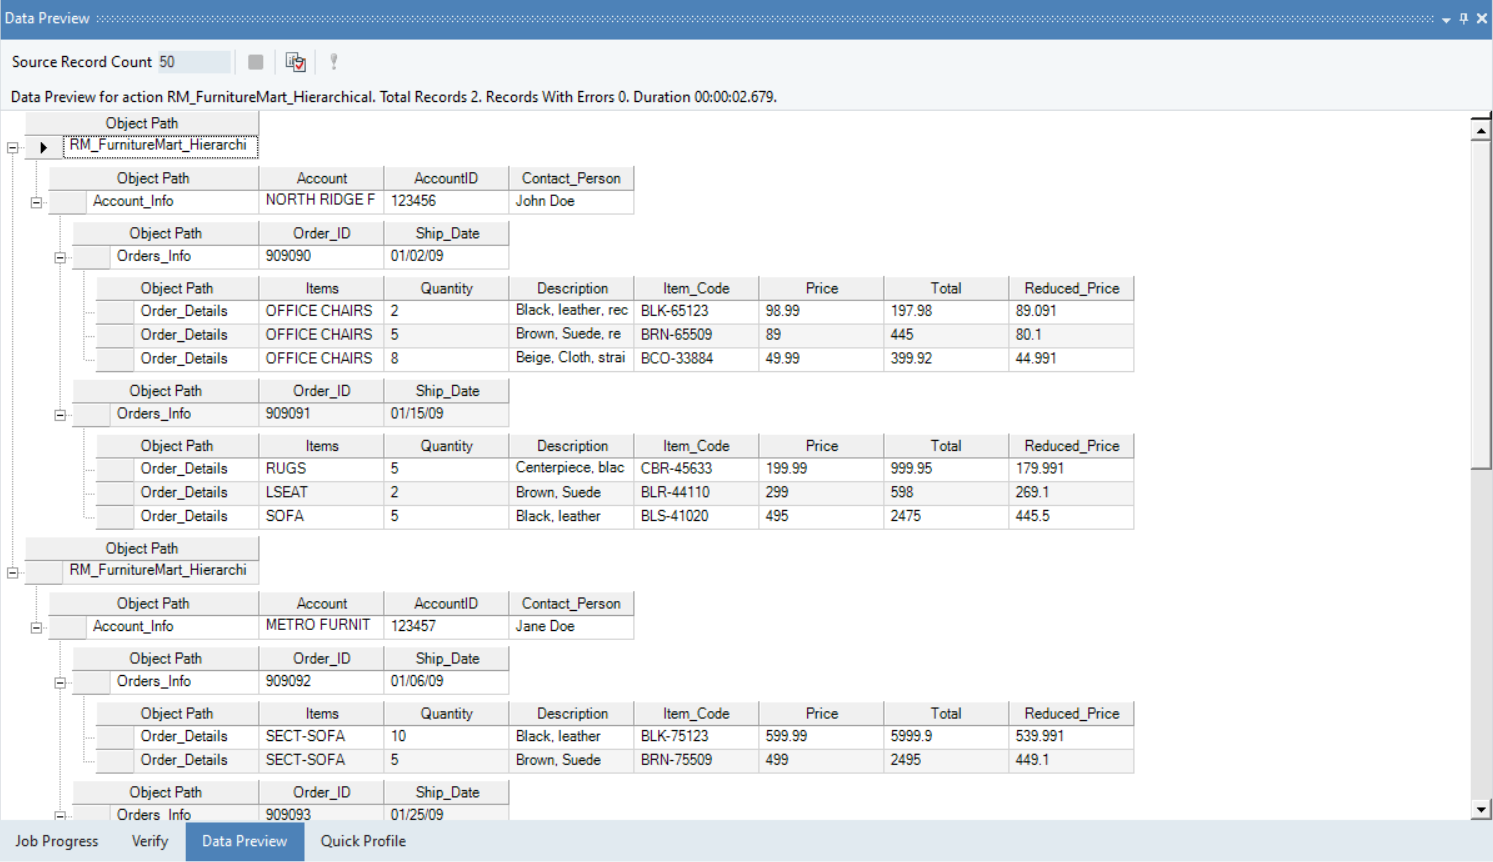
Click on Preview Data icon placed in the toolbar above ReportMiner’s designer. A Data Preview window will open, displaying the extracted data.
Let’s export the data extracted by this report model to an excel destination, a CSV file and a SQL database table.
Exporting to an Excel Destination
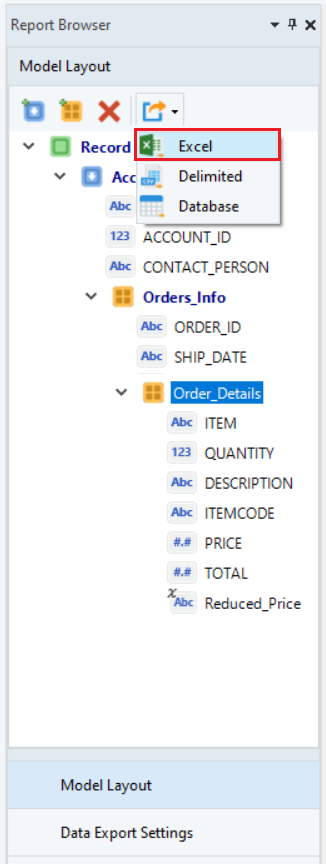
1. Select the Create New Export Settings and Run (to Excel) icon placed in the toolbar under the Model Layout panel.
A configuration window will open. This is where the export properties are defined.
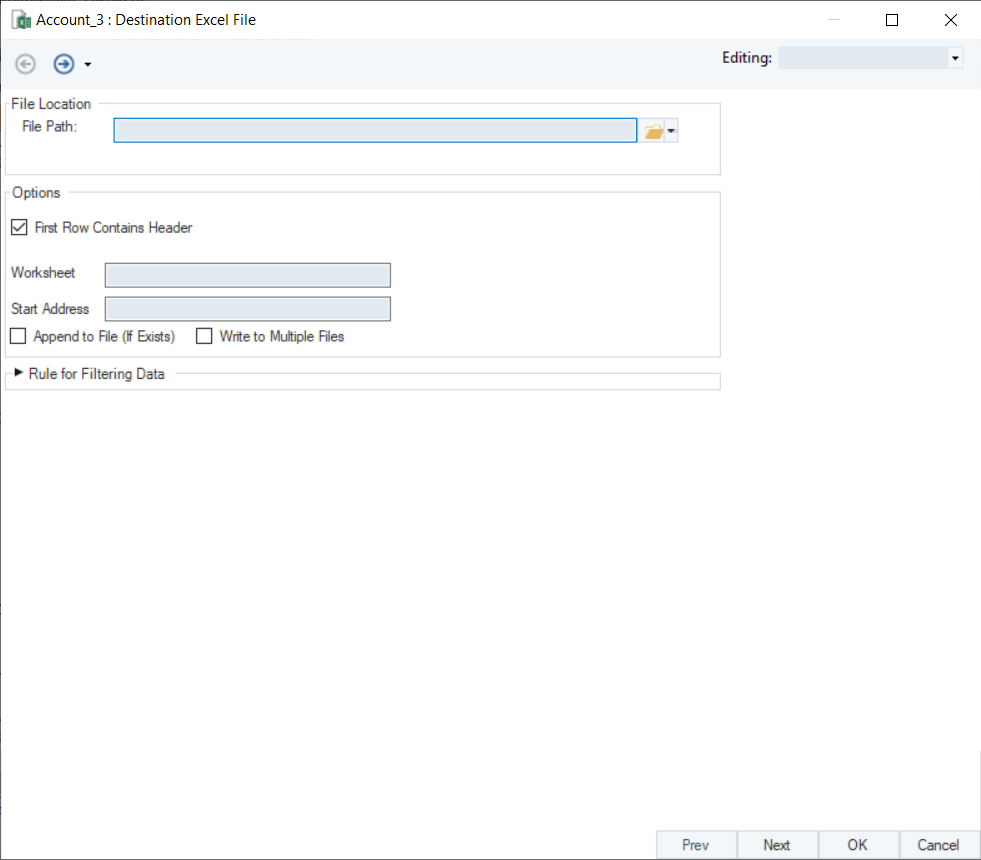
2. Provide File Path where ReportMiner will save the exported data with a .xlsx extension.
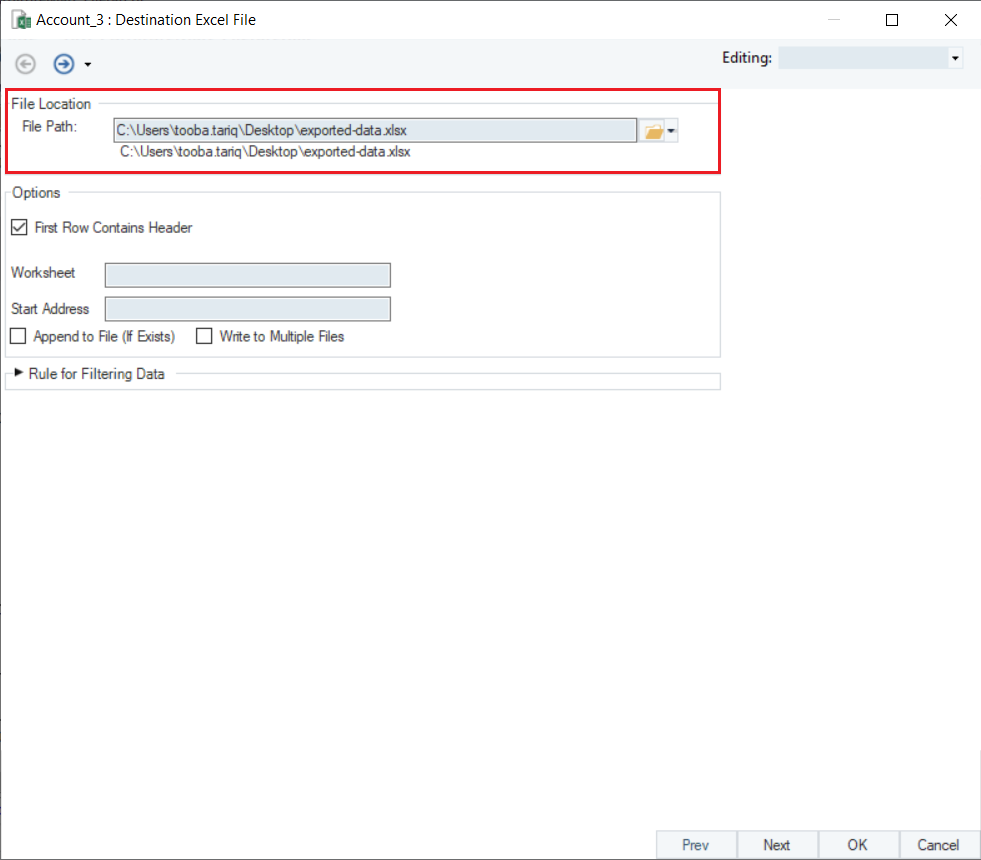
Once you have provided the destination File Path, you can choose multiple options from the export setting window to configure the data export file.
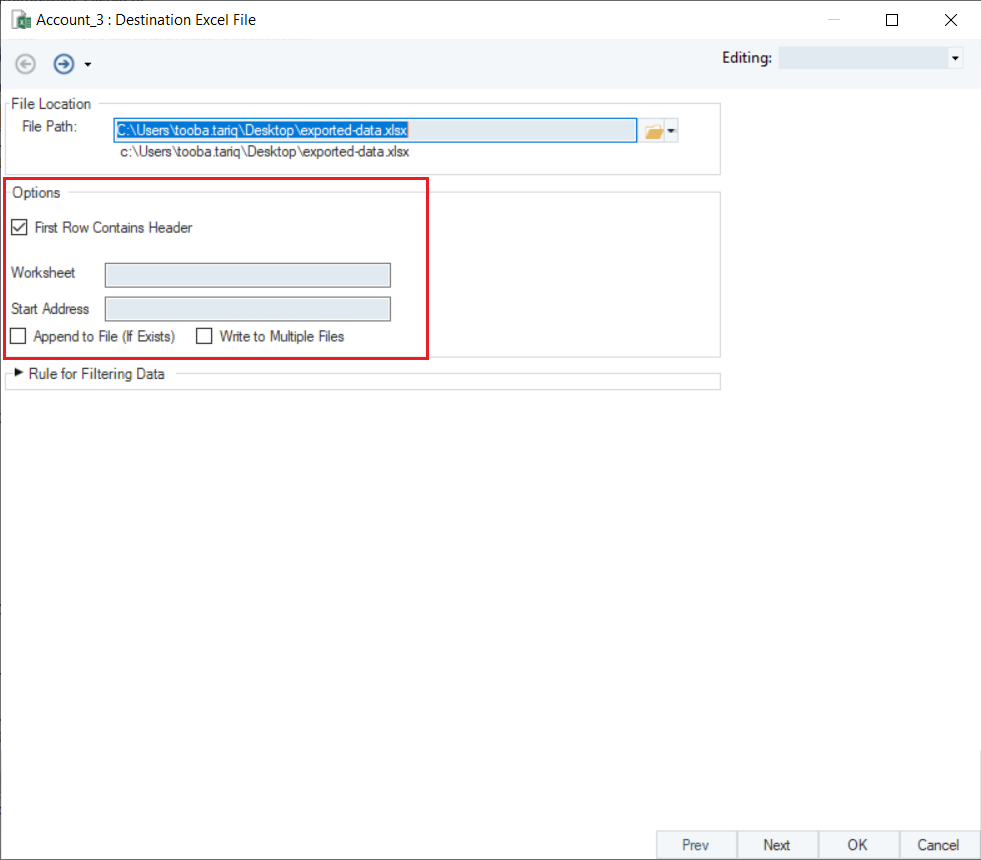
- First Row Contains Header – Directs ReportMiner to read headers from the source file.
- Worksheet – Specifies the title for the worksheet to export the data to within the Excel file.
- Append to File(If Exists) – Adds the exported data to an existing excel sheet without overwriting the data it contains.
- Write to Multiple Files – Saves the exported data to multiple files instead of one single file. Specify the same file in multiple Excel destinations and ReportMiner will create a single file with multiple worksheets and writes all data to that file.
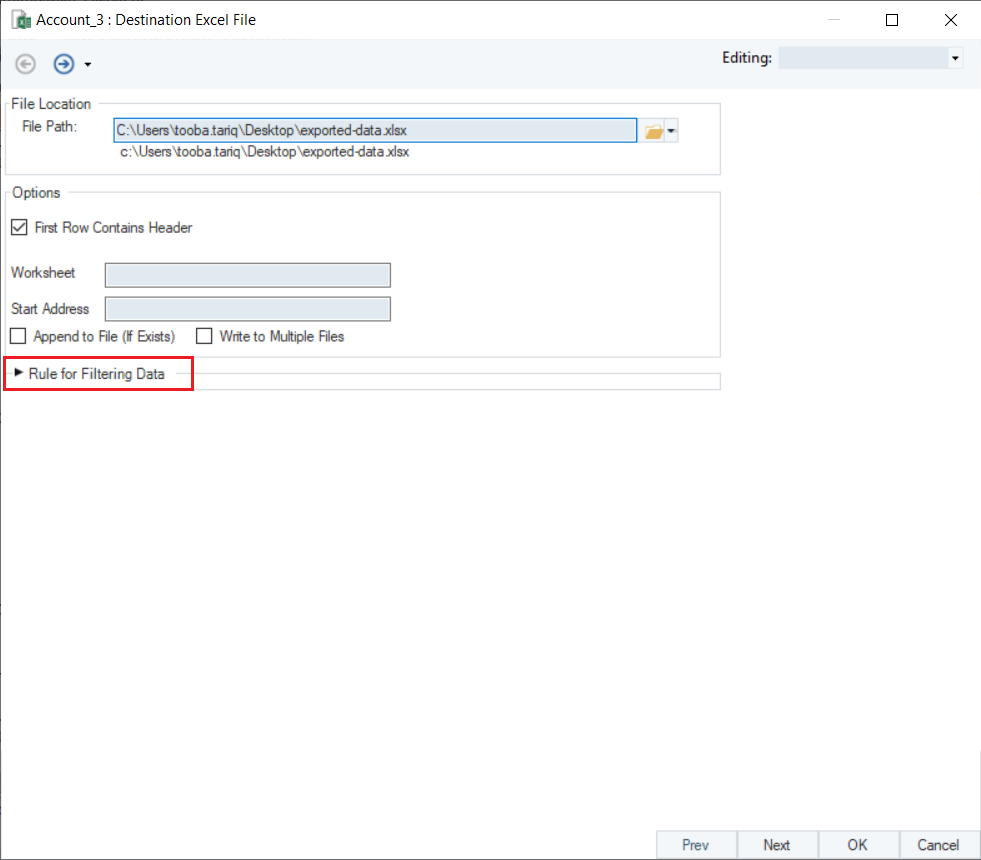
Rules for Filtering – Specifies a criterion to export only filtered records to an excel sheet. On expanding, users can see an expression box with built-in functions to facilitate a rule-based filtering. This feature is explained in detailed in the next section.
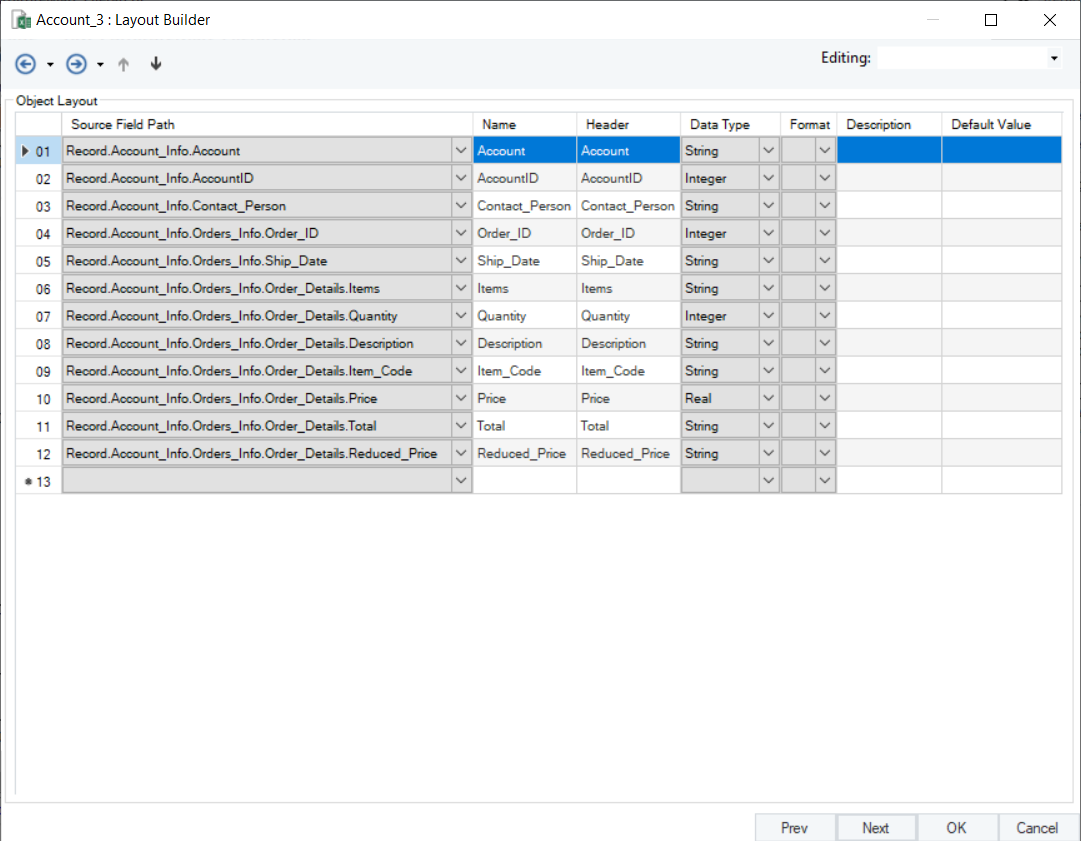
3. Click Next. This is the Layout Builder screen where the extracted data fields can be modified as per the requirements.
4. Click OK, this starts the export of data. View its job trace in the Job Progress window.

At the end of a successful run, ReportMiner will generate the Excel file and provide its clickable link in the job trace.

The export to an excel sheet is complete.
Exporting to a CSV File
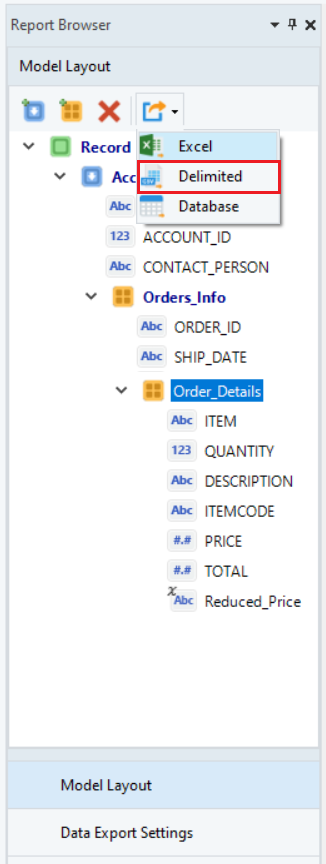
1. Select the Create New Export Settings and Run (to CSV) icon placed in the toolbar under the Model Layout panel.
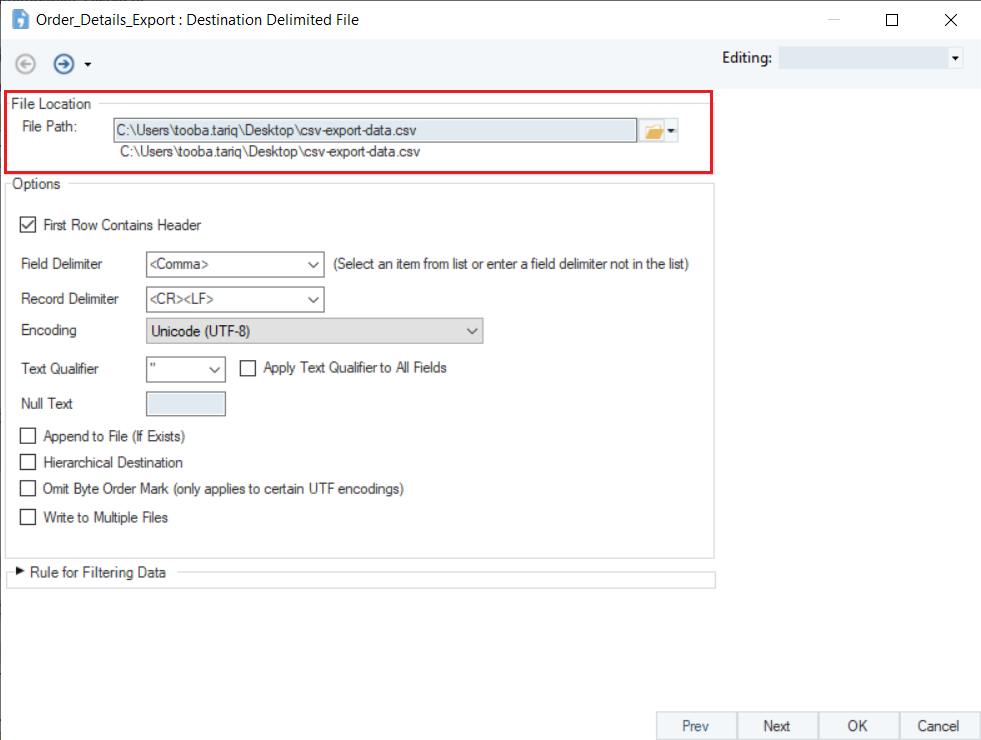
A configuration window will open. This is where the export properties for CSV files are defined.

2. Provide File Path where ReportMiner will save the exported data with a .csv extension.
Once the File Path has been provided, move onto the other options to configure the exported file.
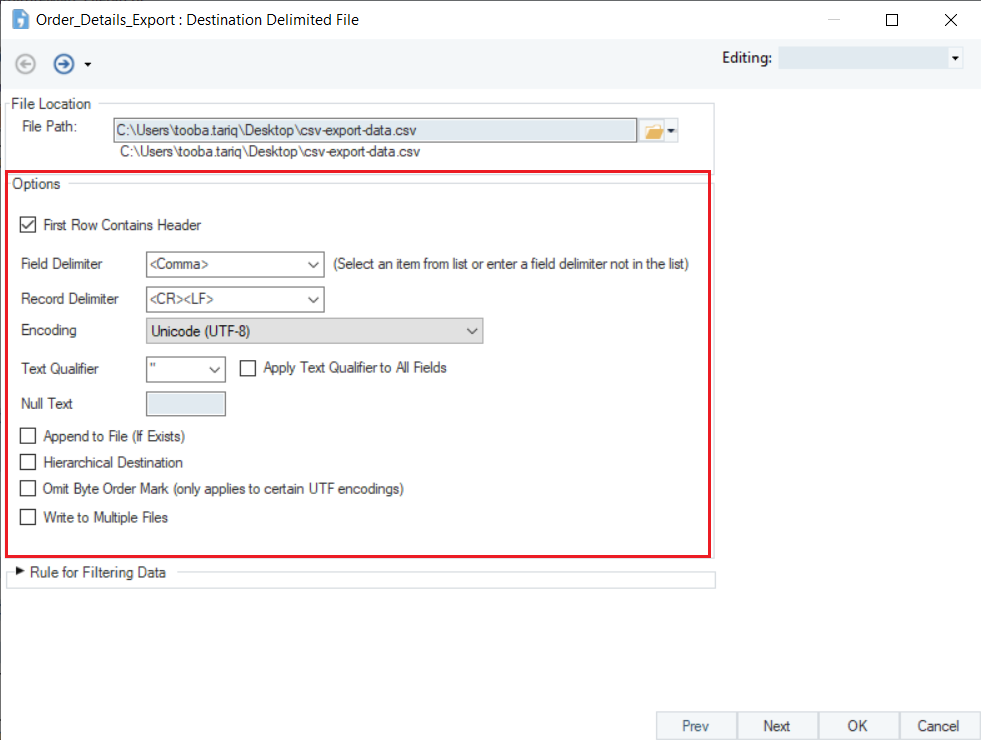
- First Row Contains Header – Directs ReportMiner to read headers from the source file.
- Field Delimiter – Allows users to select a delimiter from the drop-down list for the fields.
- Record Delimiter – Allows users to specify any delimiter for the records within fields.
- Encoding box – Allows users to choose the encoding scheme for the csv file from a list of choices. The default value is Unicode (UTF-8).
- Text Qualifier – A symbol that identifies where text begins and ends. It is used specifically when importing data rather than exporting.
- Apply Text Qualifier to All Fields – Adds the specified qualifier to all the incoming fields.
- Null Text – Directs ReportMiner to replace a certain value in the report model with a null value.
- Append to File(If Exists) – Adds the exported data to an existing CSV file without overwriting the data it contains.
- Hierarchical Destination – Sorts the incoming data into hierarchies where necessary.
- Write to Multiple Files – Saves the exported data to multiple files instead of one single file.
- Rules for filtering data – Specifies a criterion to export only filtered records to a CSV file. Upon expanding, users can see an expression box with built-in functions to facilitate a rule-based filtering. This feature is explained in detailed in the next section.
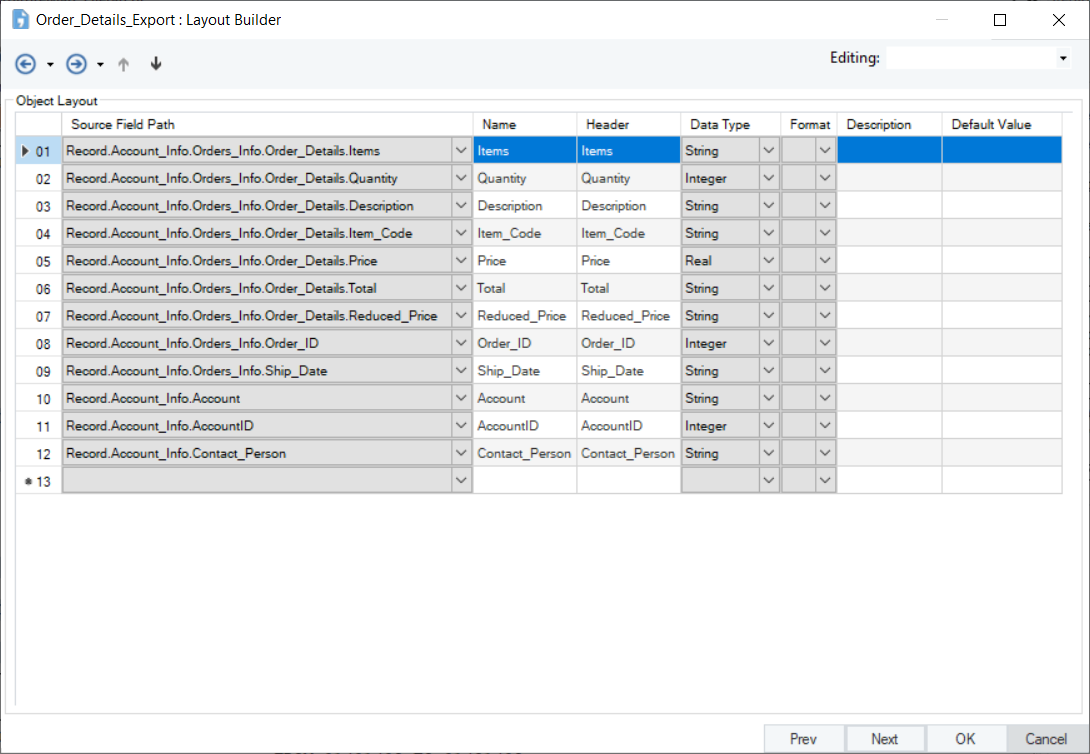
3. Click Next. This is the Layout Builder screen where the extracted data fields can be modified as per the requirements.
4. Click OK, this starts the export of data. View its job trace in the Job Progress window. At the end of a successful run, ReportMiner will generate the CSV file and provide its clickable link in the job trace.

The export to a CSV file is complete.
Exporting to Database Table
1. Select the Create New Export Settings and Run (to Database) icon placed in the toolbar under the Model Layout panel.
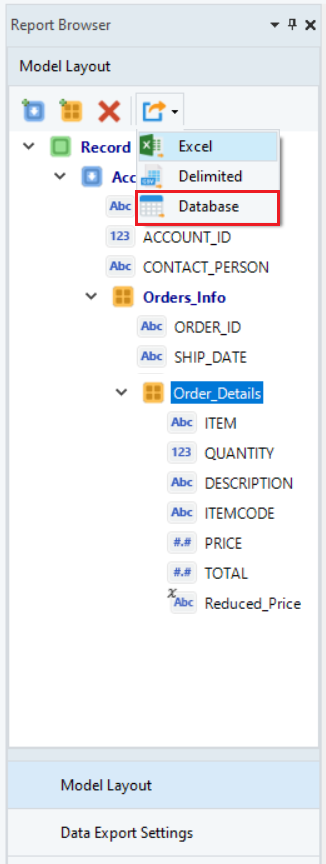
A configuration window will open. The first screen is the Database Connection screen. If a connection has been recently set up, access its configuration settings through the Recently Used option.
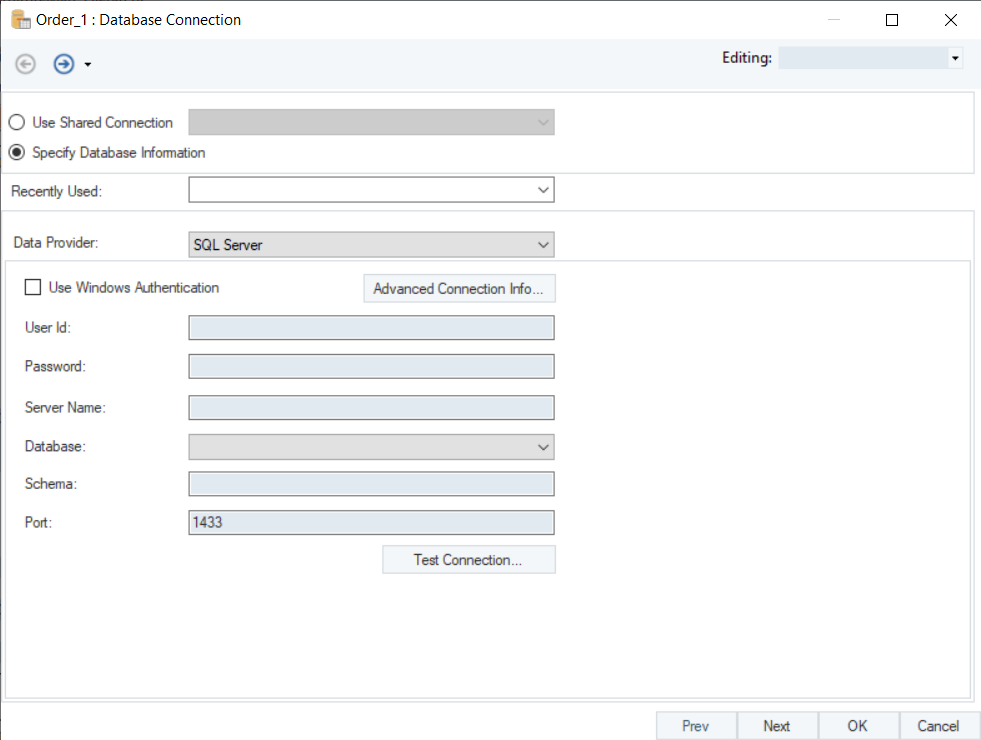
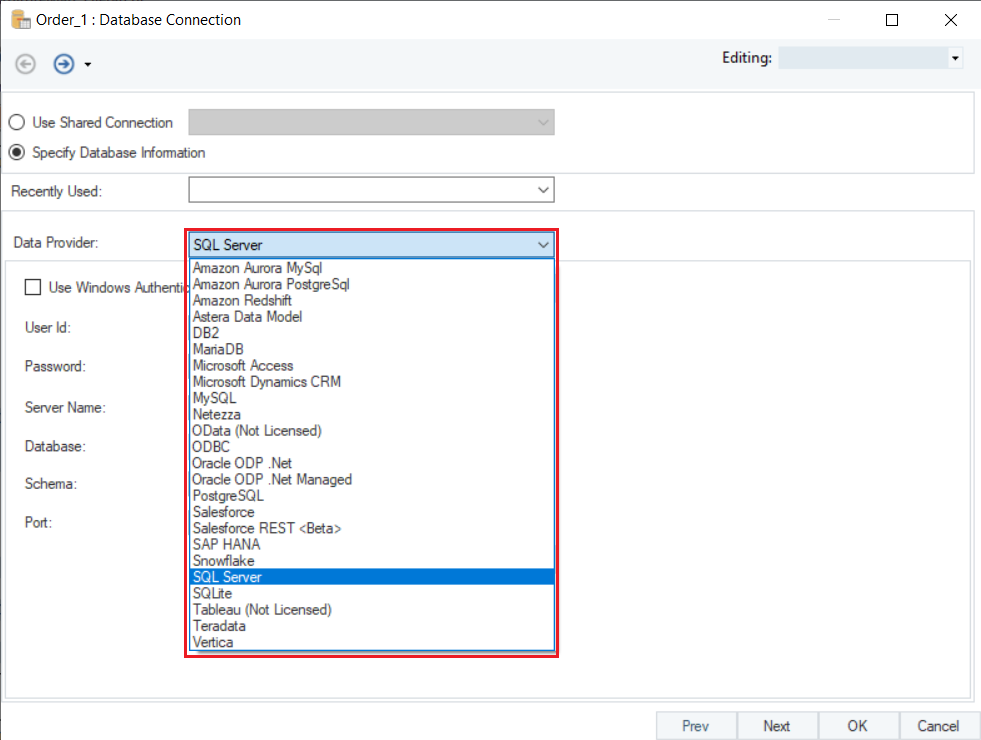
2. Select the required Data Provider from the drop-down list. In this example, we are exporting data to a SQL Server database table.
3. Establish a connection with the database by filling in all the necessary details.
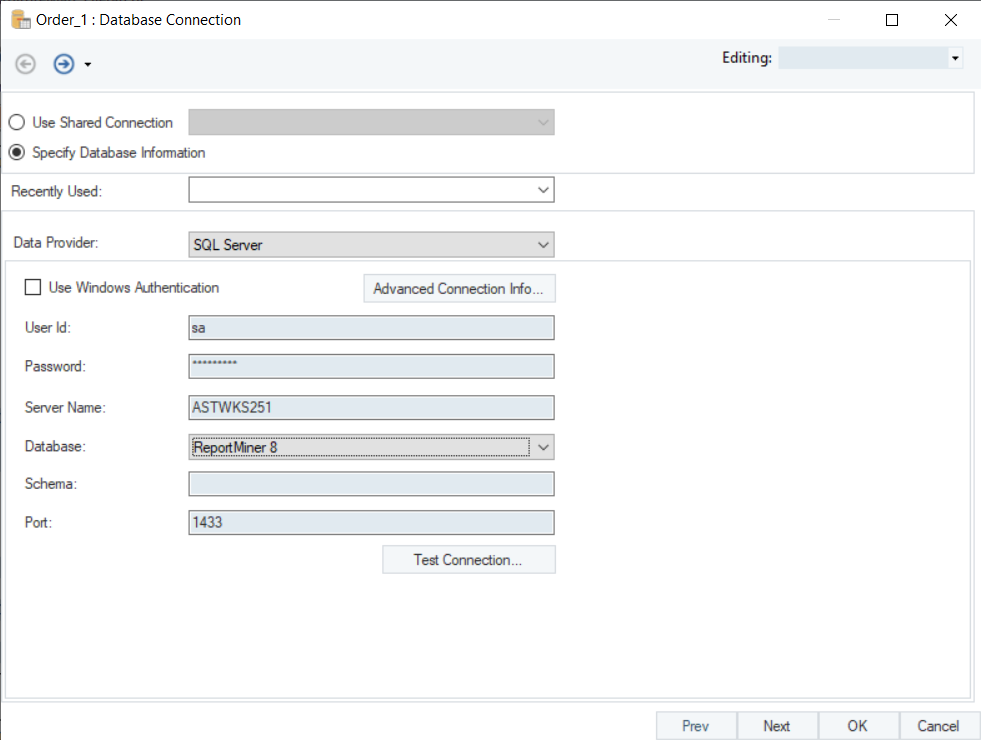
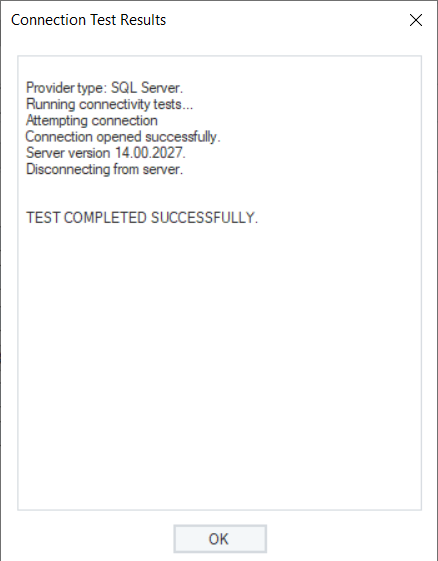
Click the Test Connection button and ReportMiner will notify the user upon successful connection.
4. Click Next. On this screen, either pick an existing table or create a new table for export data. In this example, we have created a new table called Invoice_FurnitureMart.
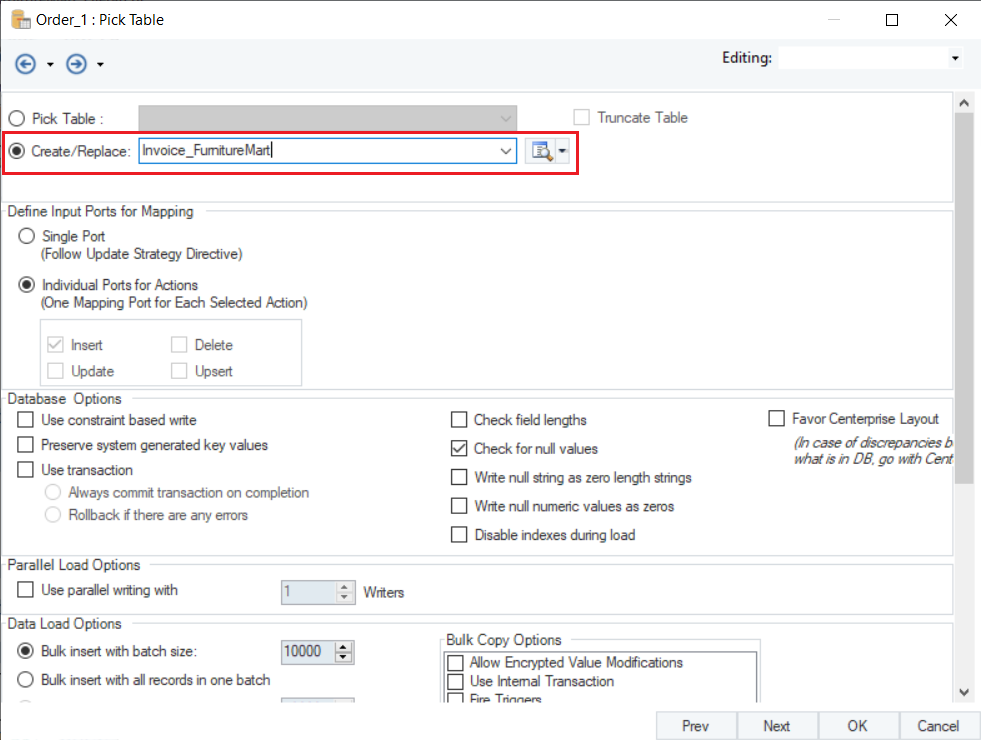
Once a database table has been specified, move onto the other options to configure the database table as per your requirements.
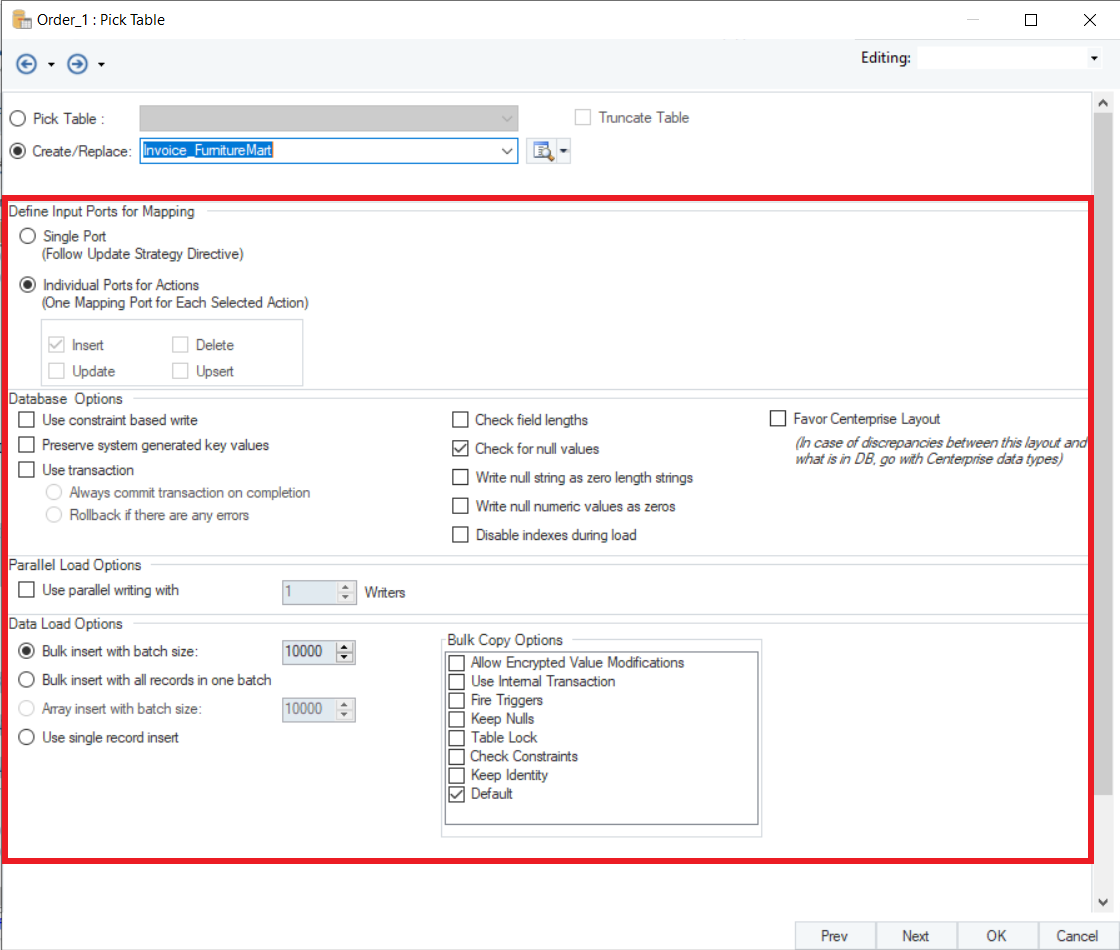
- Define Input Ports for Mapping – Defines a writing strategy to the database table for each record. For example, if the data is being exported to an existing database table then users can also enable update and upsert options for each record.
- Database Options – Deals with system generated keys and null values.
- Data Load Options – Specifies the type of insert of your records into a destination database. Records can be inserted in a bulk or each record at a time.
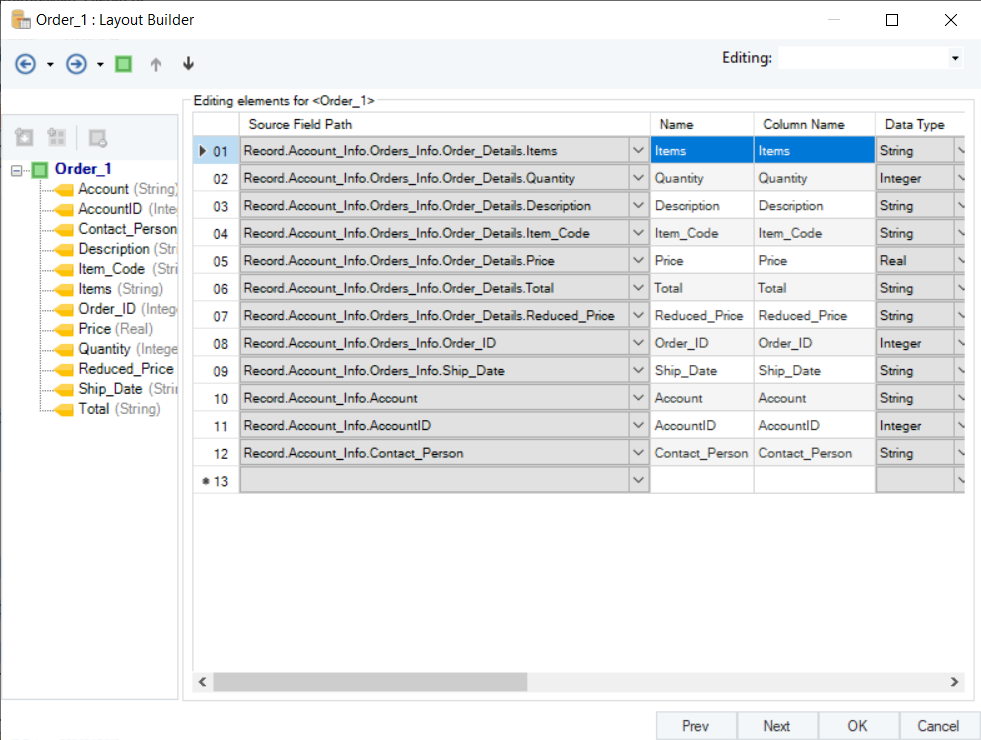
5. Click Next. This is the Layout Builder screen where the extracted data fields can be modified as per the requirements.
6. Click OK, this starts the export of data. View its job trace in the Job Progress window.

The export to a SQL Server database table is complete.
Rule-Based Filtered Export
Astera ReportMiner enables users to specify a criterion to export only filtered records to the destination file. This option is available when data is exported to an Excel sheet or a CSV file.
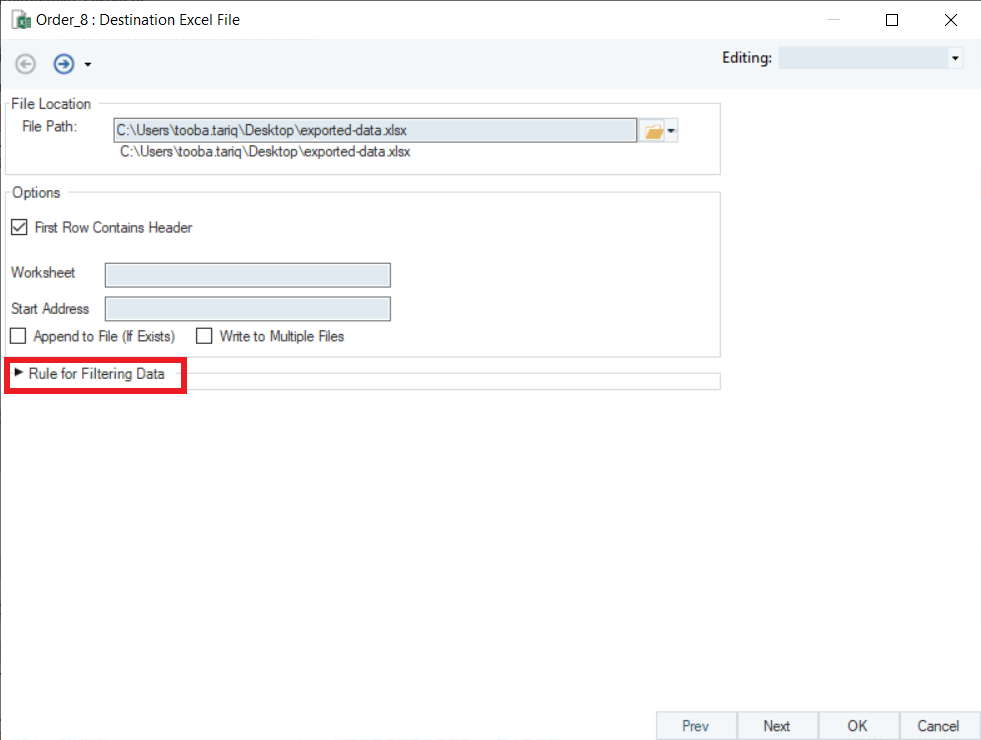
1. Select the export destination of your choice. In this example, data in a report model is being exported to an excel sheet. On its configuration window, after specifying the properties, expand Rule for Filtering Data.
Upon expanding, users can see an expression box with built-in functions to facilitate a rule-based filtering. Expand the Order_8 node to access the fields of the extracted data.
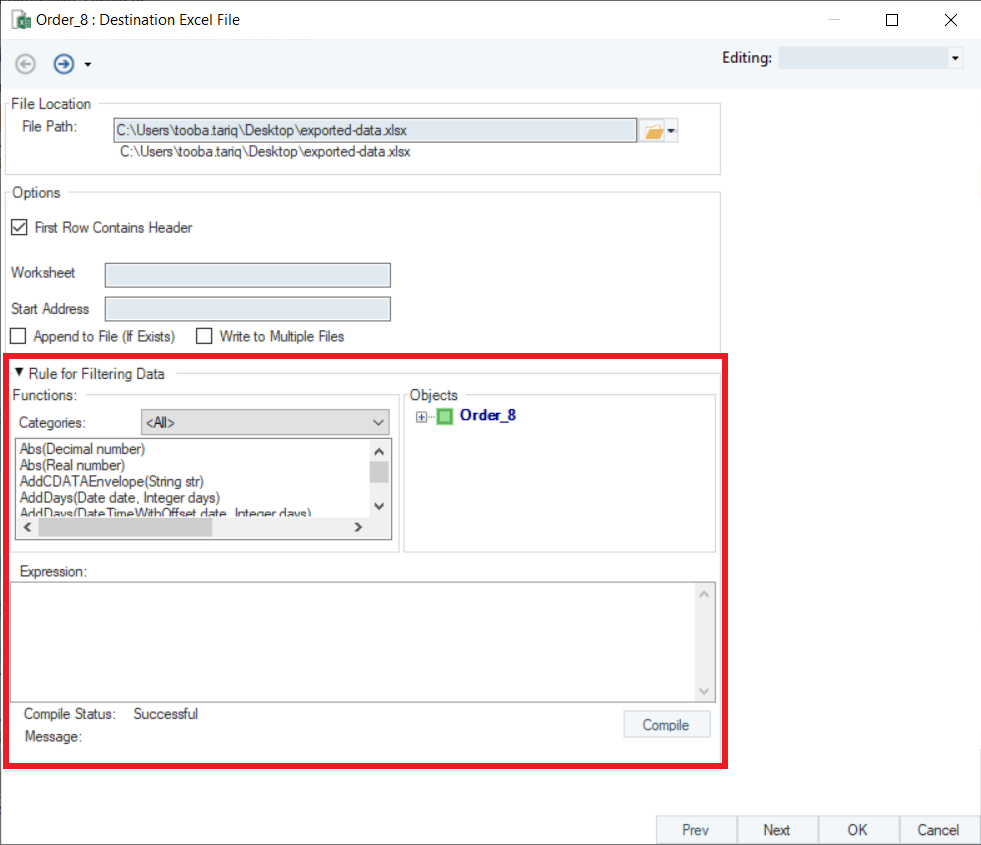
Now, we only want to export data that contains SOFA in the Items field. For that we have to specify an expression in the expression builder.
2. In the expression builder, write Contains(”SOFA”,Items). Click the Compile button to verify whether the expression is successful or not.

Click OK to close the export settings window.
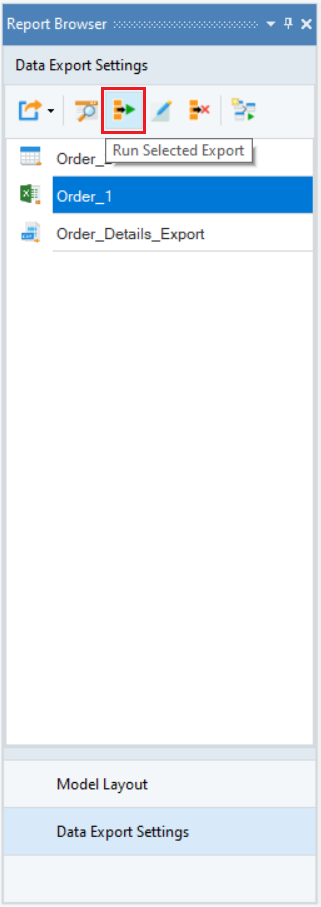
3. Now, click the Run Selected Export icon placed in the toolbar under the Data Export Settings panel.
Export will begin. Observe its trace in the Job Progress window.

At the end of a successful export, ReportMiner will generate the Excel file with filtered records and provide its clickable link in the job trace.

This completes rule-based filtered export.