How to Build a Cluster Database and Create Repository
Before you start using the Astera API Management server, a repository must be set up. Astera Server supports SQL Server and PostgreSQL for building cluster databases, which can then be used for maintaining the repository. The repository is where request logs, request queues, and deployment information is stored.
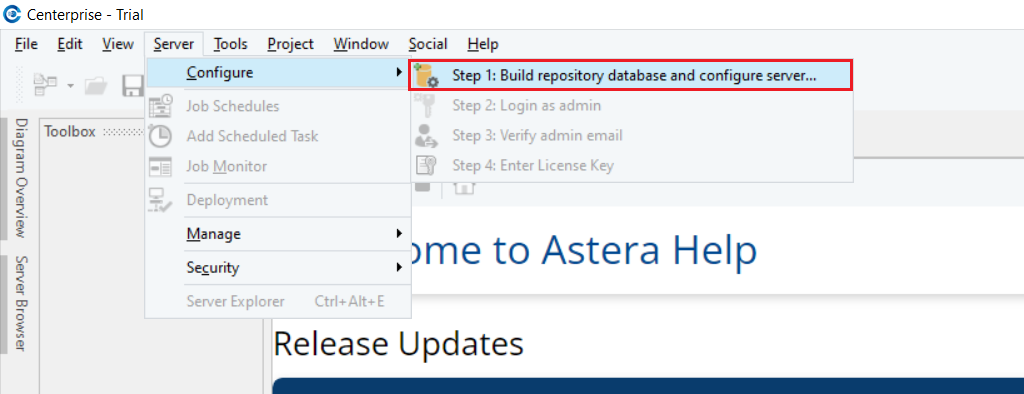
To see these options, go to Server > Configure > Step 1: Build repository database and configure server.
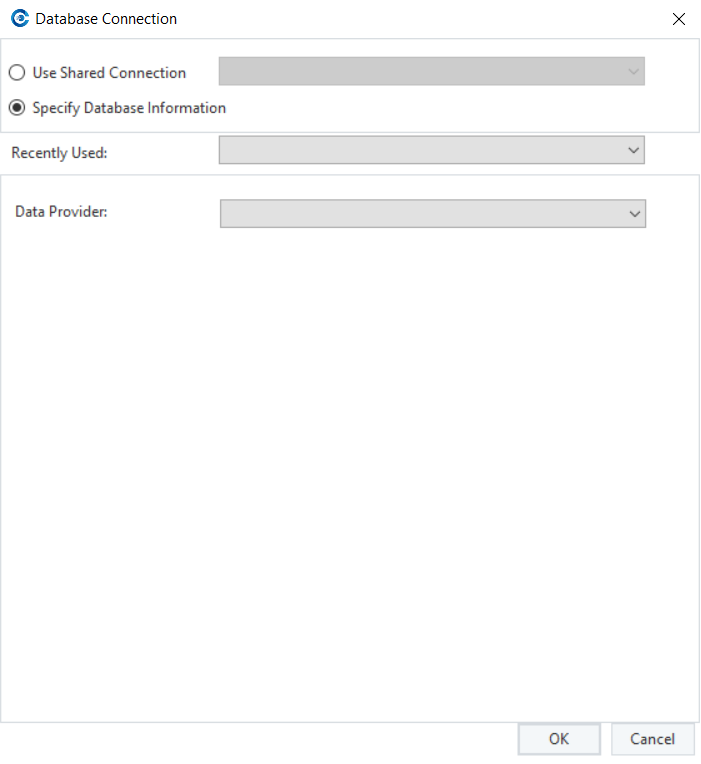
The first step is to point to the SQL Server or PostgreSQL instance where you want to build the repository and provide the credentials to establish the connection.
Note: The Astera API Management Server will not create the database itself, just the tables. A database will have to be created beforehand or an existing database can be used. We recommend the Astera API Management Server to have its own database for this purpose.
Building a Repository on SQL Server
1. Go to Server > Configure > Step 1: Build repository database and configure server.
2. Select SQL Server from the Data Provider drop-down list and provide the credentials for establishing the connection.
3. From the drop-down list next to the Database option, select the database on the SQL instance where you want to host the repository.
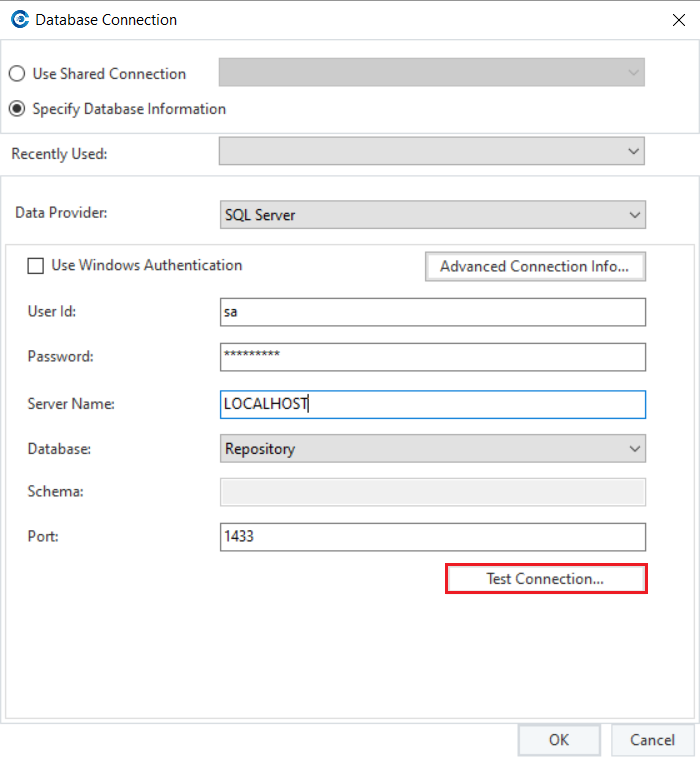
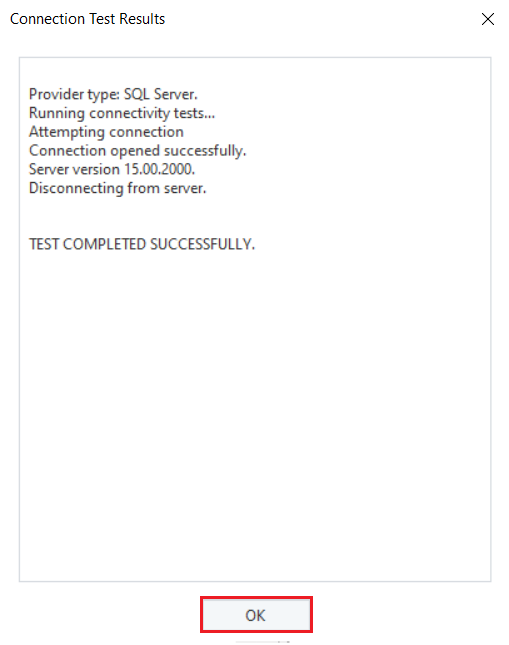
4. Click Test Connection to test whether the connection is successfully established or not. You should be able to see the following message if the connection is successfully established.
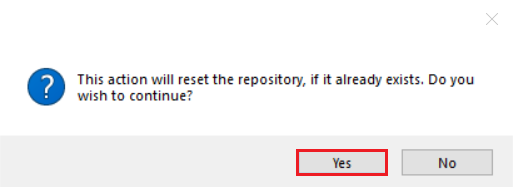
5. Click OK to exit out of the test connection window and again click OK, the following message will appear. Select Yes to proceed.
The repository is now set up and configured with the server to be used.
The next step is to log in using your credentials.
Building a Repository on PostgreSQL
Go to Server > Configure > Step 1: Build repository database and configure server.
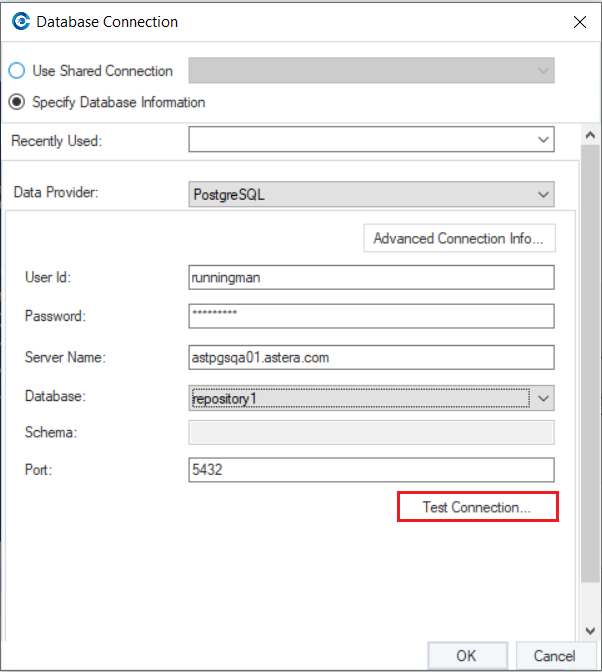
Select PostgreSQL from the Data Provider drop-down list and provide the credentials for establishing the connection.
From the drop-down list next to the Database option, select the database on the PostgreSQL instance where you want to host the repository.
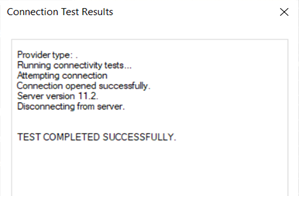
4. Click Test Connection to test whether the connection is successfully established or not. You should be able to see the following message if the connection is successfully established.
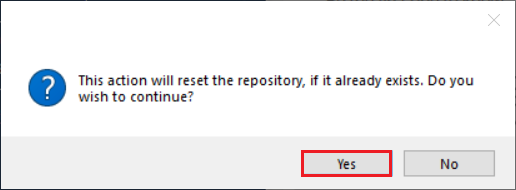
5. Click OK and the following message will appear. Select Yes to proceed.
The repository is now set up and configured with the server to be used.
The next step is to log in using your credentials.