NTLM Authentication
NTLM (NT LAN Manager) authentication is a Microsoft proprietary authentication protocol used to authenticate users in a Windows-based network.
It provides secure authentication by using a challenge-response mechanism, where the server sends a challenge to the client, and the client sends a response that is encrypted using a hash of the user’s password.
NTLM authentication is used in various Microsoft products, including Windows, Internet Explorer, and Microsoft Office.
NTLM in Astera API Management
Astera also offers the ability to use NTLM authentication when establishing an API connection.
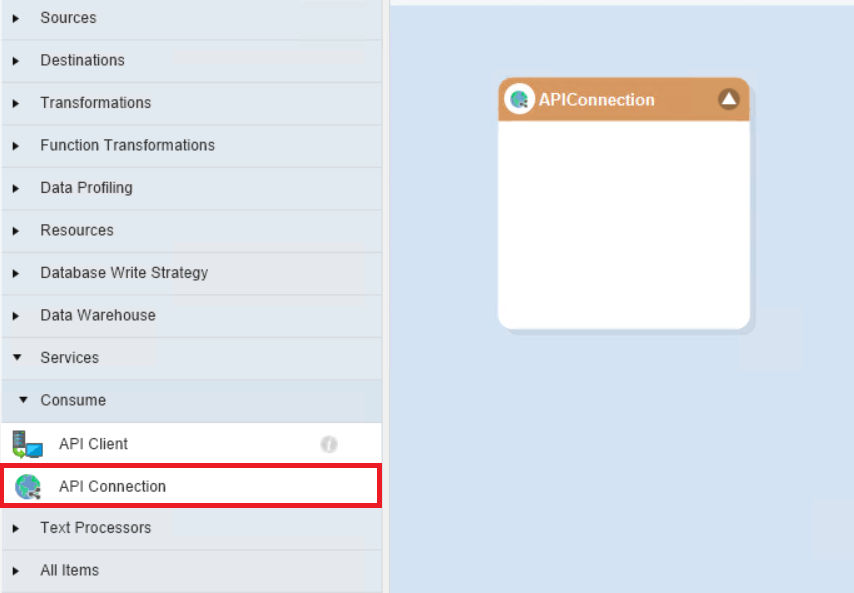
1. To start, drag and drop the API Connection object from the toolbox onto a dataflow.
2. Right-click on the object and select Properties from the context menu.
This will open a new window,
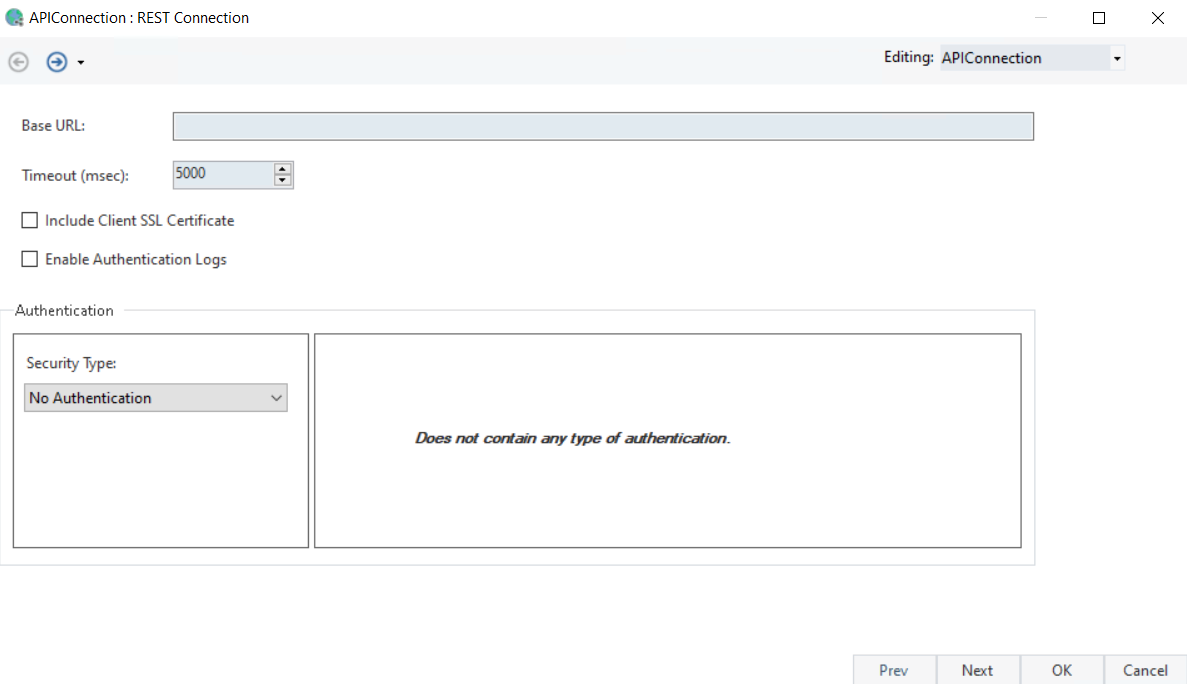
Base URL: Here, you can specify the base URL of the API which will prepend as a common path to all API endpoints sharing this connection. A Base URL usually consists of the scheme hostname and port of the API web address.
Timeout (msec): Specify the duration, in milliseconds, to wait for the API server to respond before giving a timeout error.
Include Client SSL Certificate: Selecting this option is going to include any Client SSL certificate that is needed for authentication.
Enable Authentication Logs: Selecting this checkbox will allow the client to generate authentication logs when the API connection has been configured.
3. Fill in the Base URL and open the Security Type drop-down menu,
For our use case, we have deployed an API on IIS Manager on another machine, and we will send a request to access that API.
4. Select NTLM as the authentication type.
This will give us the following options,
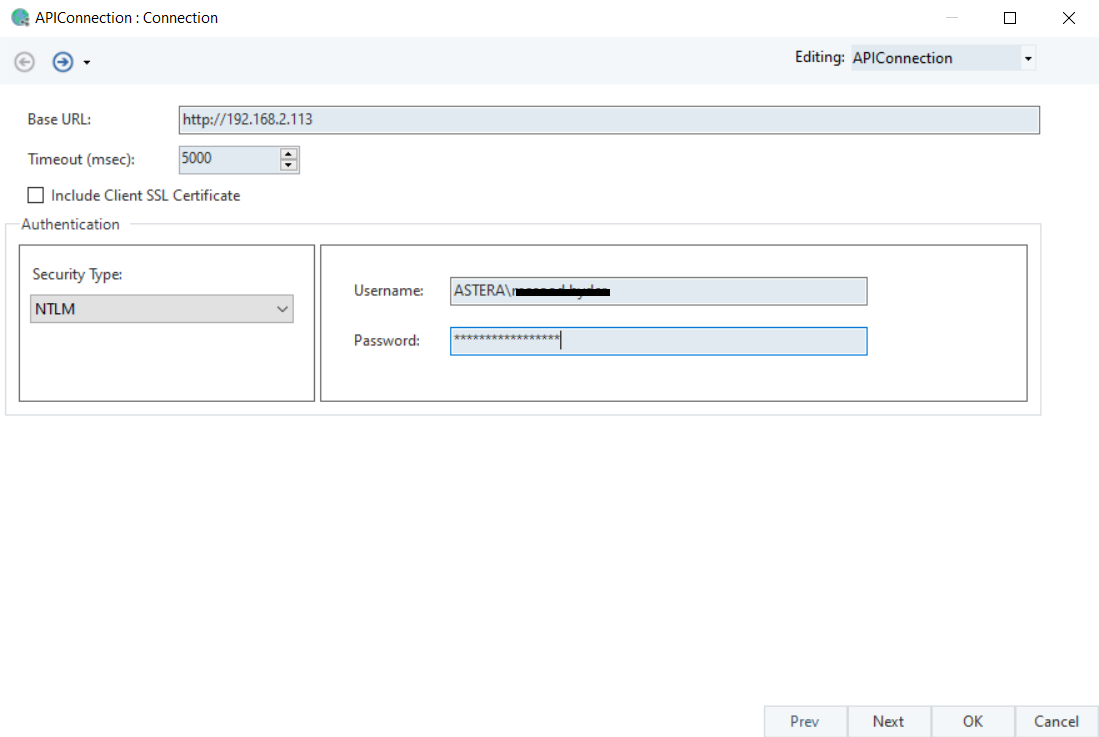
Username: This field will input the same username that is used to login to Windows.
Password: The password associated with Windows login credentials.
Note: NTLM authentication establishes API connections using a challenge-response mechanism. When sending an API request, Centerprise sends a hashed version of the user’s credentials (username and password) to the server, which sends back a random challenge. Centerprise then mixes this challenge with the user’s password and sends back a hashed value for verification. Access is granted if the validation is successful.
5. Click Ok and the API Connection object will be configured with NTLM Authentication.
This API Connection can then be used in API Client objects to make API calls to the server and receive appropriate responses in return.
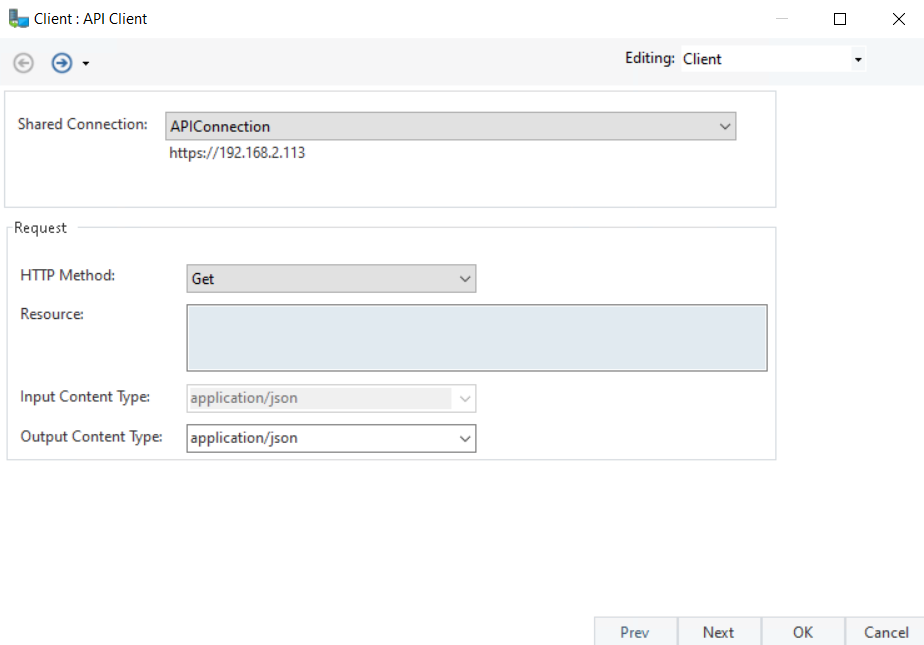
6. Drag and drop an API Client object onto the dataflow and select the shared connection that was defined.
Note: The Resource will be ‘/’ since our entire address has been defined in the Base URL.
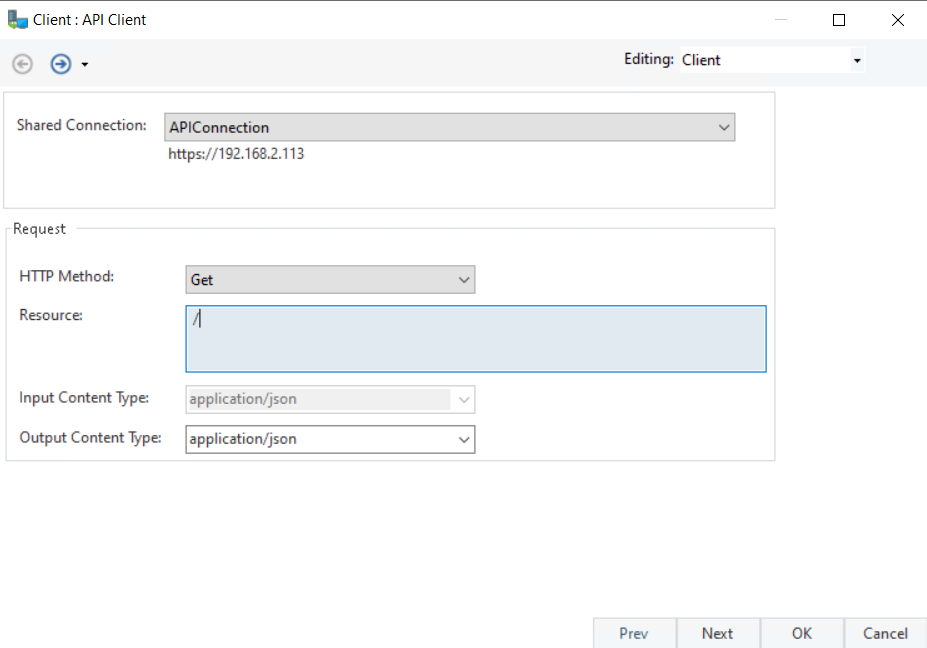
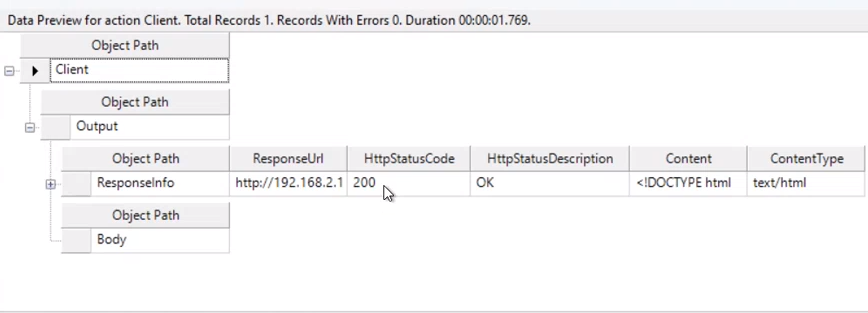
7. Click Ok and preview the output of the API Client object.
As we can see in our data preview window, the request has been sent successfully and the response has returned as ‘200 OK’.
This concludes the working and configuring of NTLM Authentication in Astera API Management.