Making API Calls with the API Client Object in Astera API Management
To make an API call in Astera API Management, an API Client object, along with its API Connection, needs to be configured.
First, drag and drop an API Connection object from the Toolbox and configure it in the dataflow. Alternatively, you can use an API Connection object in a shared action file within the scope of the project you are working with.
The API Connection object contains the Base URL, authentication details, and shared parameters for the API endpoint.
You can learn all about the configuration and usage of the API Connection object here.
Next, let’s configure the API Client object.
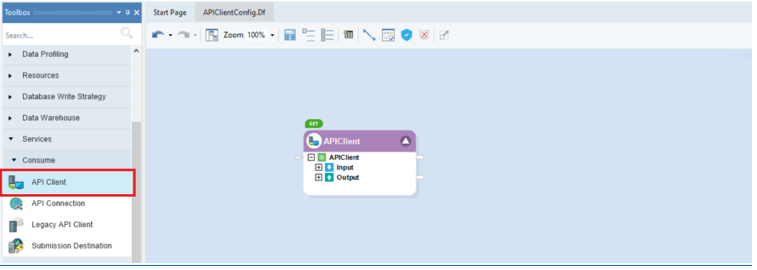
1. First, drag and drop an API Client object from the Toolbox onto the dataflow.
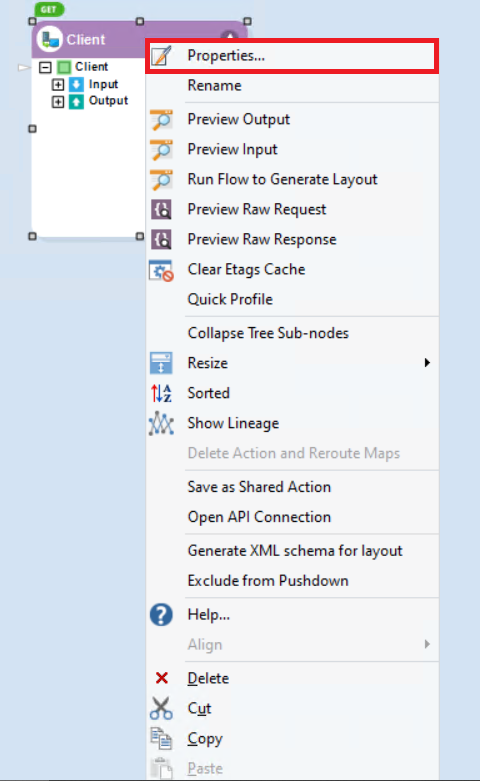
2. Right-click on the API Client object’s header and select Properties.
The API Client screen will now open. Here you will have to specify the following,
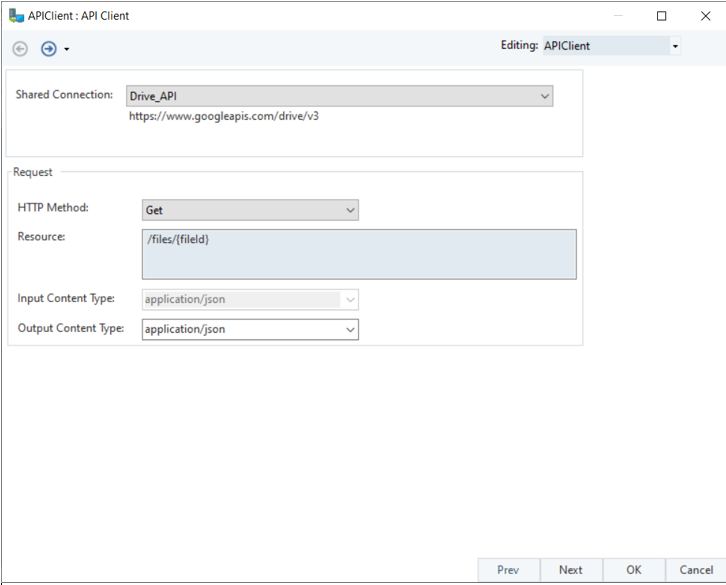
Shared Connection: Establish your API Client’s connection from this drop-down that lists all shared connections from within the flow as well as from the project.
HTTP Method: The HTTP request verb defines the operation you want to make on the API resource.
Resource: the resource of the API from which you want to make a request. This will be appended after the Base URL from the selected shared connection to form the complete endpoint. Any URI or path parameters must be included in the resource text enclosed in curly brackets, {}.
Input Content Type: This is the content-type header for the request payload which is default to application/JSON type. The actual request payload layout can be defined in the input layout screen.
Output Content Type: This is the content type of the response payload which is default to application/JSON type. The actual response payload layout can be defined in the output layout screen.
Note: For an unsupported type, a relevant pop-up notification will appear on-screen.
3. Click Next. A Parameters screen will appear.
Here you will have to specify the following,
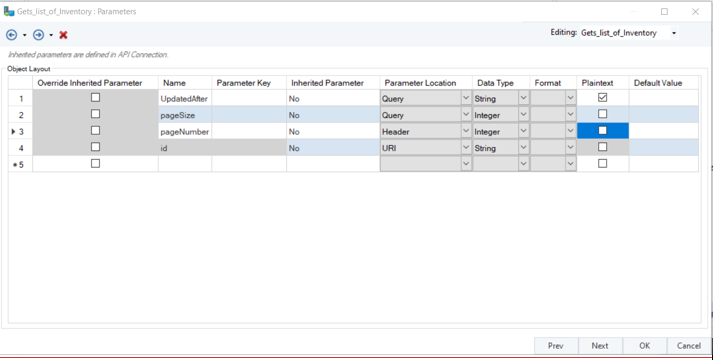
Override Inherited Parameter: Check this to override any parameters previously defined and inherited from the shared connection.
Name: The name of your parameter.
Parameter Key: Since the Name column does not allow any special characters, the parameter key can be used to define an alternate name including any special characters to replace the name in the API request.
Parameter Location: The parameter type such as Query, URI, and Header.
Data Type: Specify the data type of your parameter.
Format: Define the datatype format of the parameter’s value sent in the API request.
Plaintext: Check this box to disable URL encoding the parameters when the request is sent. The parameters will be sent in plaintext format, or you could optionally encode your parameter values manually using the URLEncode function from the toolbox.
Default Value: The parameter’s value for which you want to make a request.
Note: Any values mapped to the input node of the object will take preference.
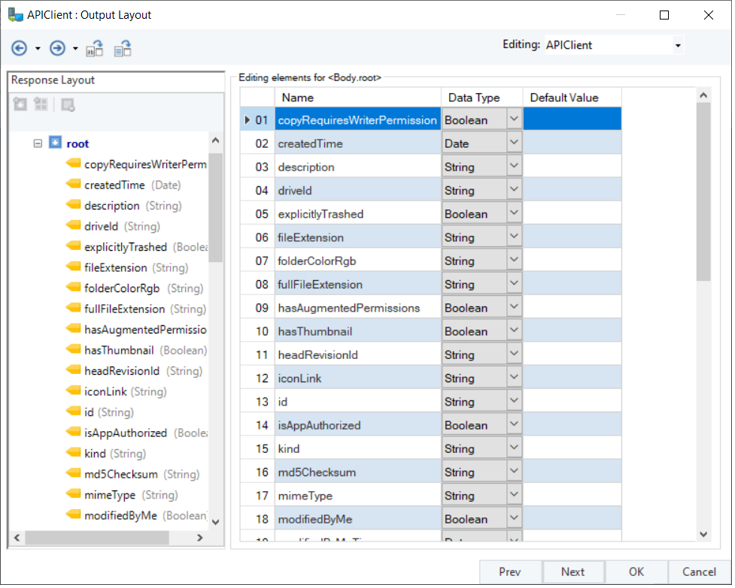
4. Click Next. An API Client Output Layout screen will now open.
Here, we will select the Generate Layout by Running Request to build the response layout. Alternatively, you can build the layout manually or use a sample text.
Next, click OK.
Note: Prior to this screen, there will be an additional screen to configure an API Client input layout for the following methods: POST, PUT, and PATCH.
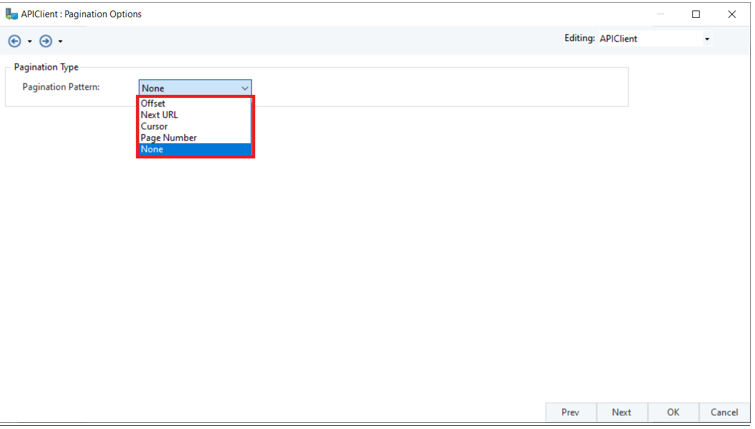
5. Once done, click Next, and you will be led to the Pagination Options screen.
Here, you can select the type of pagination that has been specified by the API providers. Astera API Management offers the following pagination types.
6. When done, click Next, and you will be taken to the Service Options screen.
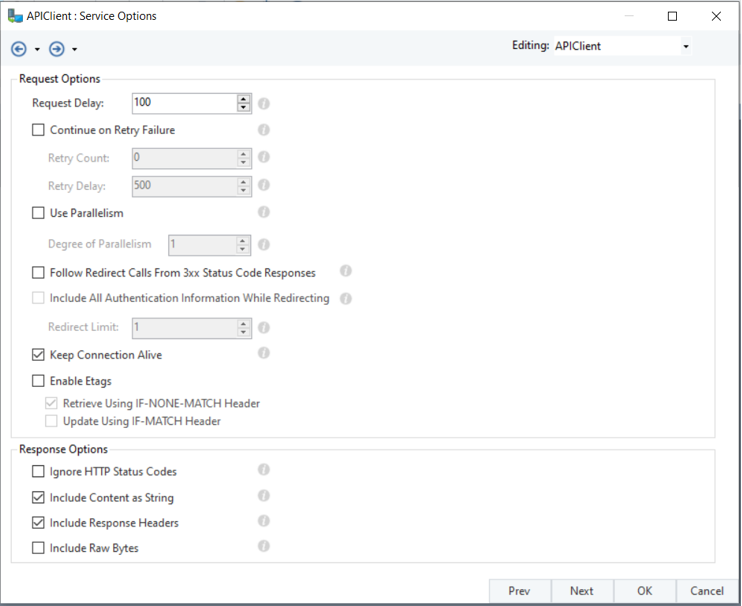
Request Options -
Request Delay: Delay time (in milliseconds) before sending a request.
Retry Count: Number of retry attempts to be made in case of a time-out error.
Retry Delay: The duration (in milliseconds) between each consecutive retry attempt.
Continue on Retry Failure: Check to succeed the flow even after all retries have failed.
Use Parallelism: Check this option to send requests in parallel. Check this to send requests in parallel. Number of requests to be sent in parallel (max limit of 10).
Follow Redirect: Check to allow forwarding a 3xx response to the redirected URL.
Include Authentication: Check to include authentication in the redirected API call.
Redirect Limit: Number of allowed redirect calls from a request. -1 indicates no limit.
Keep Connection Alive: Check to keep the TCP connection open to reuse for all subsequent requests to the same server.
Enable E-Tags: To learn about E-Tags, click here.
Retrieval: Check this to enable e-tags to request caching for GET requests.
Updates: Check this to enable request concurrency control using etags for PUT, PATCH or DELETE requests.
Response Options -
Ignore HTTP Status Codes: Selecting this option will show and allow processing responses other than 2xx in the flow, which are otherwise considered an error.
Include Content as String: Adds a field for serialized response content string in the Response-Info output node.
Include Response Headers: Adds all response headers as a collection in the Response-Info output node.
Include Raw Bytes: Adds a field for response content in the form of raw bytes in the Response-Info output node.
7. Click Next, and the Config Parameters screen will appear.
Config Parameters can enable the deployment of flows by eliminating hardcoded values and provide a dynamic way of changing multiple configurations with a simple value change.
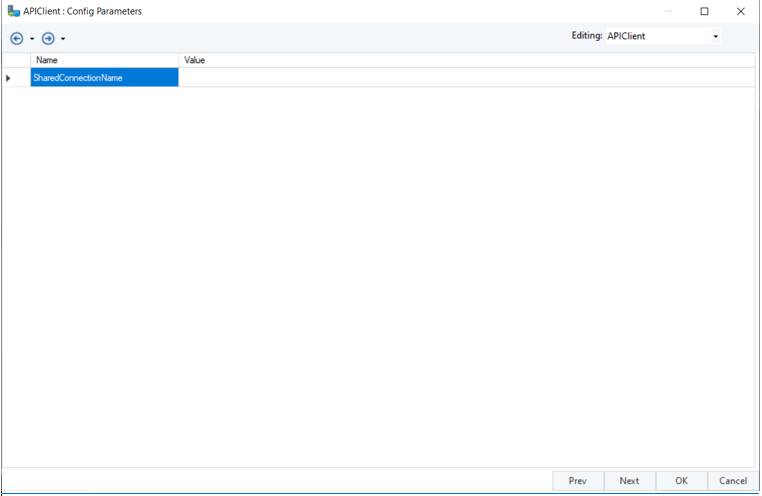
8. Click OK, and the API Client object will be configured.
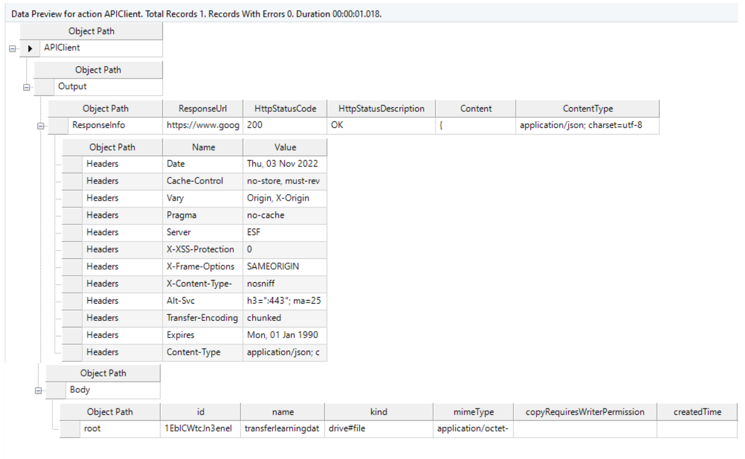
Now, right-click on the API Client object’s header, and select Preview Output.
Your request has been executed successfully, as you can see that the HTTP status code is 200 which means that the API Client has successfully carried out the GET request for the provided status.
This concludes our discussion on making API calls with the API Client object in Astera API Management.