Designing an API Flow
What is an API Flow?
An API flow is an artifact to design a data or a function service endpoint incorporating various data connectors, transformations, quality checks, task-based operations, integrating services, and much more. It defines an end-to-end flow for processing an input, applying transformations and integrations, and routing to response definitions.
Astera API Management holds the ability to create an API Flow as a REST endpoint by defining its request and response objects with in-built abilities to apply sort, filter, pagination, and error handling on responses.
Creating an API Flow
Let’s see how we can create API flows contained in a project:
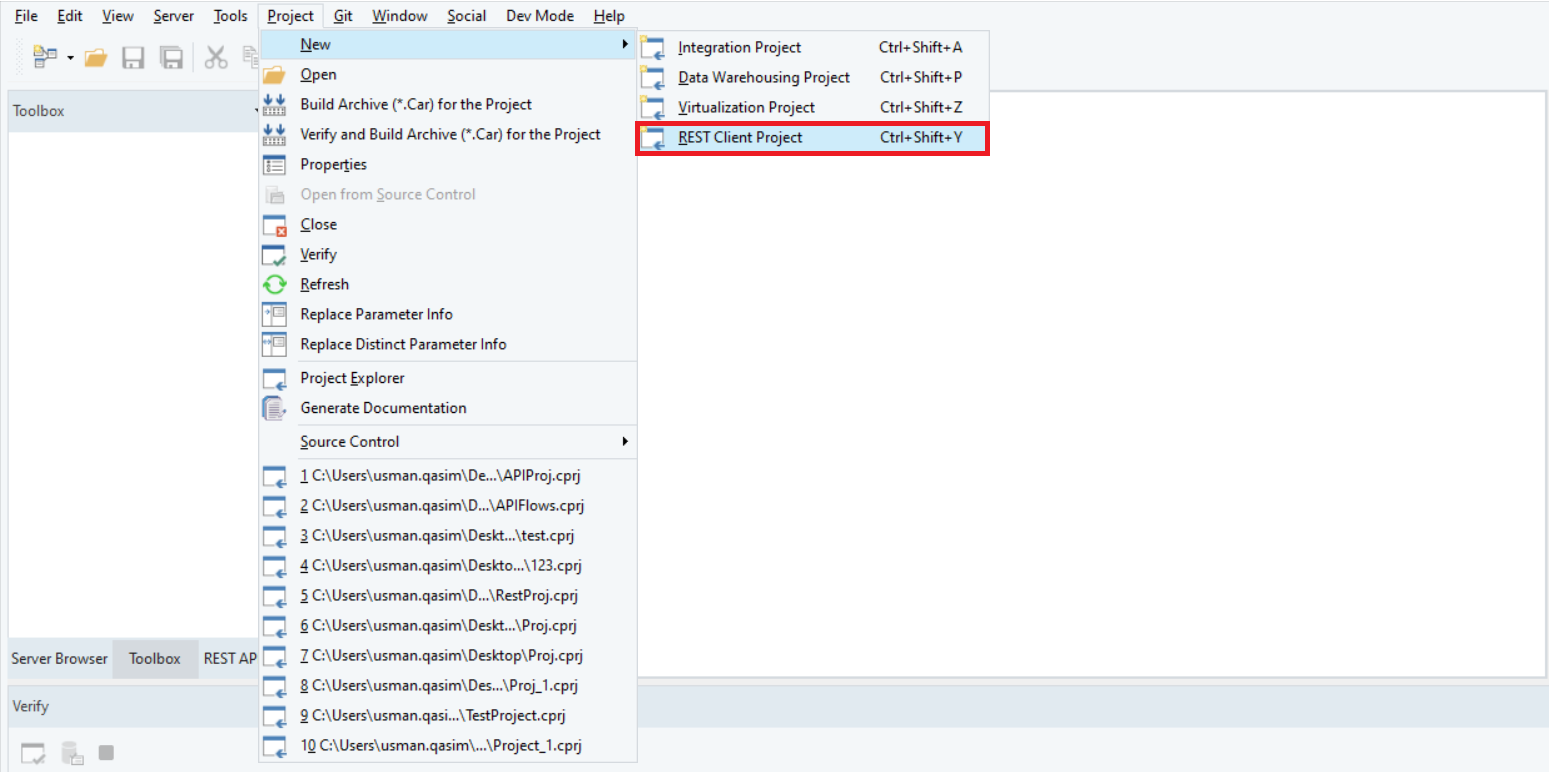
1. To create an API Flow, navigate to the main toolbar, select Project, and click on it. Then, hover over New and select a project type. API Flows can only be deployed from a project, but they can be added to any project type.
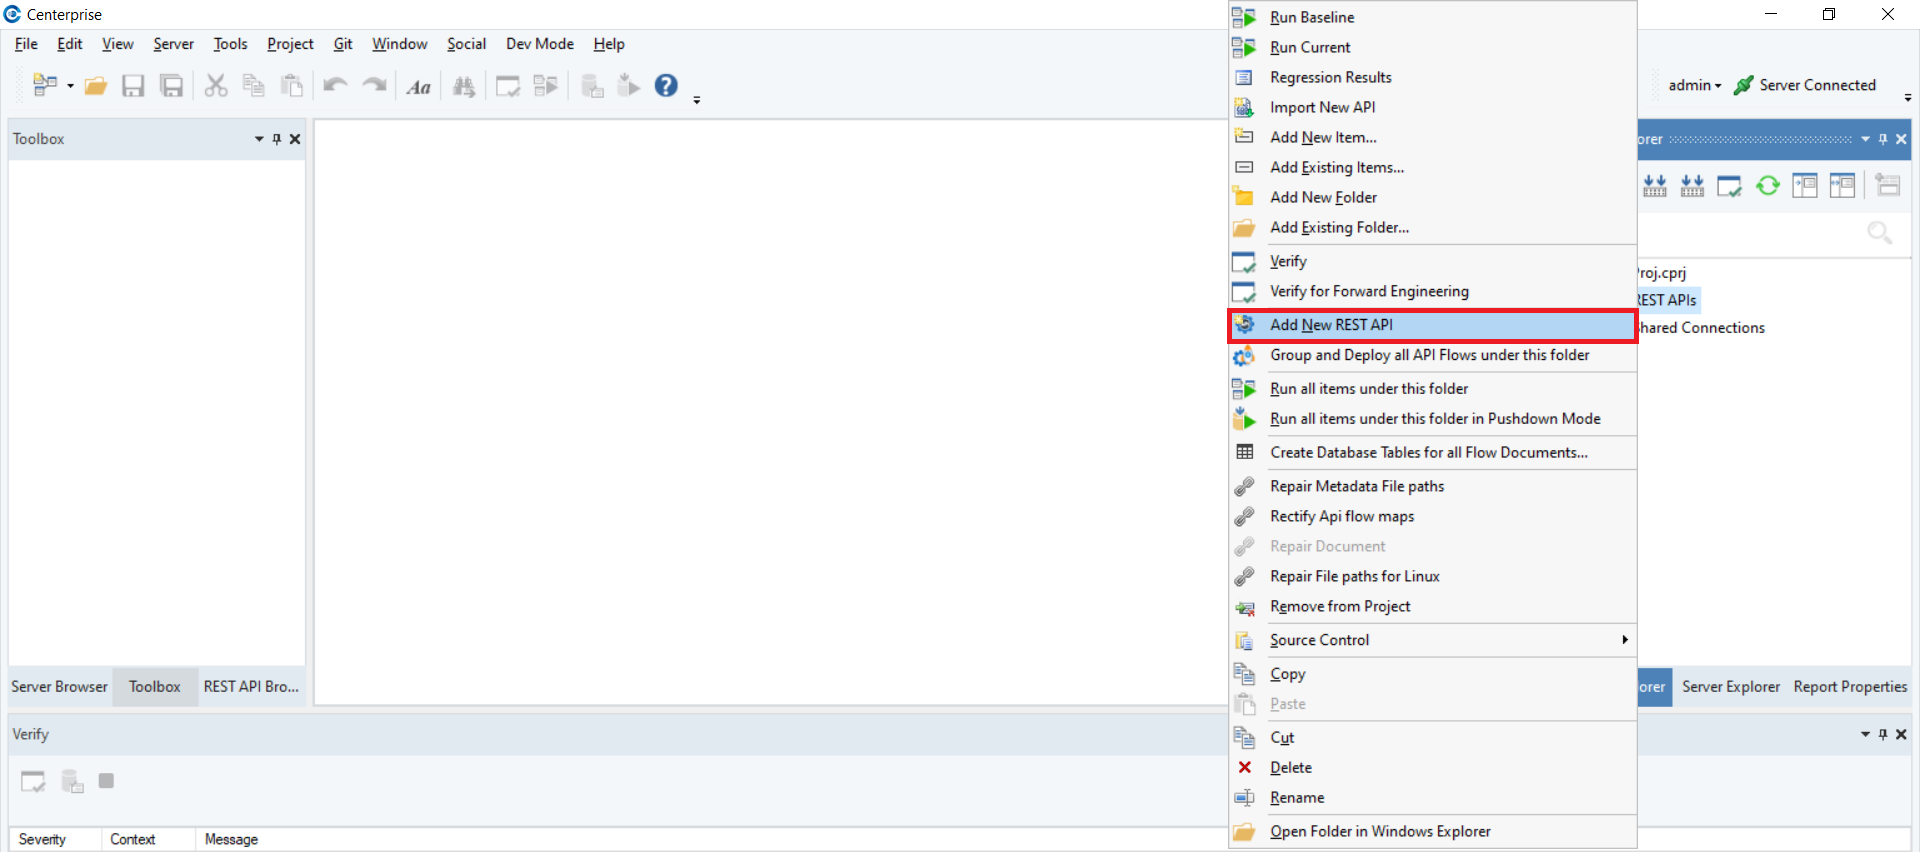
2. Once the project is created, head to the Project Explorer. Right-click on any of the folders in the project and select Add New REST API.
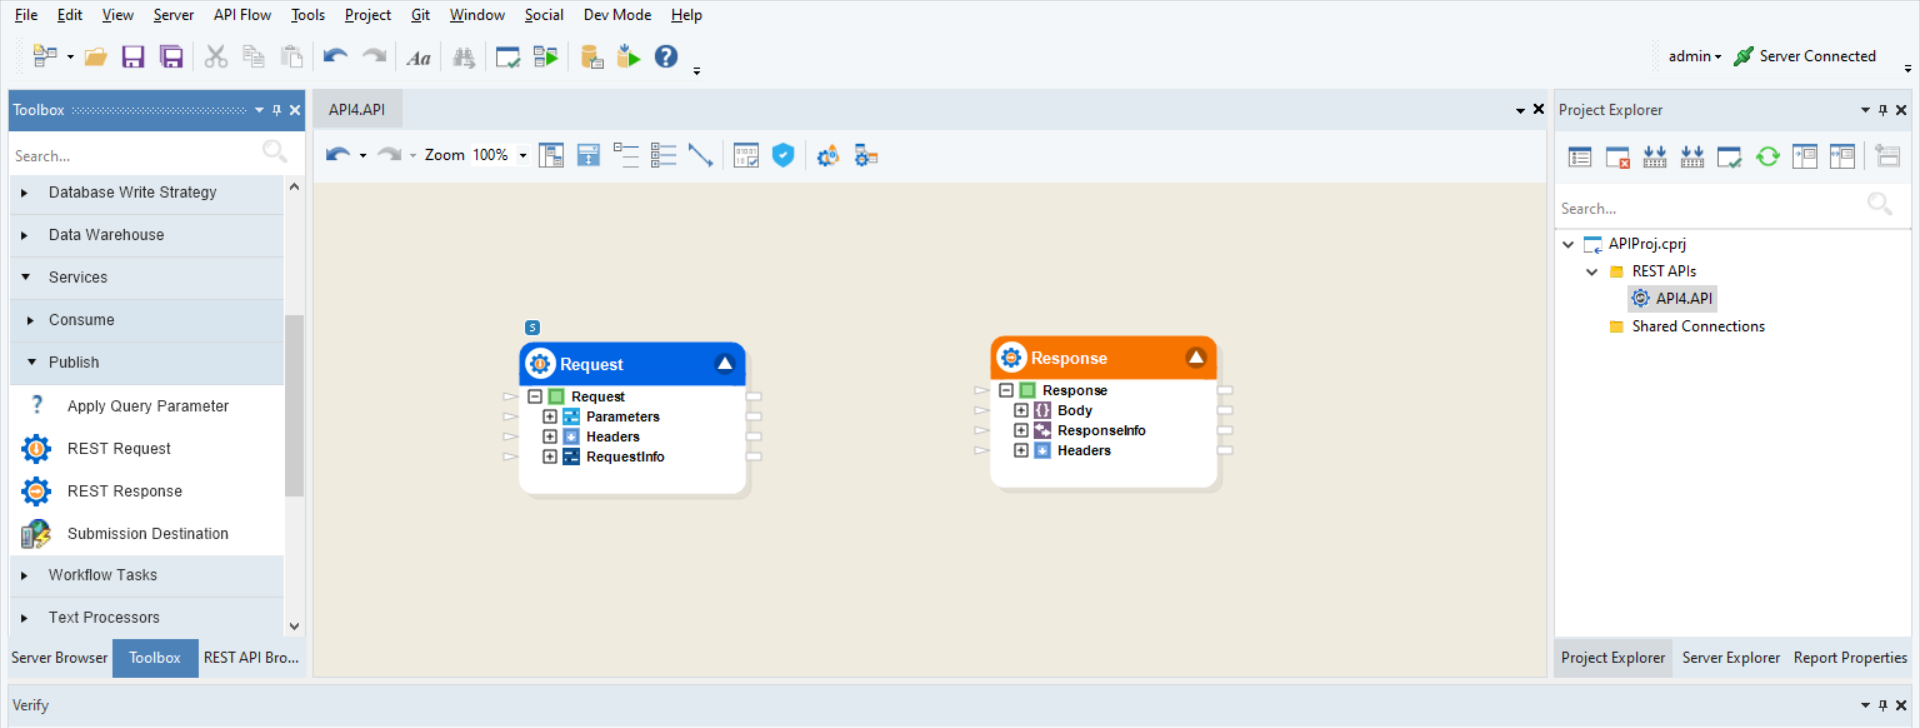
By default, your API Flow file will contain the two required objects, REST Request~~,~~ and REST response, which act as start and stop objects for an API flow. This flow will be saved with a .API extension.
Configuring the REST Request Object
The REST Request object is used to define the request endpoint resource, input parameters, and message payloads expected from the API user which would then be used in the flow processing.
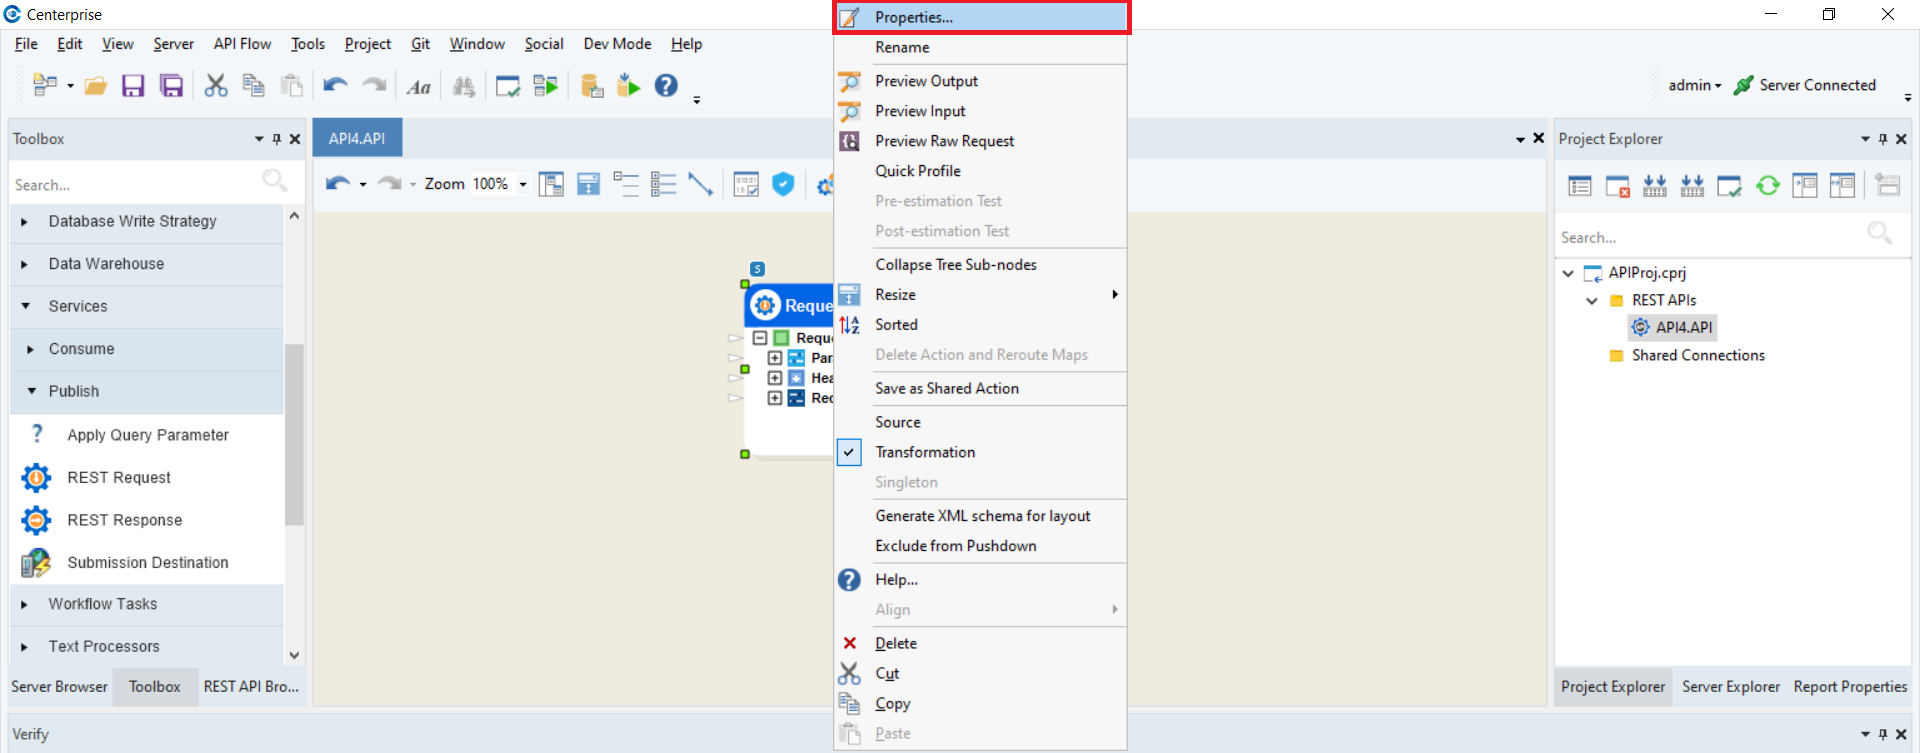
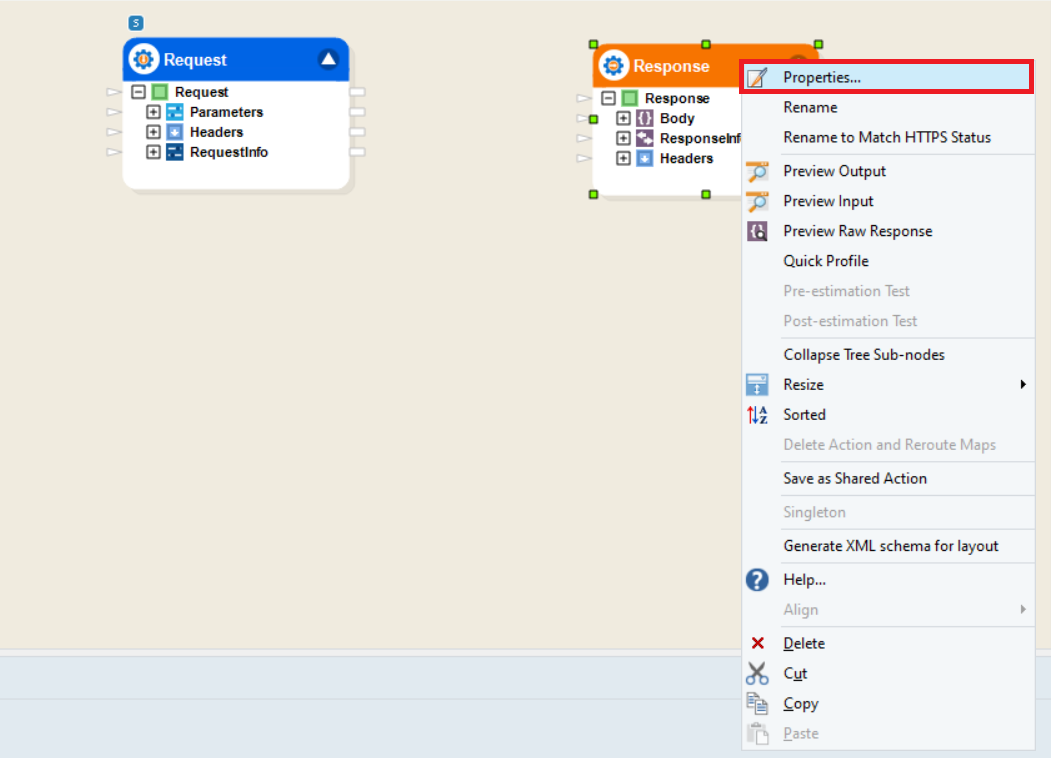
1. To start, right-click on the object and select Properties from the context menu.
Once done, the parameter configuration window will open.
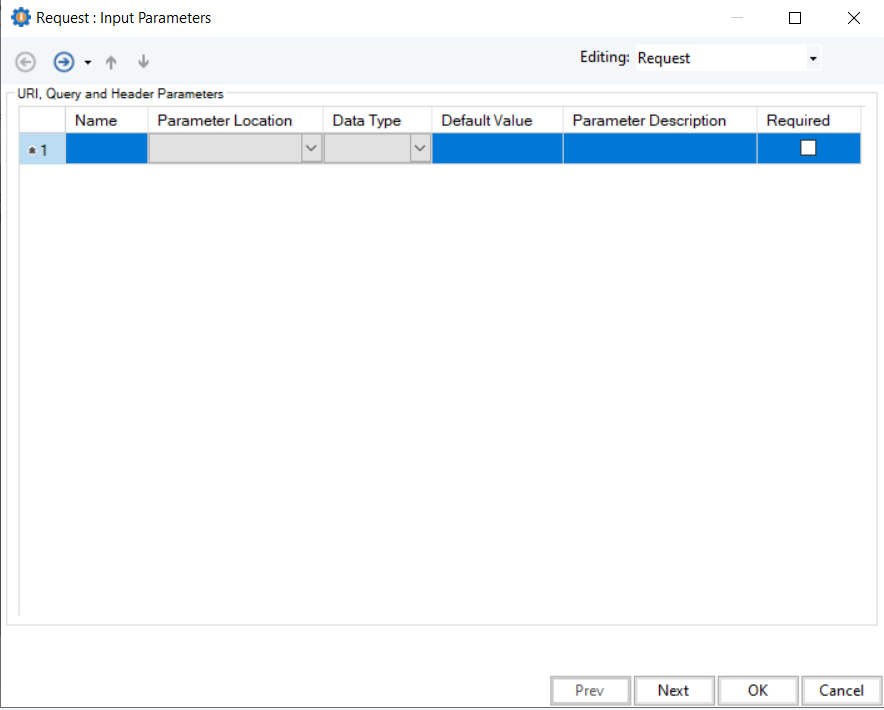
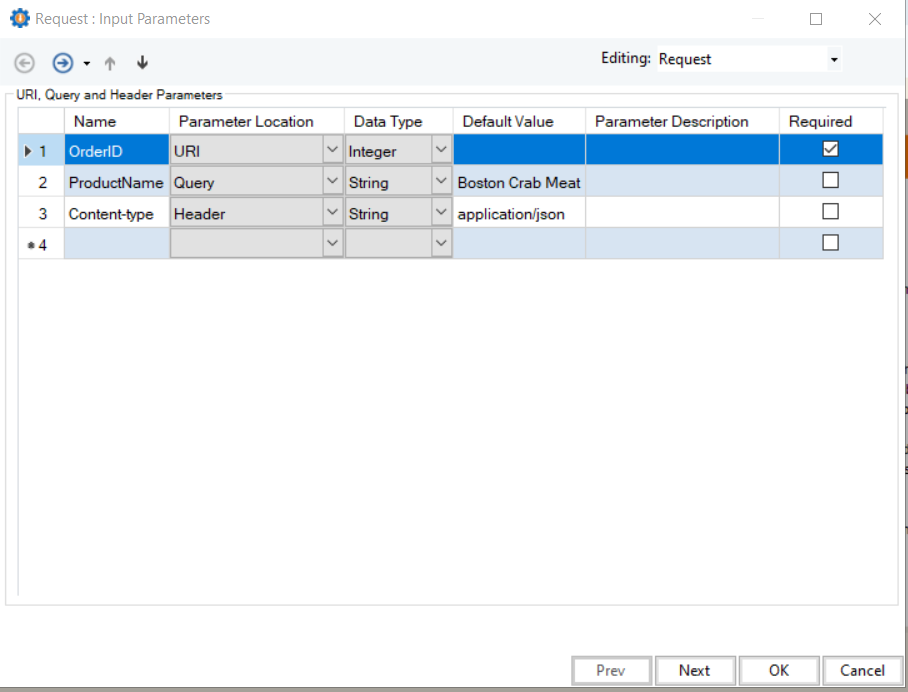
Here, you can define all the expected parameters from the request. To define a parameter, specify a name, location, and the data type.
Name: To define the name of the parameter.
Parameter Location: Here, the location of the parameter is selected between either URI, Query, or Header.
Data Type: To define the parameter’s data type expected from the request. Sending an incorrect data type would result in a 400 BadRequest error response.
Default Value: Add a default value, if any, to be used for optional query or header parameters when the incoming request is missing these parameters.
Parameter Description: These will be used in the auto-generated Open API Swagger specification.
Required: This checkbox is selected if the parameter must be included for a request to be valid. The API returns a 400-Bad Request error response if required parameters are not provided.
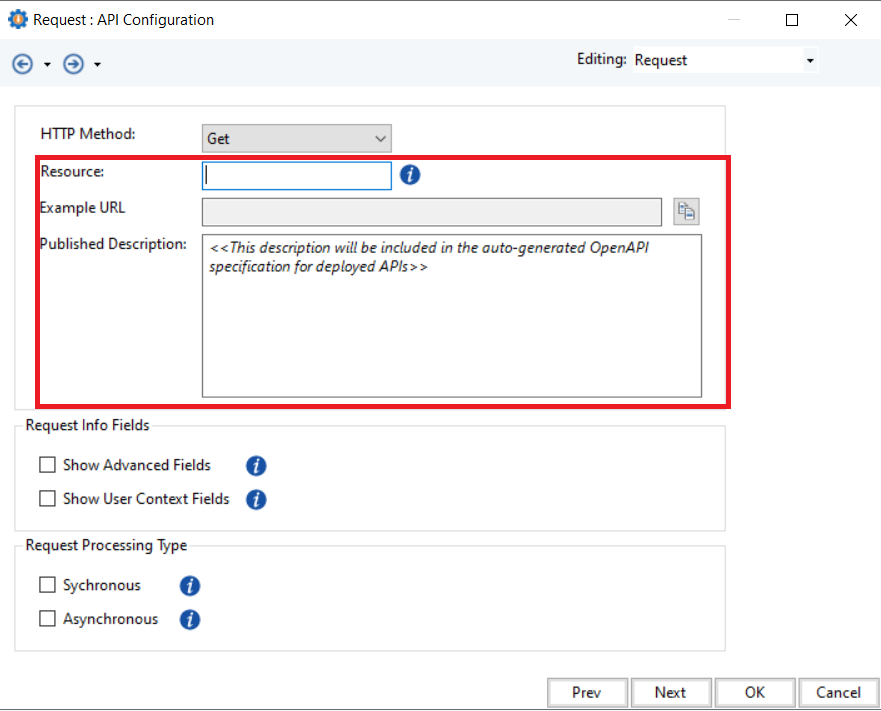
2. Once done, select Next, and the API Configuration screen will appear.
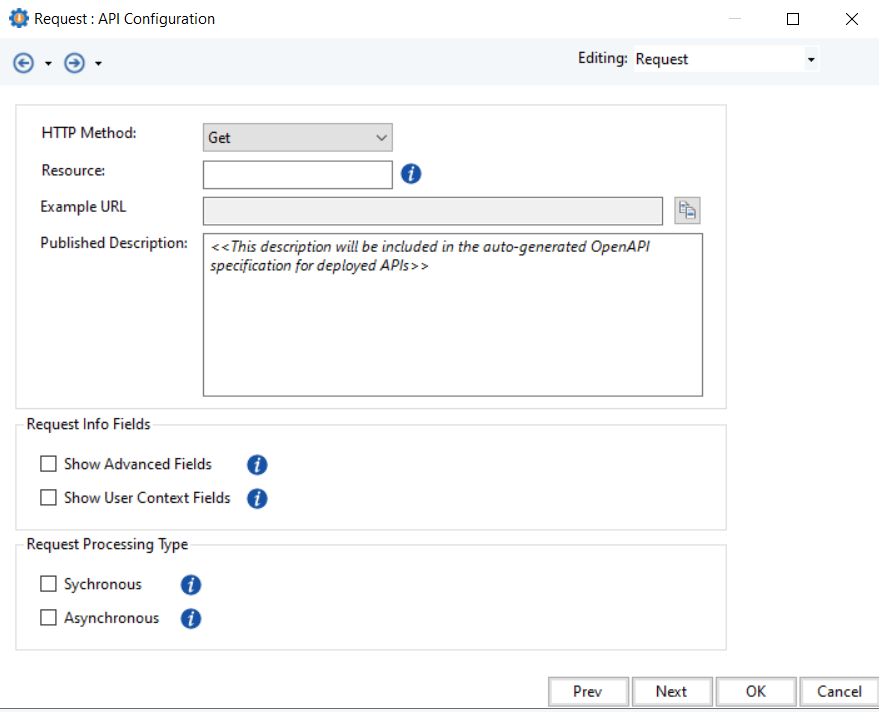
HTTP Configuration for REST Request Object
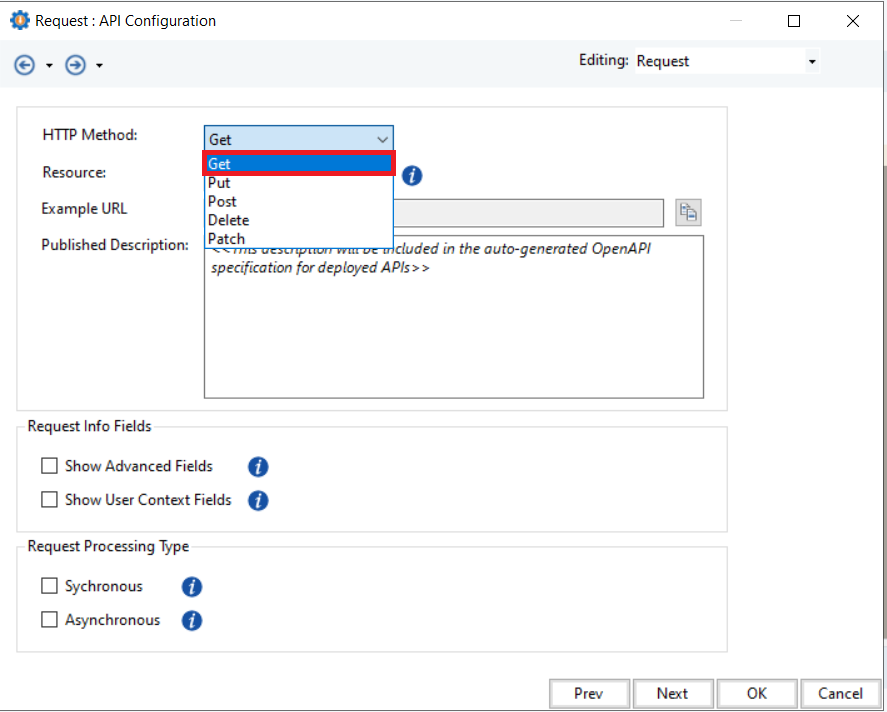
HTTP Method: There are five methods based on which the request object can be configured. The method depends on the resource operation happening in the flow. These options are,
1. Get: Used when the flow is fetching data from a resource based on the given request parameters.
2. Delete: Used when the flow deletes an object based on the given request parameters.
3. Post: Used to create a new object resource. In addition to request parameters, the POST method also allows a request payload which can be defined as the input layout.
4. Put: Used to update an existing resource. It also allows input parameters and a payload in the request definition.
5. Patch: This method qualifies to partially update an existing resource. It also allows input parameters and a payload in the request definition.
Note: For this demonstration, we will be configuring a GET API flow.
Resource: The resource entity for the REST API operation. It becomes part of the request URL. Here, since we are designing an API to read order items, we will call our resource “OrderItems”.
Note: Nested resources can also be defined using a /.
Example URL: It displays the complete request URL formed with the appended resource and parameters.
Published Description: A description for the API operation on the given resource. You could use the default generated description or modify it to your own description. This description for the API endpoint will be used in the auto-generated Open API Swagger specification.
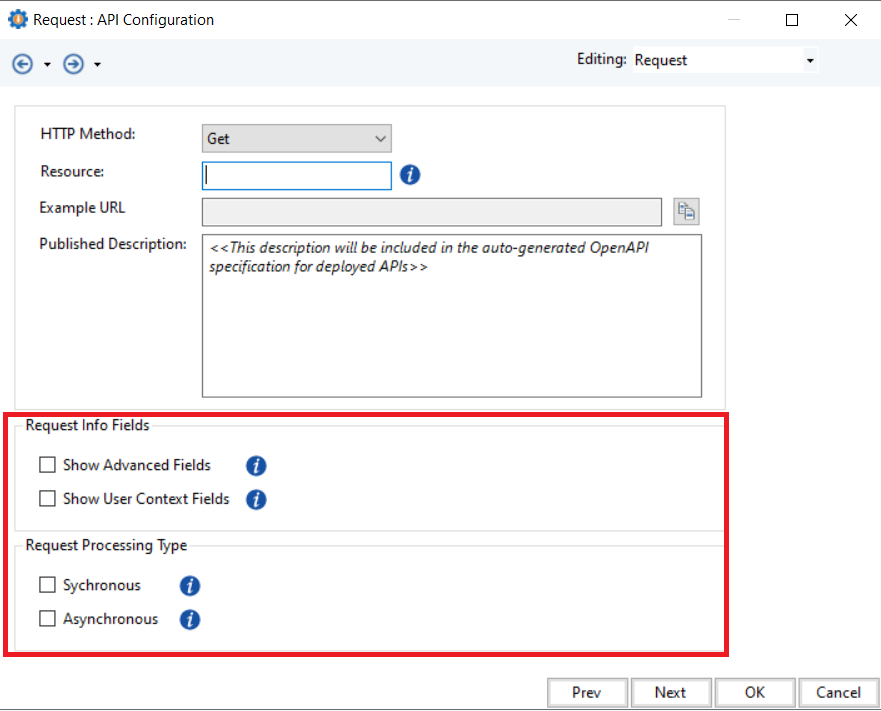
Show Advanced Fields: Enabling this will display additional information fields in the requestinfo node. These include information about the incoming request that can be further used in the API flow, such as connection, local address, local port, IP Address, etc.
Show User Context Fields: Enabling this will display user profile fields from the incoming request in the requestinfo node. These fields show information such as username, email address, whether the user is locked out or not, etc.
Synchronous: API request executes synchronously such that an API call blocks and returns to the client only when a response from the server is ready.
Asynchronous: To deploy the API as an asynchronous operation. This implies that the requestee does not need to wait for the response to be processed. On making a request, the server responds with a 202 Accepted message and starts to process. The client can periodically check the status and read the response when available.
To learn more about Synchronous and Asynchronous, click here.
1. For our use case, we are using the Get method to find order items by ‘OrderID’.
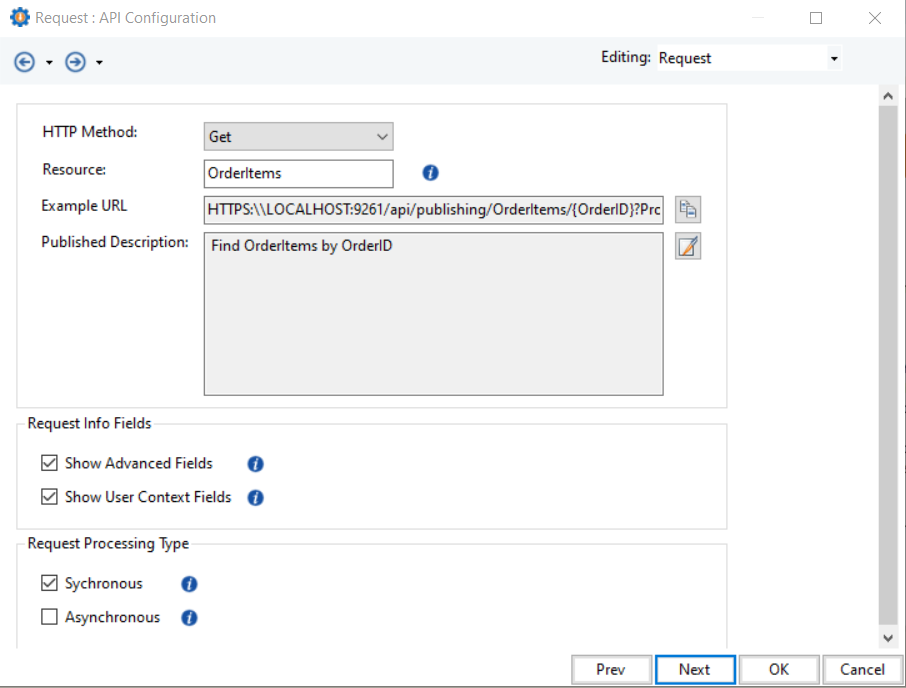
2. Click OK, and your request object will be configured using the Get method.
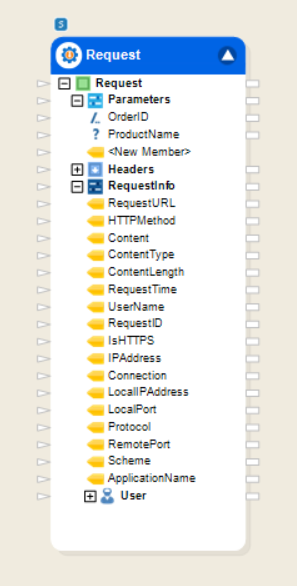
As you can see above, the object has been configured by our requirements.
Note: Under the requestinfo node, additional fields will appear depending on which checkbox is selected in the API Configuration window.
This concludes the configuration of the REST Request object in Astera Centerprise.
Configuring The REST Response Object
An API endpoint flow begins with a request object and ends at one of the many responses defined as per the flow execution route.
Note: At least one response object must be configured to complete the API endpoint flow.
1. To start, right-click on the object and select Properties from the context menu.
Then, the response configuration window will open, where you can specify the HTTP status code to be returned.
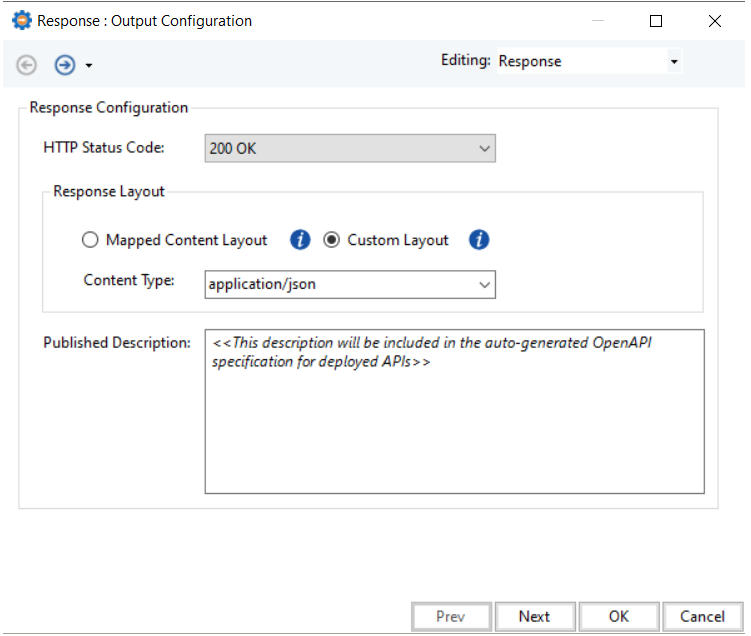
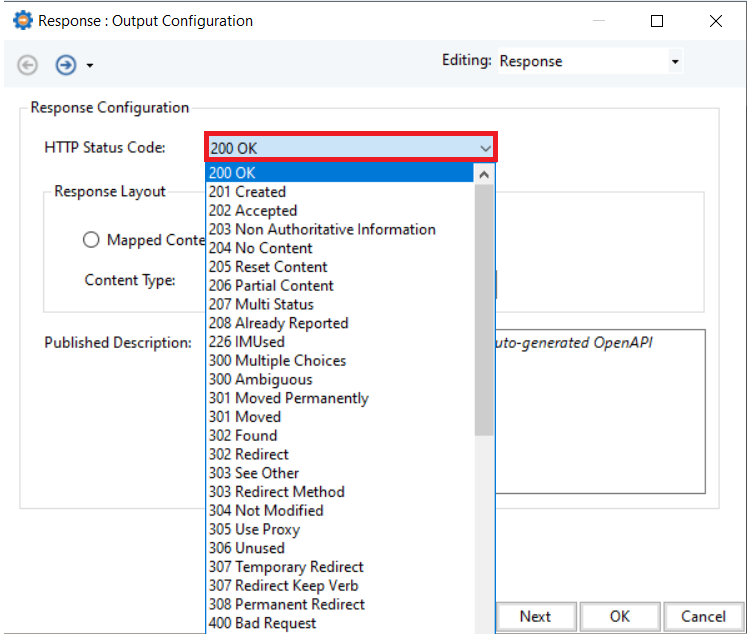
HTTP Status Code: API response will be based on this selection of the HTTP status code and the API flow orchestration designed. These codes can be designed based on successful runs or errors etc.
To learn more about multiple responses in an API flow, click here.
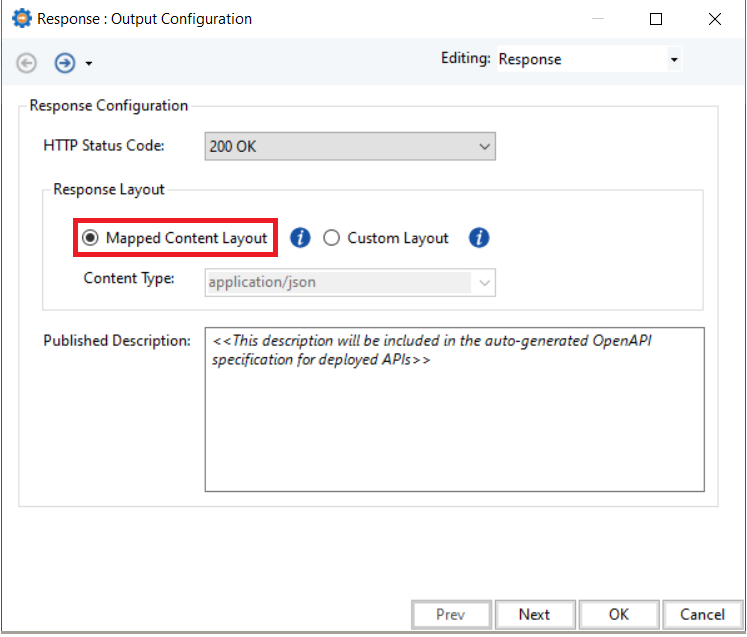
Mapped Content Layout: Selecting this option allows you to map a pre-serialized response string and its content type as input to the response object.
Custom Layout: Selecting this will allow you to build a layout for the response on the next screen based on the content type defined.
Content Type: You can select a standard media type for the response payload and define its custom layout on the next screen. Currently, you can only define custom layouts of JSON type.
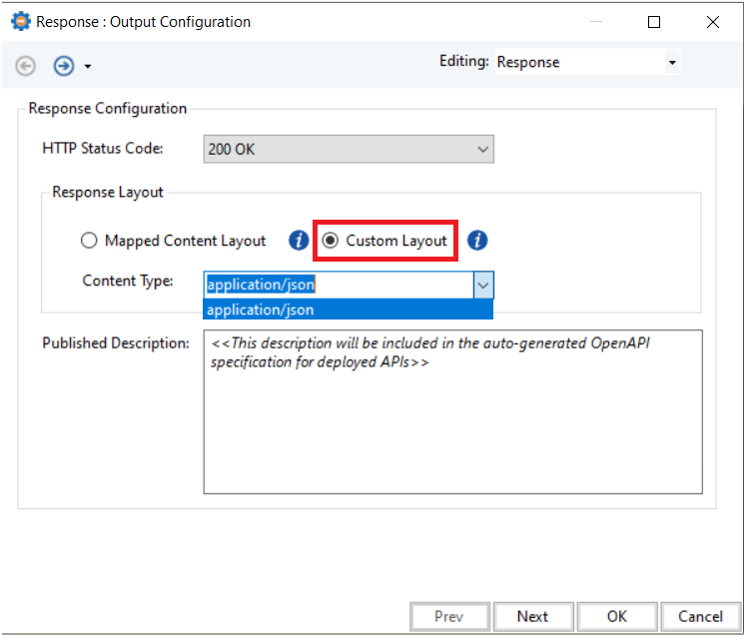
Published Description: This description becomes a part of the auto-generated open API definition.
2. Once done, click Next and you will be taken to the next screen.
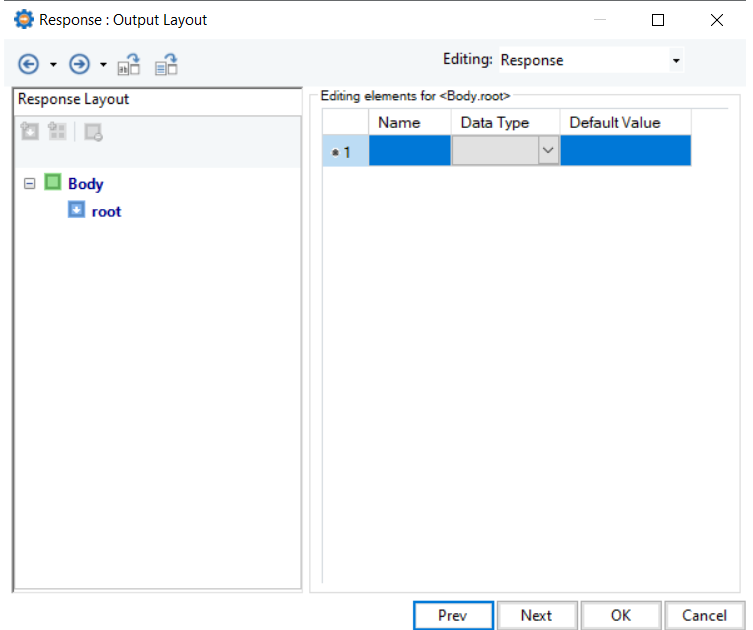
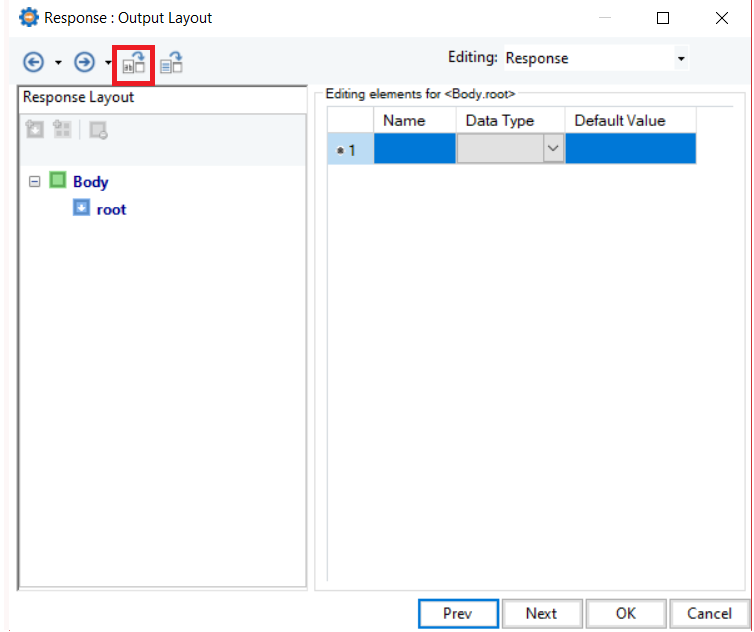
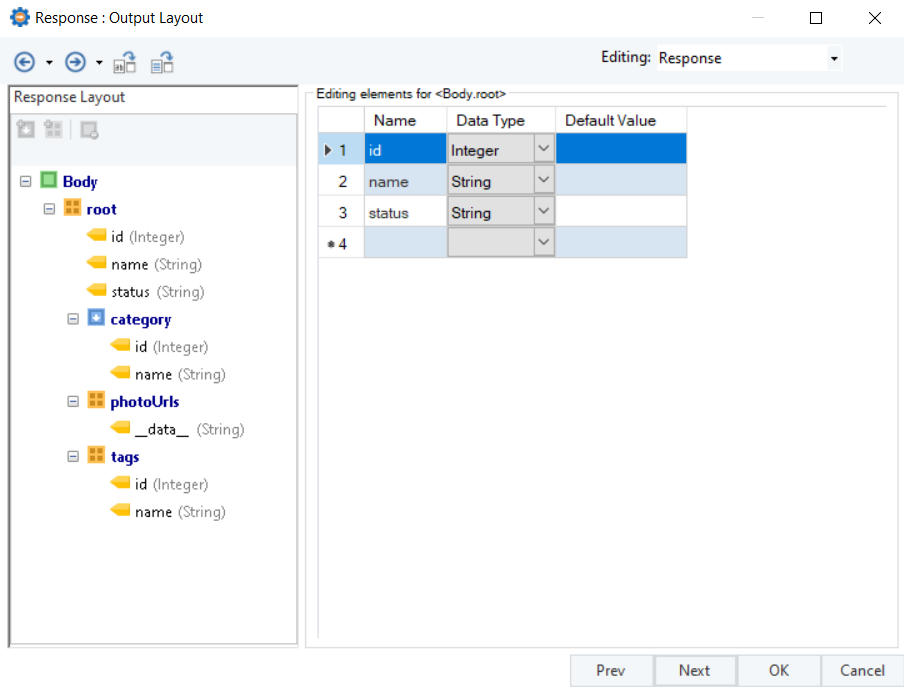
Here, the output layout of the response object can be defined.
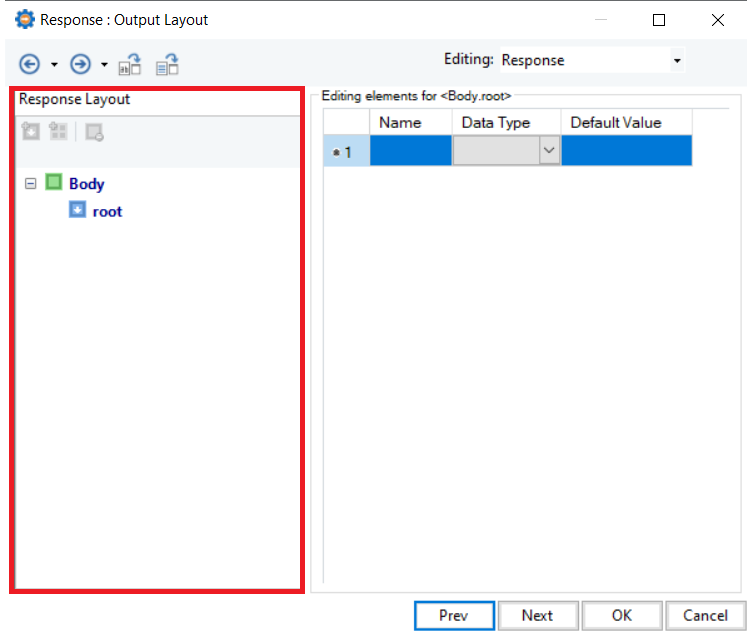
On the left side of the screen is the hierarchy of the nodes in your layout. You can add or delete a single instance or collection members here to create the desired layout.
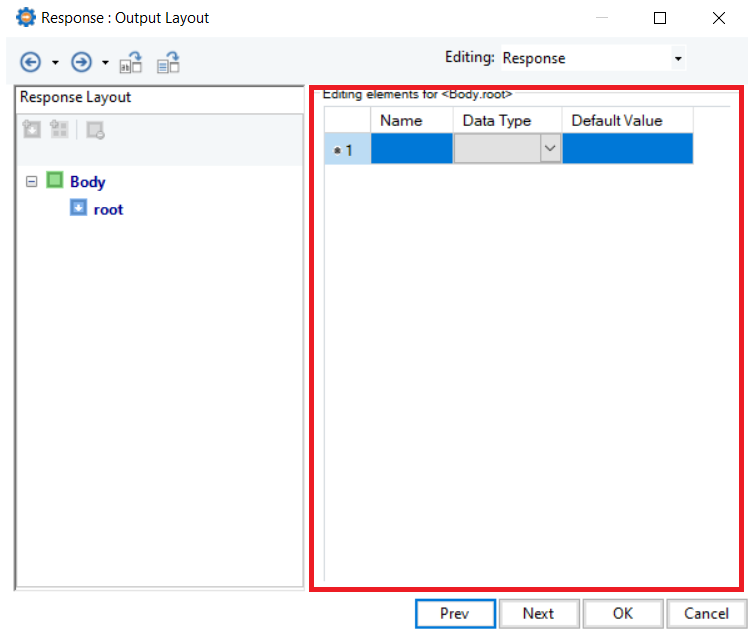
The right side of the screen is where the layout is to be added. There are three ways to map the output layout,
Manually defining objects and fields,
Using a sample text.
Selecting this option will open a new window where a sample text, based on the Content-type defined, is given to generate the layout accordingly.
Clicking this will open a new sample text window where the text can be pasted.
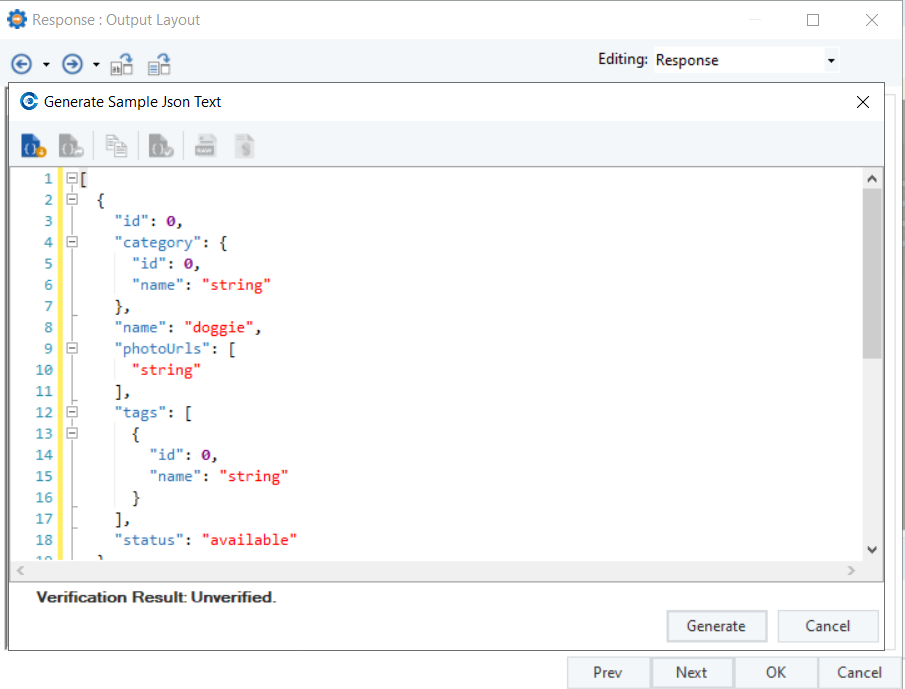
Clicking Generate will produce a layout.
Generate default layout
Selecting this option will generate a default Centerprise layout which can be used to output an error and any additional messages.

As we click on this option, the box is populated.
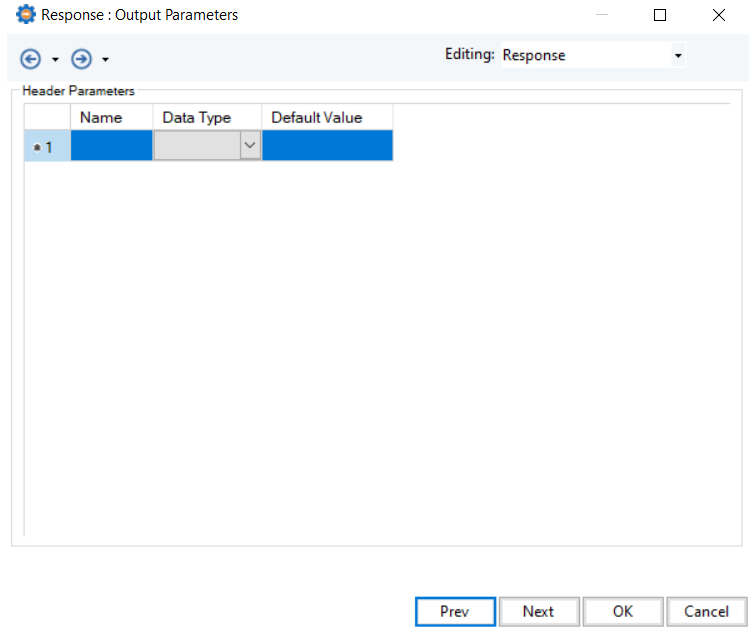
3. Once done, click Next and you will be led to the Output Parameters screen.
Here, you can define header parameters to be returned as part of the response.
4. Click Next when done and you will be led to the Pagination screen.
The pagination screen allows you to set a form of pagination on the REST Response data. You can configure Cursor Pagination for 200 OK responses to retrieve ordered data in small discrete sets, as requested. The first request returns the records as per Page Size and a cursor field which can then be iteratively used to read the next set of records.
To learn more about pagination, click here.
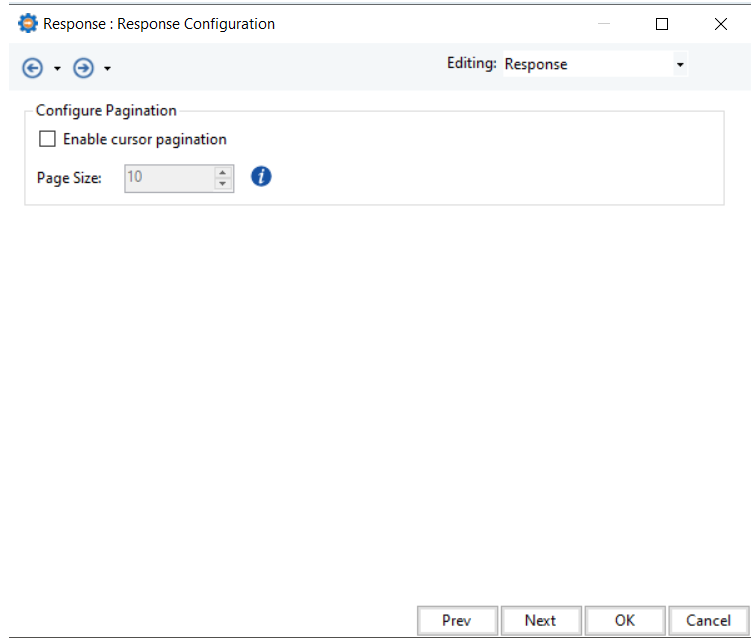
Enable Cursor Pagination: Selecting this is going to enable Cursor Pagination on the data payload returned.
Page Size: This determines the size of a page in cursor pagination.
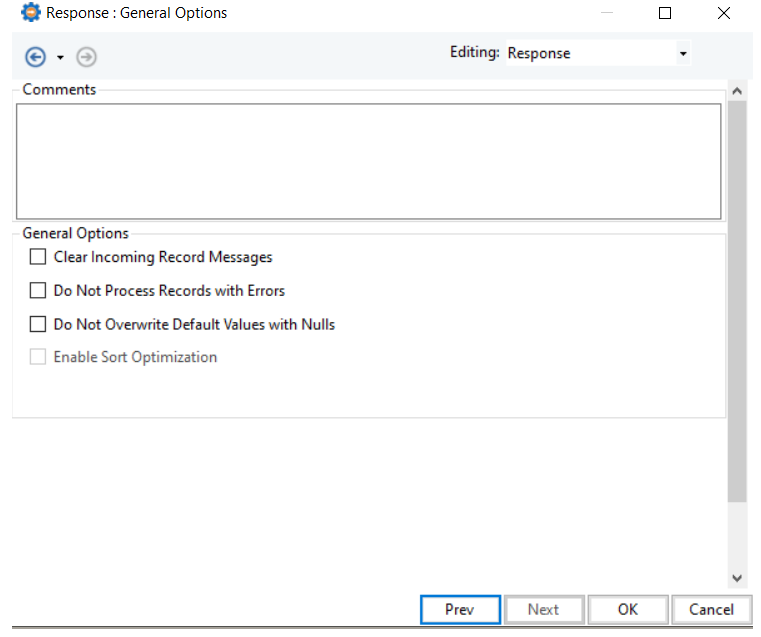
5. Once that has been done, select Next and you will be led to the General Options screen.
6. Click OK and the REST Response object will be configured. You can now map the fields and parameters from the flow to the response object.

Body: This node will show the output layout hierarchy that has been configured within the properties.
Responseinfo: Upon expansion, this node will display additional information that can be mapped to an output to be processed further in the test-flow, after the API response has been submitted.
Headers: Expanding this node will show any headers that have been defined within the object.
This concludes the REST Response object configuration in Astera API Management.
Using the REST Request and REST Response objects in a flow
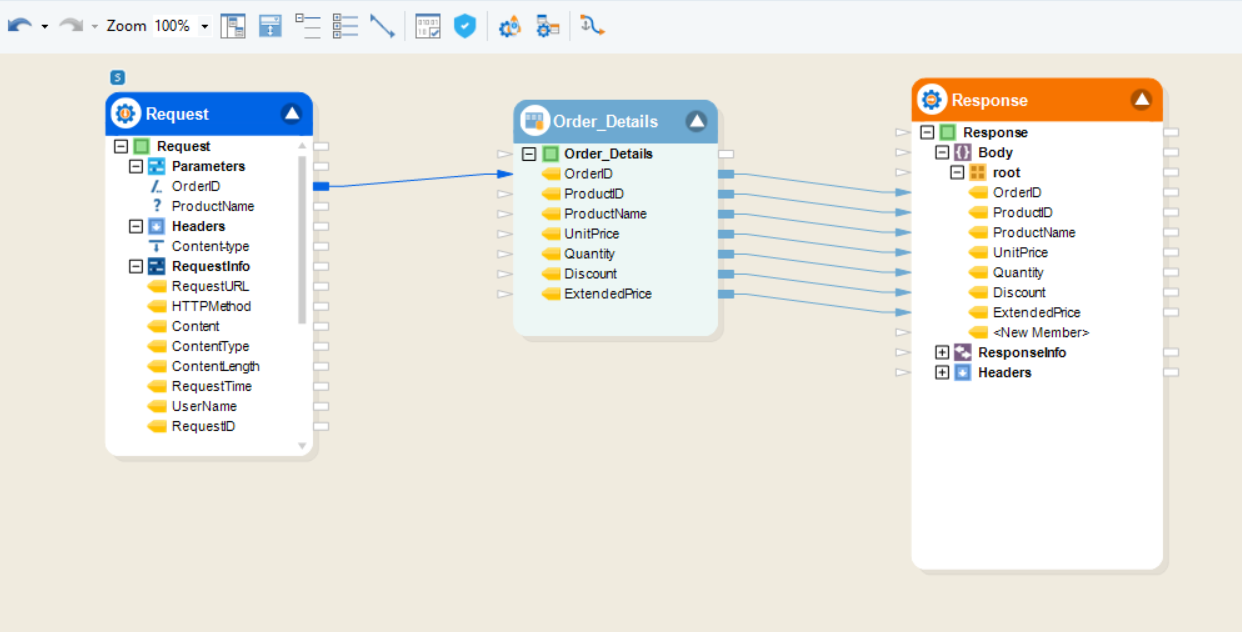
Since we have now configured the REST Request and REST Response objects, we can map them together and use them in a flow. The API flow feeds the input Order ID to a database lookup and returns the output in the response.
The following is a use case built on ‘Order_Details’ data.
This concludes using the designing of an API flow.