API Browser
What is an API?
API (Application Programming Interface) is defined as an interface or medium through which one software communicates with another. In other words, it is a set of contracts that allows different software systems to share information with each other. The greatest advantage of an API is that different programs and devices can communicate with each other in a secure manner, without interference.
APIs are messengers that conform to the technical contract between two parties. They are language and platform-independent, which means C# can talk to Java, and Unix can communicate with Mac without any difficulty. An API is not the same as a remote server. In fact, it is part of a remote server that receives requests and sends responses. More precisely, an API is a structured request and response.
API Browser in Astera API Management
The API Browser in Astera API Management has narrowed down the steps to make HTTP calls using just one-step authentication. Once you have imported an API in API Management, all endpoint operations in that API are populated at once. API definition describes what requests are available and what the responses will look like.
So, once you load an API definition, all supported methods are populated in the API Browser unlike Legacy, where all supported methods must be configured separately in each object.
There are two methods of configuring APIs in Astera Centerprise. For open APIs, you only need to provide the API Import Source and File Path or Base URL to configure the connection with a specific API. Once this standardized information is provided, any API that you have imported will populate in API Management’s API Browser, along with their methods, for example, GET, PUT, POST, PATCH, and DELETE, and they will remain accessible until their authentication period expires. From the API Browser in Astera API Management, you can simply drag and drop operations, and use them in your flows.
It is important to note that a project must be created before importing APIs to work with the API Browser. However, you can access the API without a project when it’s an API Connection contained in the flow.
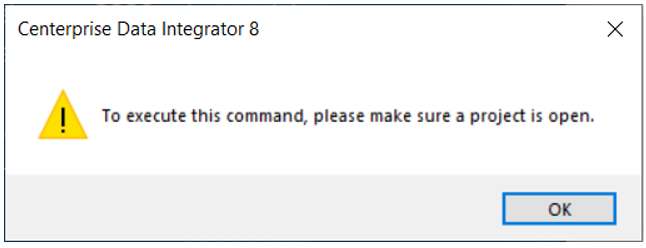
The API Browser, along with all its features and functionalities, works only within the scope of a project. Otherwise, it will give you the following error,
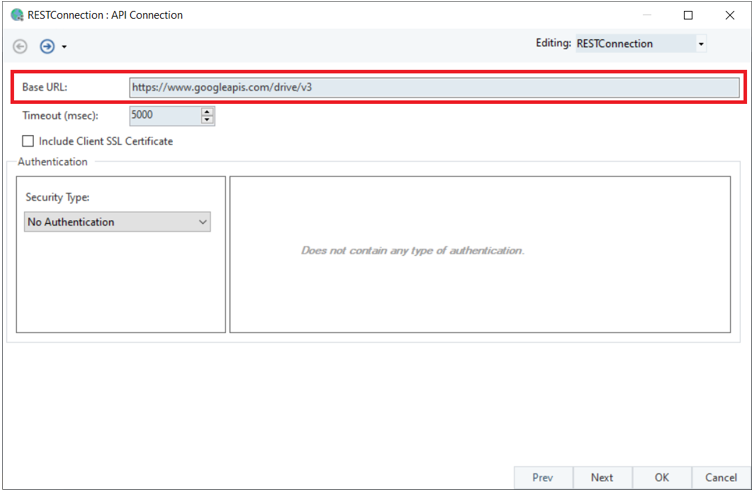
When a user imports an API, a shared connection file is created within the project automatically. The shared action file contains the Base URL of the imported API.
HTTP Request Methods
Astera Centerprise supports the following HTTP request methods:
1. PUT: To update data to a specified resource to be processed on an API.
2. GET: To retrieve data from a specified resource on an API.
3. POST: To create or update an existing record on an API.
4. DELETE: To delete a specified resource on an API.
5. PATCH: To apply partial modifications to an existing resource.
Creating a Project for API Browser
To work with the API Browser in Astera API Management, you must first create an API Client Project.
Follow the steps below to create an API Client Project in Astera API Management,
1. Go to Menu Bar > Project > New > API Client Project.
Provide a name to the API Client Project and point the path to the location and directory where you want to save it.
Note: It is best practice to always create a new project in a new folder to avoid any errors.
2. Now, open the API Browser panel on your API Management client from Menu Bar > View > API Browser.

3. Once selected, an API Browser panel will open on the left side of your API Management client window.
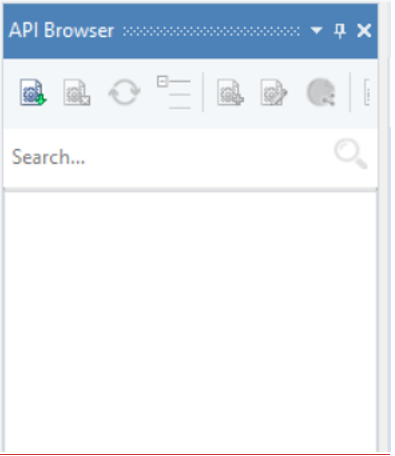
Here, you can see three icons in the toolbar of the API Browser,
Import API: By clicking this option, you can import different APIs with various available options.
Remove API from Browser: This option removes the selected API from the API Browser.
Refresh API Tree: This option allows you to redraw the browser tree after you have deleted some operations.
Expand/Collapse all: These options show/hide all the requests in the CAPI file.
Add Request: This option allows you to add a new HTTP request to the CAPI file by specifying the request name, resource, and HTTP method.
Edit Properties: You can use this option to change the shared connection or the API name of the CAPI.
Open API Connection: This option allows you to directly open the shared API Connection from the project for the API opened in the API Browser.
Save CAPI file: Any changes made to the CAPI file are saved when you click on this option.
How to Import APIs in API Management
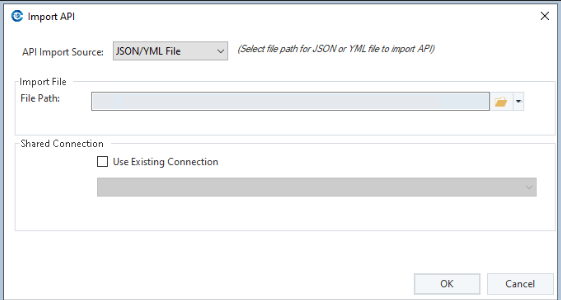
To import an API in Astera API Management, click the Import API icon. An Import API screen will open.
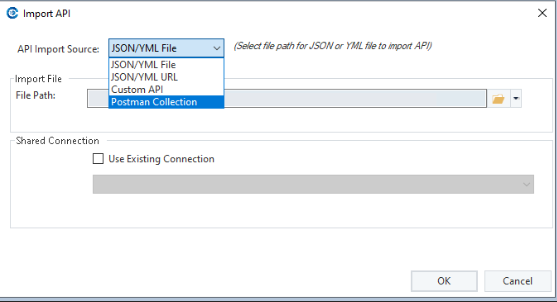
Here, first, you need to select the API Import Source type from the drop-down menu. Astera API Management offers three ways to import APIs.
Type 1 – JSON/YML File
JSON/YML File – For this type of API source you only need to provide the Open API Specification File Path in JSON or YML file formats.
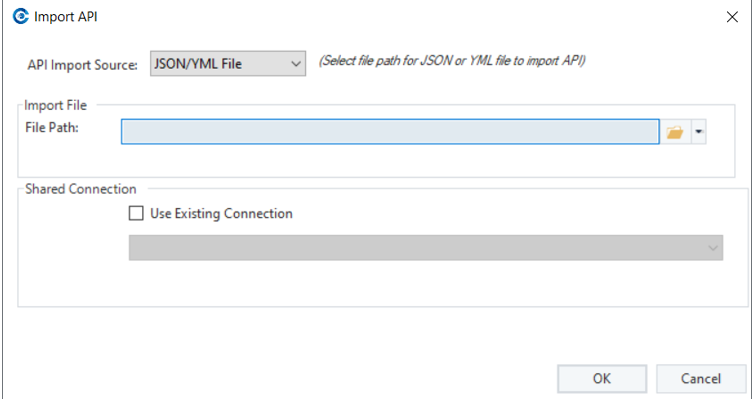
2. Specify the File Path and click OK.
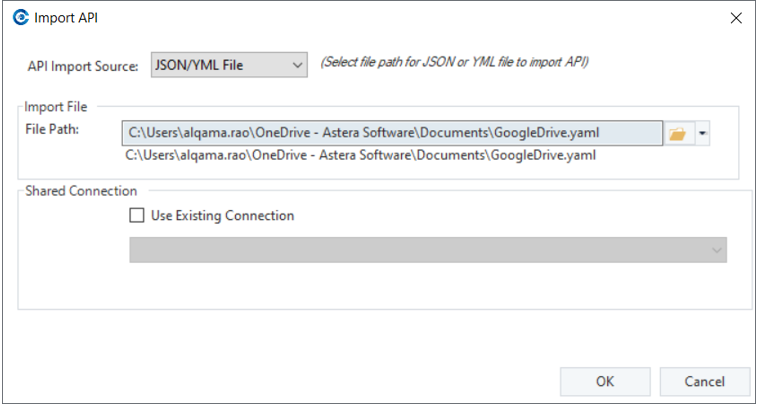
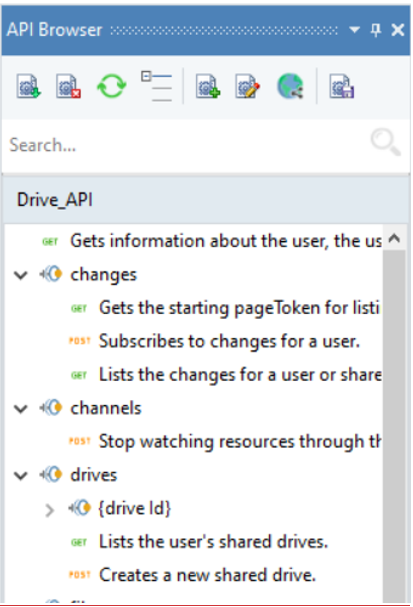
This API will be populated in the API Browser panel from where you can simply expand the nodes and drag-and-drop methods onto your designer window.
Type 2 – JSON/YML URL
JSON/YML URL – For this type of API source, you will need to provide the URL in JSON or YML format.
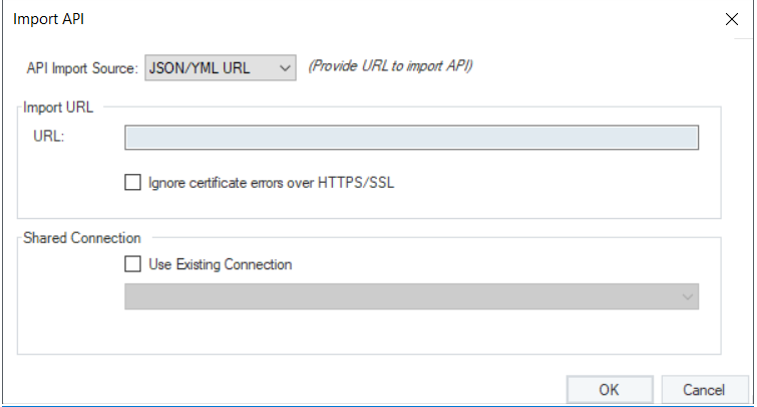
2. Specify the URL and click on OK.
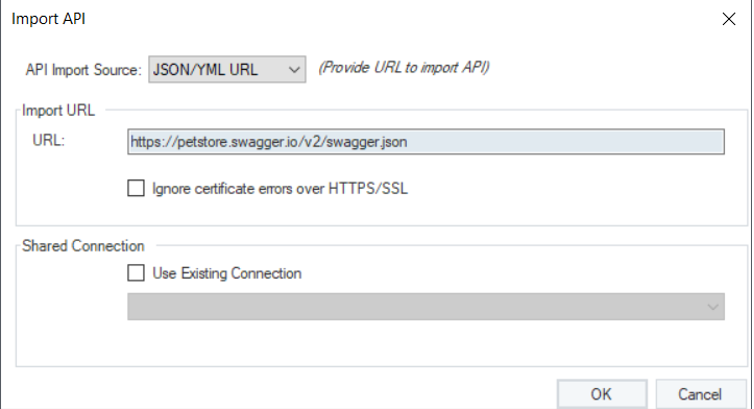
This API will be populated in the API Browser panel.
Type 3 – Import Postman API Collections
Let’s see what steps are required to import a Postman Collection to the API Browser.
Open an Integration Project.
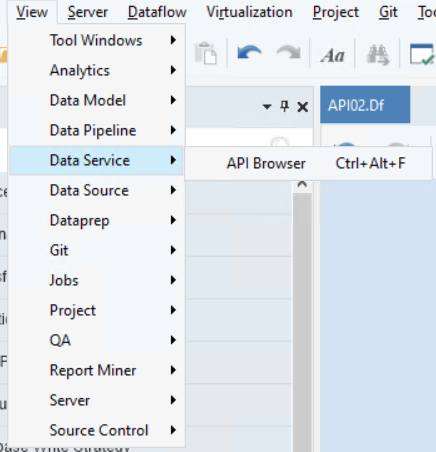
Open the API Browser through View > Data Service > API Browser.
Click on the Import API option on the API Browser.
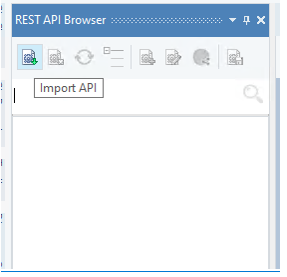
This will open the Import API window.
Select Postman collection from the drop-down of the API Import Source.
Browse and provide the path to the Postman Collection and click OK.
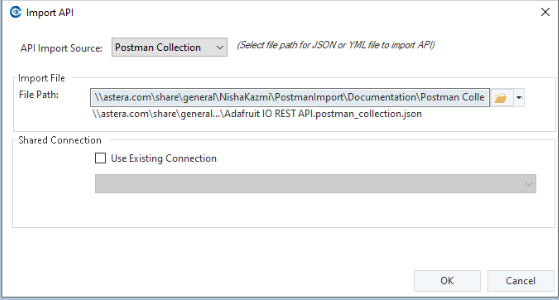
If there is already a Shared Connection available, then we can re-utilize it, instead of auto-generating a new one, by clicking on the Use Existing Connection check box.
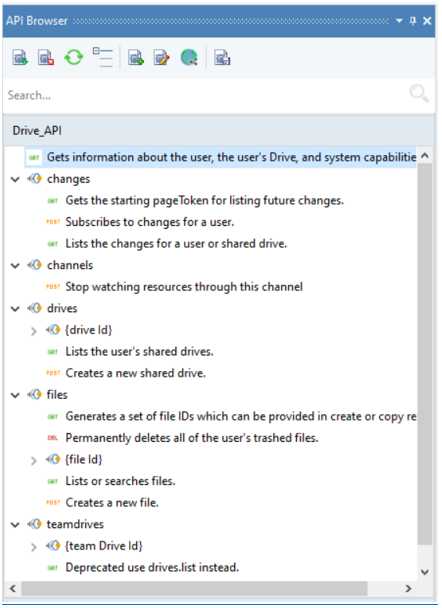
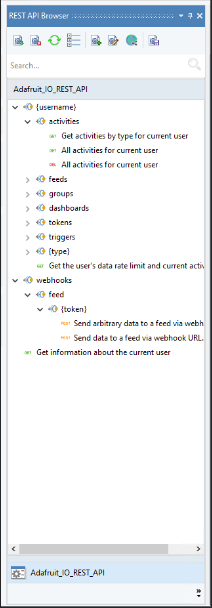
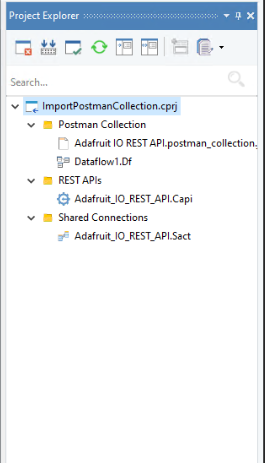
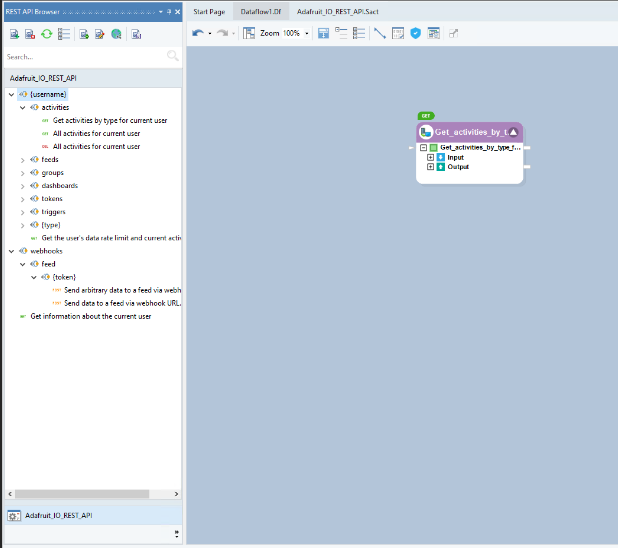
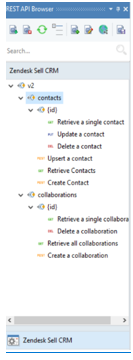
Once the Postman Collection is successfully imported, it will populate the API Browser with the available endpoints.
Note: It is recommended by Postman to export the collections in v2.1 format files. Therefore, Centerprise restricts the user to import only a v2.1 Postman Collection.
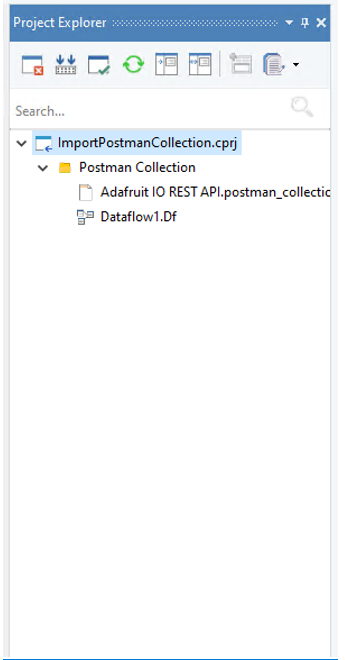
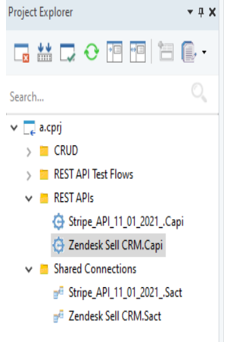
The Centerprise API file (.capi) and Shared Connection files will automatically generate and be saved in their respective folders.
Now, drag and drop any endpoint onto a logic designing artefact i.e., a dataflow to consume.
Postman Collection Format
Variables Convention
To import a Postman Collection to the API Browser successfully, we must follow certain conventions:
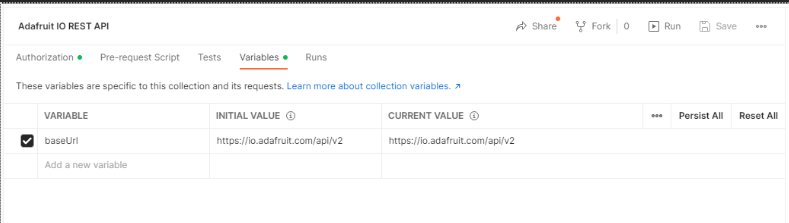
The Postman collection must include a variable namely baseUrl. (This variable is case insensitive)

Note: A collection in which the baseUrl variable contains a special character(s) will not be imported.
All other variables, except for the baseUrl, will be discarded.
During the import, the baseUrl variable defined in all the endpoints will be replaced with the Base Url text box value in the Shared Connection.
This means that the Shared Connection’s Base Url will be populated with the baseUrl variable’s Current Value that is defined under the Variable section in the collection.
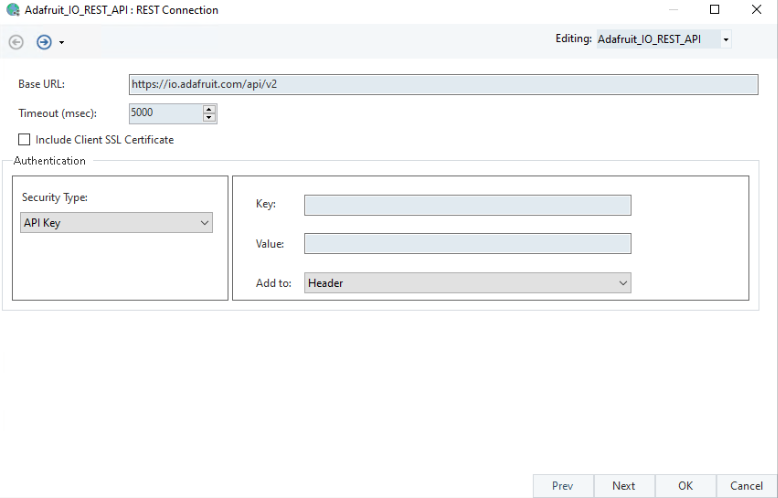
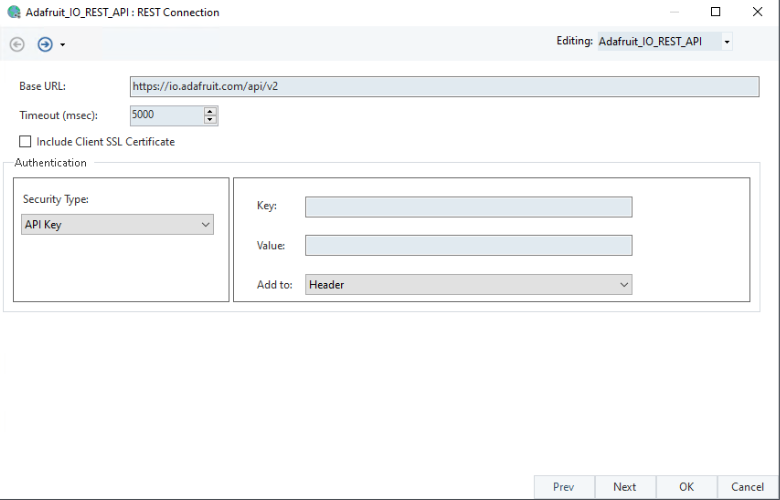
Preservation of Authentication Information
All valid Postman Collections will be imported with pre-configured Shared Connections. These Shared Connections will have the same Authentication Type selected as in the collections i.e., API Key, Auth Code, Client Credentials, etc.
Note: Confidential data such as credentials are imported for security and protection.
Example of an API Key Security Type
Example of an OAuth 2.0 Security Type

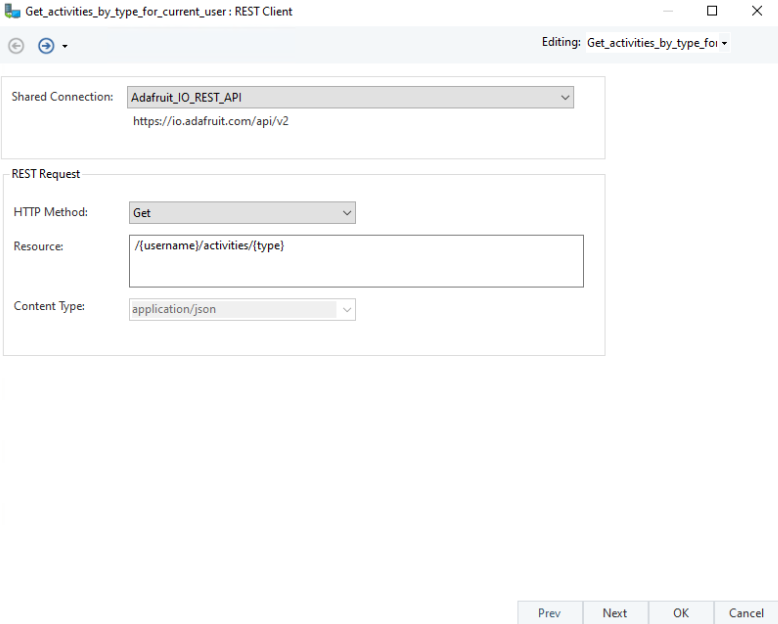
Preservation of Endpoint’s Configuration
On importing a Postman Collection, each endpoint’s configuration i.e., methods, resources, parameters, and request/response payloads will also be preserved.
HTTP Method and Resource
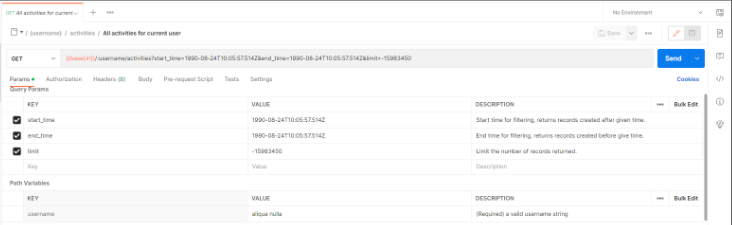
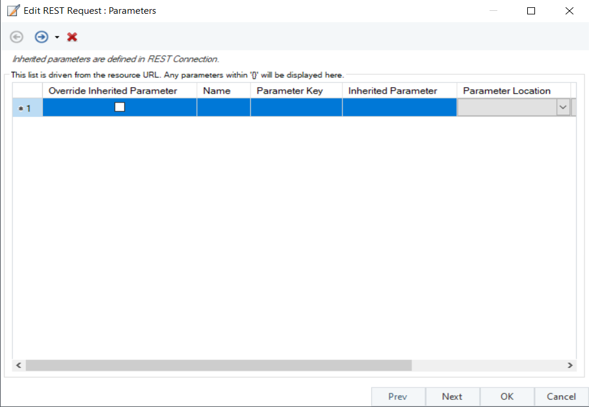
Parameter
All parameters with their respective default values are populated in the API Client’s Parameter window.
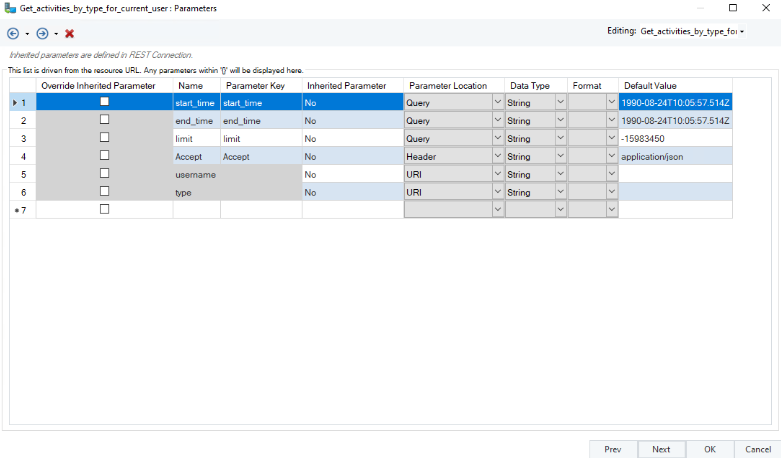
Note: Sensitive data such as the URI parameter value is not preserved for security.
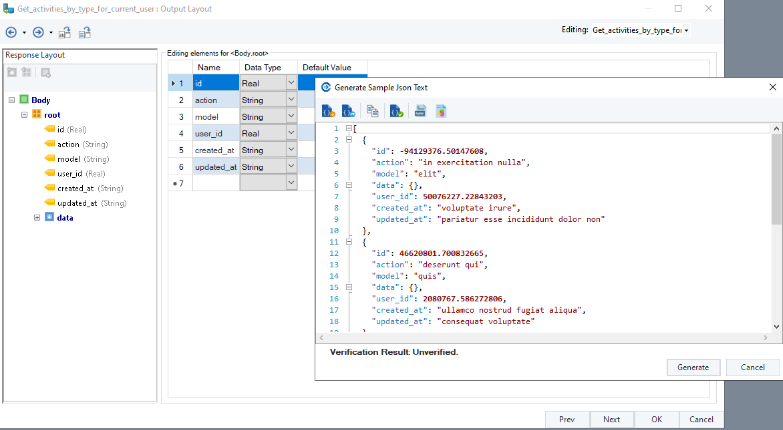
Payload
The input and output layouts/payload are structured in the respective Input and Output Layout windows. Additionally, the sample text bodies used to generate the layouts are preserved in the Sample JSON Text window.
Type 4 - Create or customize API collection:
Users can create and maintain custom API collections in case the API provider does not offer existing documentation for its APIs.
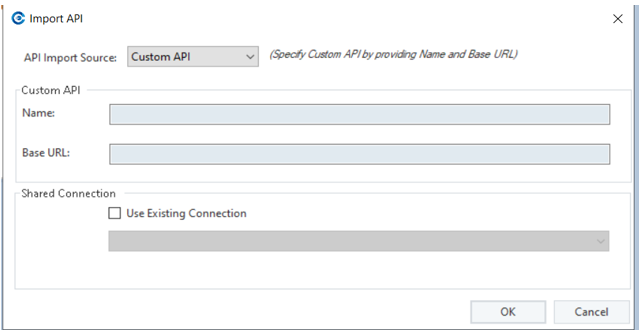
1. From the API Browser, open the import wizard and select Custom API as the API Import Source.
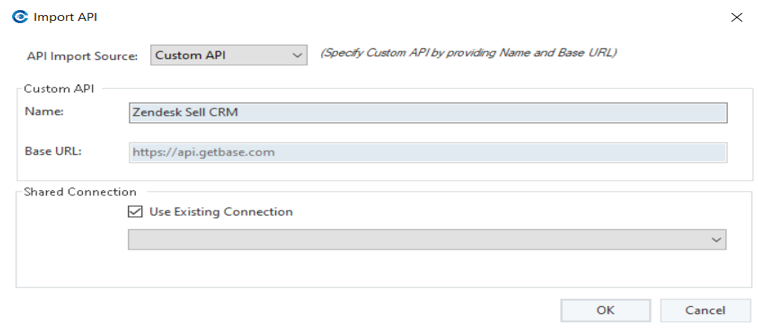
2. Next, provide a name for your custom API and the base URL of the API provider. On import, a new API shared connection (.sact) and a Custom-API (.capi) file will be created in the project.
Alternatively, the custom API can also point to an existing pre-configured connection from the project.
You can configure the API connection object in the shared connection file by providing valid authentication and defining parameters if need be.

Once you are done configuring the connection object, the CAPI file will open in the API browser.
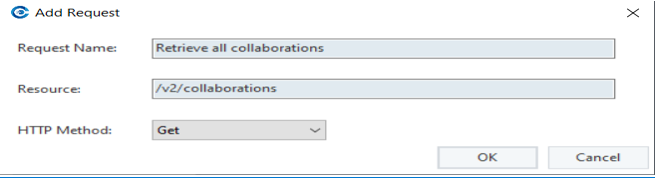
To add API requests to your custom CAPI file, click on the Add Request icon from the top toolbar menu of the API browser.
Here, define the request properties,
Request Name: This is used as the request name and description.
Resources: The unique request resource path including the URI or path parameters which appends after the Server Base URL.
HTTP Method: Select the standard HTTP method to be used for this request.
The request will be added to the CAPI file in the API Browser. Repeat this process to add all the required requests in your CAPI file.
Once you have populated the requests in your CAPI file, it may look something like this in the API browser.
Note: You may have to include a URI parameter in the resource for some requests. Some API documentations display the URI parameter after a (:) symbol. However, you will have to replace the colon ( : )with curly brackets ( {} ) for the parameter to be considered as URI.
To configure the parameters, input/output layout, or pagination options for any request, right-click on it and choose the Edit Request option.
You can also configure and save the request properties by dragging and dropping.
Drag the request from the API browser to a flow designer.
Right-click on the API Client and select Properties. Make changes to the properties of the API client object.
To save the changes, just drag and drop the client object back to the API Browser from the flow designer.
Once you are done populating your Capi file by configuring all request properties and authentication, click on the Save Capi file icon on the top of the API browser to save your changes.
This will save all the configurations you have made including parameters, input/output body, and pagination settings to the request.
Sharing and adding the Capi file to a new project
Fully configured CAPI files act as a connector for your API provider. If you want to add the Capi file to another project, right-click on the CAPI file from the project explorer and click on copy full path.
Then open the other project, right-click on the folder you want to add the CAPI file to and click on Add Existing Items.
A box will open. Paste the file path in the box next to File name and click on Open.

The CAPI file will be added to the project along with its corresponding Sact file.
This concludes the basic concepts of working with the API Browser in Astera API Management.