Pre-deployment Testing and Verification of API flows
Instant Data Preview
When designing an API flow, users can benefit from the functionality to instantly preview and verify the input and output data for any action in the flow. Carrying out data-driven testing of the API functionality at design time helps identify any possible hindrances sooner.
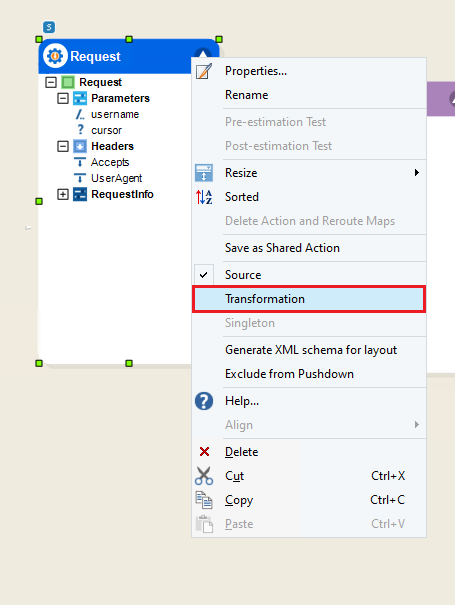
To define test values for the API flow, the Request object must be set as a transformation and any test data can be mapped to it. Right-click on the Request object and select Transformation.
Since the request object is a Singleton object, only the first record is processed through the flow. This behavior compliments the runtime behavior of a single API call and provides ease in previewing the respective results. Let’s preview the Request object to observe this.
Raw Request/Response Preview
The Preview Raw option alternatively allows the users to view the API request and response in a raw unformatted form. This option is useful as it not only displays the data as a raw HTTPS packet but also gives us the benefit of copying, saving, or sharing the JSON body of both the request and response.
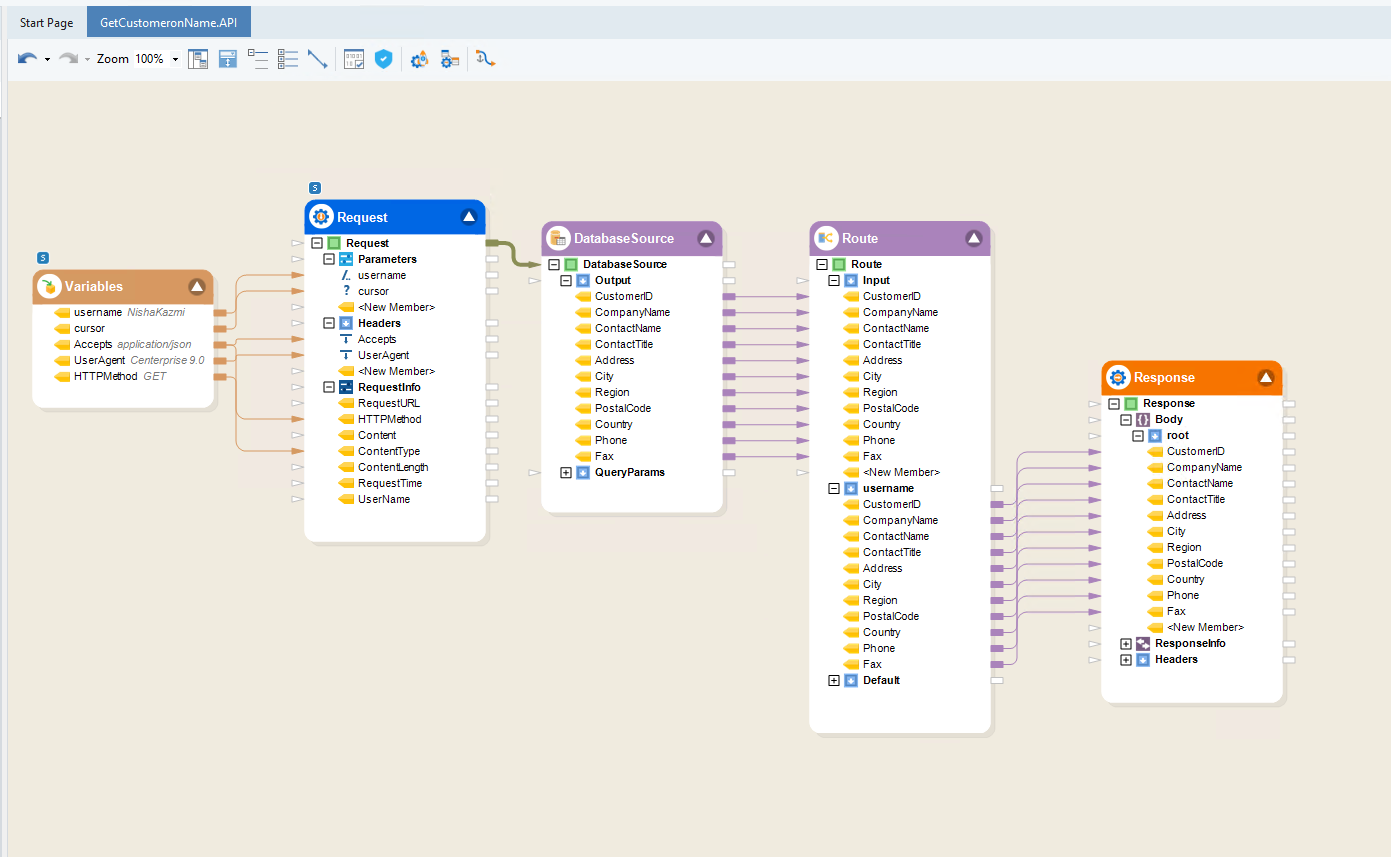
Let’s take an example API flow and see how we can preview the raw request in Centerprise,
This API flow uses the GET HTTPS Method and allows the API user to view the Customers table’s records based on the value of the URI parameter username. For demonstration, Header parameters i.e., Accept, UserAgent, Query parameter i.e., cursor, and RequestInfo parameters i.e., HTTPMethod, Content-Type are also defined.
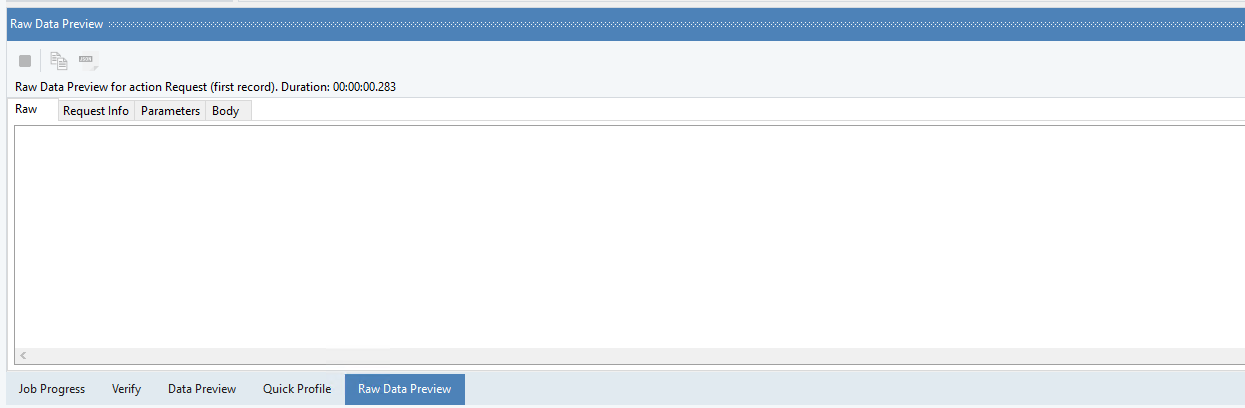
1. The Raw Data Preview window will automatically open when a raw request/response is previewed. However, we can manually open the window as well. To do that, go to the Menu bar > View > Raw Data Preview or use the shortcut Ctrl+Alt+J.

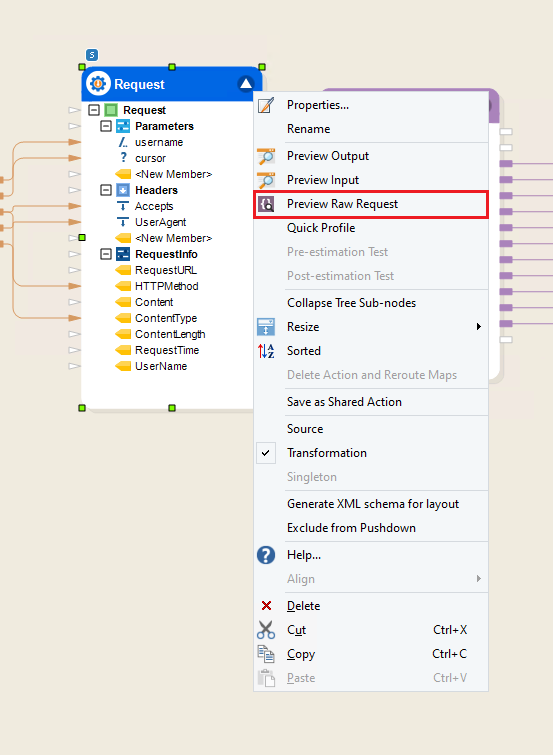
2. Right-click on the header of the Request Publish object. Select the Preview Raw Request option from the context menu.
Note: Preview would only work when Request has some incoming data mapped to it.
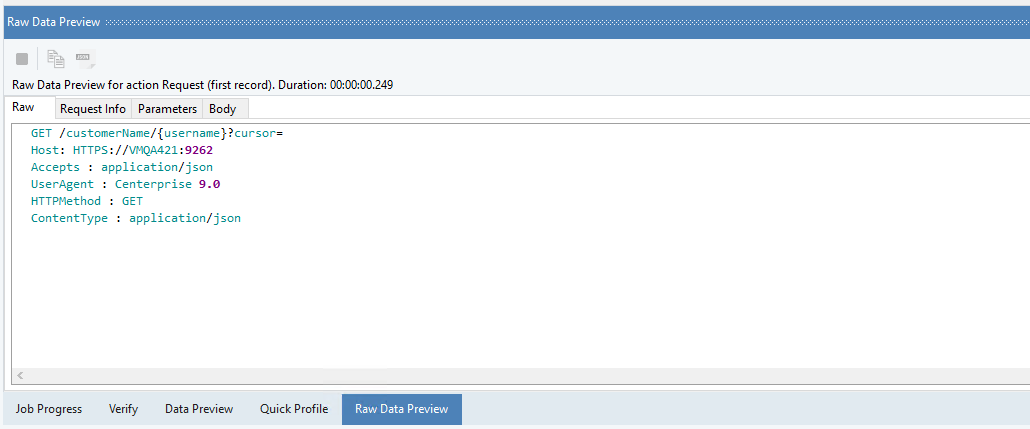
In a raw API Request, you can see:
URL: Contains the HTTPS Method, Resource, URI, and Query parameters.Host: The server on which the API is deployed.
RequestInfo: Default parameters containing information related to the server and request.
Header: User-defined parameters containing meta-data associated with the request.
Body: In case of a request other than GET, an input JSON body.
This is how a complete request looks in the Raw Data Preview window,
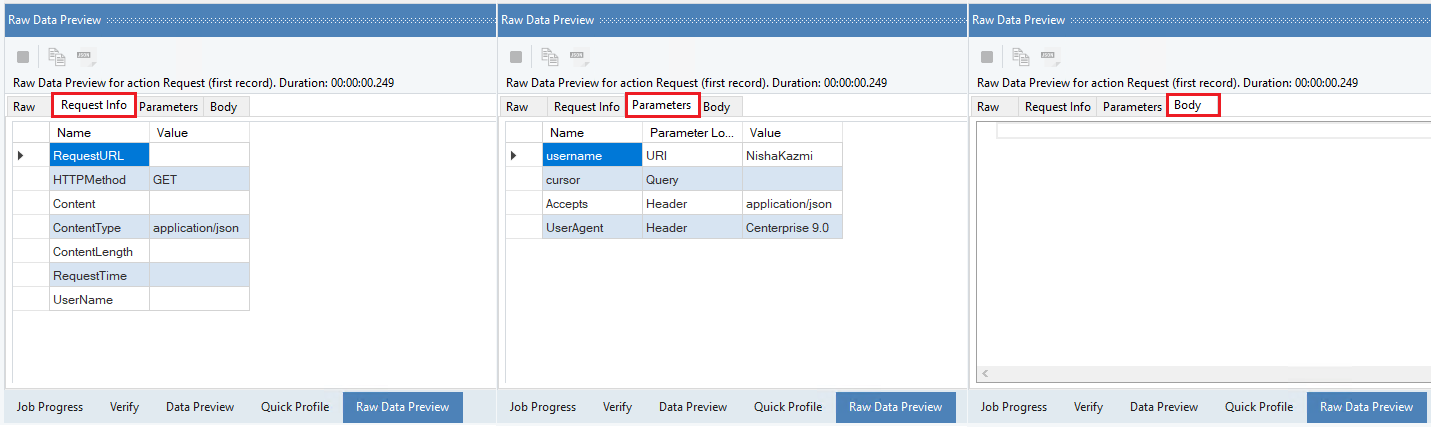
The RequestInfo, Parameters, and JSON Body are displayed in separate tabs.
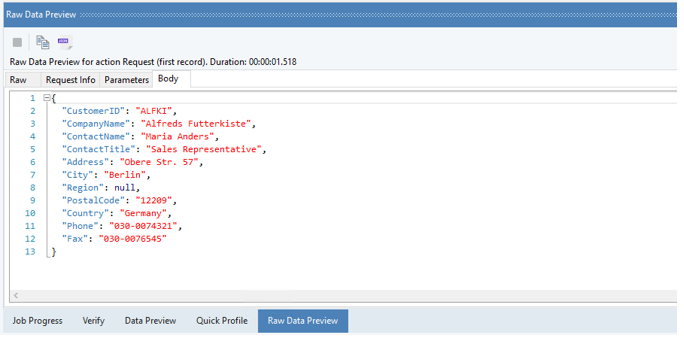
In case of a request other than GET, we’ll be able to see the Input JSON Body in the Body tab. Similar to this:
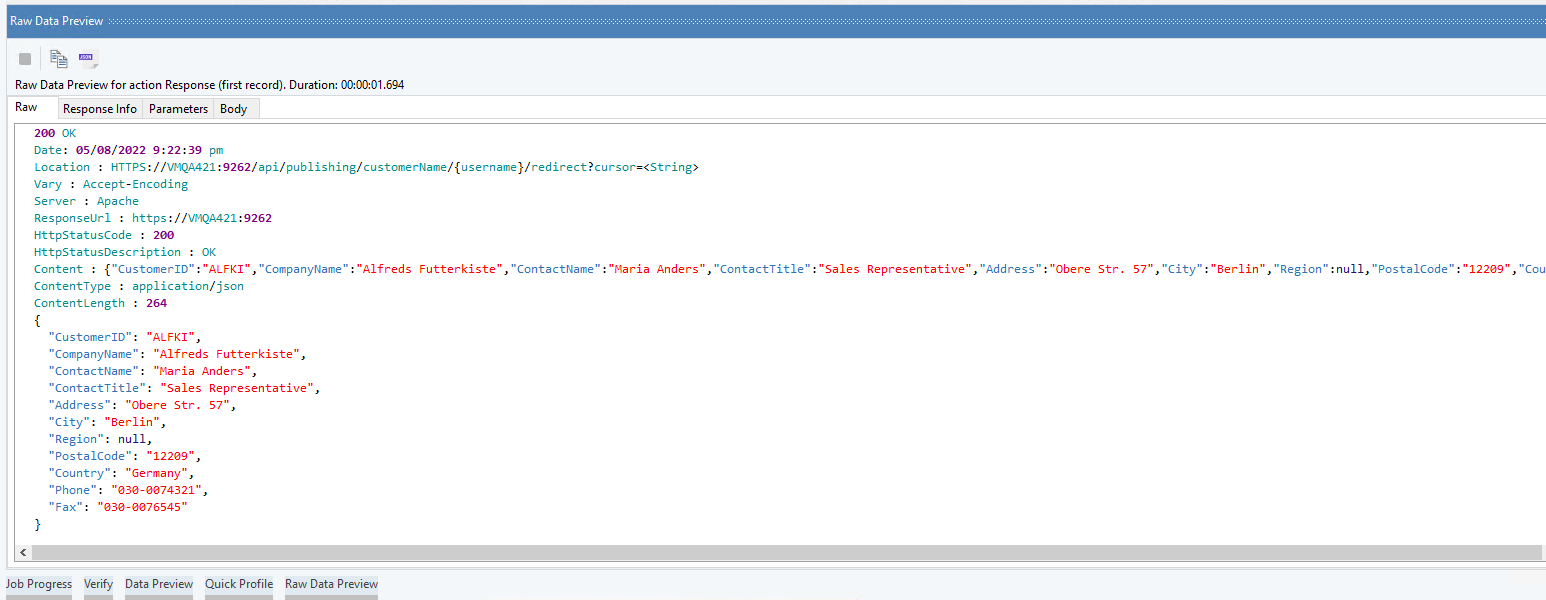
In a raw API response, you can see:
Date: It specifies the date and time at which the client receives the response.
HTTPS Status Code: It defines the standard response status expected from the executed flow i.e., 200 for OK or 400 Bad Request, etc.
HTTPS Status Description: The standard response description matching the HTTPS Status code i.e., OK for a 200 code or BAD REQUEST for a 400 code, etc.
Header Parameters: User-defined parameters containing meta-data associated with the response.
Content: It contains the whole response body content in a string-like text.
Content-Type: It describes the format type of the response body content.
Content-Length: It specifies the number of bytes in the content of the response body.
Body: It shows the response content parsed as per a defined Custom Response Layout.
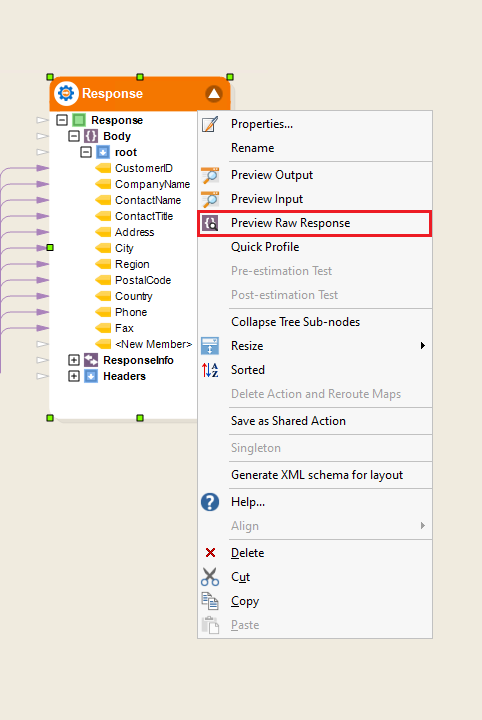
Let’s see how we can preview the raw response in Centerprise,
1. Right-click on the header of the Response Publish object. Select the Preview Raw Response option from the context menu.
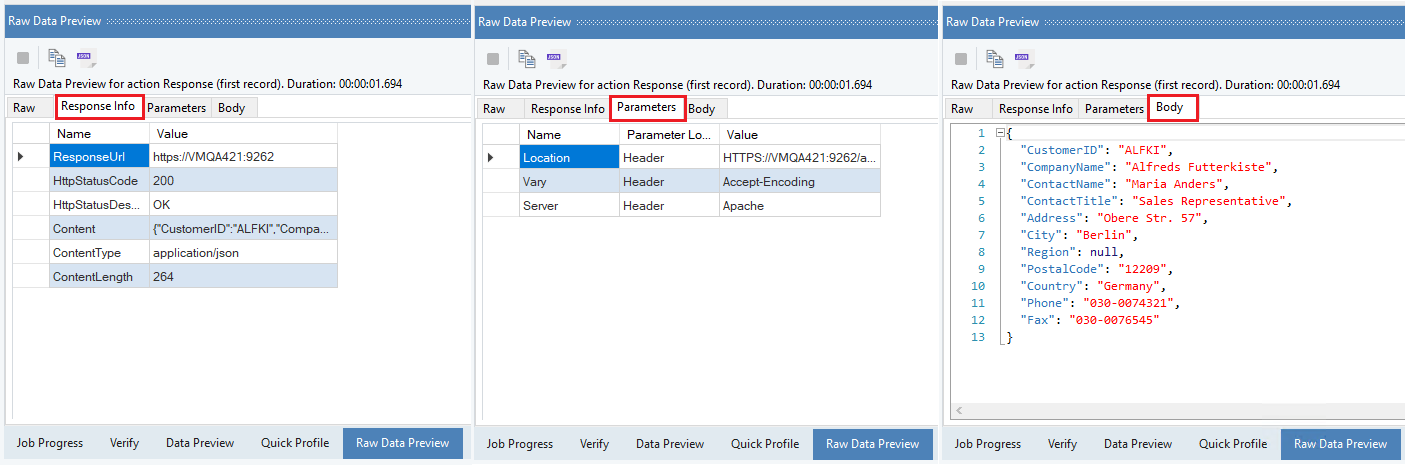
This is how the whole response looks in the Raw Data Preview,
Similarly, the RequestInfo, Header Parameters, and JSON Body are displayed in separate tabs.
Save/Copy JSON
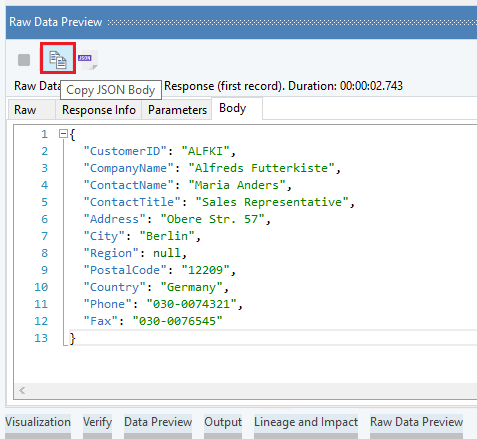
Using the Preview Raw Response/Response option, it is also possible to copy and save the JSON body of both the request and response.
1. Click on the Copy JSON Body icon in the Raw Data Preview window.
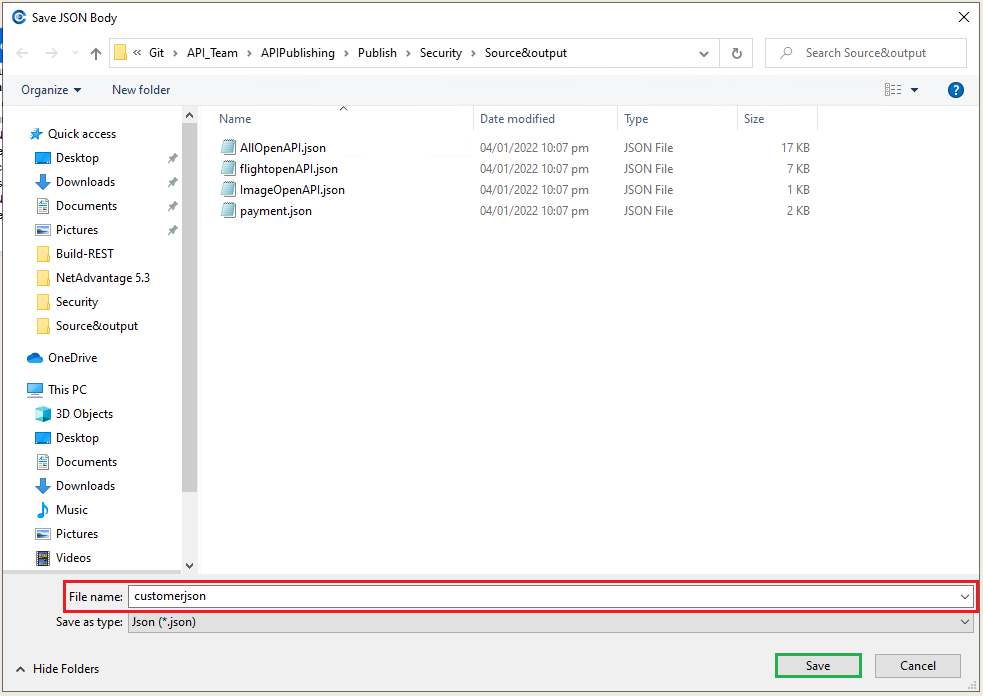
2. Similarly, click on the Save JSON Body icon to save the JSON body at the desired destination in a JSON format file.
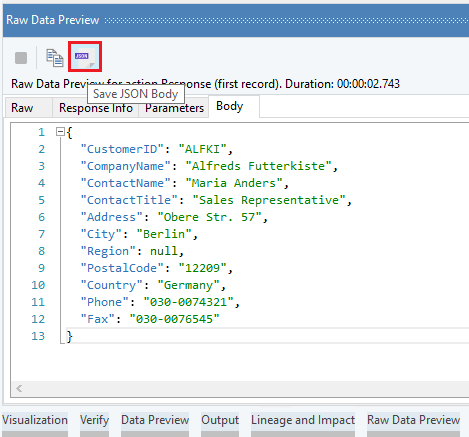
Enter the desired destination in the Save JSON Body window and click Save to store the file.
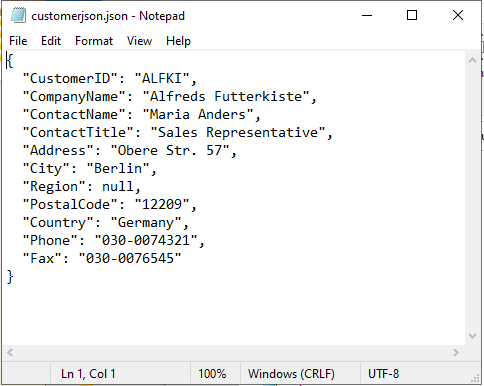
This is what the save JSON file looks like,
Flow Verification
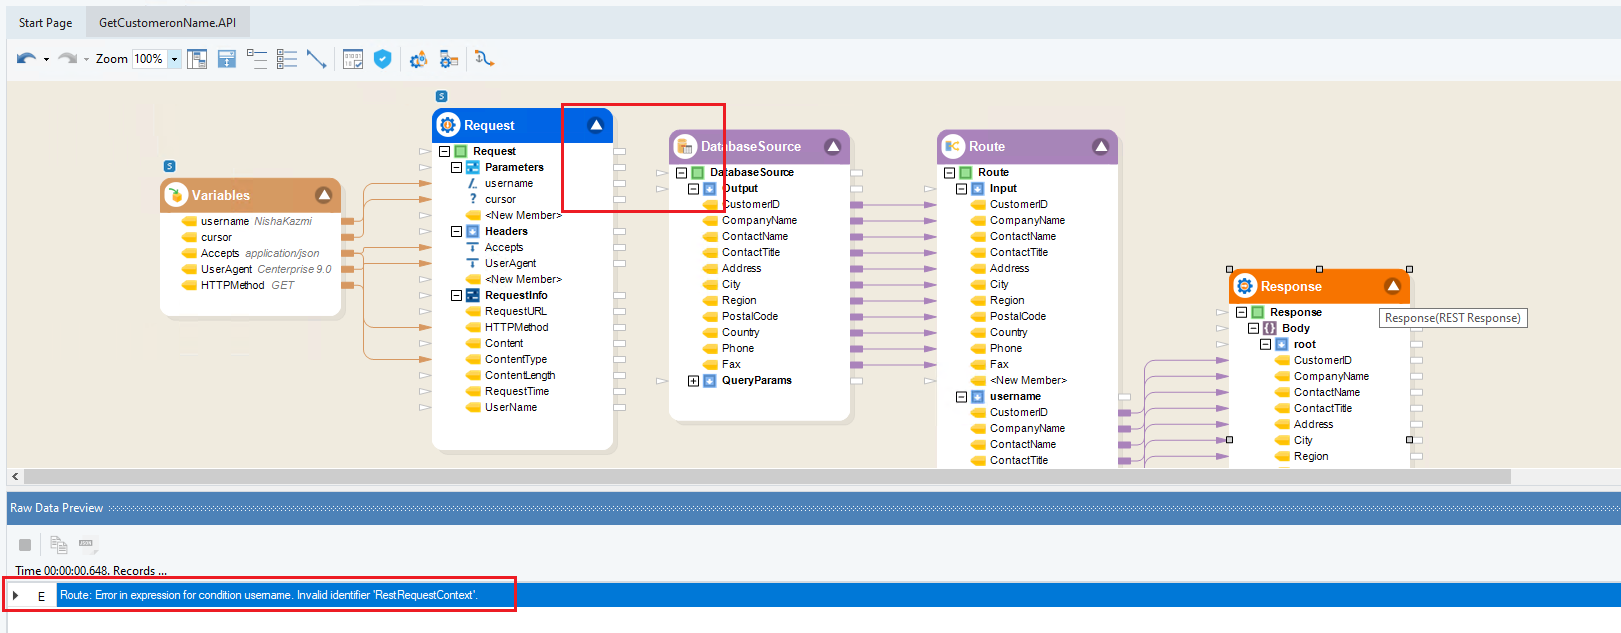
If the API flow contains any errors or warnings that affect the flow of data, they are displayed in the Raw/Data Preview window. In other words, if any obstacles block the flow of data from the Request to Response, the error is shown prominently on the window.
For example, we can see that the flow of data has been broken between the Request and Database Source object, resulting in an error state i.e., the Route is unable to identify a parameter, and as we preview the object we can see the error message in the window.
As for the whole API flow’s verification, it is advised to use the Verify Pushdown Job option. To learn more about pushdown verification in API flows, click here.
This concludes our discussion on pre-deployment testing and verification of API flows.