Field Properties
In this document, we will discuss various properties of data fields in ReportMiner.
What is a Data Field?
A Data Field is the area within a data region containing the extracted information. It captures data points and writes them as elements of a field.
Data fields together with data regions constitute the schema for extracting information from unstructured source files.
To support the selection and extraction within a data field, Astera ReportMiner offers a set of field properties.
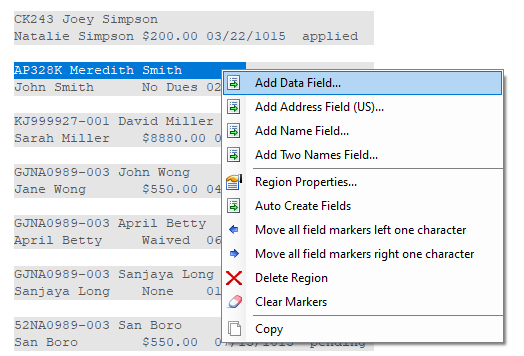
First, let’s add a data field. Highlight the grey area inside a data region, right-click on it and select Add Data Field from the context menu.
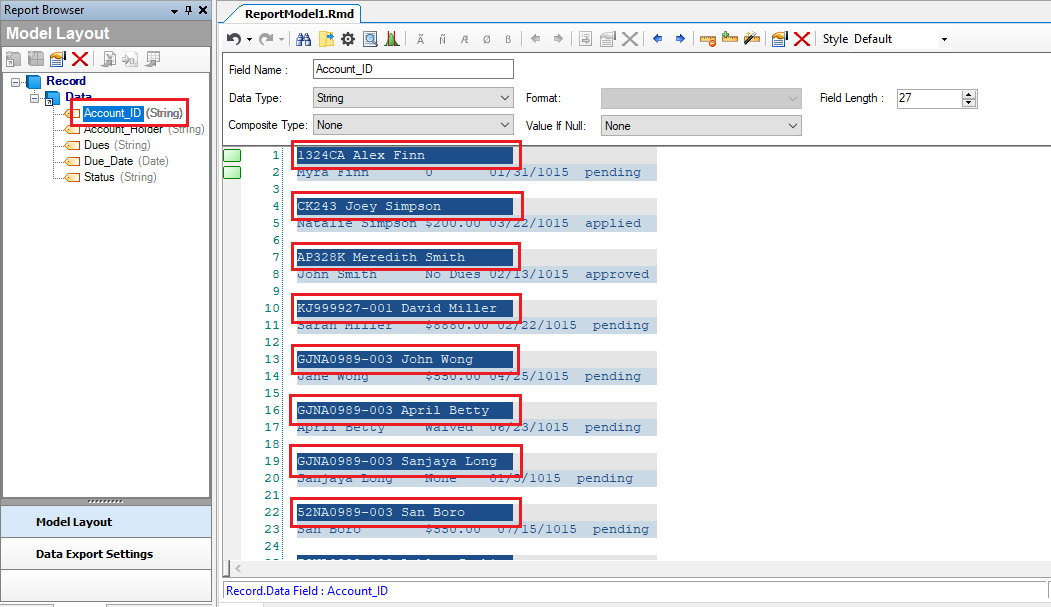
Field Properties Panel
Once a data field is added within the data region, a Field Properties panel will appear right above the designer, providing options for basic configuration settings.

The Field Properties panel allows users to customize the defined fields with the help of the following options:
- Field Name – Allows users to assign a name to a data field. You can type in any name depending on the content of the extracted data points. The assigned field name must be unique and without spaces in between.
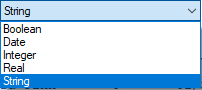
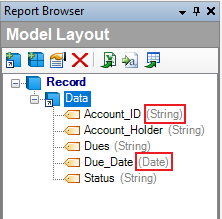
- Data Type – Provides the option to specify the data type of the field such as string, real, date etc.
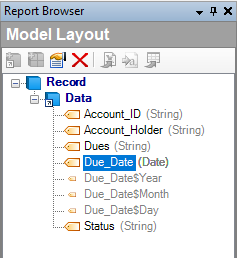
The data type of every field will appear next to the field name in the Model Layout panel.
- Composite Type – Resolves a composite field such as full address or full name into parsed components.
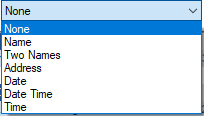
Composite data contains details about a record that can be further split into smaller elements. For example, a record about a customer transaction might contain a date field. Date fields are processed by a built-in parser that splits the date into hour, day, month, year etc.
To learn how this feature works in ReportMiner, refer to the article on Auto-Parsing.
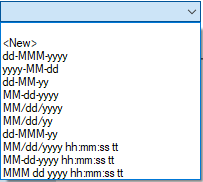
Format – Allows users to change the format of a date field. Multiple date format options are available as shown below.
Value If Null – Performs action in cases where the extracted field value is null.
Note: ‘null’ refers to either an absence of data or an undefined value.
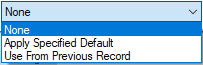
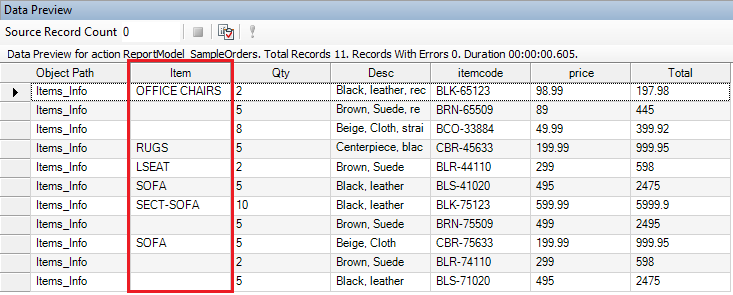
None – This is the default setting. If None is selected, no action is taken to replace the value in an empty cell. For example, if the field in question (Item field) has some null records, the cells within the field are displayed as empty in the preview.
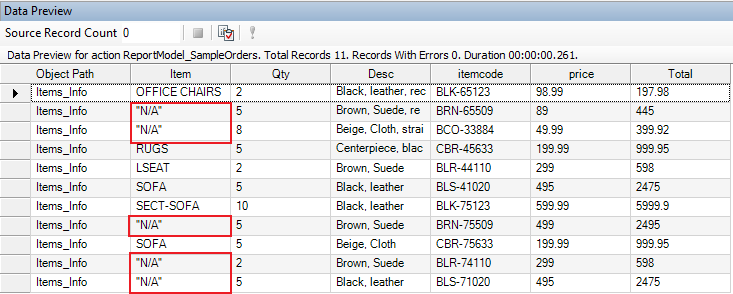
Apply Specified Default – A specific string value can be assigned in case the extracted data point is null. When the program finds a null value, the specified value will appear in the output instead of an empty cell.
A Default Value option appears when Apply Specified Value is selected. Here, you can type any value that you want to replace a null value.

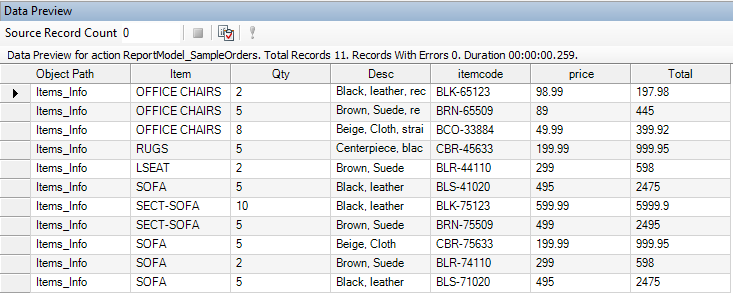
Use From Previous Record – Returns the value of the previous record in the same data field.
Field Length – Allows users to increase or decrease the length of a data field.
The Field Properties panel provides very basic options to configure a data field. The advanced options for additional configuration are provided under Field Properties window.
Field Properties Window
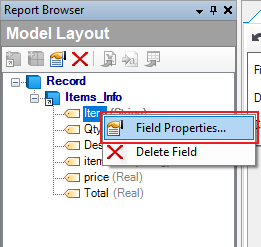
To configure the properties of a data field, right-click on that data field in the Model Layout panel and select Field Properties from the context menu.
Another way to do that is by selecting the field, and then clicking the ![]() icon placed above the Model layout panel to open Field Properties window.
icon placed above the Model layout panel to open Field Properties window.
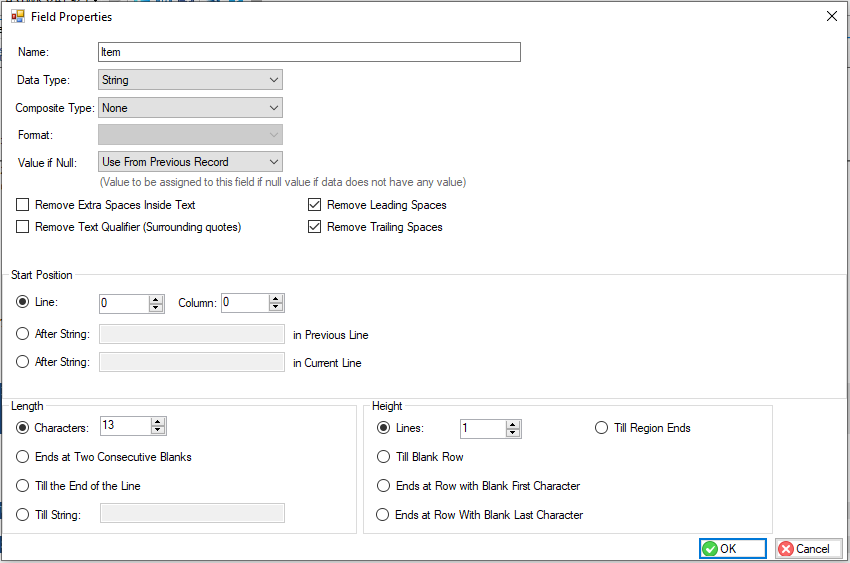
The first five options on this window are the same as those on the Field Properties panel.
Here, you can also find some additional options for data cleaning.

Remove Extra Spaces Inside Text – removes extra blank spaces inside the source document’s text. This is most helpful for cases like fixed-length files, where there may be many extra spaces between characters.
Removing the extra spaces makes the data simpler to read and work with, once it’s exported. If your data contains extra spaces (two or more in a row) and you wish to export it as such, do not check this box. When this option is checked, it will condense multiple spaces into a single space.
Remove Text Qualifier (Surrounding quotes) – removes quotation marks from your data. This is especially useful for CSV files with many quotation marks as it converts them into an easier-to-manipulate format. For example, “John Schmidt” would be extracted as John Schmidt.
When this option is left unchecked, the quotation marks surrounding text will be retained in the extracted data.
Remove Leading Spaces – removes/trims all blank spaces before the first non-blank character appears in a data field.
Remove Trailing Spaces – removes/trims all blank spaces after the last non-blank character in a data field.
Start Position – allows users to manually specify the start position of a data field. You can find the following options in this menu:
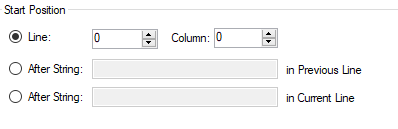
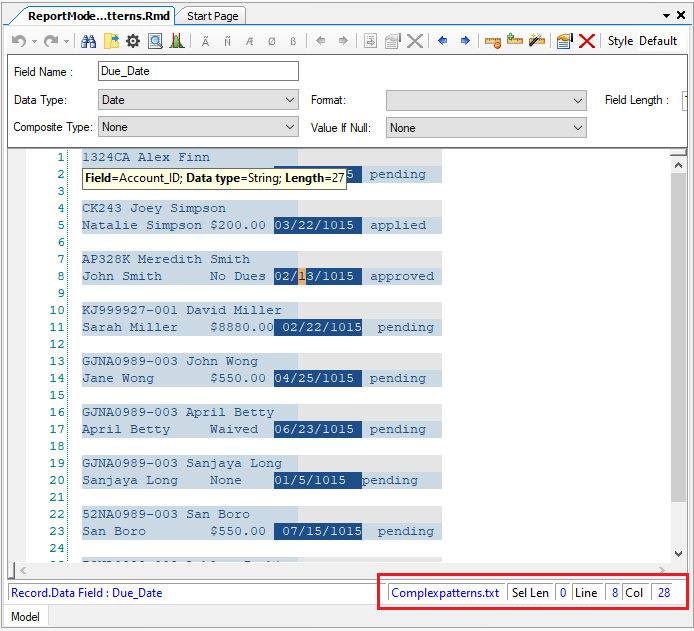
Line/Column – There is an invisible grid with coordinates that overlays every report model. These coordinates can be used to specify the start position in a report model by referencing a single point on a data field. The values for Line and Column can be found at the bottom-right corner of the report model when a point on the file, opened in the designer, is selected.
After String (X) in Previous line – This will set the field to start after a specified string in the preceding line of the desired data field. For example, if in a file containing medical records, every set of patient data started with “Patient Information” above it, ReportMiner will set the field to begin the line after “Patient Information”. This way, all information relevant to each patient record will be captured.
After String (X) in Current Line – This will set the field to start after a specified string in the same line as the data field.
Length – This menu allows users to set the length of a data field. You can select from the following options:

- Characters – allows users to set the length of a data field up to a certain number of characters. For example, if the value for this options is set to 5 for a data field, James123 will be extracted as James.
- Ends at Two Consecutive Blanks – ends a data field once it reaches two consecutive blank characters.
- Till the End of the Line – ends a data field on the last character in the line.
- Till String (X) – ends a data field once it reaches a specified string, such as “Report End”. This option works similar to the Start Position-After String options as it ends a data field on a specified string.
Height – This menu allows users to set the height of a data field. You can select from the following options:
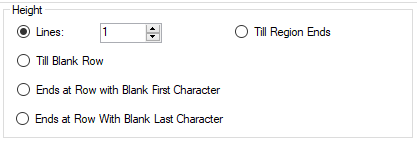
- Lines – sets the height of a data field to a certain number of characters.
- Till Region Ends – the data field continues till the end of its data region. It determines the height of a data field based on the height of the data region. The default setting of data fields, especially ones that vary in height, is to measure them by line count.
- Till Blank Row – ends a data field once a blank row is reached.
- Ends at a Row with Blank First Character – ends a data field once it reaches a row with a blank first character (a space).
- Ends at Row with Blank Character – ends a data field once it reaches a row with a blank last character (a space).