ReportMiner Installation Guide
In this article, we will learn how to install and configure Astera ReportMiner’s client and server applications.
The installation package for ReportMiner 8 (64-bit) contains two setup (.exe) files:
- ReportMiner 64-bit.exe – for Astera ReportMiner Client, and
- IntegrationServer 64-bit.exe – for Astera Integration Server
The setup files for ReportMiner can be downloaded here.
How To Install Astera ReportMiner Server
After downloading the setup file;
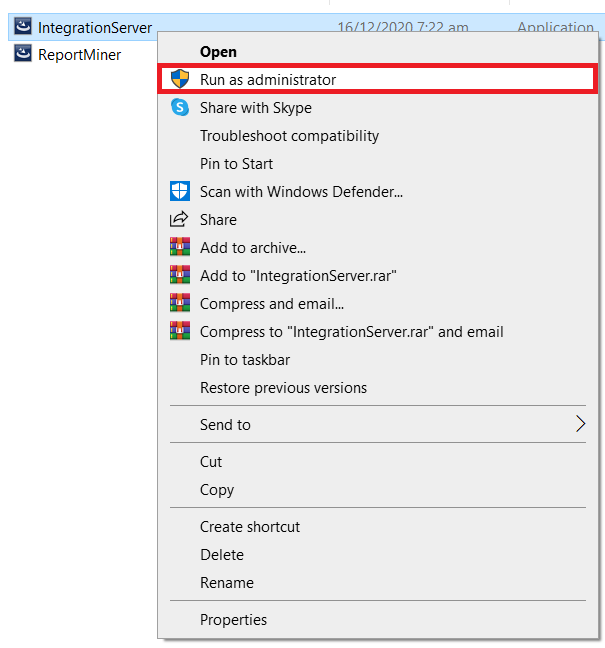
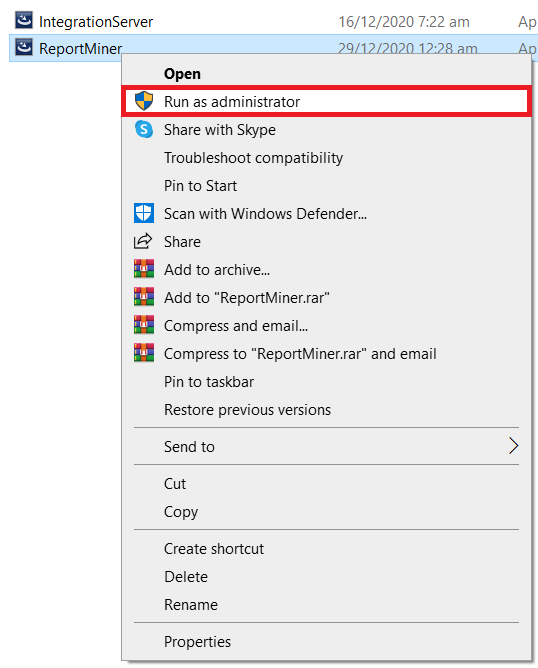
1. Right-click on the IntegrationServer 64-bit.exe file and select Run as administrator.
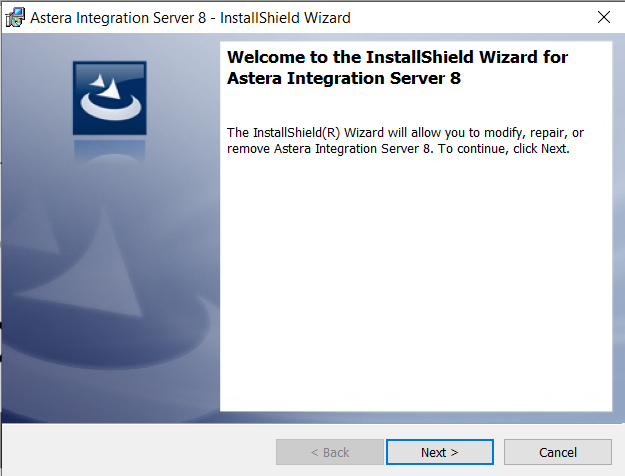
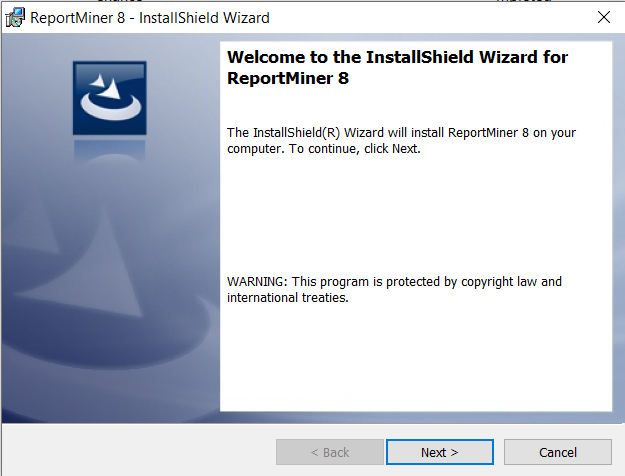
2. A wizard will open for the installation of Astera Integration Server. Click Next to continue.
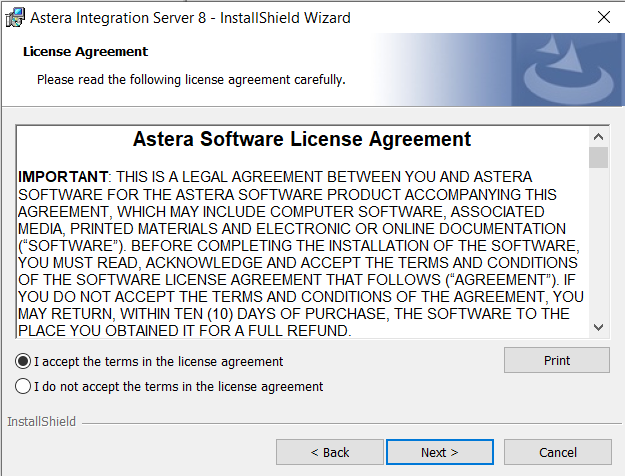
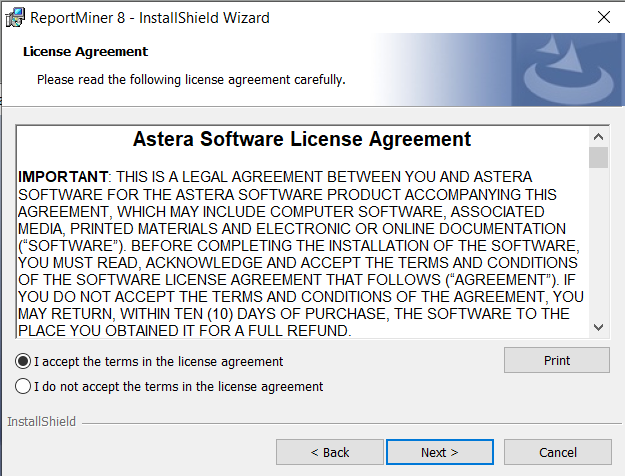
3. The next screen is of Astera Software License Agreement. Accept the terms of agreement to continue.
Note: You can only continue by accepting the terms and conditions of license.
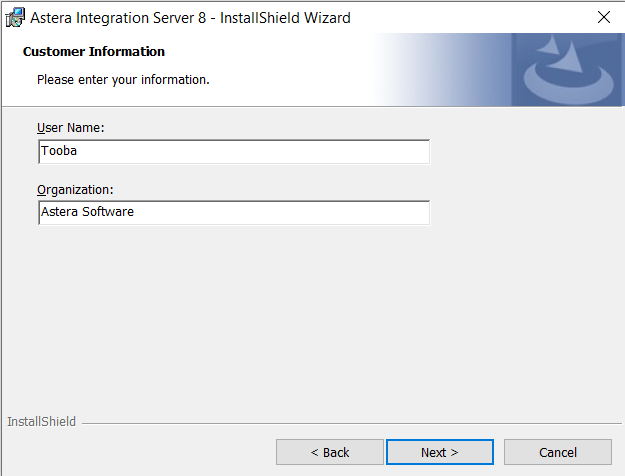
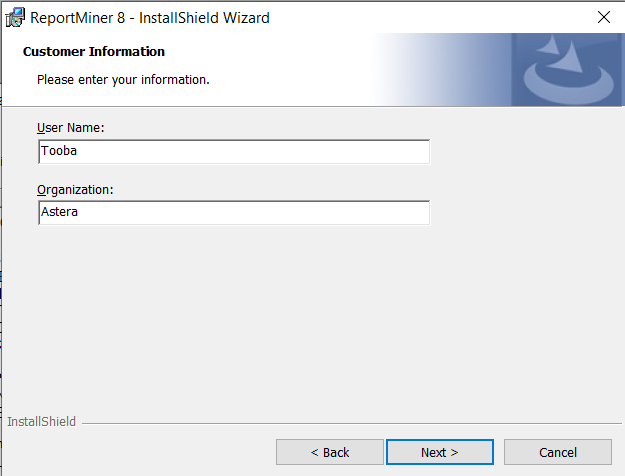
4. Enter User Name and Organization and click Next to continue.
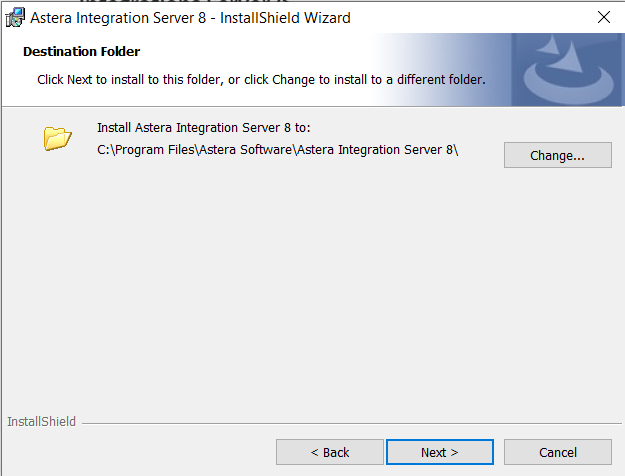
5. On the next screen, specify the location where you want your Integration Server application to be installed. Then click Next to continue.
Note: if you do not specify any location, it would by default be installed in <C:\ProgramFiles\Astera Software\Astera Integrations Server8>
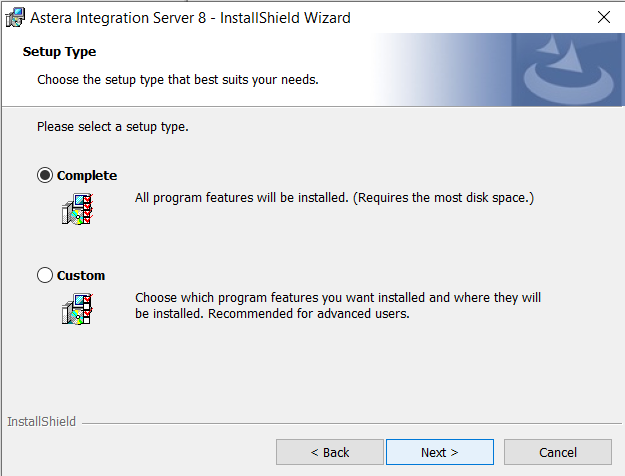
6. Now, select a setup type (Complete or Custom) of installation you want to go with and click Next.
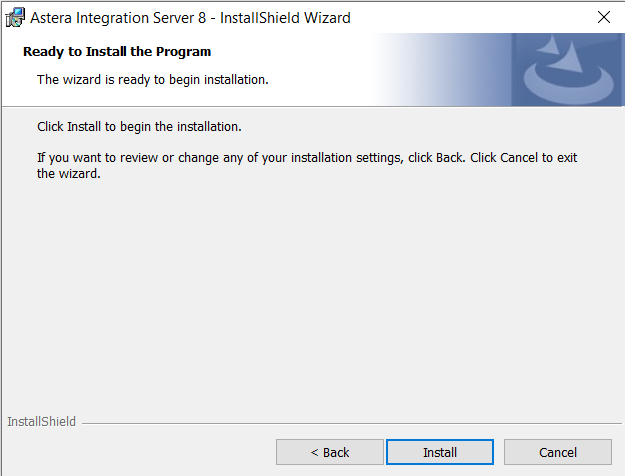
7. Your Integration Server is now ready to be installed. Click on Install to proceed.
8. Click on Finish to complete the installation process.
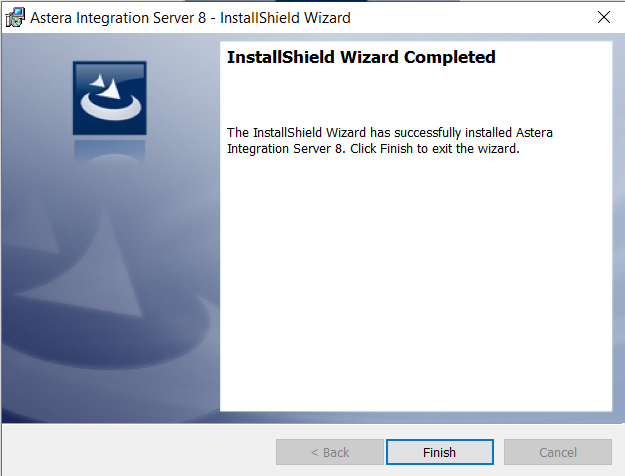
Your server has been successfully installed.
How To Install Astera ReportMiner Client
After downloading the setup file;
1. Right-click on the ReportMiner 64-bit.exe file and select Run as administrator.
2. A wizard will open for the installation of client. Click Next to continue.
3. On the next screen Astera Software License Agreement will appear. Accept the terms of agreement to continue.
Note: You can only continue by accepting the terms and conditions of license.
4. On the next screen, enter User Name and Organization and click Next to continue.
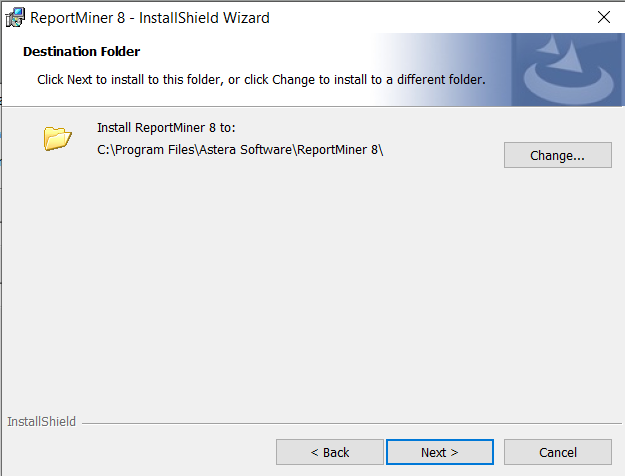
5. On the next screen, specify the location where you want your client application to be installed. Then click Next to continue.
Note: if you do not specify any location, it would by default be installed in <C:\ProgramFiles\Astera Software\ReportMiner 8>
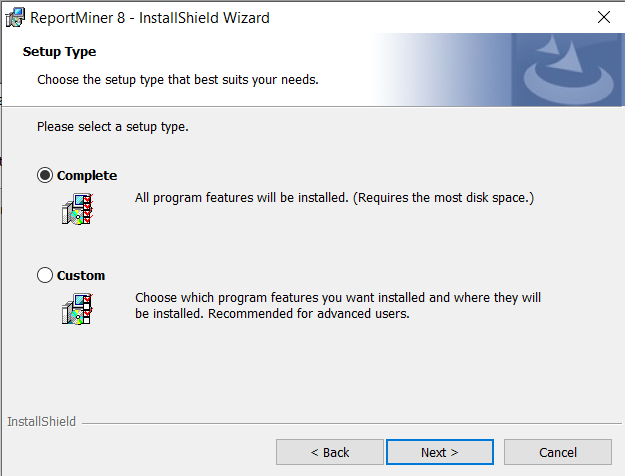
6. Now, select a setup type (Complete or Custom) of installation you want to go with and click Next.
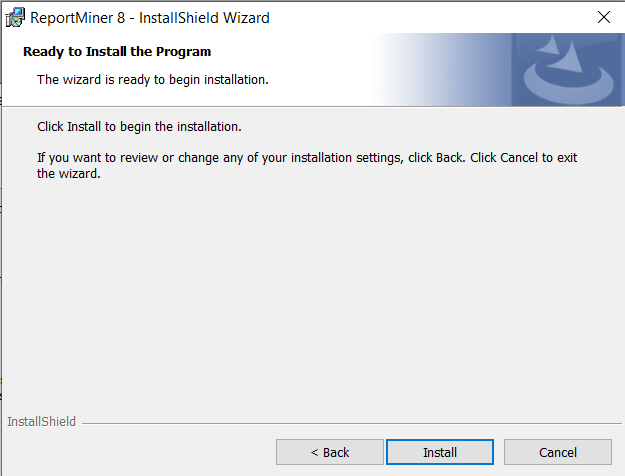
7. Your client is now ready to be installed. Click on Install to proceed.
8. Click on Finish to complete the installation process.
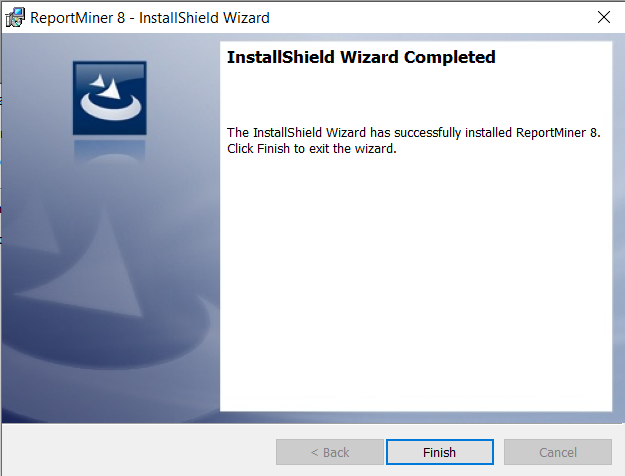
Your client has been successfully installed.
This concludes installation of client and server applications of Astera ReportMiner.