Auto-Creating Data Regions and Fields
Applies To:
- Centerprise
- ReportMiner
Overview
To be able export data from report models, first you need to create data regions and data fields. One way to do this is through the Auto Create (Fields or Regions) option. This method takes two lines as a sample of the data that is to be extracted, and creates the desired region or fields with them. This is the simplest, fastest method for creating data regions and fields in Astera ReportMiner.
Auto-Creating Data Region
1. To auto-create a data region, click on the grey column to the left of one of the lines that is to be included in your region.
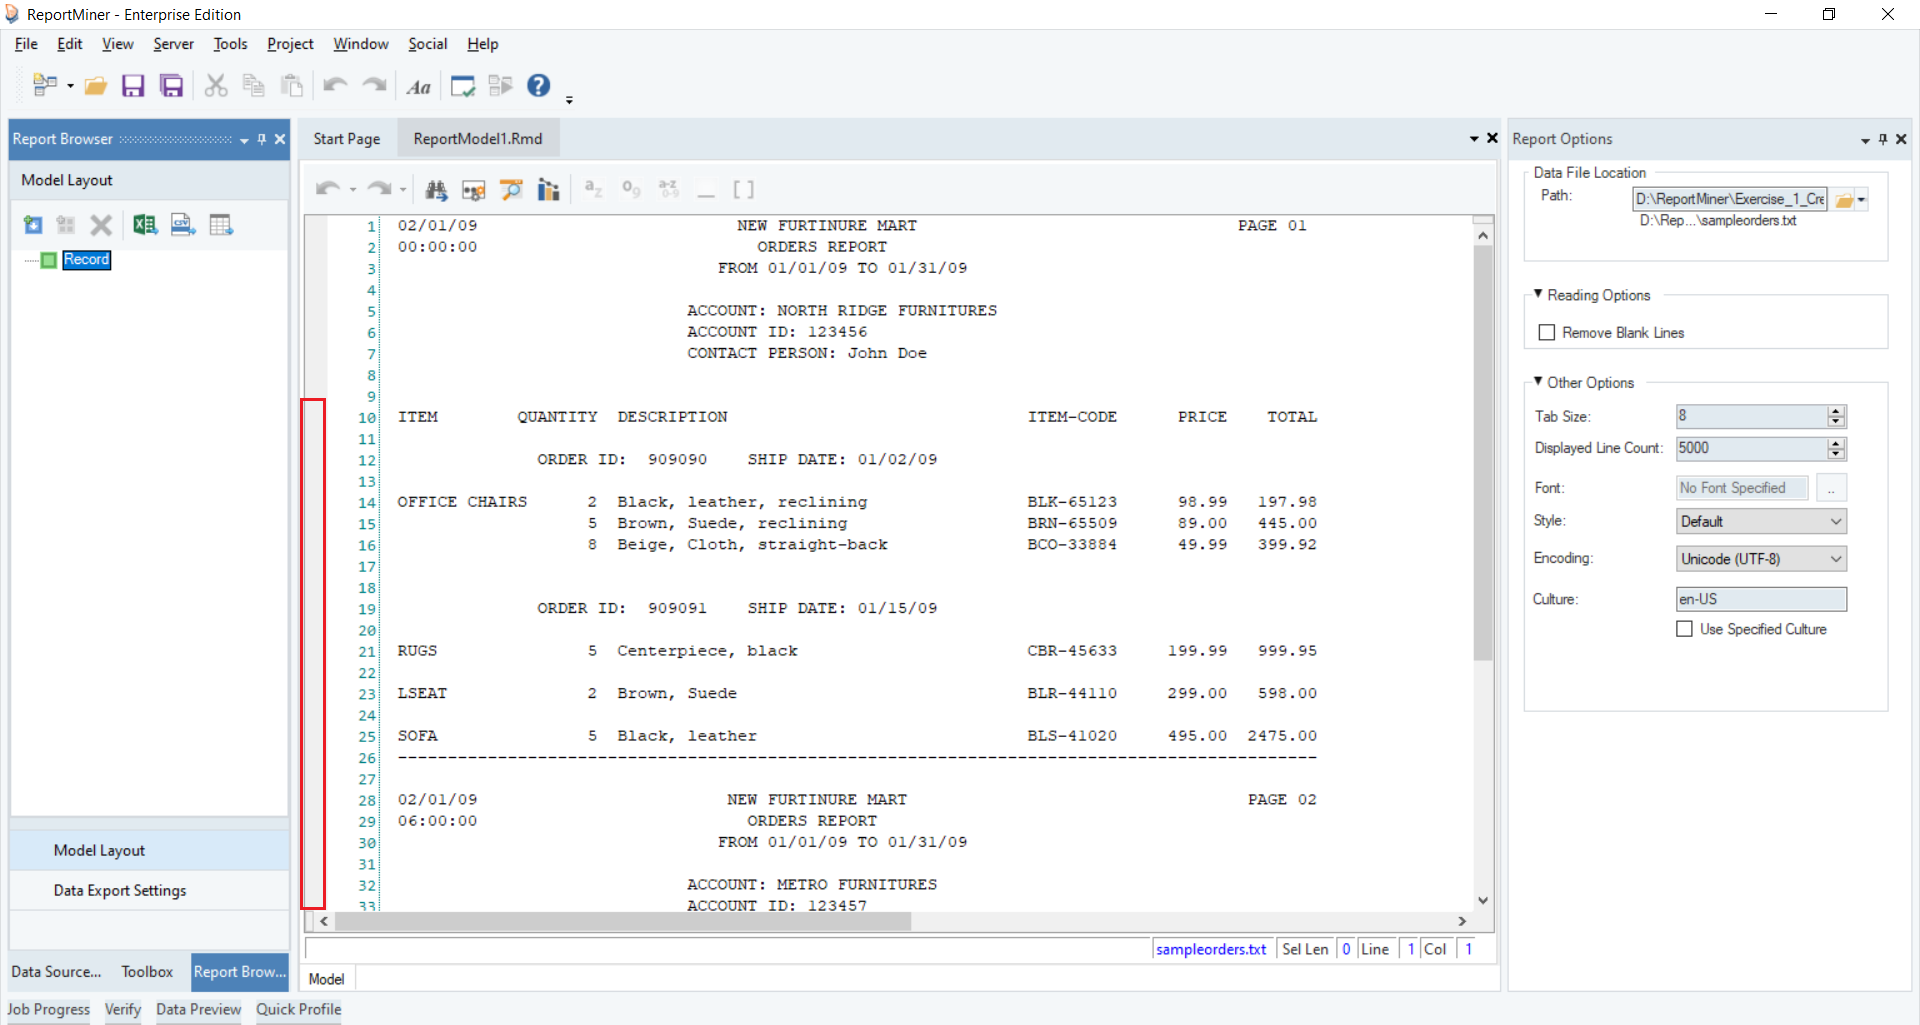
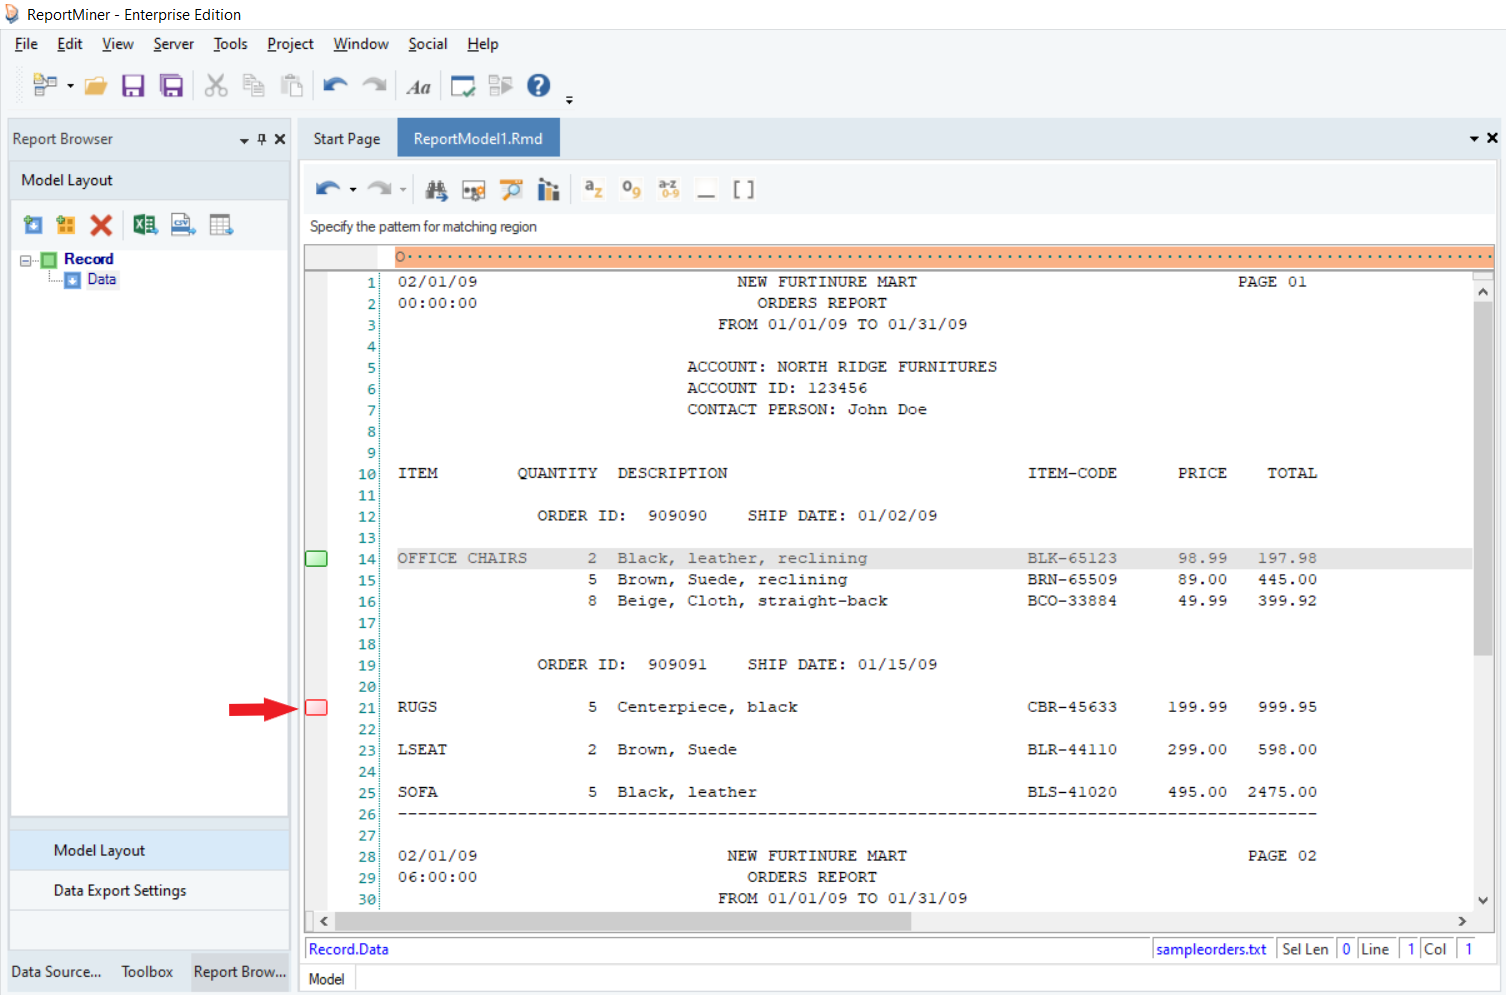
A green marker will appear which means that the line is to be included.
Note: If you have placed the marker on the wrong line, click on it twice. It will first turn red and then would be removed.
2. Using this method, specify the two lines that you wish to capture. Once the two lines are indicated, ReportMiner creates a data region based on the selections.
Look at the pattern matching bar above the ReportMiner designer. It has used Match any digit wildcard to capture all the data fields. This is because the QUANTITY of an item would always be a digit.
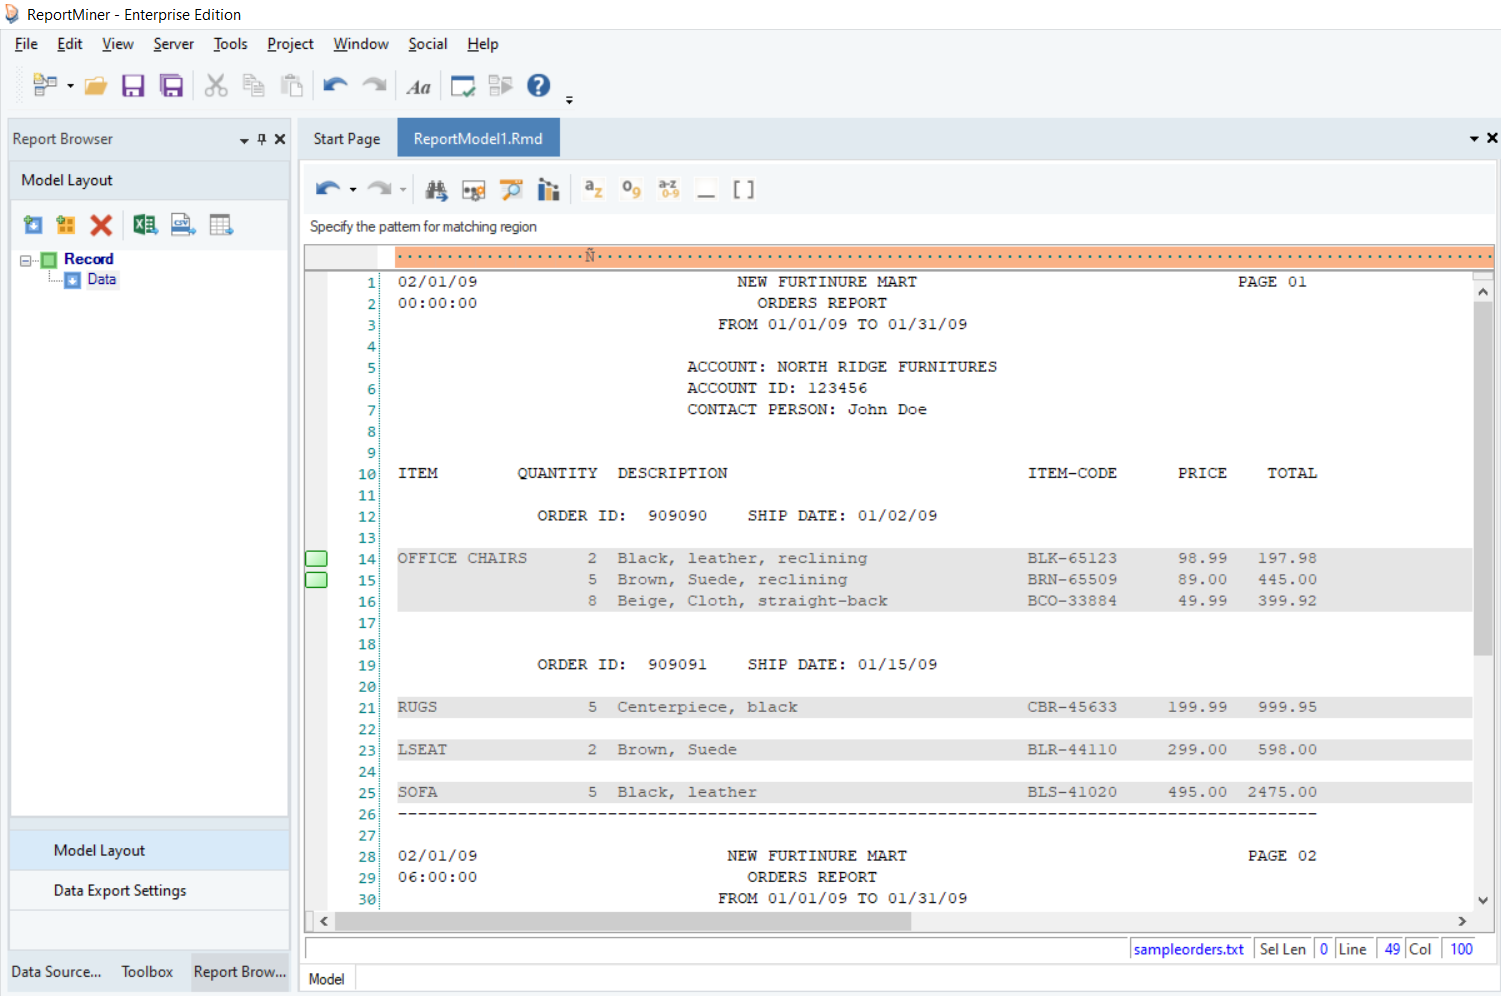
Your data region has been created. The data that can be captured is highlighted, and a data region node (with the default name “Data”) will appear underneath Record Node in the Model Layout panel on the left-hand side of your ReportMiner designer.
Renaming Data Regions
Data regions can be renamed by using the Region Name option in the Region Properties panel. It is recommended to rename every data region and field to avoid confusion.
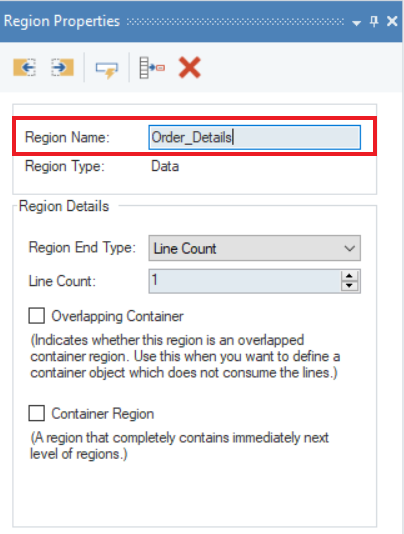
Your data region has now been created and renamed.
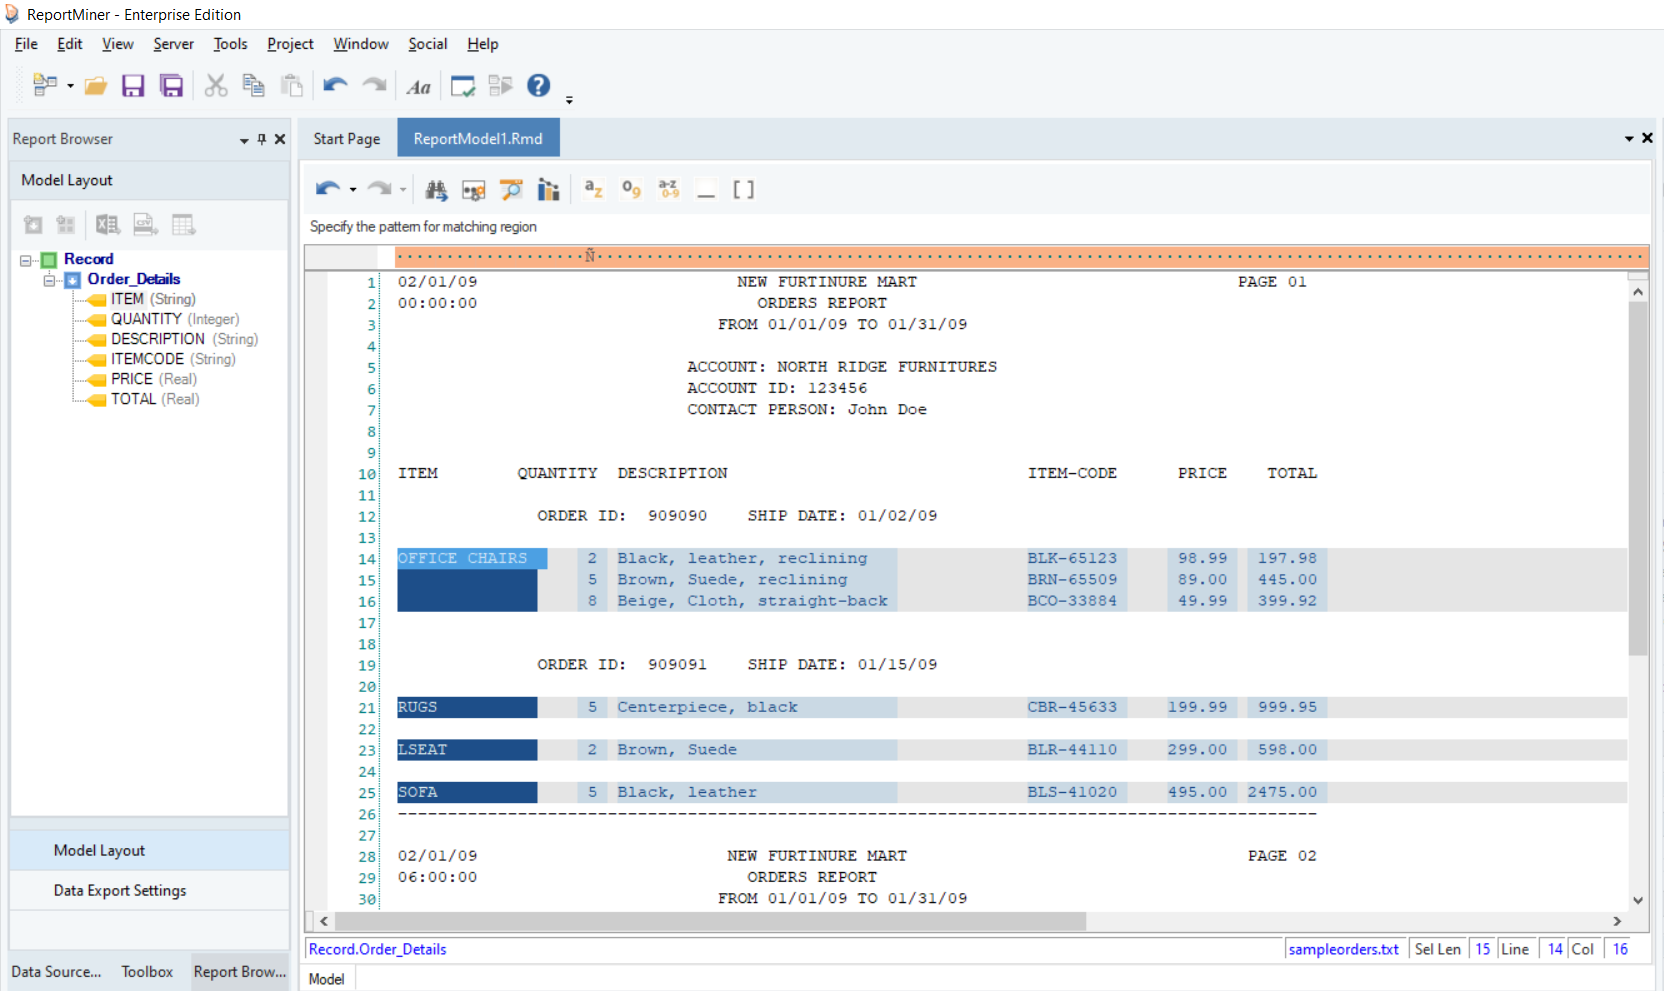
Auto-Creating Data Fields
Once your data region has been created, the next step is to create data fields. Data fields show exactly what data will be extracted from the source file. As with the data region, ReportMiner can also automatically create your data fields.
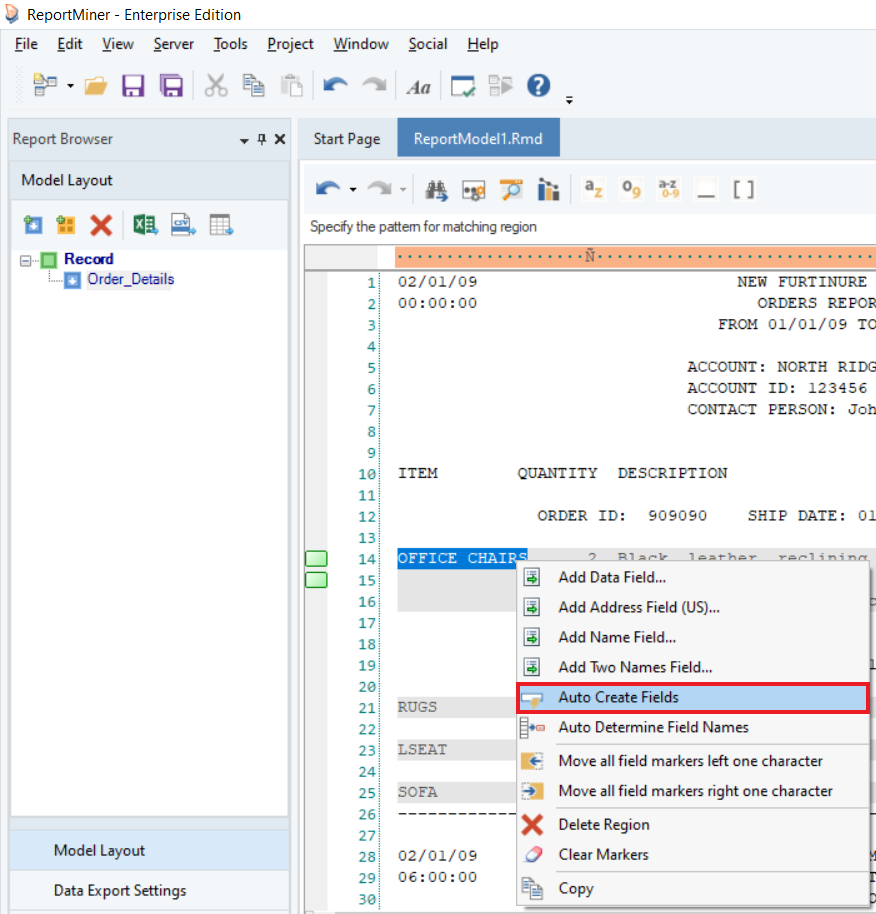
1. Right-click on your data region and select Auto Create Fields option.
Your data fields have been automatically created and named.
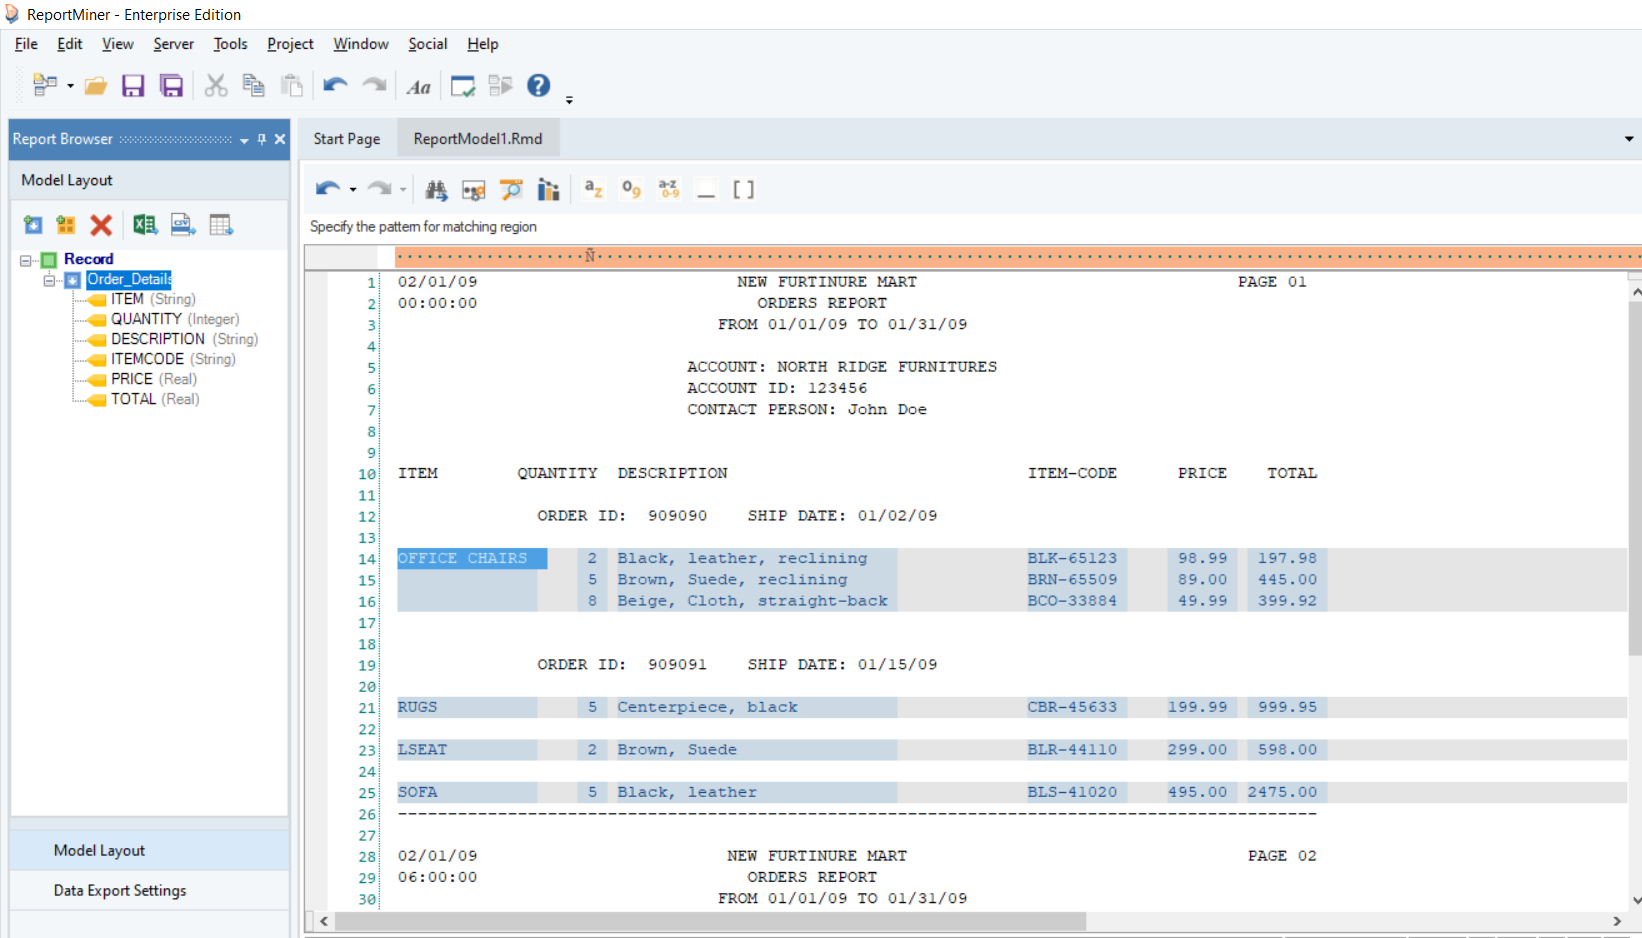
In the figure below, the data fields are nested under the data region in the Model Layout panel. As you click the ITEM data field, you can see a grey highlight around ITEM in the model hierarchy. This is the field that has been selected.